
Soft yarn, salty daydream vibes, and a tiny dolphin resting in your palm this keychain feels like pure comfort. Try this beginner-friendly craft and quickly fall in love with the process. It’s a perfect choice for a handmade gift business and a crochet pattern for sale that truly stands out.
Crochet keychains may be small, but they carry real value. They are practical, beautiful, and incredibly satisfying to complete. This crochet dolphin keychain pattern is a wonderful way to learn amigurumi shaping while creating something you can actually use. You will practice tight stitches, neat finishing, and simple assembly in an easy crochet tutorial. As a beginner-friendly crochet keychain, it is ideal for gifts, bag charms, and meaningful handmade collections that feel personal every day.
What is a Crochet Dolphin Keychain?
A crochet dolphin keychain is a small amigurumi dolphin (a stuffed crochet figure) attached to a keyring or clasp so you can clip it onto keys, backpacks, pencil cases, or zippers. If you’re brand new to crochet, this kind of project is a gentle place to start because it’s small, quick, and forgiving.
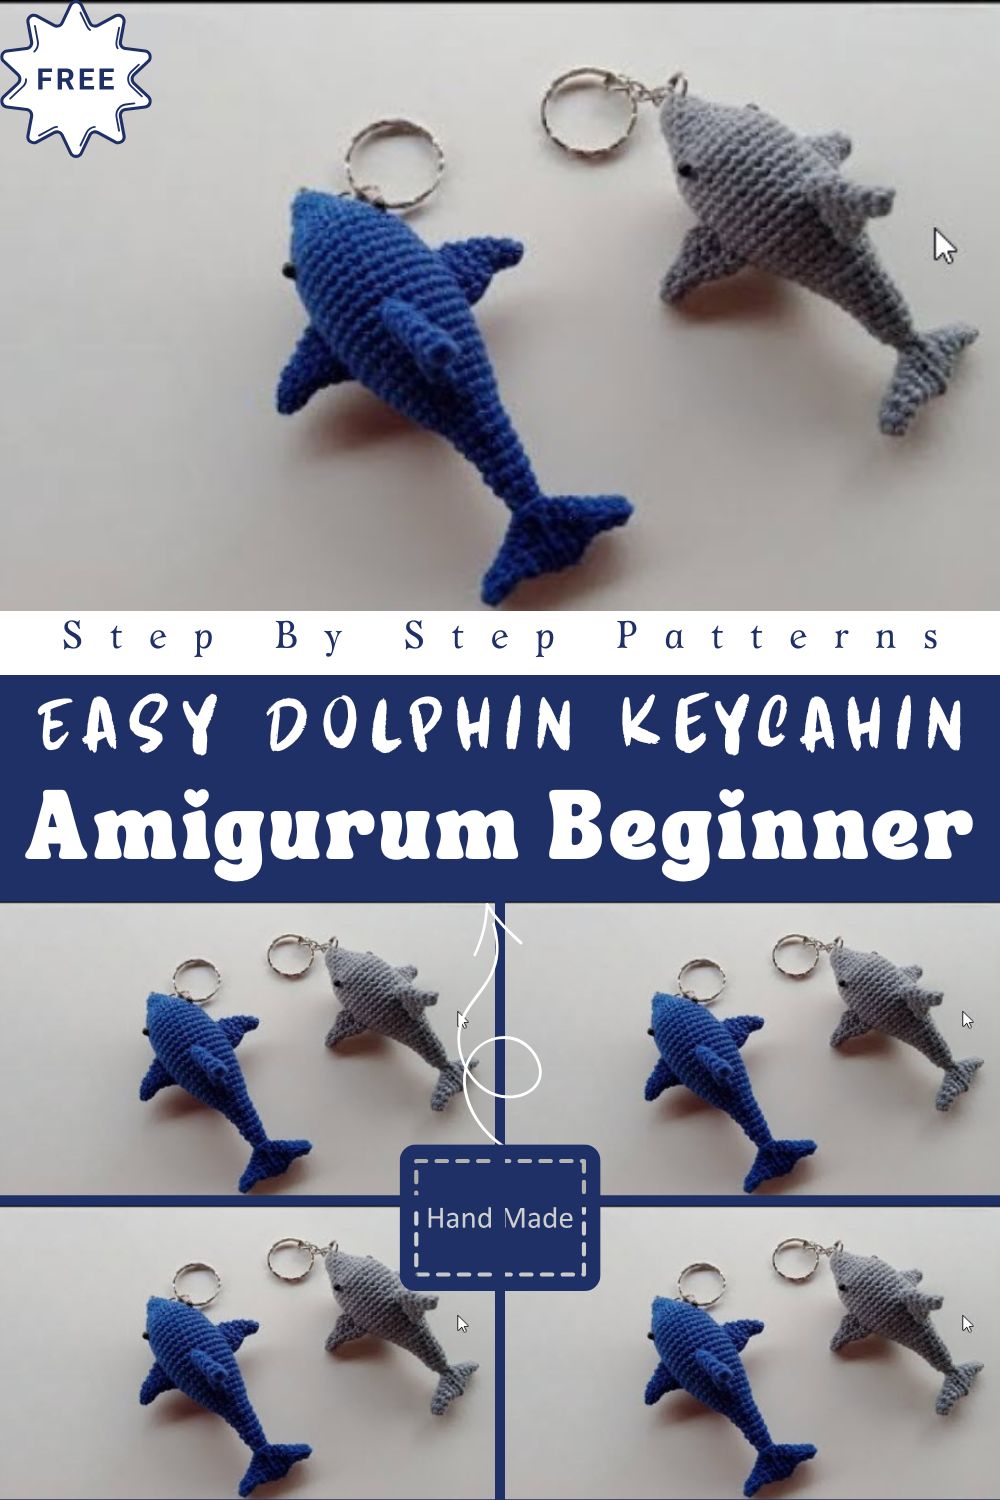
Instead of big flat rows, most dolphin keychains are made in continuous rounds (a spiral). You’ll create a few simple shapes—like a rounded head/body piece, fins, and a tail—then sew them together. The finished look, like the neat blue-and-grey dolphins in your reference image, comes from two things: tight stitches and clean assembly.
Why This Dolphin Amigurumi Keychain is Unique
There’s something instantly calming about dolphins. They feel playful, kind, and a little magical—like a reminder of summer, ocean breezes, and lighter days. That emotional vibe is exactly why a dolphin makes such a sweet keychain.
What makes this design especially lovable:
- Neat, polished finish: The stitches look tidy and even, giving that “store-quality but handmade” charm.
- Cute, simple shape: The rounded body, small fins, and curved tail read as “dolphin” right away without being complicated.
- Two classic colorways: Blue and grey look modern, clean, and giftable for almost anyone.
- Beginner-friendly construction: It’s based on the core skills used in many amigurumi projects, so every minute you spend helps you improve.
If you’ve been looking for an amigurumi dolphin pattern that feels achievable, this is the kind of project that builds confidence fast.
Materials Needed for Crochet Dolphin Keychain
Keep it simple—your first dolphin doesn’t need fancy supplies. Here’s a beginner-friendly list:
Yarn
- DK or worsted weight yarn in blue or grey (main dolphin color)
- Small amount of white or lighter shade (optional, for belly detail or accent)
- Optional: a tiny bit of black yarn for embroidery details
Tip: Smooth yarn is easiest for beginners because you can see each stitch clearly.
Crochet hook
- Typically 2.5 mm–3.5 mm (DK yarn) or 3.0 mm–4.0 mm (worsted)
Choose a hook that makes tight stitches—amigurumi looks best when stuffing doesn’t show through.
Stuffing
- Polyester fiberfill (a small handful goes a long way)
Tools & findings
- Tapestry needle (for sewing pieces together)
- Scissors
- Stitch marker (or a scrap of contrasting yarn)
- Safety eyes (optional) or embroidery thread/yarn for eyes
- Keychain hardware: split ring, lobster clasp, or keychain chain
- Optional: jump rings and small pliers
Safety note: If the keychain will be used by a small child, embroider the eyes instead of using safety eyes.
Step-by-Step Crochet Dolphin Pattern (Beginner Friendly)
These steps are written to match the typical construction you’ll see in a video tutorial like the one you referenced and the neat amigurumi finish in the photo. Exact stitch counts can vary depending on the creator’s sizing, yarn, and hook choice, so follow the shape logic and adjust slightly if needed.
Crochet abbreviations (simple)
- MR = magic ring
- sc = single crochet
- inc = increase (2 sc in one stitch)
- dec = decrease (single crochet 2 together)
- sl st = slip stitch
- ch = chain
If the magic ring feels tricky, you can chain 2 and work the first round into the first chain. It’s a common beginner workaround.
Step 1: Start the dolphin body (head + body in one piece)
Most amigurumi dolphin keychains are easiest when the head and body are made as one smooth piece.
- Round 1: MR, crochet 6 sc into the ring.
- Round 2: Increase around (your circle grows).
- Rounds 3–5: Continue increasing in a spaced pattern for a rounded “bubble” head.
- Next rounds: Work several rounds even (no increases) to create the main body length.
Beginner win: If your piece begins to look like a little capsule or bean shape, you’re doing it right.
Step 2: Shape the snout (gentle taper)
Dolphins have a soft, rounded snout—not too pointy for kawaii style.
- Do one or two rounds with fewer increases, or work even rounds to keep it smooth.
- Begin small decreases to taper the front slightly.
Tip: If it becomes too pointy, undo the last round and decrease less aggressively.
Step 3: Place eyes (before closing gets difficult)
When the body is about 70% finished, it’s the perfect time to add features.
- If using safety eyes, place them evenly on the sides of the head.
- If embroidering, wait until assembly is done—but mark the placement with pins if you can.
For a cute expression, keep the eyes slightly forward, not too wide apart.
Step 4: Stuff the body (firm, not stretched)
Add stuffing a little at a time:
- Push small bits in with the back of your hook or a pencil.
- Shape as you go so the dolphin looks smooth.
Keychain tip: Slightly firmer stuffing helps it keep shape when it bumps around on bags.
Step 5: Create the tail end (taper where the flukes attach)
To form the tail area:
- Continue crocheting toward the back of the body.
- Use decreases to taper the end so it becomes narrower than the middle.
You want a “neck” at the back where the tail fins can attach neatly.
Fast check: The back should look like it naturally leads into a tail, not like a flat cutoff.
Step 6: Crochet the tail flukes (two fin shapes)
The dolphin tail is often made as two small flat fins (flukes).
Option (common and beginner-friendly):
- Crochet a small piece that creates two rounded points—like two mini leaves connected at the center.
- Keep it mostly flat (no stuffing).
- Stitch it firmly to the tapered back end.
If you want extra stability, you can sew through the tail several times, not just once around the edge.
Step 7: Add side fins (small and simple)
Side fins are usually tiny teardrops or triangles.
- Make two matching fin pieces using a small number of stitches.
- Keep them flat.
- Sew one fin on each side of the body, slightly below the widest part.
Placement trick: Put the dolphin on the table so it “faces” you, then attach fins symmetrically like little arms.
Step 8: Optional belly detail (for a clean two-tone look)
If you want the neat blue/grey dolphin to have extra contrast:
- Sew a small oval belly patch in a lighter color, or
- Add a simple embroidered line to suggest a belly area.
This is optional, but it can make your handmade crochet keychain look more finished.
Step 9: Add the keychain loop (secure is everything)
A keychain takes real pulling, so don’t rely on one thin stitch.
Simple crochet loop method:
- Insert yarn at the top of the dolphin (near the head/top line).
- Chain 10–18 (depending on desired drop length).
- Slip stitch back into the same spot to form a loop.
- Reinforce: sew through that area a few extra times.
Attach your split ring or lobster clasp to the loop.
Alternative: Sew in a small metal jump ring at the top and attach hardware to it.
Step 10: Final face details (tiny changes = big personality)
- Embroider a small smile line if you like.
- Add a tiny white sparkle stitch on the eye for a “happy” look.
- If the dolphin feels plain, subtle blush (even a tiny pink yarn dot) can add warmth.
At this point, you’ve completed your crochet dolphin keychain pattern—and you’ve learned the same skills used in bigger amigurumi projects.
Beginner Tips for Perfect Crochet Results
When you’re new, the “little things” matter more than complicated stitches. Here’s what helps most:
Keep tension tight (but comfortable)
Loose stitches create holes and show stuffing. If you see gaps:
- go down one hook size, or
- consciously pull the yarn slightly tighter on each sc.
Use a stitch marker every round
Amigurumi is usually worked in a spiral, so it’s easy to lose the first stitch. Mark it and move the marker up each round.
Count, but don’t obsess
If you’re off by a stitch once, it’s okay. What matters is maintaining the overall shape. Fix it in the next round rather than restarting the whole dolphin.
Stuff gradually and shape often
Overstuffing can stretch stitches. Understuffing can make it floppy. Add small amounts and press the dolphin into a smooth curve as you go.
Sew with patience
Most “professional-looking” amigurumi is 50% crochet, 50% assembly.
- Pin fins first.
- Step back and look at it.
- Then sew.
Common mistakes (and quick fixes)
- Tail looks crooked: re-sew and anchor through the center of the tail.
- Fins uneven: measure placement from the top seam/eye line.
- Body looks lumpy: redistribute stuffing with a blunt tool and massage the shape gently.
Benefits of Making Crochet Keychains
A dolphin keychain is cute, yes—but it also gives you real benefits that keep you coming back to crochet:
- Quick accomplishment: You can finish a small project faster than a scarf or blanket, which builds momentum.
- Skill growth: You practice increases, decreases, shaping, and sewing—core amigurumi skills.
- Stress relief: The rhythm of single crochet can be calming, especially after a busy day.
- Budget-friendly: These use small amounts of yarn and stuffing.
- Giftable and meaningful: A handmade dolphin says “I thought of you” in a way store items rarely do.
- Potential income: Keychains are popular at craft fairs and online shops because they’re affordable and adorable.
If you’ve been wanting an easy crochet tutorial project that actually turns into something useful, keychains are the sweet spot.
Creative Uses for Dolphin Keychains
Once you make one, you’ll start imagining a whole pod of them. Here are fun ways to use and share them:
- Everyday keyring charm: Makes keys easier to spot and nicer to hold.
- Backpack buddy: Clip it to a school bag, diaper bag, or travel backpack.
- Pencil case zipper pull: Cute and practical—especially for kids and students.
- Car charm (safe placement): Hang from a bag inside the car or use as a decorative clip (avoid blocking visibility).
- Gift topper: Attach to wrapped gifts as a keepsake “bow.”
- Party favors: Perfect for ocean-themed birthdays or baby showers.
- Selling sets: Offer blue-and-grey pairs or “custom color dolphins” as a made-to-order option.
This is where “handmade crochet keychain” becomes more than a craft—it becomes part of someone’s day.
Customization Ideas for Dolphin Keychain
The basic shape stays beginner-friendly, but you can personalize it in so many ways:
Color swaps that always look good
- Classic ocean: deep blue + white belly
- Minimal modern: solid grey with black stitched eyes
- Pastel kawaii: baby blue, mint, lavender
- “Sunset sea”: coral or peach accents on fins
- Glitter yarn accent (use sparingly for a neat finish)
Change the size
- Use thicker yarn + bigger hook for a larger dolphin charm
- Use thinner yarn + smaller hook for a mini version
Just remember: smaller yarn means smaller parts to sew, so go slow.
Add personal touches
- Stitch a tiny initial on the side (simple embroidery).
- Add a mini felt heart on the belly.
- Attach a small bead to the keychain chain like a “bubble.”
- Make a pair: one blue and one grey as “best friends.”
These custom details also help if you plan to sell—customers love choosing colors and small add-ons.
SEO Optimized FAQs (5 Questions)
1) Is this crochet dolphin keychain pattern suitable for absolute beginners?
Yes. It’s a beginner crochet keychain project because it uses basic single crochet, simple increases/decreases, and small pieces. The small size makes it less intimidating than larger projects.
2) What yarn is best for an amigurumi dolphin pattern?
Smooth DK or worsted yarn works best, especially for beginners. Cotton gives crisp stitch definition, while acrylic is soft and budget-friendly. Both can create a neat finish.
3) How do I stop stuffing from showing through my stitches?
Use a smaller crochet hook for tighter stitches, keep tension consistent, and avoid overstuffing. Tight single crochet is the secret to a clean, professional look.
4) How long does a handmade crochet keychain take to make?
Most beginners finish one in about 1–3 hours, depending on how comfortable they are with sewing fins and attaching the keychain hardware.
5) Can I sell dolphin keychains made from an easy crochet tutorial?
Often yes, but it depends on the designer’s policy if you’re following a specific tutorial. If selling, give credit when required, focus on neat finishing, and photograph your keychains in good light for best results.
Conclusion
Making a dolphin keychain is one of those small projects that leaves a surprisingly big feeling behind. You start with a simple loop of yarn, and a little later you’re holding a tiny ocean friend—neat, cute, and completely handmade by you.
If you’ve been waiting to feel “confident” before trying amigurumi, let this be your moment. Follow the steps, take your time with the sewing, and trust that every stitch is progress. Your first dolphin doesn’t need to be perfect. It just needs to be yours.