
If you are looking for the most adorable project to start today, then this Crochet Kitty Capybara Keychain is exactly what you need. Combining the iconic charm of Hello Kitty with the relaxed vibes of a capybara, this amigurumi is taking the crafting world by storm. Furthermore, it is a quick project that allows you to use up your scrap yarn while creating something truly professional. Whether you are a seasoned pro or just starting your journey, you will find this guide helpful and easy to follow.
Because this project is small, it makes for an incredible handmade gift or a charming addition to your own bag. Consequently, many crafters are looking for unique mashup patterns like this one. In this article, we provide a comprehensive breakdown of everything you need. Therefore, you can simply follow along and have your own little character ready in just a few hours. Let us dive into the world of amigurumi and start stitching your very own Crochet Kitty Capybara Keychain right now.

Before you pick up your hook, make sure to check out the embedded video above. This visual guide is essential because it shows the specific stitch tension and color changes required for the character. Since amigurumi relies heavily on “the look” of the face, watching the tutorial helps you master the placement of the eyes and the painted details. Additionally, the video provides a real-time perspective on how the capybara hood fits over the Kitty head. Once you have seen the process, the written steps below will be much easier to execute.
Skill Level / Level of Difficulty
The difficulty for this project is Intermediate. While the stitches are basic (mostly single crochet), the assembly requires patience. Because you are working with small parts and thin yarn for the bow, you need a steady hand. However, do not be intimidated! If you know how to make a magic ring and an increase, you are already halfway there.
Tutor’s Suggestions
To get the best result for your Crochet Kitty Capybara Keychain, I suggest using high-quality cotton yarn like Sinfonia or Omega. Cotton provides a clean finish and prevents the stuffing from poking through. Moreover, try to keep your tension consistent. If your stitches are too loose, the shape might become floppy. I also recommend using a stitch marker religiously. Since we are working in a spiral, losing your place can be frustrating. Lastly, take your time with the facial details because the paint or embroidery is what truly brings the character to life.
Materials Needed for Success
To create your masterpiece, gather these items:
-
Yarn: Cotton yarn (Sinfonia) in White, Khaki/Light Brown, and Dark Brown.
-
Thin Yarn: Omega 6 in Pink and Light Brown for the bow and details.
-
Hooks: A 2 mm hook for the body and a 0.90 mm hook for the thin yarn.
-
Safety Eyes: Oval safety eyes or black embroidery thread.
-
Stuffing: High-quality polyester fiberfill.
-
Tools: Stitch marker, pins, tapestry needle, and scissors.
-
Adhesives: Liquid silicone (cold or hot).
-
Art Supplies: Black and yellow textile paint with a very fine brush.
Guide to the Crochet Kitty Capybara Keychain
Phase 1: The Body (Khaki Color)
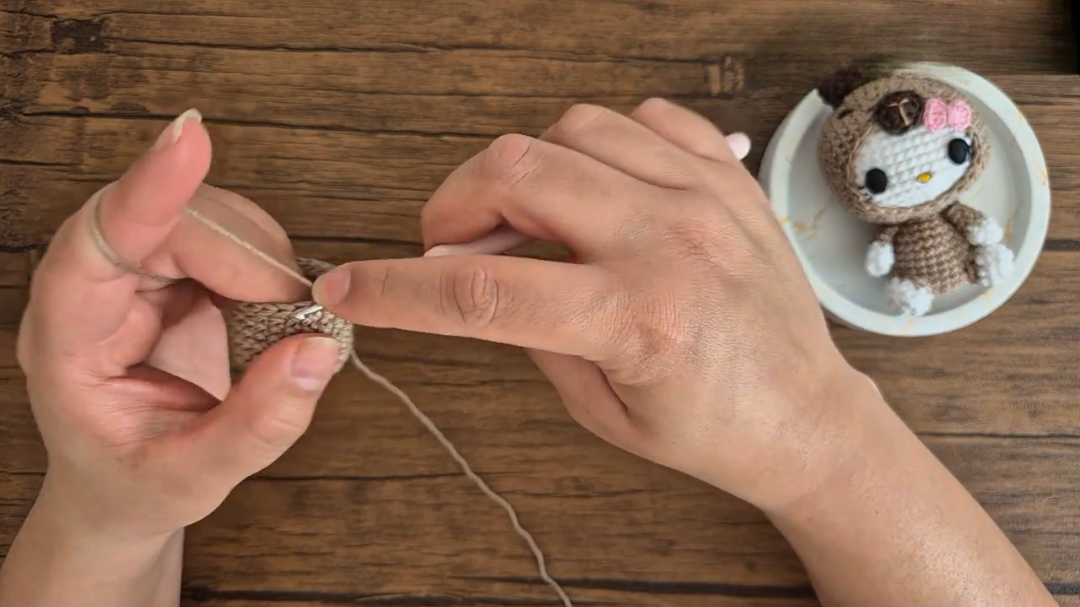
Start with a magic ring and 6 single crochets (sc). For the second round, do 6 increases to reach 12 stitches. In the third round, follow a pattern of 1 sc and 1 increase to get 18 stitches. For round four, do 2 sc and an increase to hit 24 stitches. From rounds 5 to 10, work even. After that, start decreasing in round 11 with 2 sc and a decrease. Finally, in round 12, do 4 sc and a decrease three times to end with 15 stitches. Fasten off and leave a long tail for sewing.
Phase 2: The Kitty Head (White Color)
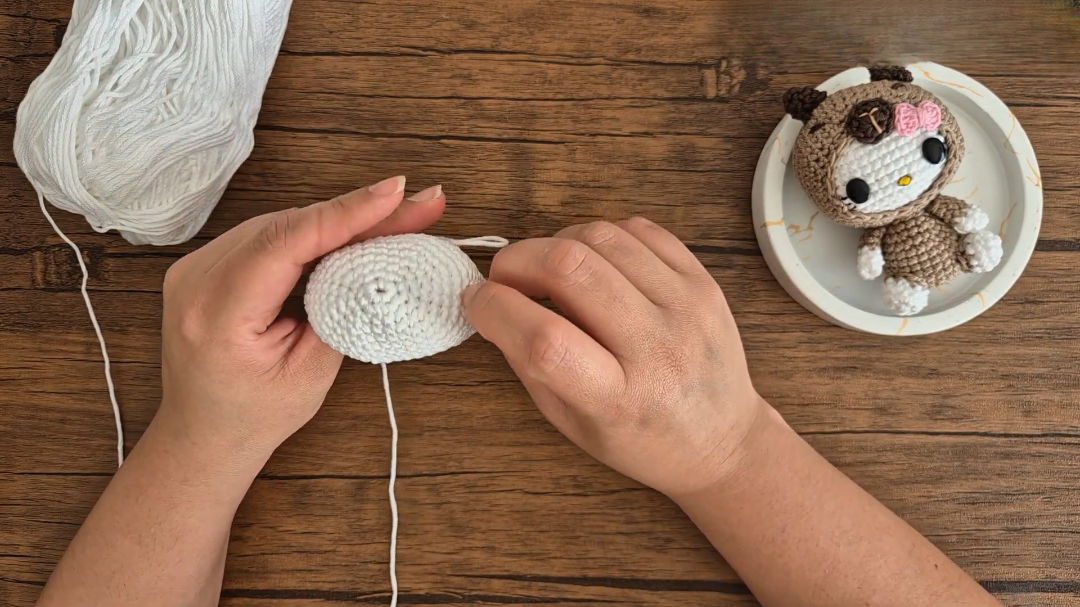
The head starts with a magic ring of 6 sc. Increase in every stitch for round two. In round 3, we create an oval shape by doing 3 increases, then 3 sc, then 3 increases, and 3 sc. Continue expanding this oval until you have 42 stitches by round 7. Work even from rounds 8 to 15. This is where you place the oval safety eyes between rounds 12 and 13 with 9 stitches of space. Then, begin your decreases mirrored to the increases until you close the head with 12 stitches.
Phase 3: The Capybara Hood (Khaki Color)
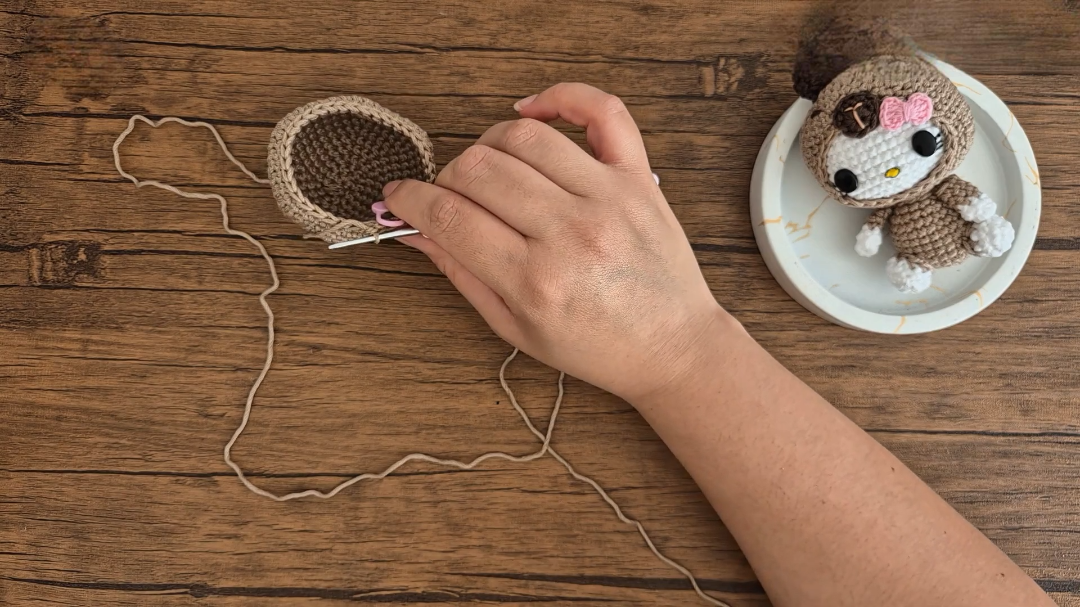
The hood follows the same pattern as the head but is worked with slightly looser tension. Work until you reach 42 stitches and add six rounds of height. It is vital to test the fit on the head before finishing. Once it fits, do a few rounds of decreases to snug it around the face. Because this is a “removable” style look, you can add a bit of glue to keep it permanent.
Phase 4: Small Parts and Assembly
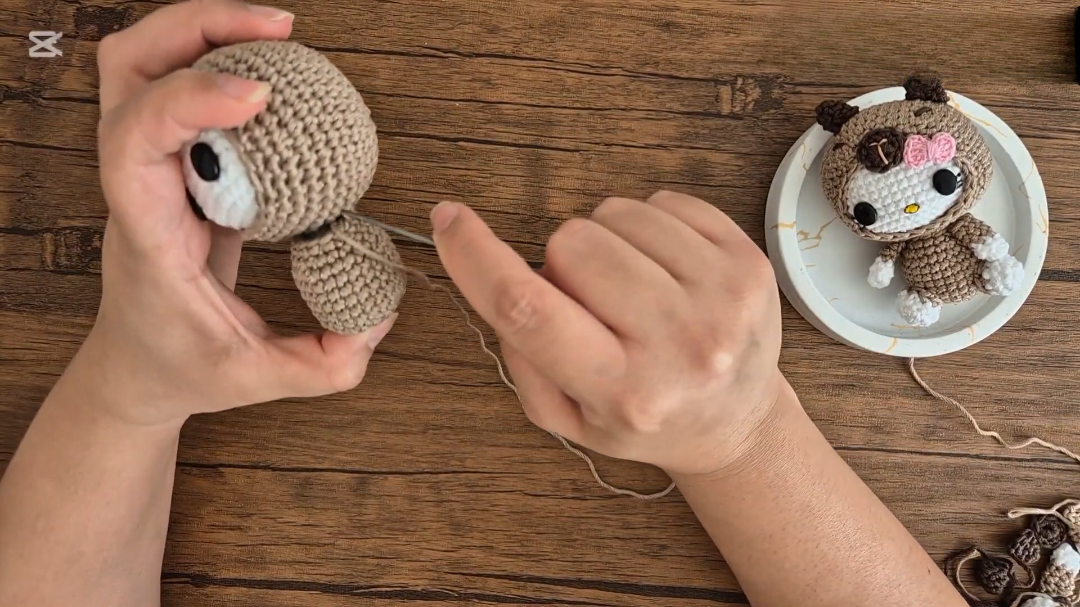
The legs and arms are tiny. For the legs, start in white and switch to khaki after three rounds. The ears are made in dark brown and stay flat without stuffing. For the snout, use a magic ring with 8 sc. Finally, use the thin yarn to make a classic bow. Sew the body to the head first, then attach the limbs and ears. Use your textile paint to add the yellow nose and black whiskers. Your Crochet Kitty Capybara Keychain is now complete!
Where Can You Use This Keychain?
This Crochet Kitty Capybara Keychain is incredibly versatile. First, you can attach it to your school backpack or purse to show off your love for amigurumi. Second, it serves as a wonderful rearview mirror charm for your car. Furthermore, because it is so unique, it makes a perfect “stocking stuffer” or birthday gift for friends who love Sanrio characters. Finally, you can even use it as a zipper pull on your favorite hoodie.
Tips and Tricks for Amigurumi
To ensure your project looks professional, always use the “invisible decrease” method. This technique prevents gaps in your fabric. Additionally, when you change colors, do it in the last pull-through of the previous stitch for a seamless transition. If you find the textile paint difficult to use, try practicing on a scrap piece of crochet first. Another great trick is to use a blush or pink marker to add tiny rosy cheeks to the Kitty.
Common Mistakes to Avoid
One common mistake is overstuffing the limbs. Because the arms and legs are so small, too much stuffing makes them stick out awkwardly. Another error is not marking the beginning of the round. Since the head is oval, if you lose your place, the face will look crooked. Also, make sure you do not use a hook that is too large. If the hook is too big, the stitches will have holes, and the stuffing will show through. Lastly, avoid rushing the facial embroidery because that is the most important part of the Crochet Kitty Capybara Keychain.
Frequently Asked Questions (FAQs)
1. What type of yarn is best for this keychain?
Cotton yarn is the best choice because it offers great stitch definition. Furthermore, it does not pill as much as acrylic, which keeps your keychain looking new for a long time.
2. Can I use safety eyes instead of paint?
Yes, you can certainly use safety eyes. However, for the nose and whiskers, embroidery or paint is usually easier because of the small scale of the project.
3. How long does it take to finish?
Typically, an intermediate crocheter can finish this in about 3 to 4 hours. Because there are many small parts, the assembly takes up a good portion of that time.
4. Is this pattern suitable for children’s toys?
If you are giving this to a small child, I recommend embroidering the eyes instead of using plastic safety eyes. This is because plastic parts can sometimes be a choking hazard.
5. How do I clean my crochet keychain?
You should hand wash it gently with mild soap and let it air dry. Avoid using a washing machine because it might distort the shape or damage the painted details.