
If you have been searching for a versatile and breezy addition to your summer wardrobe, then definitely your search is completed. This skirt is designed to be both elegant and comfortable, making it a perfect choice for beach days or casual outings. Moreover, the beauty of a handmade crochet lace maxi skirt lies in its unique texture and the ability to customize the fit to your exact body measurements. Because we use basic stitches, even those who are relatively new to the craft can achieve a professional looking result.
In this tutorial we will be using the classic double crochet cluster technique to achieve that timeless lace effect without the complexity of advanced lace charts. By following this you will understand how to work with elastic waistbands and how to alternate colors for a vibrant look. Consequently, you will finish this project feeling empowered to create more DIY crochet clothing. So, grab your hooks and your favorite yarn colors, and let us dive into the wonderful world of handmade fashion together.
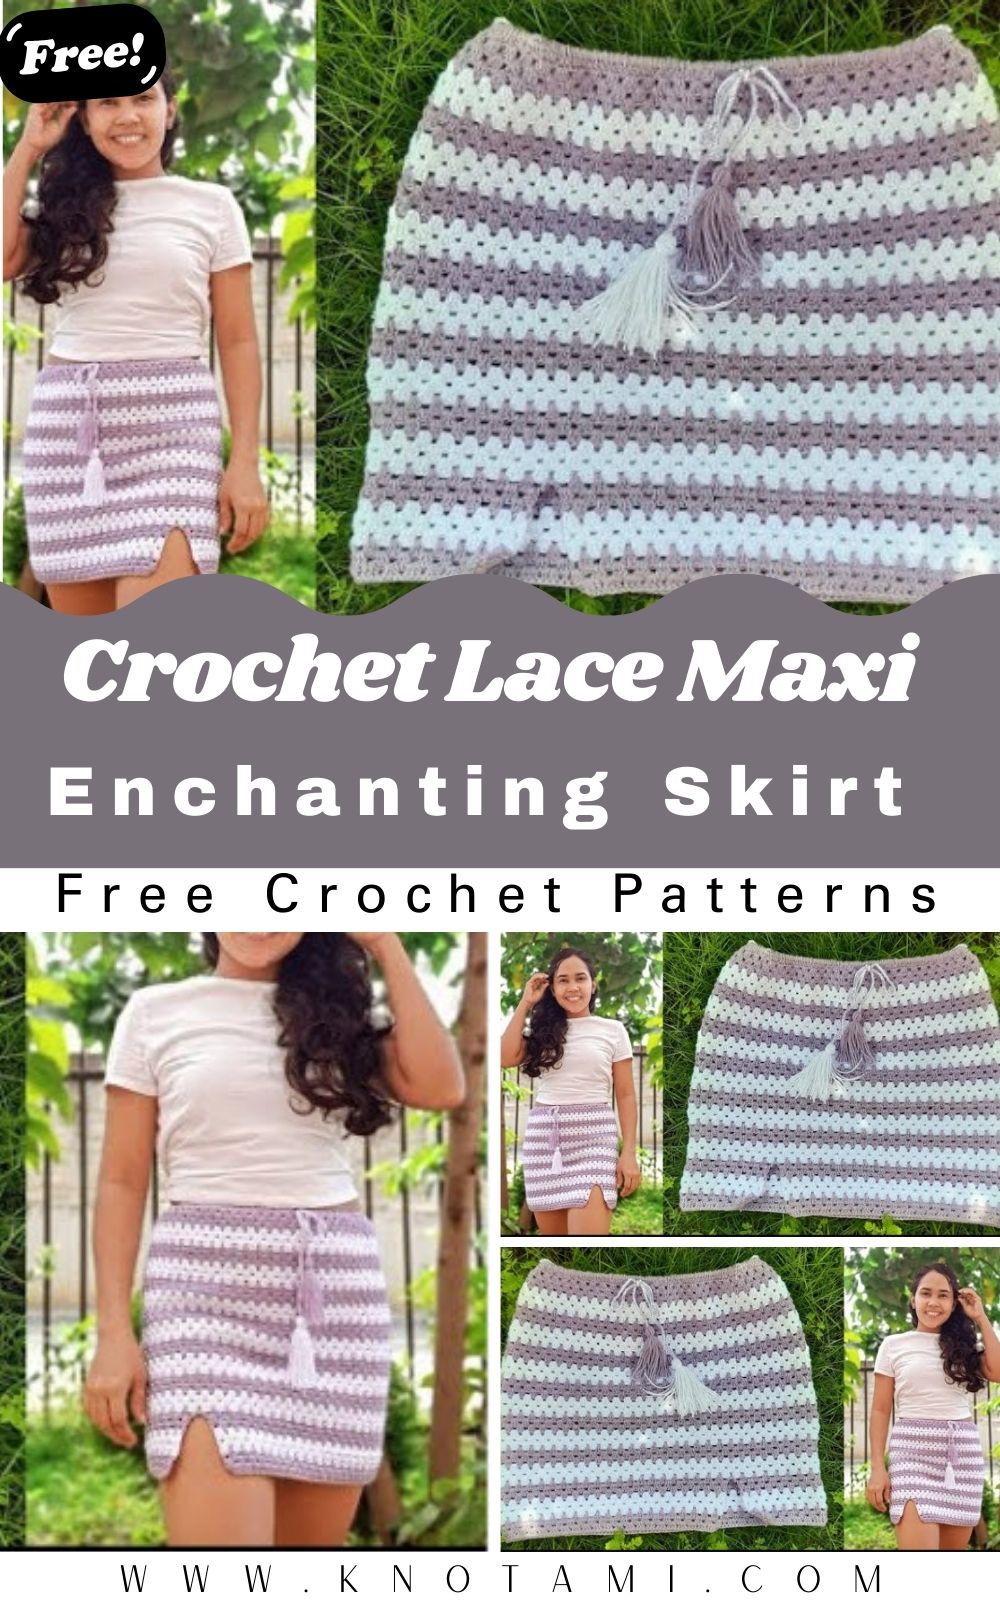
The video embedded above provides a visual walkthrough of every single stitch mentioned in this guide. While the written instructions cover the technical details, watching the video will help you see the tension and the placement of the hook more clearly. Furthermore, seeing the transition between the solid purple sections and the white lace rows will give you a better perspective on the overall design. Please make sure to watch the section on the side slit carefully, as it adds a modern touch to your crochet lace maxi skirt. After you have finished watching, you can refer back to the detailed steps below to ensure your stitch count remains perfect throughout the process.
Skill Level: Beginner to Intermediate
This project is labeled as beginner friendly because it primarily utilizes the double crochet stitch. However, an intermediate learner will also find it engaging due to the color changes and the assembly of the elastic waistband. Therefore, as long as you know how to make a chain and a double crochet, you are ready to start.
Tutor’s Suggestions
First and foremost, I suggest that you choose a soft cotton or acrylic blend yarn. This is important because cotton provides the necessary drape for a crochet lace maxi skirt, ensuring it hangs beautifully on your hips. Secondly, always keep a measuring tape nearby. Since everyone’s tension varies, measuring your work every few rows will prevent the skirt from becoming too tight or too loose. Finally, do not be afraid to experiment with colors. While the example uses lila and white, a monochromatic version in beige or black would look equally sophisticated.
Materials Needed
To create your own crochet lace maxi skirt, you will need the following items:
-
Yarn: 300 to 500 grams of medium weight yarn (Lila and White colors used here).
-
Crochet Hook: 4.0 mm or 5.0 mm depending on your yarn thickness.
-
Elastic Band: Approximately 70 cm (or adjusted to your waist size).
-
Measuring Tape: To ensure the length reaches the “maxi” level.
-
Scissors and Tapestry Needle: For cutting and weaving in ends.
Step 1: Preparing the Waistband
The first step in making your crochet lace maxi skirt involves the waistband. You have two options here. You can either use an elastic band or create a foundation chain. If you use an elastic band, sew the ends together securely. Subsequently, you will crochet directly over the elastic. This method is excellent because it ensures the skirt stays up comfortably. If you prefer the chain method, ensure your chain is as wide as your hips, not your waist, so that you can actually pull the skirt on.
Step 2: The Foundation Row
Now, you will begin the first row of your crochet lace maxi skirt. Attach your yarn to the waistband and work a row of solid double crochets all the way around. Make sure the stitches are close together so the elastic is completely covered. If you are using a chain foundation, simply work one double crochet into every chain. Once you reach the end, join with a slip stitch to the first chain.
Step 3: Creating the Lace Clusters
This is where the “lace” part of the crochet lace maxi skirt begins. You will work in clusters of three double crochets. Chain three to start your first row, then work two more double crochets in the same spot. Skip three stitches and work another cluster of three double crochets in the next stitch. Repeat this pattern around the entire skirt. As a result, you will see small “V” or block shapes forming, which create that beautiful lace texture.
Step 4: Building the Length
Continue repeating the cluster pattern for several rows. For a dynamic look, change your yarn color every three or four rows. In this specific pattern, we use lila for the first three rows and then switch to white. By alternating colors, you highlight the intricate details of the crochet lace maxi skirt. Continue this process until the skirt reaches approximately 32 cm in length.
Step 5: Adding the Side Slit
To give your crochet lace maxi skirt a modern edge, you can add a side slit. Instead of joining your rows in a circle, you will now work back and forth in flat rows. This creates an opening on one side. Work these flat rows for the final 8 to 10 cm of the skirt. This detail not only looks stylish but also allows for better movement when you walk.
Step 6: Finishing Touches
After reaching your desired length, fasten off the yarn. Use your tapestry needle to weave in all the loose ends. Additionally, you can create a decorative drawstring by chaining a long cord using both colors of yarn. Thread this through the waistband for an extra touch of “luxury” and a better fit.
Where Can You Use This Skirt?
You can wear your crochet lace maxi skirt in a variety of settings. Because of its breathable design, it serves as a perfect beach cover-up over a swimsuit. On the other hand, if you add a lining underneath, it transforms into a beautiful bohemian outfit for a summer festival or a brunch date. Furthermore, you can style it with a simple tank top or a matching crochet crop top for a complete handmade look. This versatility is what makes the crochet lace maxi skirt such a valuable piece in your closet.
Tips and Tricks
-
Tension Control: Try to keep your tension consistent. If you crochet too tightly, the skirt will be stiff rather than flowy.
-
Blocking: Once finished, steam block your skirt. This process opens up the lace stitches and gives the garment a professional drape.
-
Yarn Choice: Use a yarn with a slight sheen to make the lace “pop” more under the sun.
-
Elasticity: Ensure your elastic is not too tight. It should be snug but comfortable enough to wear for several hours.
Common Mistakes to Avoid
One common mistake is forgetting to measure the hip width. If the waistband does not stretch wide enough to pass your hips, you will not be able to wear the skirt. Another error is skipping too many or too few stitches between the clusters. This can cause the skirt to flare out like a tutu or pull inward like a pencil skirt. Therefore, always double check your stitch count after every row. Additionally, avoid using very heavy yarn, as the weight of a maxi-length skirt can cause it to stretch out and lose its shape over time.
5 FAQs
Q1: Can I make this skirt shorter?
Yes, you can easily turn this into a midi or mini skirt by simply stopping the rows whenever you reach your preferred length.
Q2: What yarn is best for a summer skirt?
Cotton or bamboo yarns are the best choices because they are breathable and handle moisture well during hot weather.
Q3: Do I need to wear a slip underneath?
Since this is a crochet lace maxi skirt, the stitches have small holes. If you want more coverage, wearing a nude slip or a matching fabric lining is recommended.
Q4: How do I wash my crochet skirt?
Hand wash your skirt in cool water with mild detergent. Lay it flat to dry to prevent the weight of the water from stretching the fibers.
Q5: Can I use a different stitch for the waistband?
Certainly, you can use a ribbed stitch (front post and back post double crochet) if you prefer a more traditional elastic-free waistband.
Conclusion
In conclusion, crafting a crochet lace maxi skirt is a rewarding journey that combines creativity with functionality. By following this step by step guide, you have learned how to manage waistbands, create beautiful lace clusters, and even add a stylish side slit. Remember that handmade fashion is about expressing your personal style, so feel free to tweak the colors and length to suit your taste. Because you have used transition words and followed a structured plan, your project is bound to be a success. We hope you enjoy wearing your new skirt and feel proud of the hard work you put into every stitch. Happy crocheting, and we look forward to seeing your beautiful creations!