
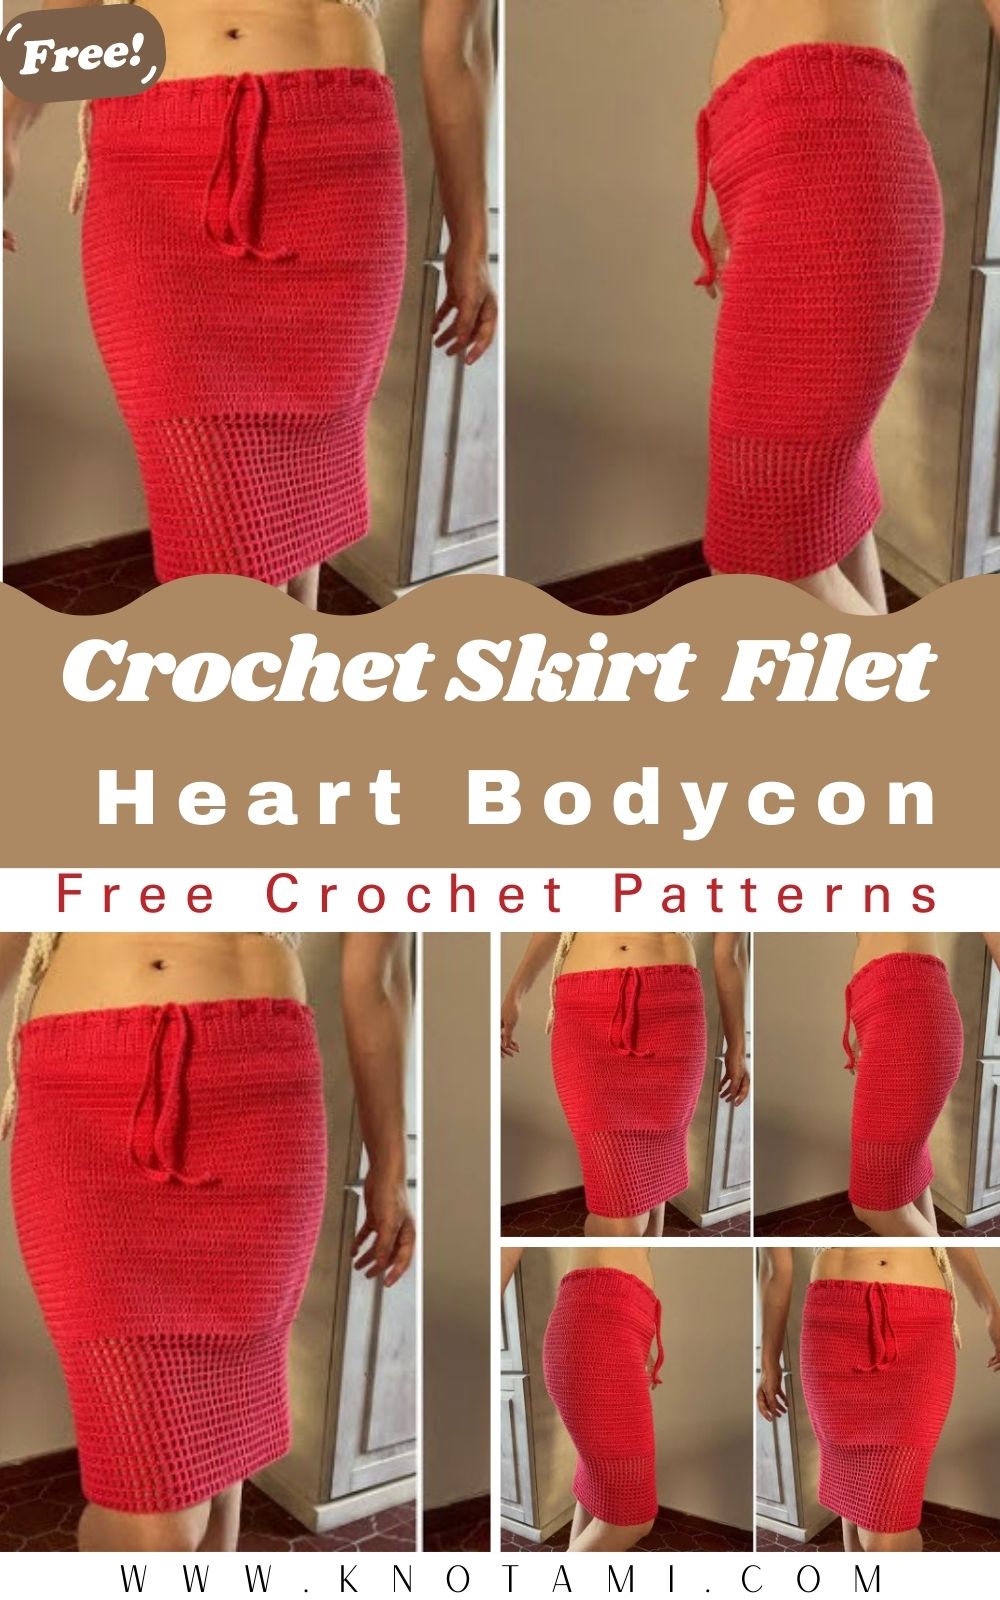
Are you ready to create a stunning piece of handmade fashion that fits your body perfectly? This crochet skirt filet project is designed to be both elegant and comfortable, giving you that trendy bodycon look with a unique artisan touch. Whether you are heading to the beach or going out for a casual dinner, this skirt is the versatile staple your wardrobe needs. We use fine yarn to ensure the drape is soft and professional, making the final result look like a high-end boutique find rather than a bulky DIY project.
In this comprehensive guide, you will learn how to construct the skirt starting from the waistband down to a beautiful openwork finish. The crochet skirt filet technique allows for a breathable design that is especially perfect for warmer seasons. Because we are working with a body-hugging silhouette, you will find that the stitches create a flattering shape that highlights your curves. Furthermore, the addition of a handmade drawstring ensures that the fit is always secure and adjustable to your specific measurements.
The video embedded above provides a visual walkthrough of every single stitch mentioned in this guide. Sometimes, seeing the tension of the yarn and the placement of the hook helps clarify the written instructions. As you follow along with the video, you can see how the waistband transitions into the solid body of the skirt before blooming into the delicate filet section. It is a fantastic resource to ensure your crochet skirt filet turns out exactly as pictured, providing confidence for every loop and pull of your hook.
Skill Level: Intermediate Beginner
This project is perfect for someone who has mastered the basic stitches and is ready to try garment construction. While the stitches themselves are simple mostly double crochets and chains—maintaining a consistent stitch count is vital. You should be comfortable working in rounds and understanding how to create “windows” or spaces in your work, which is the hallmark of a crochet skirt filet. If you can count your rows and keep your tension steady, you will find this project incredibly rewarding and surprisingly fast to complete.
Tutor’s Suggestions for Success
Before you grab your hook, I have a few professional tips to make your crochet skirt filet the best it can be. First, always choose a high-quality fine yarn; cotton or a cotton blend works best because it holds the shape of the filet stitches without sagging over time. Second, I highly recommend measuring your hips at the widest point before you start. Since this skirt is worked from the top down, the initial band must fit comfortably over your hips. Finally, do not rush the waistband; it is the foundation of the entire garment, and a sturdy start leads to a beautiful finish.
Essential Materials for Your Skirt
To begin your crochet skirt filet, you will need to gather the following supplies:
-
Yarn: 180 to 250 grams of fine weight yarn (Size 2 or Sport weight).
-
Hook: A 3.0mm crochet hook (or the size needed to meet gauge).
-
Tools: A tapestry needle for weaving in ends, a pair of sharp scissors, and a safety pin or stitch marker to help thread the drawstring.
-
Measuring Tape: Crucial for ensuring the skirt fits your specific body size.
Step-by-Step Guide to Creating Your Crochet Skirt Filet
Step 1: The Waistband Construction
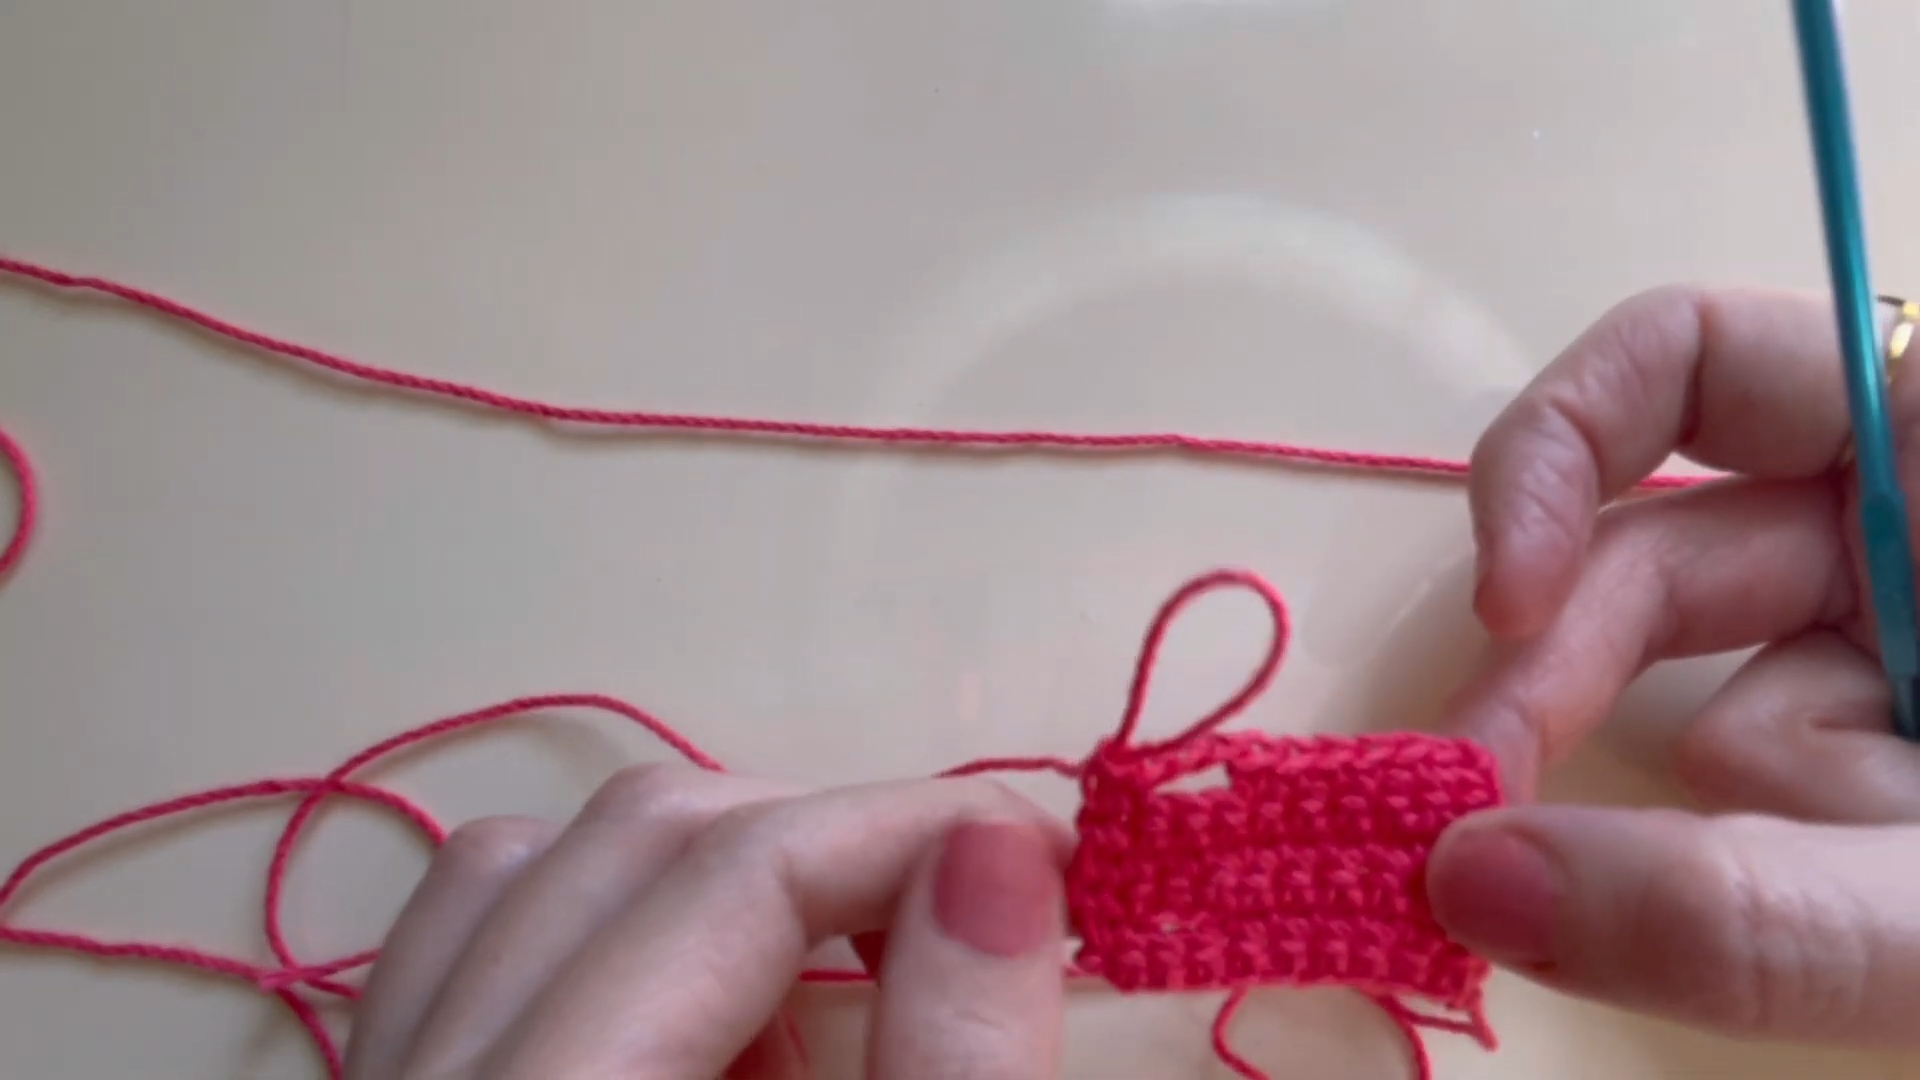
You will start by creating a long strip of single crochet stitches. Start with 11 chains. In the second chain from the hook, place a single crochet and continue across for a total of 11 stitches. You will work in rows, back and forth, until the strip is long enough to wrap around your hips. For a size Small, aim for about 180 rows. For Medium, do 186 rows, and for Large, try 193 rows. Every third row, create a small hole by chaining two and skipping two stitches; these holes are where your drawstring will eventually go.
Step 2: Joining the Band
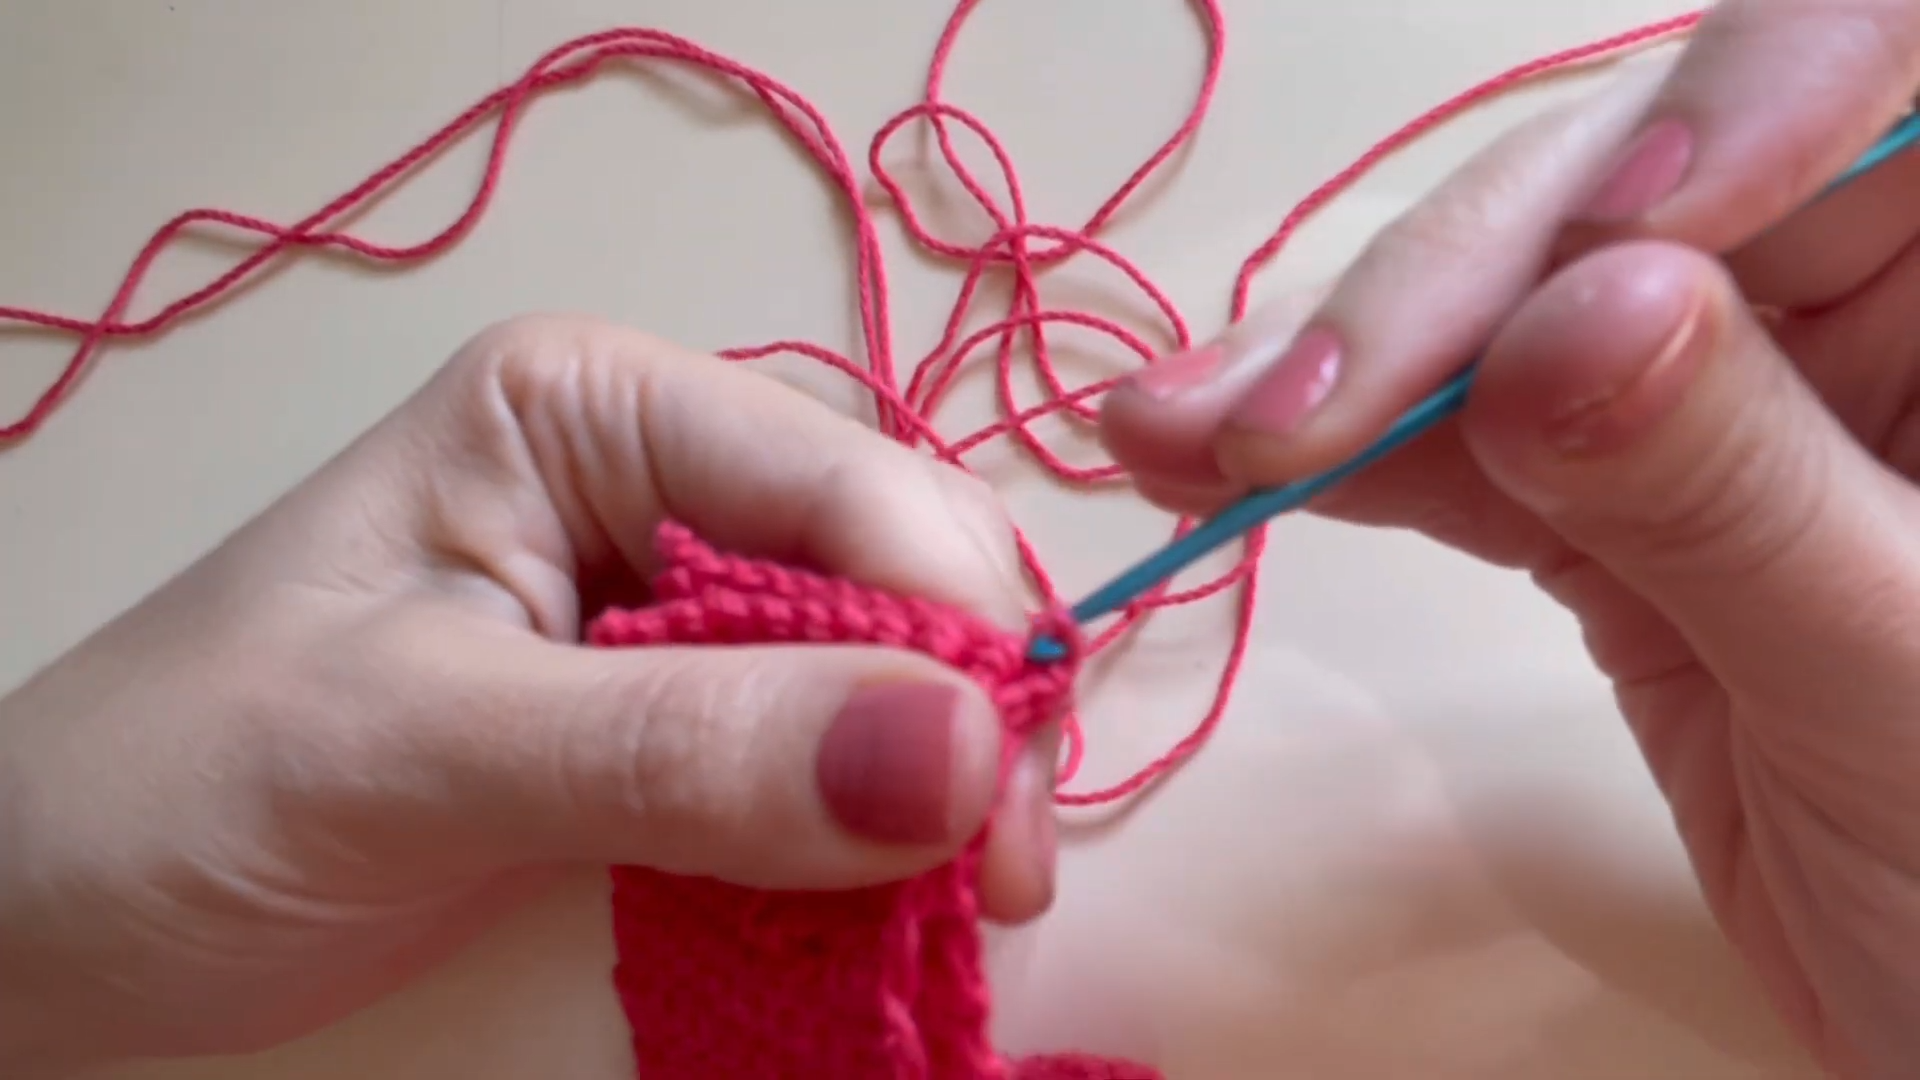
Once your band is long enough to meet around your hips, you need to join the ends. Use slip stitches to connect the two short ends together, making sure the piece isn’t twisted. This creates the circular foundation for your crochet skirt filet. Now, turn your work so you are ready to crochet along the long edge of the band you just made.
Step 3: The Solid Body Section
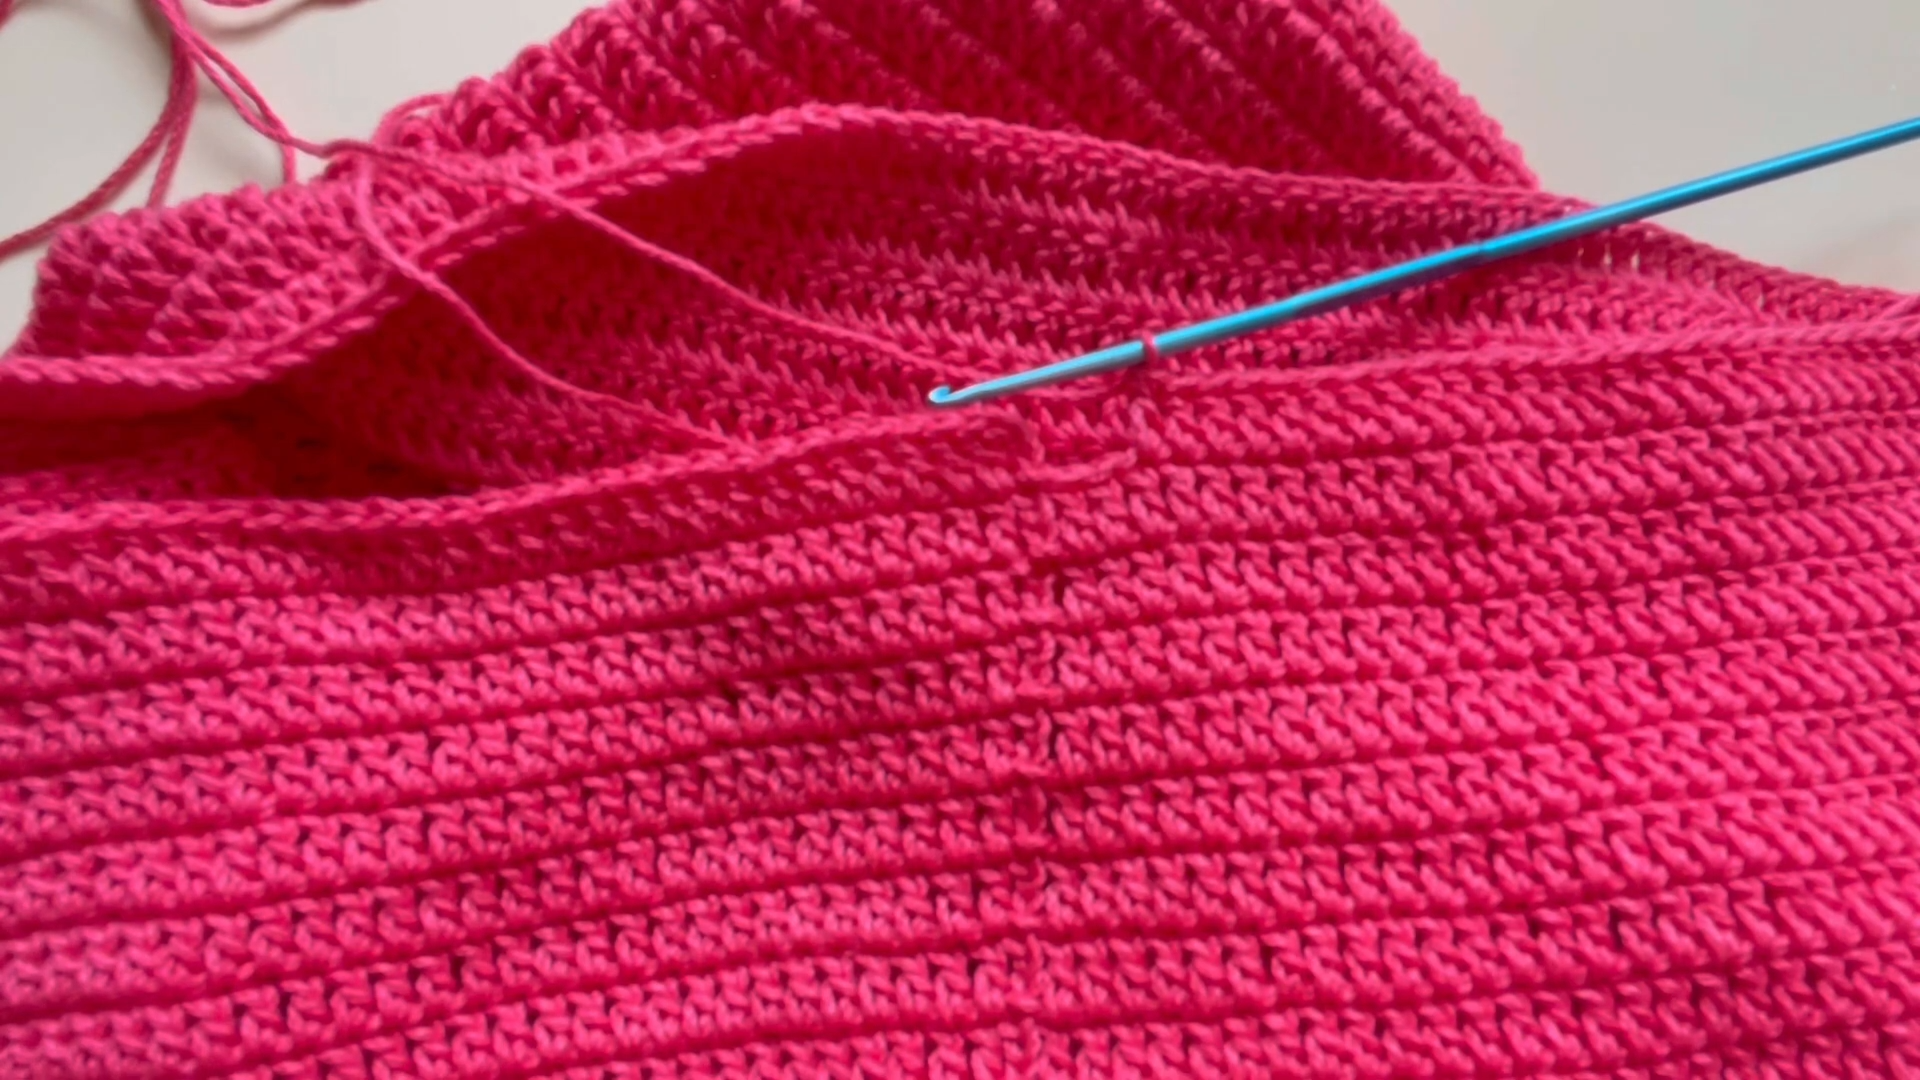
Now we move into the main part of the skirt. You will work in rounds. Start by making one double crochet into the end of every row of your waistband. If you made 180 rows, you should have 180 double crochets. Continue working in solid double crochet rounds for about 33 rows. This creates a solid, opaque fabric that covers the hip area. Ensure you join each round with a slip stitch to the top of the beginning chain-three.
Step 4: The Filet Mesh Detail
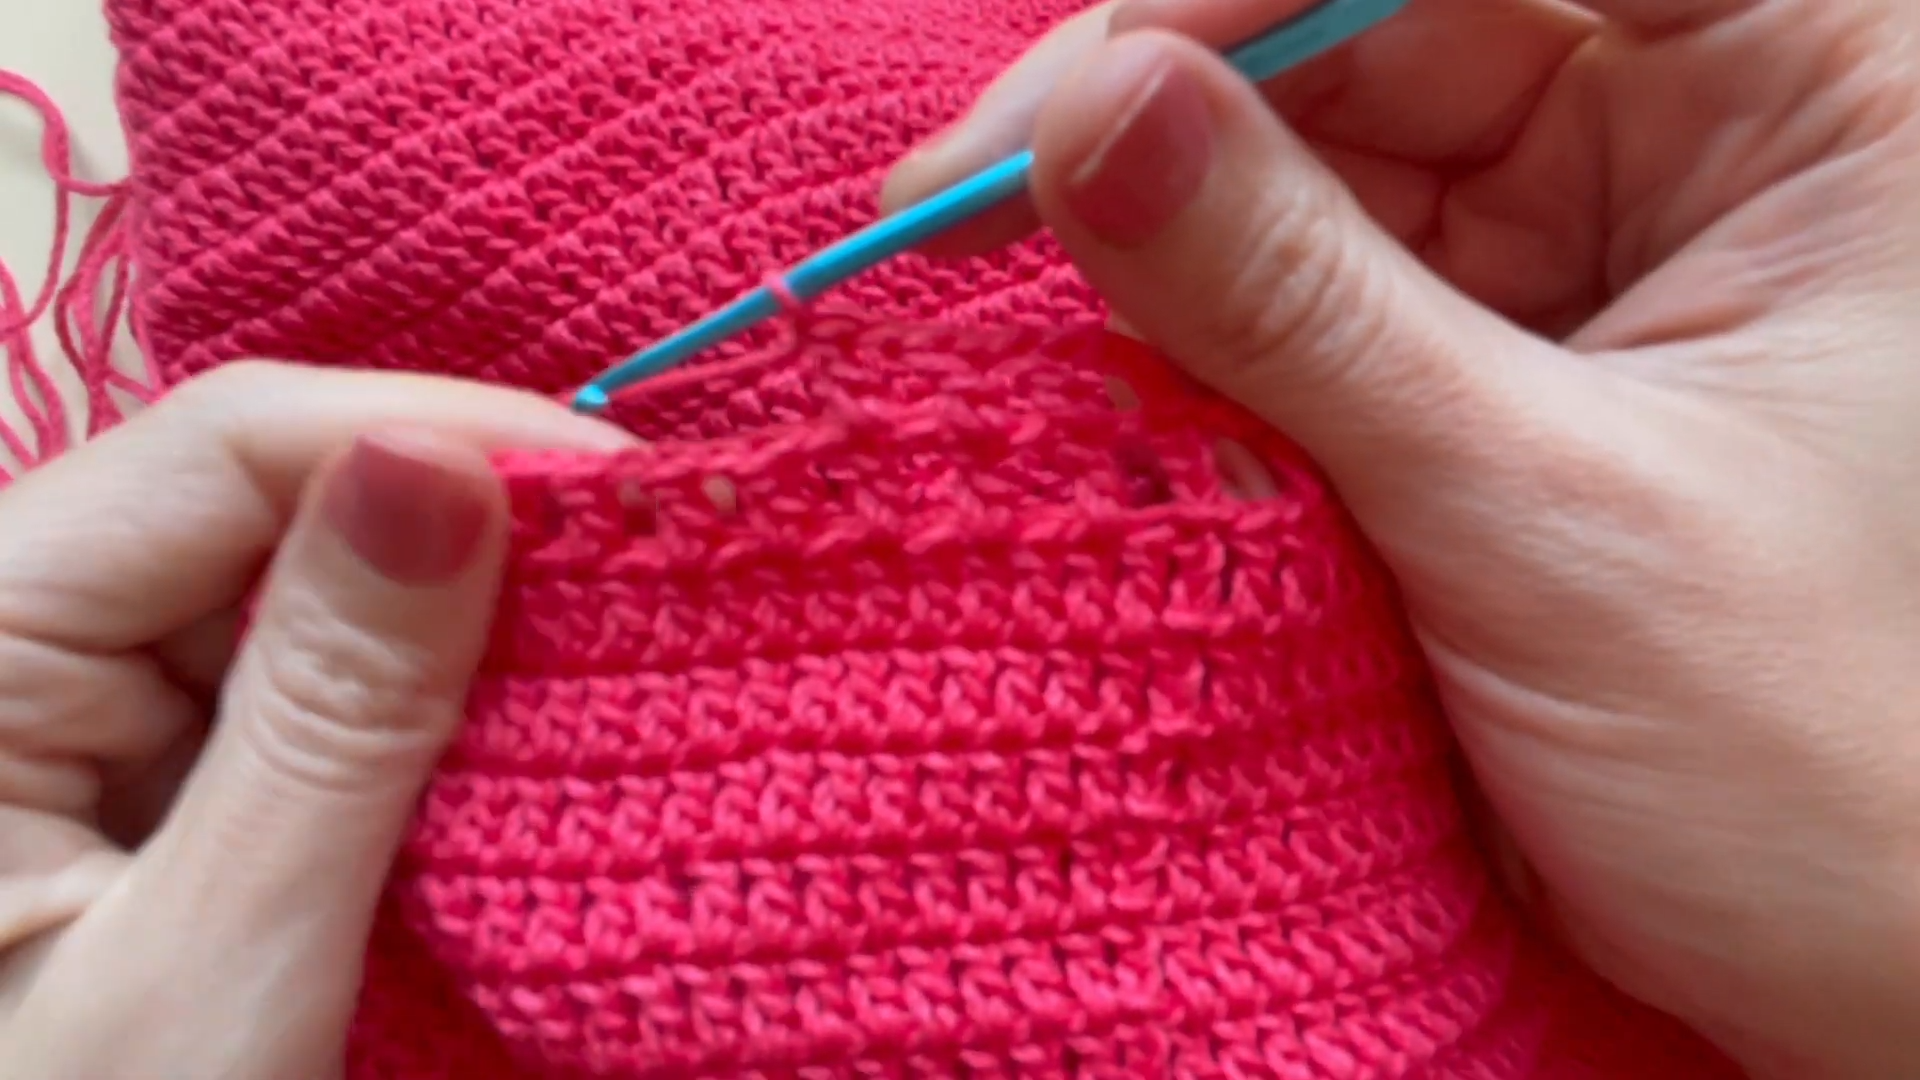
After row 33, it is time to start the crochet skirt filet pattern. This is what gives the skirt its “calado” or openwork look. To do this, chain four (the first three count as a double crochet, and the fourth is a space). Skip one stitch, then double crochet into the next. Chain one, skip one, and double crochet into the next. Repeat this all the way around. Continue this mesh pattern for 17 to 20 rounds depending on your desired length.
Step 5: The Drawstring Cord
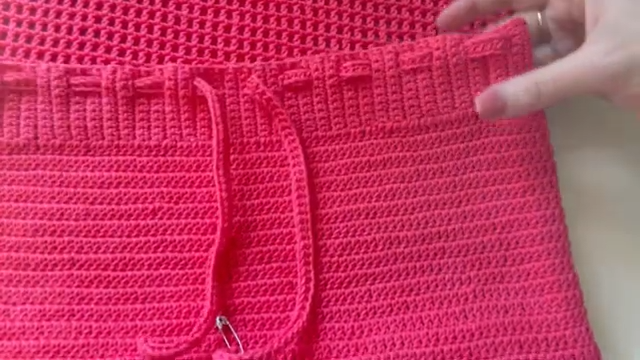
To finish your skirt, you need a cord. Chain approximately 260 to 400 stitches depending on how long you want the ties to be. You can leave it as a simple chain or work a row of slip stitches back down the chain for extra strength. Use a safety pin to weave this cord through the holes you created in the waistband back in Step 1.
Where to Wear Your New Creation
Your crochet skirt filet is a true fashion chameleon. For a summer day at the beach, you can wear it as a stylish cover-up over your favorite bikini. If you want to wear it out on the town, simply add a slip or a pair of high-waisted shorts underneath to manage the transparency of the filet section. It looks wonderful paired with a simple tank top or even the matching crochet top mentioned in the video. The bodycon fit makes it look modern, while the handmade texture adds a touch of bohemian flair.
Essential Tips and Tricks
-
Tension Matters: Keep your tension even, especially during the filet section. If your chains are too loose, the “windows” will look messy.
-
Blocking: Once finished, I suggest “blocking” your skirt. Wet it slightly and lay it flat to dry in the correct shape. This helps the filet stitches open up and look professional.
-
Custom Length: You can easily make this a mini, midi, or maxi skirt by simply adding more rows of the filet pattern at the bottom.
Common Mistakes to Avoid
One common mistake is forgetting to count the stitches in the waistband. If you lose or gain stitches, the skirt will become lopsided. Another error is making the waistband too tight. Remember that while crochet stretches, the initial chain doesn’t have much give, so ensure it can comfortably pass over your hips. Lastly, do not skip the drawstring; the weight of the yarn can cause the skirt to slide down slightly, and the cord keeps everything perfectly in place.
Frequently Asked Questions (FAQs)
1. Can I use a thicker yarn for this skirt?
While you can use thicker yarn, it will change the size significantly. You would need to do fewer rows and stitches, and the skirt will lose that delicate crochet skirt filet look.
2. How do I wash my crochet skirt?
Always hand wash your handmade items in cool water with mild detergent. Lay them flat on a towel to dry so they do not stretch out of shape.
3. Is this skirt see through?
The top section is solid double crochet, but the bottom filet section is open. For full coverage, many people prefer wearing a lining or a slip underneath.
4. How many hours does it take to finish?
Because we use fine yarn, it takes a bit of time. On average, a focused crocheter can finish this skirt in about 10 to 15 hours.
5. What if my waistband is too big?
This is why the drawstring is so important! Even if the band is slightly large, the cord will allow you to cinch it to your exact waist or hip size.
Conclusion
Creating a crochet skirt filet is a wonderful journey into the world of handmade fashion. By following these steps, you have transformed simple string into a wearable piece of art that reflects your style and skill. Crochet is a slow fashion movement, and every hour you spent on these rows adds value to your wardrobe. I hope you feel proud wearing your new bodycon skirt! Remember to keep practicing and experimenting with different colors to create a whole collection of these beautiful skirts. Thank you for following along, and happy crocheting!