
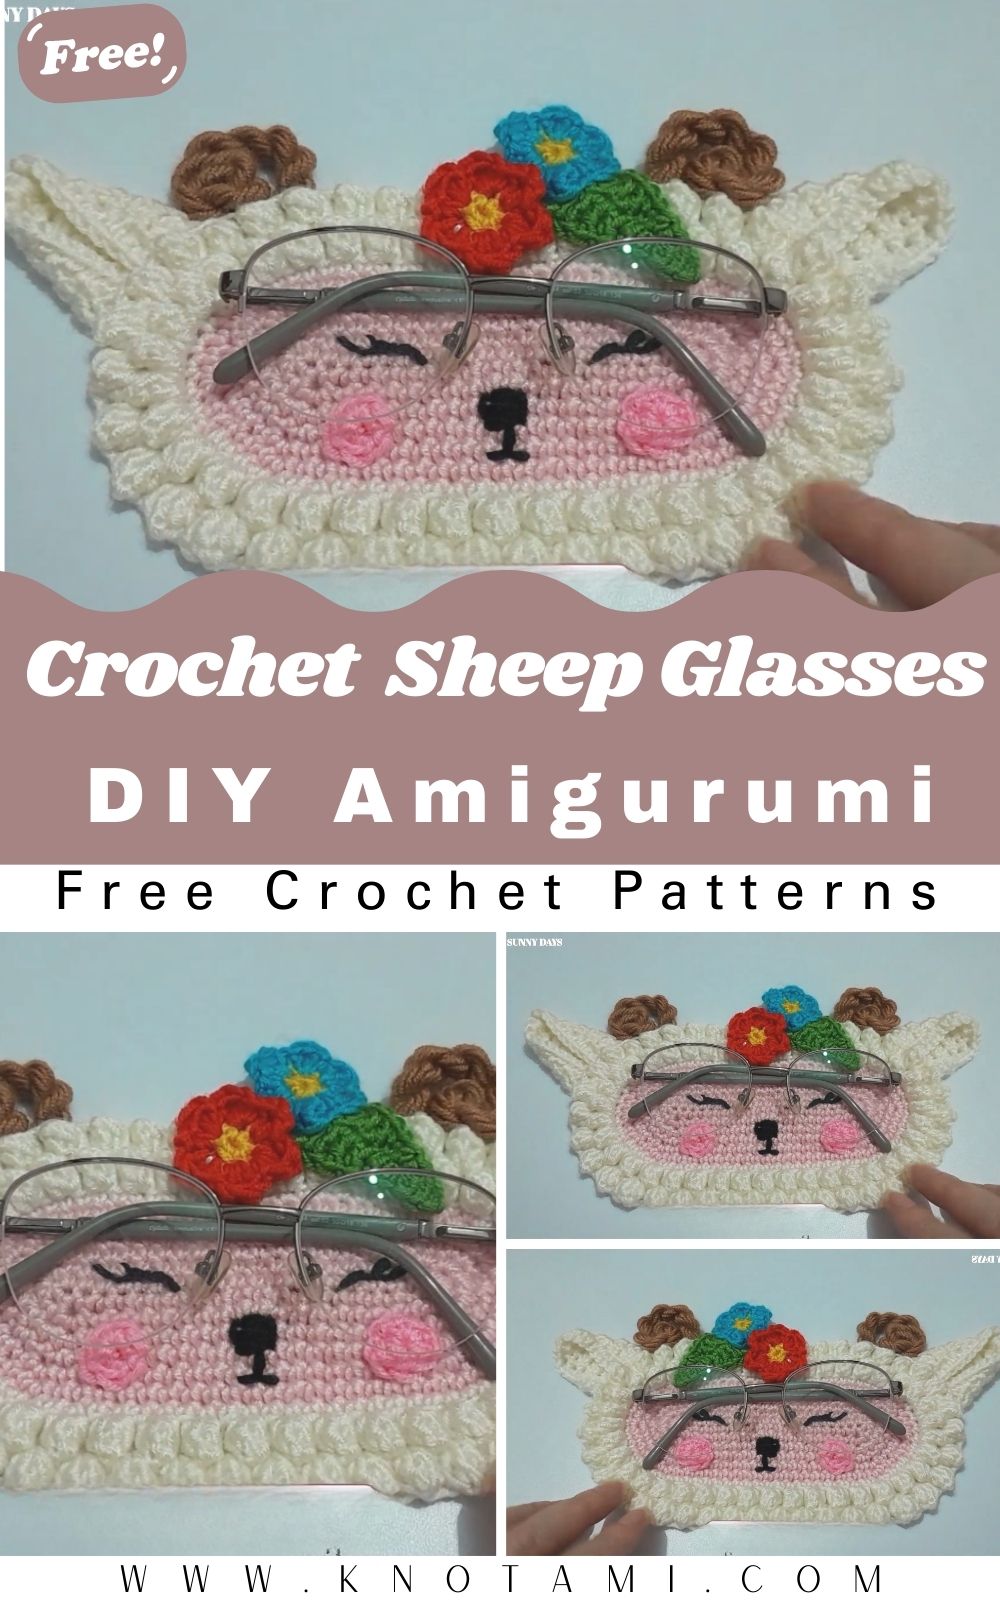
Welcome to your next favorite crafting project If you are someone who constantly misplaces your spectacles or just wants a charming friend to guard your frames, this crochet sheep glasses holder pattern is exactly what you need. Creating handmade accessories is not just a hobby; it is a way to bring personality into your home. This specific design has gone viral recently because it combines utility with an adorable aesthetic. Whether you are making this for a child who needs a fun place to store their glasses or as a quirky desk companion for yourself, you will find that it is both practical and incredibly fun to work on.
Many crochet baskets tend to flop over, but by following this guide, you will learn how to create a stable base that holds its shape perfectly. Even if you are relatively new to the world of crochet, the stitches used here are fundamental and easy to master. We will be using simple techniques to build a textured body that mimics the fluffy wool of a sheep. By the time you finish this article, you will have a beautiful, functional piece of art that keeps your eyewear scratch-free and always within reach.
Skill Level: Beginner to Intermediate
This pattern is rated as a beginner-friendly project, but it does require a bit of focus on your tension. If you can make a magic circle, a single crochet, and a slip stitch, you are already halfway there! The most “challenging” part is working with two strands of yarn at once, which is the secret to making the holder stand upright without any internal support. However, once you get into the rhythm of the rectangular base and the circular curves, you will find it very meditative and straightforward.
Tutor’s Suggestions for Success
To get the best results for your sheep, I suggest focusing on your choice of yarn. Since this is a crochet sheep glasses holder pattern, you want a yarn that feels soft but acts tough. I prefer 100% acrylic because it is durable and easy to wash. Furthermore, if you find that your stitches are too loose, do not be afraid to drop down a hook size. A tight, dense fabric is what makes this holder functional. If the walls are too soft, the weight of the glasses might cause the sheep to lean. Lastly, always use your stitch markers! In a project like this where we transition from a flat base to vertical walls, losing your starting point can be quite frustrating.
Materials Needed
To start your crochet sheep glasses holder pattern, please gather the following items:
-
Yarn: Approximately 50 to 80 grams of Medium (Weight 4) acrylic yarn in a “woolly” color like cream, white, or light grey. You will also need a small amount of black or dark brown for the face and ears.
-
Crochet Hooks: A 5 mm (H) hook for the main body and a 4 mm (G) hook for the smaller details.
-
Eyes: 10 mm safety eyes (or black embroidery thread if you prefer to sew them on).
-
Nose: A safety nose button or a small piece of pink/black felt.
-
Stitch Markers: At least 4 markers to keep track of your increases.
-
Tools: A sharp pair of scissors and a sturdy yarn needle for weaving in ends.
Step-by-Step Guide to the Crochet Sheep Glasses Holder Pattern
Phase 1: Creating the Sturdy Base
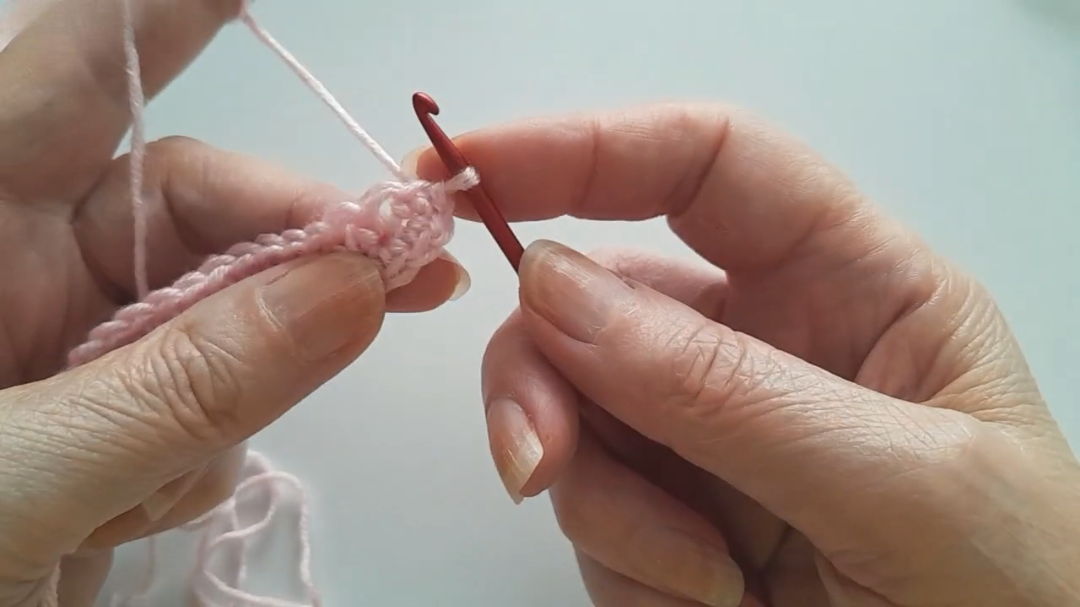
First, you must hold two strands of your primary color yarn together. This is vital for the structure. Start by making a slip knot and chaining 16. Skip the first chain and work 3 single crochets into the second chain from the hook. Mark the first of these stitches. Now, work one single crochet in each of the next 13 stitches. In the very last chain, work 3 single crochets. Turn your work to the opposite side of the chain and work 13 more single crochets back to the start. Slip stitch to join. You should now have 32 stitches.
In the second round, you will increase the curves. Chain 1 and make an increase (2 single crochets in one stitch) in each of the next 3 stitches. Then, work 13 single crochets. When you reach the other end, make 3 more increases, followed by 13 single crochets. This creates a long, oval shape that perfectly fits the width of most eyewear. By the end of this round, you will have 38 stitches.
Phase 2: Growing the Oval
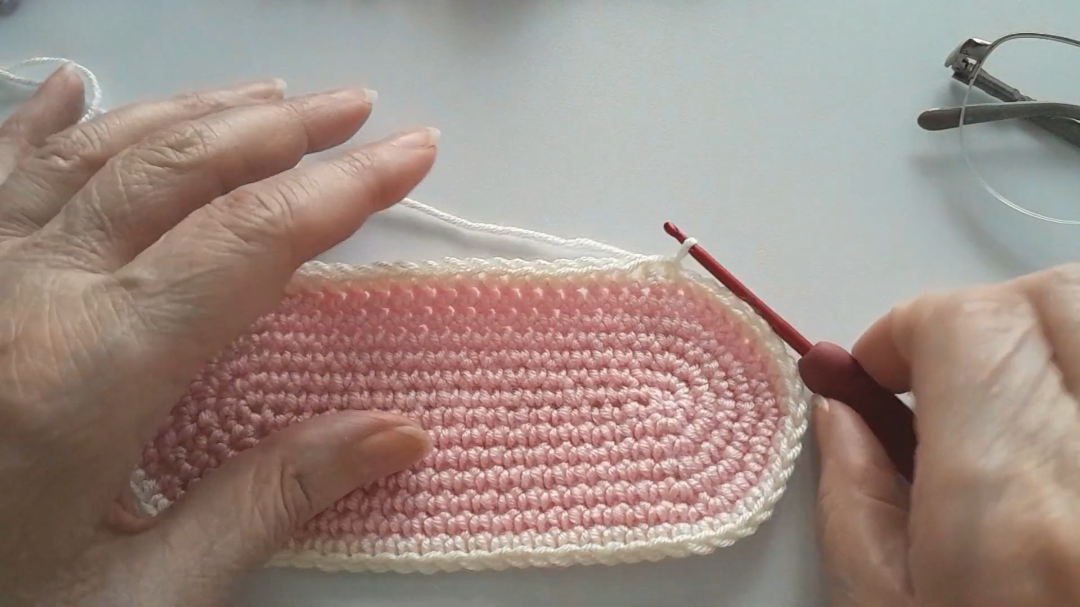
For the third round, follow a pattern of “1 single crochet, then 1 increase” for the curved ends. Continue to place 13 single crochets along the straight sides. This keeps the base flat and growing evenly. For the fourth round, change the pattern to “2 single crochets, then 1 increase” on the curves. If you have very large sunglasses, you can add a fifth round with “3 single crochets, then 1 increase.” Once you are happy with the size, your base is complete.
Phase 3: Building the Walls
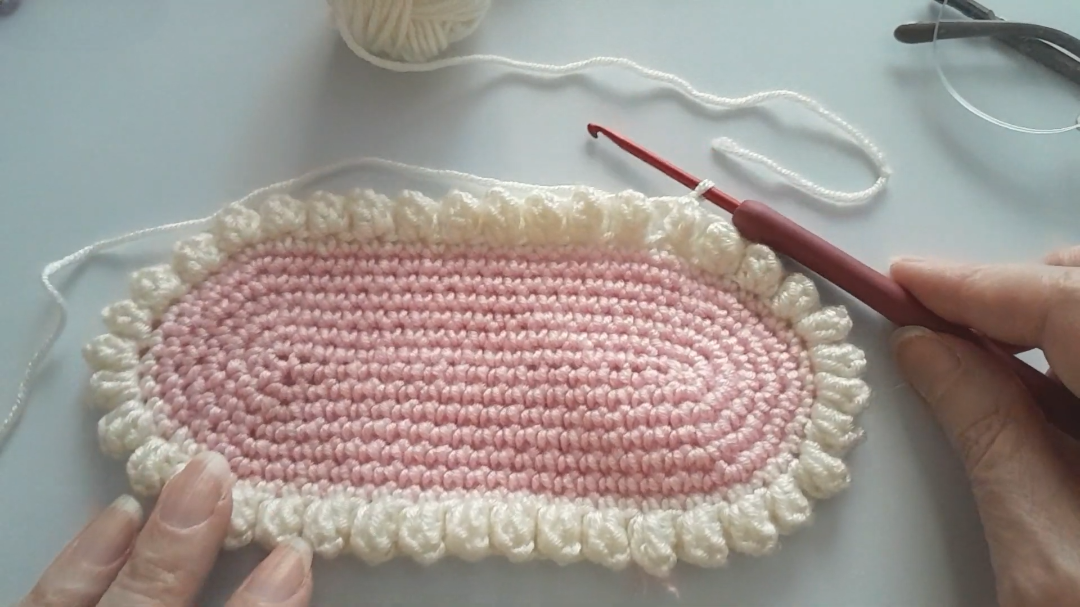
To make the transition from the base to the sides, you will work one round in the back loops only. This creates a sharp “rim” that allows the walls to stand up straight. From this point forward, do not make any more increases. Just work one single crochet into every stitch around. After the back-loop round, continue for 3 to 4 more rounds using both loops. This height ensures that the glasses sit securely inside the sheep’s body without falling out.
Phase 4: Crafting the Sheep’s Face and Ears
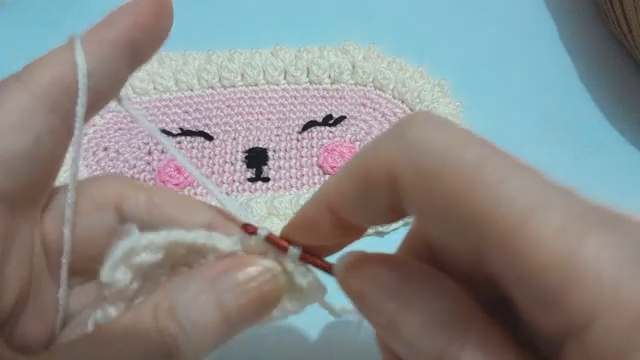
Using your 4 mm hook and a single strand of white yarn, create a magic circle. Work 5 single crochets into the circle and join. In the next round, increase by one stitch to get 10. For the third round, simply work 10 single crochets. This creates a small “snout.” For the ears, use the dark yarn to make a semicircle by working 4 single crochets into a magic circle, then increasing across two rows until you have a small petal shape. Attach the safety eyes and nose to the snout before sewing the whole face onto the front of your crochet basket.
Where to Use Your New Sheep Holder
This crochet sheep glasses holder pattern is incredibly versatile. While it is designed for your nightstand so you can find your glasses first thing in the morning, it also looks fantastic on a home office desk. It adds a touch of “cottagecore” charm to any room. Additionally, if you decide not to add the sheep features, this basket is the perfect size for holding crochet hooks, pens, or even remote controls. It is a multipurpose organizer disguised as a cute farm animal.
Tips and Tricks for a Perfect Finish
-
Tension is Key: Keep your stitches tight. If you see gaps where the stuffing or the glasses show through, your hook is likely too large.
-
Yarn Choice: If you want a more “realistic” sheep look, try using a boucle or popcorn yarn for the main body. However, be warned that these yarns can be harder to see your stitches in!
-
Safety First: If you are giving this to a small child, skip the plastic safety eyes and embroider the face features instead to avoid any choking hazards.
-
Steam Blocking: If your base is curling slightly, a quick shot of steam from an iron (without touching the yarn!) can help it lay perfectly flat.
Common Mistakes to Avoid
One common error is forgetting to work in the back loops for the first round of the walls. If you skip this step, the basket will look more like a bowl and less like a structured holder. Another mistake is losing track of the 13 straight stitches on the sides. If you accidentally increase on the straight parts, your sheep will look lumpy rather than oval. Always count your stitches at the end of every round to ensure you still have the correct total, which should be around 56 stitches if you followed the standard base size.
Frequently Asked Questions (FAQs)
1. Can I use cotton yarn instead of acrylic for this pattern?
Yes, you certainly can! Cotton yarn is actually very sturdy and holds its shape well. However, it does not have the same “fluffiness” as acrylic, so your sheep might look a bit smoother.
2. How do I make the holder taller?
If you have very large or tall frames, simply add more rounds to the “walls” section of the guide. Just keep working one single crochet in each stitch until it reaches your desired height.
3. What if I don’t have safety eyes?
No problem at all! You can use small black buttons or simply sew two small circles using black yarn and a tapestry needle. It gives the sheep a very classic, handmade look.
4. Why do I need to hold two strands of yarn?
Holding two strands makes the yarn twice as thick. This creates a very “stiff” fabric that can support the weight of heavy glasses without collapsing.
5. Is this project suitable for a gift?
Absolutely! This is a wonderful gift for teachers, grandparents, or anyone who wears reading glasses. It is unique, functional, and shows that you put a lot of thought into their hobby or needs.