
Crochet crop cardigans are having a big moment in spring and summer fashion and honestly, it makes total sense. They’re light enough for warm days, cozy enough for breezy evenings, and they add that effortless put-together vibe without trying too hard.
What makes them extra special is the handmade appeal. A crochet cardigan doesn’t look like something you grabbed off a shelf. It looks personal. Unique. You made it with intention, because you did. And the best part? You can customize it to fit your style colors, sleeves, length, even the vibe cute and sweet or bold and trendy.
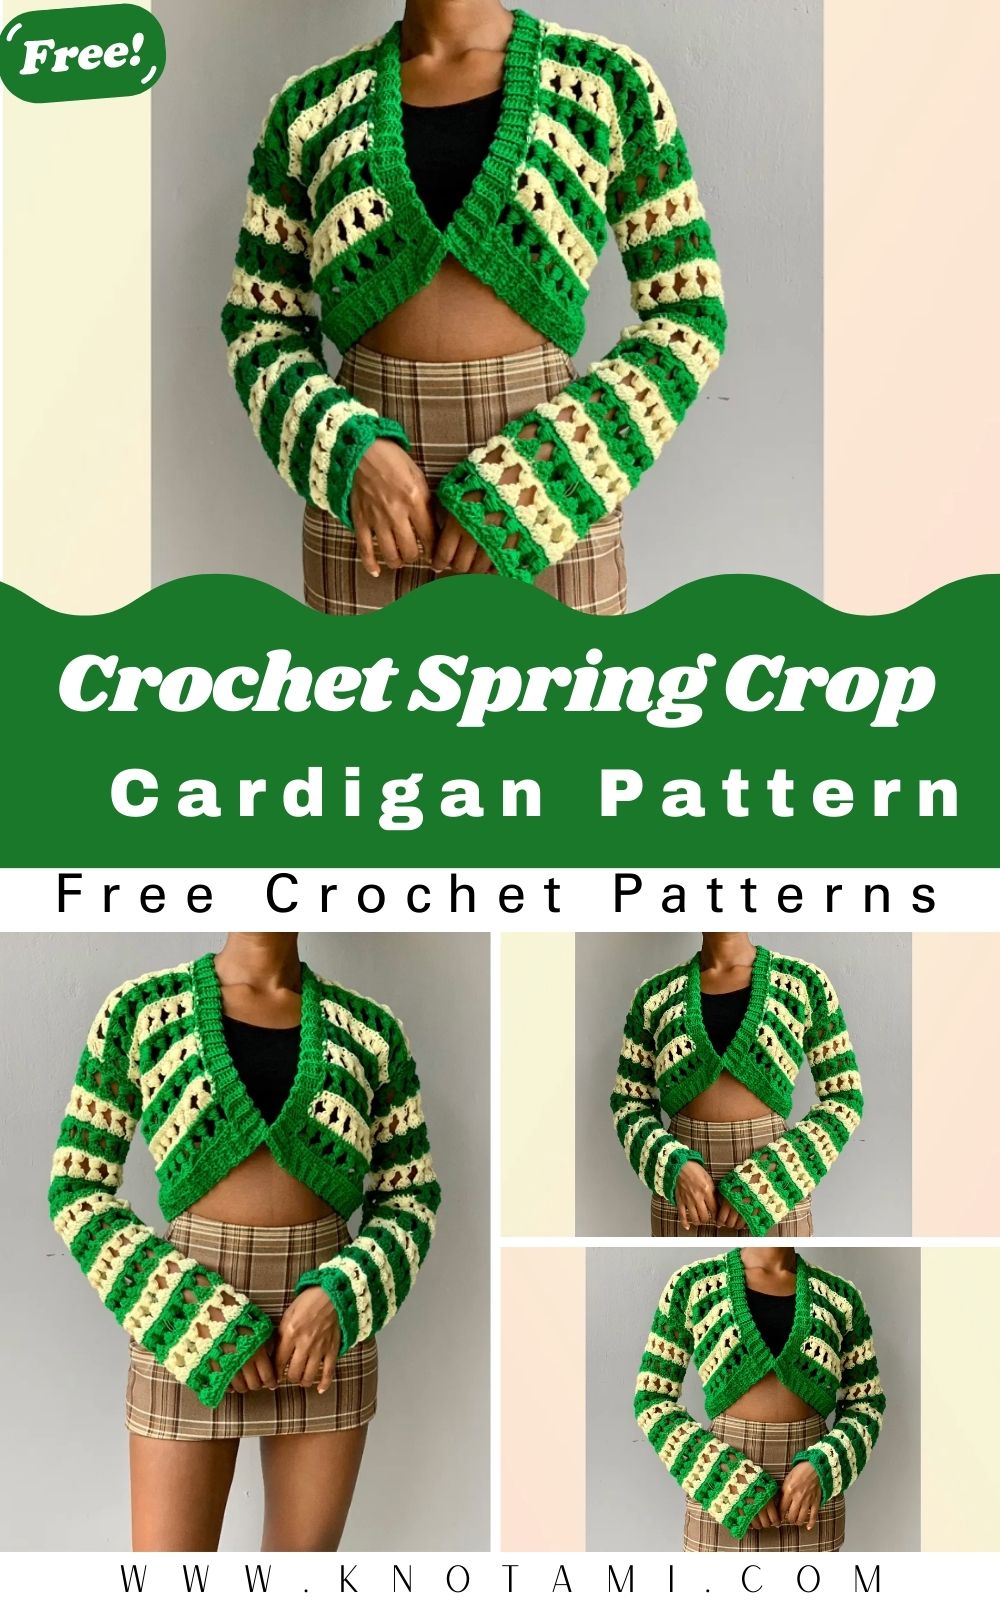
About the Crochet Spring Crop Cardigan
This style of cardigan is all about a cropped fit with a lightweight, breathable feel—perfect for spring/summer layering. Most crochet crop cardigans are made with simple shapes (think rectangle panels), and you can make them look super stylish with:
- Simple stripes
- Color blocks
- Easy repeating stitch patterns
- Light texture that doesn’t feel heavy
Because it’s cropped, it won’t overwhelm your outfit or feel bulky. And since it’s open-front (or lightly tied/buttoned), it’s great for layering over a tank top, a sundress, or even a swimsuit top if you’re going for that beachy vibe.
Basically, it’s the kind of piece you’ll reach for again and again.
Materials Needed
You don’t need a ton of fancy supplies for this—just a few basics.
Yarn (choose one):
- Lightweight cotton (great for summer—breathable and crisp)
- Lightweight acrylic (soft, affordable, easy to care for)
Look for DK (weight 3) or worsted (weight 4) if you want a slightly cozier cardigan. For a true summer layer, DK cotton is a dream.
Crochet hook:
- Usually 4.0 mm to 5.5 mm, depending on your yarn
(Check your yarn label—this is the easiest way to match.)
Other tools:
- Scissors
- Measuring tape (super helpful for getting the cropped length right)
- Yarn needle (for sewing pieces and weaving in ends)
- Stitch markers (optional, but handy)
Basic Stitches Used
This cardigan is beginner-friendly because it’s built from simple stitches and easy shapes.
Most patterns use:
- Single crochet (sc): makes a tighter, clean fabric
- Double crochet (dc): works up faster and feels lighter and airier
Good news: Many cardigans are made as simple panels (rectangles) that you join together. So even if shaping sounds scary, this project keeps it approachable.
If you can crochet straight rows and count stitches (even imperfectly), you can make this cardigan.
Step-by-Step Instructions
Step 1: Choose Your Size + Take Quick Measurements
Before you start, decide how you want it to fit. Some people like a snug crop, others want a slightly roomier feel.
A few beginner-friendly measurements:
- Bust width (or around your chest)
- Cardigan length (cropped—usually around the waist or just above)
- Sleeve length (short, 3/4, or long)
You don’t have to be super exact, but measuring helps you feel more confident as you go.
Step 2: Create the Back Panel
The back panel is usually a simple rectangle.
- Chain until the width matches the width of your back (from one side to the other).
- Crochet rows of double crochet (or your chosen stitch).
- Keep going until the panel reaches your desired cropped length.
Tip: Try holding it up to yourself every so often. It’s the easiest way to “test fit” without overthinking it.
Step 3: Create the Two Front Panels
The front is usually made from two smaller rectangles (left and right).
- Make one panel that’s about half the width of the back panel (or slightly smaller).
- Crochet to the same length as the back panel.
- Repeat for the second front panel.
Optional: If you want a more finished look, you can add a few rows of a border stitch later (so don’t stress if the edges aren’t perfect right now).
Step 4: Make the Sleeves
You can keep sleeves simple too—just rectangles that you fold and seam.
- Chain to match the width of your upper arm (keep it comfy—don’t make it too tight).
- Crochet rows until the sleeve reaches your desired length.
- Make two sleeves the same size.
Beginner tip: Count your rows on the first sleeve so the second one matches. It saves so much wait… why is this one longer? energy later.
Step 5: Join the Panels Together
Now comes the satisfying part—watching it become an actual cardigan.
- Lay the back panel flat.
- Place the front panels on top, aligning the shoulders.
- Seam the shoulders together (using a yarn needle or slip stitch with your hook).
- Seam each side from the bottom up, leaving armholes open.
You’re basically making a simple cardigan “shape” before adding sleeves.
Step 6: Attach and Seam the Sleeves
- Fold each sleeve panel in half and seam along the long edge to form a tube.
- Insert the sleeve into the armhole (like a puzzle piece).
- Seam around the armhole to attach it securely.
Don’t worry if it looks a little awkward while you’re attaching it—once both sleeves are on, it suddenly looks like real clothing.
Step 7: Add Borders and Finishing Touches
Borders make a cardigan look polished, even if the stitches are simple.
Easy border idea:
- Single crochet around the front edges, neckline, and bottom hem
- Add 2–4 rows depending on the look you want
Finish by:
- Weaving in all ends with a yarn needle
- Trying it on and checking the fit
- Lightly blocking if needed (especially for cotton)
Styling Tips
This is where the crop cardigan really shines—it instantly makes outfits look intentional.
Try it with:
- High-waisted jeans + a tank top (casual, cute, easy)
- A fitted dress (adds a soft layer without covering the whole look)
- A skirt + simple tee (perfect for spring days)
- Shorts + a bandeau or camisole (fun summer outfit, especially with bright yarn)
If you made it in neutral colors, it’ll go with everything. If you made it bold, let it be the statement piece.
Customization Ideas
This is the part that makes crochet so addictive—you can make the same cardigan pattern twice and end up with two totally different looks.
Color combinations:
- Soft pastels for a spring vibe
- Bright stripes for a playful summer look
- Neutrals (cream, tan, black) for an “everyday” cardigan
Sleeve variations:
- Short sleeves for hot weather
- 3/4 sleeves for that classic cardigan feel
- Balloon sleeves (just increase a bit for a puffier look)
Add buttons or ties:
- Sew on a couple of cute buttons
- Add a simple tie using chains or a crocheted cord
- Add one statement closure at the top for a light, drapey fit
You can also adjust the crop length—make it ultra-cropped or slightly longer if you want more coverage.
Why You Should Try This DIY Project
It’s cost-effective.
One or two skeins of yarn (depending on size and yarn weight) can turn into an actual wearable piece you’ll use all season.
It’s creatively satisfying.
There’s something so rewarding about making clothing with your own hands—especially when someone asks, “Where did you get that?” and you get to say, “I made it.”
It’s unique fashion.
No store-bought cardigan will have your exact colors, your exact stitch pattern, and your exact vibe. That’s the magic.
Conclusion
If you’ve been looking for a stylish crochet project, beginner-friendly, and actually useful, a DIY crochet crop cardigan is such a good choice. It’s simple enough to tackle with basic stitches, but still exciting because it becomes a real, wearable piece.
Start with a simple design, take your time, and don’t stress the small imperfections—they’re part of what makes handmade items feel special. Once you finish your first one, don’t be surprised if you immediately want to make another in different colours.
If you’d like, tell me what yarn weight you want to use and what size you’re making, and I can help you estimate panel measurements and stitch counts to get a great fit.