
The holiday season sparkles with twinkling lights, cozy fires, and the joy of handmade treasures. Nothing captures the festive spirit quite like a Crochet Cat Christmas Decoration hanging proudly on your tree. These charming amigurumi ornaments blend whimsy and warmth, turning simple yarn into delightful keepsakes that celebrate both Christmas and our love for furry friends.
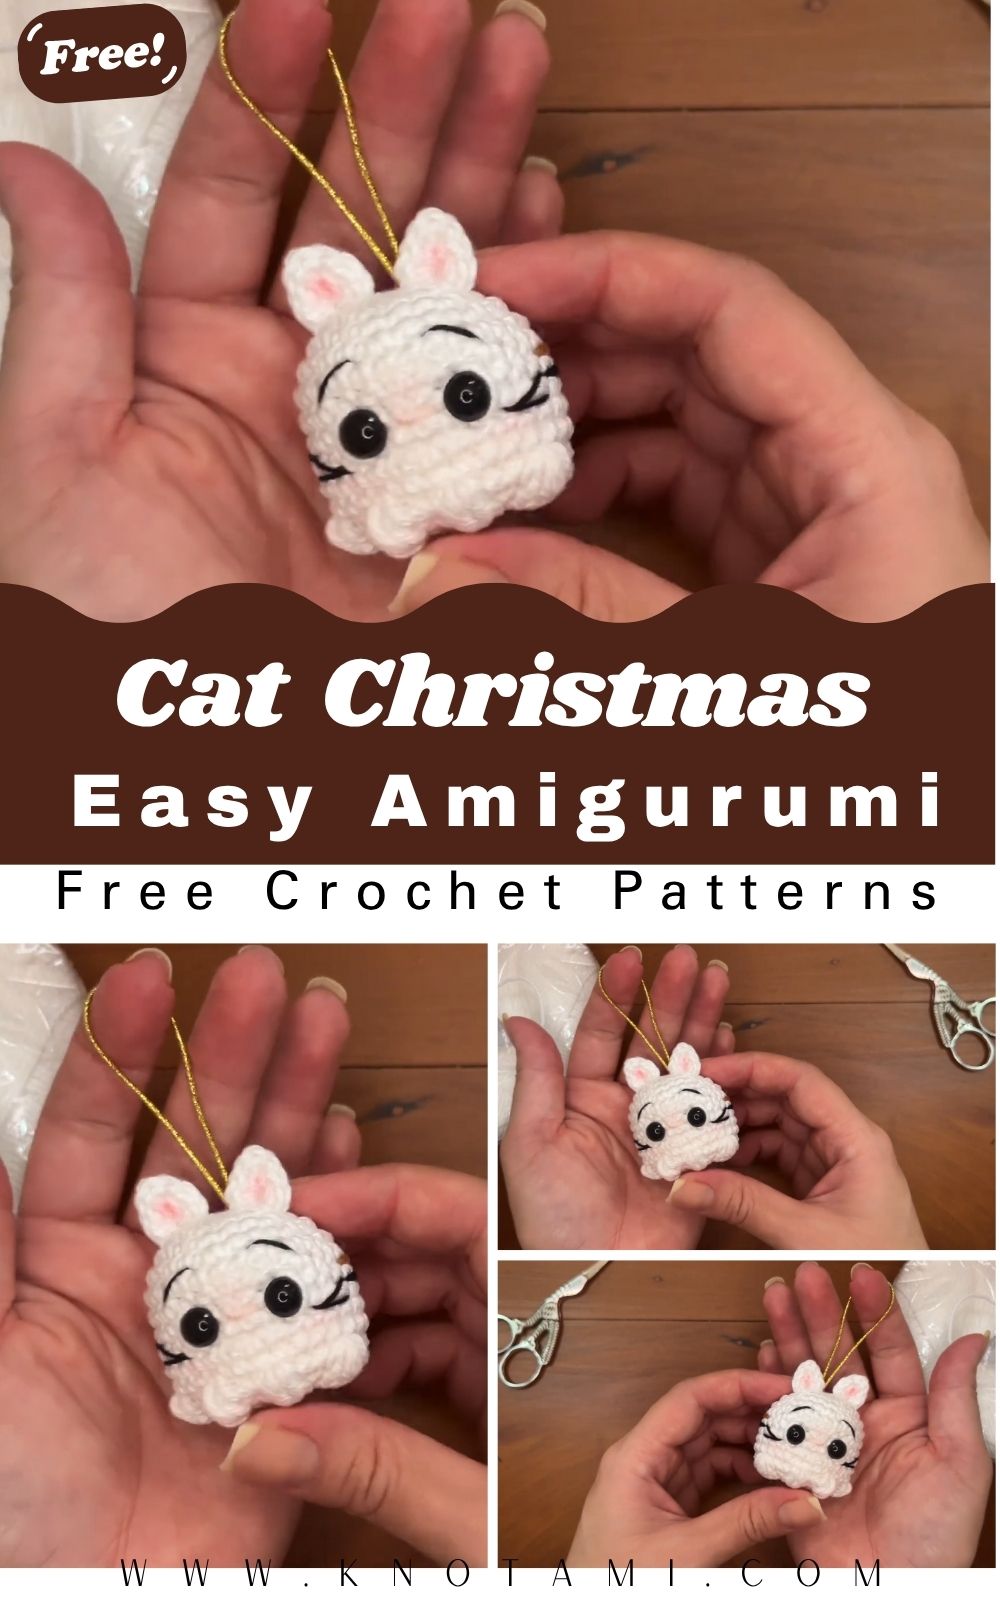
Imagine a round, ball-shaped kitty with sweet ears, tiny paws, and a cheerful expression peeking out from your evergreen branches. This Crochet Cat Christmas Decoration is more than just decor it’s a heartfelt project that brings families together and adds a personal touch to your holiday setup.
Whether you’re new to crochet or looking for a quick, satisfying make, this pattern is designed with first-time makers in mind. In this comprehensive guide, we’ll walk through everything you need to craft your own adorable cat ornament. Let’s get hooking and make this Christmas extra special
Why You’ll Love This Crochet Cat Christmas Decoration
This Crochet Cat Christmas Decoration stands out for several heartwarming reasons:
- Beginner-Friendly Design: The spherical body uses basic increases and decreases, building confidence with every round.
- Quick Project: Finish in just a few hours—ideal for last-minute gifts or tree-trimming parties.
- Versatile Holiday Use: Hang it on the Christmas tree, use as a gift topper, or create a garland of cat ornaments.
- Personalizable: Adapt colors and features to match your pet or favorite festive palette.
- Emotional Value: Handmade items carry love. This little kitty ornament becomes a family heirloom.
It’s the perfect mix of cute, cozy, and Christmas cheer—exactly what the holidays call for.
Materials Needed
Gather these simple supplies before starting your Crochet Cat Christmas Decoration:
- Yarn: Worsted weight or DK in main color (e.g., white, gray, or tabby shades for the body), plus small amounts for ears, nose, and accents. Use red/green for a Santa-inspired scarf or hat.
- Crochet Hook: 3.0mm to 3.5mm (adjust for tight stitches).
- Stuffing: Polyester fiberfill.
- Safety Eyes: 6-8mm (or embroider for younger children).
- Yarn Needle: For sewing parts and weaving ends.
- Stitch Markers: Essential for tracking rounds.
- Scissors and Pins.
- Optional: Embroidery floss for whiskers, a small bell for the hanger, and ribbon for the bow.
These are affordable and likely already in your stash!
Crochet Abbreviations (US Terms)
- MR: Magic Ring
- SC: Single Crochet
- INC: Increase (2 SC in one stitch)
- DEC: Decrease (SC two stitches together)
- CH: Chain
- SL ST: Slip Stitch
- PUFF: Puff stitch (for paws—detailed in instructions)
- Rnd: Round
- Rep: Repeat
- FO: Fasten Off
Familiarize yourself with these for smooth crocheting.
Skill Level & Time Required
Skill Level: Beginner. This pattern uses mostly single crochet with simple shaping and one special stitch (puff) for paws. No complex color changes or sewing-heavy assembly.
Time Required: 2-4 hours for the complete ornament, depending on your pace. Perfect for a cozy evening project.
Step-by-Step Crochet Instructions
Follow these steps to create your spherical Crochet Cat Christmas Decoration. Work in continuous rounds unless noted. Use a stitch marker at the start of each round.
Body (Spherical Base)
Rnd 1: 6 SC in MR (6) Rnd 2: INC in each stitch (12) Rnd 3: (1 SC, INC) x6 (18) Rnd 4: (2 SC, INC) x6 (24) Rnd 5: (3 SC, INC) x6 (30)
Rnds 6-8: 30 SC around (30) – three plain rounds.
Rnd 9 (Snout Shaping): 14 SC, INC, INC, 14 SC (32) Rnd 10: 14 SC, DEC, DEC, 14 SC (30) Rnd 11: 30 SC (30)
Rnd 12 (Paws Round): 9 SC, then create front paws with puff stitches:
- Work 9 SC.
- Puff Stitch (yarn over and pull up loop 3 times in same stitch, yarn over and pull through all loops, CH 1 to secure).
- 3 SC, Puff, 2 SC, Puff, 3 SC, Puff (for back paws spacing).
- 9 SC to complete round (30 total).
Continue with 2-3 plain rounds of 30 SC to shape the body. Stuff firmly as you go.
Decreasing Rounds: Gradually decrease: (3 SC, DEC) x6, then (2 SC, DEC), etc., until 6-8 stitches remain. Stuff fully, then close with a needle through the front loops.
Ears (Make 2)
Rnd 1: 4 SC in MR (4) Rnd 2: (1 SC, INC) x2 (6) Rnd 3: (2 SC, INC) x2 (8) Flatten and sew to the top of the head with a slight curve for a perky look.
Tail (Optional, for extra charm)
Chain 10-12, work 8-10 SC back along the chain, or make a simple curved tube. Attach to the bottom.
Finishing Touches
- Attach safety eyes between snout increases.
- Embroider nose and mouth with pink/black yarn.
- Add whiskers.
- Crochet or attach a hanging loop with a chain and slip stitch.
- Add a festive bow or tiny bell.
Your Crochet Cat Christmas Decoration is ready to shine.
Tips for First-Time Makers
- Tension: Keep stitches tight to prevent stuffing from showing.
- Stuffing: Add gradually and shape as you go for a smooth ball.
- Magic Ring: Watch a quick tutorial if new—it’s neater than chaining.
- Markers: Always use one to avoid losing your place.
- Practice Puff Stitch: Do a swatch first for consistent fluffy paws.
- Take breaks, play holiday music, and enjoy the process!
Beginner crochet tip: Count stitches at the end of every round.
Customization Ideas for Christmas Theme
Make your Crochet Cat Christmas Decoration uniquely festive:
- Santa Cat: Red hat with white trim and a fluffy pom.
- Elf Kitty: Green ears and jingle bell collar.
- Snowy Cat: White body with silver thread and sparkly accents.
- Pet Portrait: Match your own cat’s colors and markings.
- Family Set: Make a whole litter in different sizes or poses.
- Tree Garland: String several cats together with lights.
These ideas turn one pattern into endless holiday displays.
Common Mistakes to Avoid
- Loose tension leading to holes go down a hook size if needed.
- Forgetting to stuff before closing.
- Misaligning ears or eyes—pin first and step back to check.
- Skipping markers, causing uneven shaping.
- Rushing decreases, which can flatten the sphere.
Patience is key—your first one might not be perfect, but it’ll be full of love!
Best Yarn and Hook Recommendations
- Yarn: Red Heart Super Saver or similar acrylic for durability and affordability. Cotton for a premium feel. Choose soft, non-split yarns.
- Hook: Clover or ergonomic brands for comfort during longer sessions.
- Colors: Festive reds, greens, golds, plus neutrals for the cat.
Experiment with plush yarns for a chubbier look.
FAQ Section
1. Is this Crochet Cat Christmas Decoration suitable for absolute beginners? Yes! It uses basic stitches and includes detailed guidance. Many first-timers complete it successfully.
2. How big will the finished ornament be? Approximately 3-4 inches in diameter, perfect tree size. Scale up with thicker yarn.
3. Can I sell items made from this pattern? Yes, for small-scale handmade sales. Please credit the design inspiration.
4. What if I don’t have safety eyes? Embroider them or use buttons for a classic look.
5. How do I make it more cat-like for my specific pet? Adjust ear shape, add stripes, or change colors. The puff paws and round body adapt easily.
Final Thoughts
Crafting your own Crochet Cat Christmas Decoration fills the air with holiday magic and the satisfaction of creation. This beginner-friendly amigurumi brings joy to your tree, gifts, and heart. Whether it’s your first ornament or part of a growing collection, it reminds us that the best decorations are made with love.