
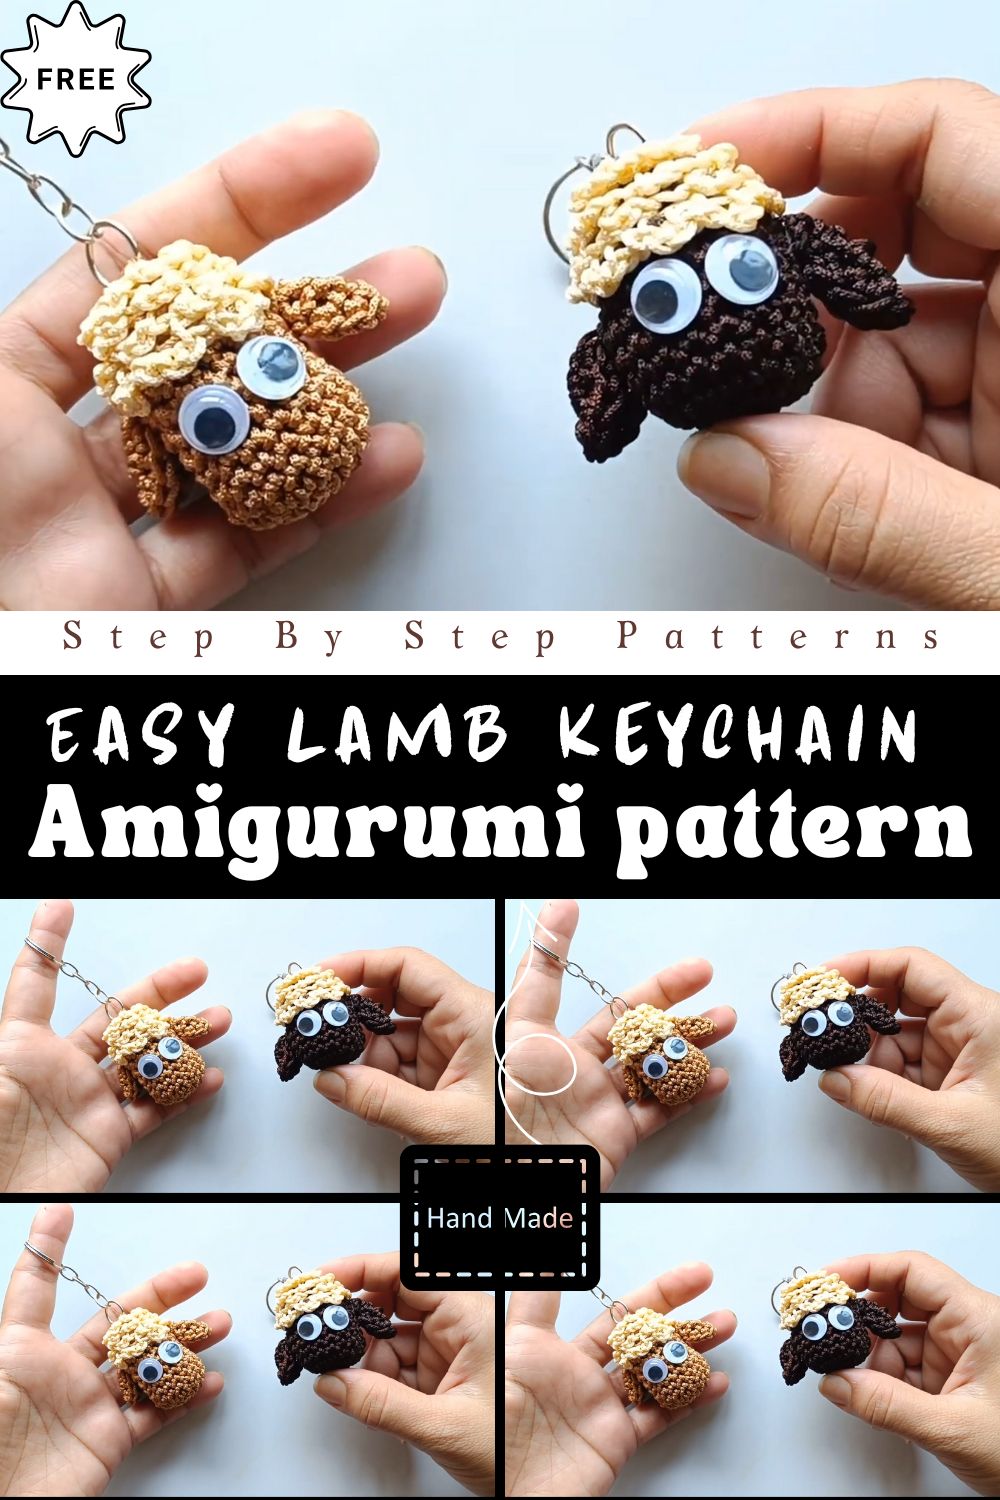
If you want a quick production, try this stylish crochet lamb keychain, made with amigurumi patterns for beginners and wholesale keychain hardware for crochet. Plus, this soft, fluffy mini lamb adds a cute touch to keys, backpacks, and gifts, while the simple stitching and modern finish look great.
A crochet lamb keychain amigurumi is truly a “small but impressive” project. What’s more, you can learn to crochet in the round, practice neat finishing, and build your confidence with simple parts. This crochet lamb keychain pattern is easy for beginners because it uses basic stitches and straightforward assembly. Plus, the lamb’s soft texture looks beautiful even with simple, inexpensive yarn. You can give it as a baby shower gift, attach it to a bag or key chain, or use it as a decoration. This amigurumi keychain is a useful and adorable item that can be made in a short amount of time.
Equipment Needed
Prep your materials first, because it keeps the project calm and beginner-friendly.
- Yarn (body): White or cream DK/worsted yarn
- Additionally, choose a soft yarn to enhance the lamb look.
- Yarn (face + legs): Beige, tan, light brown, or gray
- Optional texture yarn: Eyelash yarn, bouclé, or faux-sherpa-style yarn (for extra fluffy “wool”)
- However, you can skip specialty yarn and still get a cute lamb.
- Crochet hook: 2.5–3.5 mm (go smaller than the yarn label for tight stitches)
- Fiberfill stuffing
- Safety eyes: 6–8 mm or black embroidery thread for stitched eyes
- Embroidery floss: black for nose and mouth, pink for cheeks (optional)
- Tapestry needle (yarn needle)
- Stitch marker
- Scissors
- Keychain hardware: split ring, lobster clasp, or swivel hook + jump ring
- Moreover, a swivel clasp feels more “premium” as a gift.
- Optional: small piece of felt for blush/ears, fabric glue (use lightly)
Method (Beginner Friendly)
A. Quick Stitch Guide (so you don’t get stuck)
This lamb uses beginner-friendly basics. Therefore, you can focus on shaping rather than complicated techniques.
- MR = magic ring (or chain 2 method)
- sc = single crochet
- inc = increase (2 sc in one stitch)
- dec = invisible decrease (or regular sc2tog)
- sl st = slip stitch
- ch = chain
Additionally, work in continuous rounds unless I say otherwise.
B. Crochet the Lamb Head (round, cute, and easy)
The head sets the “aww” factor, so keep your tension snug.
- Round 1: MR, 6 sc (6)
- Round 2: inc x6 (12)
- Round 3: (sc, inc) x6 (18)
- Round 4: (2 sc, inc) x6 (24)
- Rounds 5–7: sc around (24)
- Meanwhile, check that your circle stays smooth and not wavy.
- Add eyes: Place safety eyes between rounds 5 and 6, about 6 stitches apart
- However, move them closer for a baby-lamb look.
- Round 8: (2 sc, dec) x6 (18)
- Round 9: (sc, dec) x6 (12)
- Start stuffing: Add small pieces of fiberfill
- Therefore, the head stays round instead of lumpy.
- Round 10: dec x6 (6)
- Fasten off and close the opening.
Texture option: Additionally, if you use fluffy yarn for the “wool,” crochet a separate cap later (see section E).
C. Crochet the Lamb Snout/Muzzle (simple oval look)
You can make a tiny muzzle that sits under the eyes and instantly reads “lamb.”
- Round 1: MR, 6 sc (6)
- Round 2: (sc, inc) x3 (9)
- Round 3: sc around (9)
Fasten off, leave a sewing tail.
Add expression:
- Stitch a small nose (triangle or oval).
- Moreover, add a short vertical stitch and a tiny smile for warmth.
D. Crochet the Body (lightweight for a keychain)
Keep the body compact so it hangs nicely.
- Round 1: MR, 6 sc (6)
- Round 2: inc x6 (12)
- Round 3: (sc, inc) x6 (18)
- Round 4: (2 sc, inc) x6 (24)
- Rounds 5–6: sc around (24)
- Round 7: (2 sc, dec) x6 (18)
- Round 8: sc around (18)
- Stuff firmly but gently
- Round 9: (sc, dec) x6 (12)
- Round 10: dec x6 (6)
Fasten off, leave a long tail for sewing.
Additionally, squeeze the body into a slightly oval shape for a plush look.
E. Create the “Wool” Texture (choose one style)
This is where your lamb becomes stylish. However, pick the easiest option for your first attempt.
Option 1: Fluffy “wool” cap (beginner-friendly and adorable)
Use eyelash/bouclé yarn ,or even the same yarn with bbobble-surfacedetails.
- Round 1: MR, 6 sc (6)
- Round 2: inc x6 (12)
- Round 3: (sc, inc) x6 (18)
- Round 4: (2 sc, inc) x6 (24)
- Round 5: sc around (24)
Fasten off, then sew this capontof the head.
Moreover, this approach avoids crocheting the whole head in fuzzy yarn, which beginners often hate.
Option 2: Bobble “wool” effect (stylish and clean)
Work bobbles every few stitches on the head and/or body. Therefore, you get texture without specialty yarn.
- On a round you choose, repeat: (bobble, 2 sc) around
- Keep the bobbles mostly on the top half for a realistic fleece look.
F. Crochet the Ears (tiny and sweet)
Make 2 ears with face-color yarn.
- Round 1: MR, 6 sc (6)
- Round 2: sc around (6)
Fasten off, leave a tail for sewing.
Additionally, pinch the base of the ear slightly while sewing to create a gentle fold.
G. Crochet the Legs (simple nubs that still read “lamb”)
Make 4 legs using face/leg-color yarn.
- Round 1: MR, 6 sc (6)
- Round 2: sc around (6)
Fasten off with a sewing tail.
However, if you want longer legs, add one more round of sc.
H. Assembly (where it starts looking professional)
Assembly feels easier when you pin everything first. Therefore, take two minutes to place the parts before sewing.
- Sew muzzle to head: Center it under the eyes
- Moreover, add a tiny bit of stuffing behind the muzzle for a rounded snout.
- Sew ears to the sides of the head: Slightly above the muzzle line
- Sew head to body: Align the face forward and keep it straight
- Sew legs: Two front + two back, evenly spaced
- Add the wool cap: Place it on the top of the head (or add texture details now)
Additionally, weave in ends neatly, because messy ends ruin keychain durability.
I. Add the Keychain Attachment (secure and tidy)
You have two clean options, and both work well.
Option 1: Built-in yarn loop
- Insert yarn at the top center of the head.
- Chain 10–14 (adjust for your ring size).
- Slip stitch back into the same spot to form a loop.
- Weave ends inside the head and knot securely.
Therefore, the loop holds up well during daily use.
Option 2: Hardware through a reinforced stitch
- Thread a strong yarn tail through the head top several times.
- Tie tightly and attach a jump ring.
Moreover, this method looks sleek and gift-ready.
Design, Style & Features
This lamb keychain looks chic because it mixes clean amigurumi shaping with playful fleece texture. Additionally, the round head and small muzzle give a gentle, baby-animal vibe that works in any color palette. You can keep the wool subtle for a minimalist style, or you can go full fluffy for a statement charm. Meanwhile, the tiny ears and stubby legs keep the silhouette simple, so you won’t fight complicated anatomy. As a result, you get a modern, cute accessory that still feels handmade and special.
Uses & Benefits
Keychain use (the practical win)
A crochet lamb keychain makes your keys easier to find in a crowded bag. Moreover, the soft plush prevents scratches on phone screens and sunglasses when everything lands in the same pocket.
Gift ideas that feel personal
- Add it to a baby shower gift basket
- Use it as a stocking stuffer
- Attach it to a birthday present tag
Additionally, you can match the lamb colors to nursery themes, which makes the gift feel intentional.
Decor purpose (small but impactful)
Clip it onto backpacks, purses, pencil cases, or zipper pulls. For example, I love using one as a charm on my project bag so I can spot it instantly at meetups. Therefore, this mini lamb works as décor without creating clutter.
Practical value for beginners
This beginner amigurumi project teaches you the core skills fast: tight stitches, shaping, stuffing, and assembly. Moreover, you finish quickly, which keeps motivation high.
Tips for Beginners
- Tighten your tension from the start. Additionally, tight stitches keep stuffing hidden and make the toy look clean.
- Use a stitch marker every round. However, if you don’t have one, use a small scrap of yarn.
- Stuff gradually, not all at once. Therefore, you avoid bumps and weird corners.
- Pin parts before sewing. Moreover, pinning fixes asymmetry before it becomes permanent.
- Avoid super-fuzzy yarn for your first try. In addition, practice with smooth yarn, then add a fluffy cap later.
- Learn the invisible decrease. As a result, your decreases blend in and look professional.
- Reinforce the keychain loop. Additionally, run yarn through the top several times so the lamb survives daily pulling.
FAQs
1) What is the best yarn for a crochet lamb keychain pattern?
Smooth DK or worsted yarn works best for a starter crochet lamb keychain pattern. Additionally, you can add eyelash or bouclé yarn only for the wool cap, which gives texture without making the whole project difficult.
2) Can I turn this amigurumi keychain into a baby-safe toy?
Yes, you can. However, skip safety eyes and stitch the eyes and nose with embroidery thread instead. Therefore, you reduce choking risks and still keep the face cute.
3) How do I make my amigurumi toy keychain look neat and professional?
Use a smaller hook, keep consistent tension, and weave ends securely. Moreover, shape the pieces with your hands after stuffing, because gentle sculpting smooths the final look.
4) How long does this beginner amigurumi lamb take to crochet?
Most beginners finish it in 1–2 evenings. Additionally, if you skip complex texture and keep the wool cap simple, you can finish even faster.
5) What keychain hardware should I use for crochet keychains?
A swivel clasp with a jump ring works great for crochet keychains. Moreover, it rotates easily, so the lamb hangs nicely and doesn’t twist awkwardly.
Final Overview
This stylish crochet lamb keychain pattern gives you a beginner-friendly amigurumi win that looks far more advanced than it feels. Additionally, you can customize the wool texture, change colors to suit any theme, and attach it to keys or bags in minutes. Moreover, the small size makes it perfect for gifts and quick craft-fair stock. Therefore, you get a cute, practical accessory that builds skill and confidence at the same time.