
Welcome to this free crochet soccer ball amigurumi pattern – the ultimate step by step crochet soccer ball amigurumi for beginners that turns simple yarn into a bouncy, cheerful toy! If you’ve been searching for a cute kawaii amigurumi soccer ball free pattern with that classic red and yellow look, you’re in the right place. This easy DIY crochet soccer ball toy pattern walks you through every stitch of the crochet soccer ball pattern, teaching you how to create the perfect kawaii crochet soccer ball using just 12 yellow pentagons and 20 red hexagons.
Whether you call it a crochet football amigurumi or a beginner friendly crochet soccer ball plushie, this red and yellow crochet soccer ball pattern and pentagon hexagon crochet soccer ball tutorial delivers professional-looking results with zero stress. So, let’s grab your hook and make your very own crochet soccer ball amigurumi pattern today!
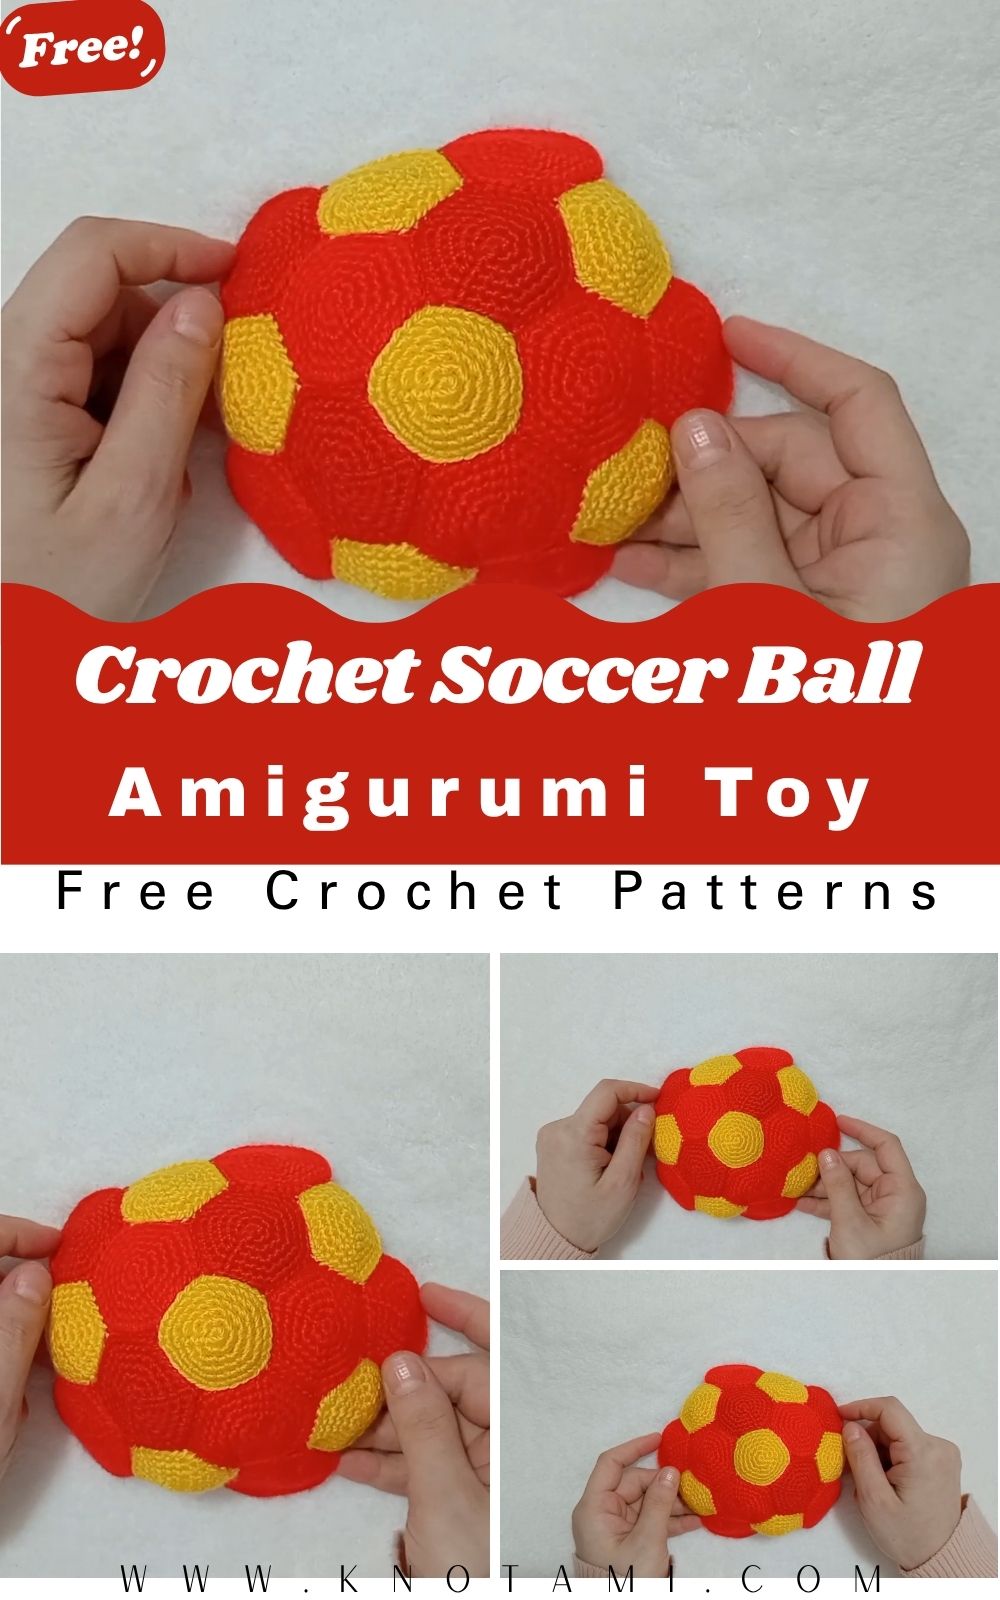
Free Crochet Soccer Ball Amigurumi Pattern
Now that you’ve watched the full video tutorial, you’re ready to dive straight into the crochet soccer ball amigurumi pattern with total confidence! In the video you saw how easy this step by step crochet soccer ball amigurumi for beginners really is. Now you can work at your own pace using the written instructions below, starting with your first yellow pentagon, then the red hexagons, and before you know it you’ll have the most adorable cute kawaii amigurumi soccer ball free pattern you’ve ever made.
Also, pause or rewind the pentagon hexagon crochet soccer ball tutorial anytime you need to check a stitch. So, this easy DIY crochet soccer ball toy pattern was made with you in mind, whether it’s your first crochet football amigurumi or you’re adding another kawaii crochet soccer ball to your collection. So, let’s keep that hook moving and bring your red and yellow crochet soccer ball pattern (and beginner friendly crochet soccer ball plushie) to life!
Materials Needed for This Crochet Soccer Ball Amigurumi Pattern
You will need the following supplies to make this cute kawaii amigurumi soccer ball free pattern:
- Yarn:
- Red yarn (DK / light worsted weight) – about 50–60 grams
- Yellow yarn (same weight and brand) – about 30–40 grams (I used Alize brand in the video, but any similar DK yarn works well)
- Crochet Hook: 2.5 mm (or 3.0 mm if your tension is loose)
- Fiberfill stuffing (polyfill) – enough to make the ball firm and round
- Yarn needle (tapestry needle) for sewing the pieces together
- Scissors
- Stitch markers (optional but very helpful)
- Optional for kawaii face: Small black safety eyes or black embroidery thread
Finished Size: Approximately 10–12 cm (4–5 inches) in diameter using DK yarn and 2.5 mm hook.
Skill Level: Beginner friendly – perfect for your first easy DIY crochet soccer ball toy pattern or beginner friendly crochet soccer ball plushie.
Abbreviations (US terms):
- MR = Magic Ring
- sc = Single Crochet
- inc = Increase (2 sc in the same stitch)
- sl st = Slip Stitch
- ch = Chain
How to Crochet the Soccer Ball Segments
You will make 20 red hexagons and 12 yellow pentagons. All pieces are worked in continuous rounds with a 2.5 mm hook (or 3.0 mm if your tension is tight). Use US crochet terms.
Red Hexagons (Make 20)
Use red yarn.
- Round 1: Start with a magic ring (MR). Make 6 single crochet (sc) inside the ring. Pull tight and slip stitch (sl st) to join. (6 sts)
- Round 2: Chain 1. Make 2 sc in each stitch around. Join with sl st. (12 sts)
- Round 3: Chain 1. (1 sc, inc) repeat 6 times. Join. (18 sts)
- Round 4: Chain 1. (2 sc, inc) repeat 6 times. Join. (24 sts)
- Round 5: Chain 1. (3 sc, inc) repeat 6 times. Join. (30 sts)
Moreover, fasten off and leave a long tail (about 30 cm) for sewing. Make 19 more hexagons the same way.
Yellow Pentagons (Make 12)
Use yellow yarn.
- Round 1: Magic ring (MR). Make 5 single crochet (sc) inside the ring. Pull tight and sl st to join. (5 sts)
- Round 2: Chain 1. Make 2 sc in each stitch around. Join. (10 sts)
- Round 3: Chain 1. (1 sc, inc) repeat 5 times. Join. (15 sts)
- Round 4: Chain 1. (2 sc, inc) repeat 5 times. Join. (20 sts)
- Round 5: Chain 1. (3 sc, inc) repeat 5 times. Join. (25 sts)
Also, fasten off and leave a long tail for sewing. Make 11 more pentagons.
Tip: So, after finishing each piece, gently pull the corners to help them keep a nice pentagon or hexagon shape.
How to Join the Pieces – Step by Step
You will sew the pieces together using whip stitch (also called mattress stitch or sewing with yarn needle). So, always place the right sides facing out.
- Start with one yellow pentagon in the center.
- Sew 5 red hexagons around this central pentagon (one on each side of the pentagon).
- In the gaps between those hexagons, sew new yellow pentagons. Each new pentagon will touch 5 red hexagons.
- Continue adding red hexagons and yellow pentagons following the classic soccer ball layout (pentagons never touch other pentagons).
- Build it up like a bowl, then a half-ball, leaving an opening big enough to add stuffing.
Sewing Tip:
- Line up the edges carefully.
- Use the long yarn tails or matching yarn.
- Sew through the outer loops only for a clean, invisible join.
- Work from the outside, keeping the ball curving naturally as you go.
Stuffing and Finishing Your Crochet Soccer Ball
- When only a small opening remains, stuff the ball firmly with fiberfill. Also, push the stuffing evenly so your kawaii crochet soccer ball becomes round and bouncy.
- Add more stuffing until it feels solid but still a little squishy.
- Close the last opening by continuing the whip stitch.
- Weave in all ends securely and trim them.
Finished Size: About 10–12 cm (4–5 inches) across when using DK yarn and 2.5 mm hook.
Final Words
You now have your very own cute kawaii amigurumi soccer ball free pattern! Also, this easy DIY crochet soccer ball toy pattern and red and yellow crochet soccer ball pattern makes a perfect beginner friendly crochet soccer ball plushie or gift for soccer fans.
Common Mistakes & How to Fix Them
Making your first crochet soccer ball amigurumi pattern is fun, but even beginners can face a few small problems. So, here are the most common mistakes and easy ways to fix them so your cute kawaii amigurumi soccer ball free pattern turns out perfect.
-
The ball looks lumpy or uneven
This usually happens when the stuffing is not distributed evenly. Fix: Add small amounts of fiberfill at a time and push it gently into all the corners. Stuff your beginner friendly crochet soccer ball plushie firmly so it holds a nice round shape.
-
Holes or stuffing showing through
You may have loose tension or skipped stitches. Fix: Use a smaller hook (try 2.25 mm or 2.5 mm) and keep your tension consistent. Check your stitch count at the end of every round in this pentagon hexagon crochet soccer ball tutorial.
-
Pentagons and hexagons are different sizes
This is very common if you forget increases or count wrong. Fix: Always count your stitches after each round. Your hexagons should have 30 stitches and pentagons 25 stitches at the end. If sizes don’t match, redo the piece.
-
Seams look messy or have big gaps
This happens when you sew through the wrong loops or pull the yarn too tight. Fix: Always sew with the right sides facing out and use only the outer loops for a clean join. Keep your sewing tension even while assembling your red and yellow crochet soccer ball pattern.
-
The ball doesn’t hold its round shape
Usually caused by under-stuffing. Fix: Keep adding fiberfill until the ball feels firm and bouncy. A soft easy DIY crochet soccer ball toy pattern is nice, but a slightly firm one looks much better.
-
Losing your place in the rounds
Easy to do when you put the work down. Fix: Always use a stitch marker in the first stitch of each round. This small habit makes your step by step crochet soccer ball amigurumi for beginners much smoother.