Free Crochet Cat Coaster Amigurumi Pattern
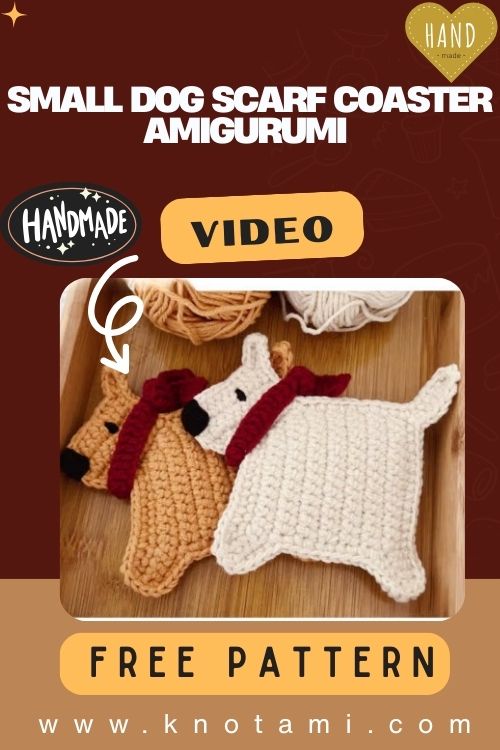
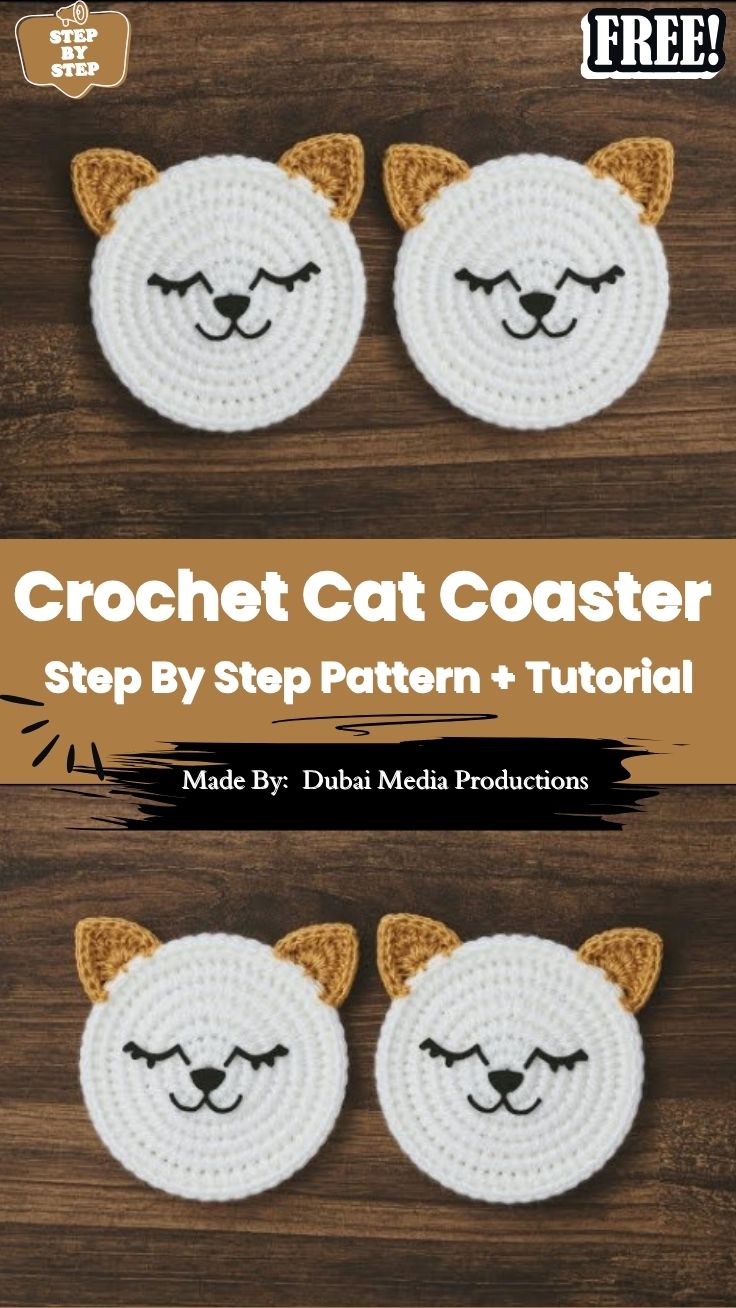
Two small pointed ears and a sweet embroidered face sit atop a flat crochet base in this Free Crochet Cat Coaster Amigurumi Pattern, designed to hold your morning coffee or evening tea in style. Its washable surface makes it genuinely useful too.
Worked flat rather than stuffed, the coaster skips complicated shaping, making it an easy pick for beginners still building their amigurumi skills. It only takes a small amount of yarn, so it’s also a satisfying stash-busting project. The cat coaster design stays lightweight and reusable, protecting tables from hot mugs or cold glasses alike. Whether stitched for yourself, gifted to a friend, or sold at a craft fair, the amigurumi pattern is quick enough to make again and again.
Crochet Cat Coaster Overview
A cat coaster combines two crochet skills most makers already know the flat circle and simple shaping into one small, satisfying project. Rounds build outward from a magic circle, ears get worked directly into the final round or attached afterward, and a bit of embroidery brings the face to life.
Style and Look
Playful, minimal, and instantly recognizable as a cat, the finished coaster reads as a rounded face with two triangular ears breaking the silhouette. Color choice does most of the personality work: tabby orange, sleek black, or soft gray all read clearly as “cat” once the ears go on.
Time Box
Roughly 45–60 minutes per coaster once tension is dialed in, including embroidery. A matching set of four to six coasters fits comfortably into a weekend evening.
Finished Size (per coaster)
Approximately 4 inches (10cm) across including the ears, though final size shifts depending on yarn weight, hook size, and individual tension always test against a real mug before finishing a full set.
Materials
Yarn Weight: Worsted weight (US #4) cotton or cotton-acrylic blend works best for structure and stitch definition.
Yarn Quantity: Roughly 25–30 yards main color, 5–8 yards contrast color per coaster confirm exact yardage against your own tension before batch-buying for a set.
Hook Size: 4mm–5mm, matched to yarn weight; smaller hooks tighten the fabric and help the circle stay flat.
Gauge: Gauge isn’t fixed here, but tension is everything too loose and the edges ripple, too tight and the circle cups upward like a shallow bowl. Test a small swatch and lay it flat before committing to a full coaster.
Additional Supplies: Tapestry needle, stitch marker, scissors, embroidery floss (or small safety eyes for a dimensional face), blocking pins and a flat mat, optional felt or non-slip fabric for backing.
Abbreviations
- MC – Magic Circle
- sc – Single Crochet
- hdc – Half Double Crochet
- inc – Increase
- dec – Decrease
- st(s) – Stitch(es)
Important Stitches
Working in continuous spiral rounds (rather than joined rounds) keeps the surface smoother and avoids a visible seam line running across the face. A stitch marker on the first stitch of each round prevents losing track of where a round begins. Color changes for face markings should happen one stitch before the color-change point, drawing the new color through the last two loops so the transition sits cleanly rather than leaving a visible jog.
Before You Start
Swatch first. A coaster’s entire function depends on lying flat, so a few test rounds in your actual yarn and hook combination save frustration later adjust hook size up or down until the circle sits flush against a table with zero cupping or rippling.
How the Coaster Is Constructed
The base builds outward from a magic circle in evenly spaced increase rounds until reaching the target diameter, the ears form in the final round or as small attached triangles, and the face gets embroidered or appliquéd on last, once the shape is confirmed flat.
Step-by-Step Pattern
Starting the Base Circle
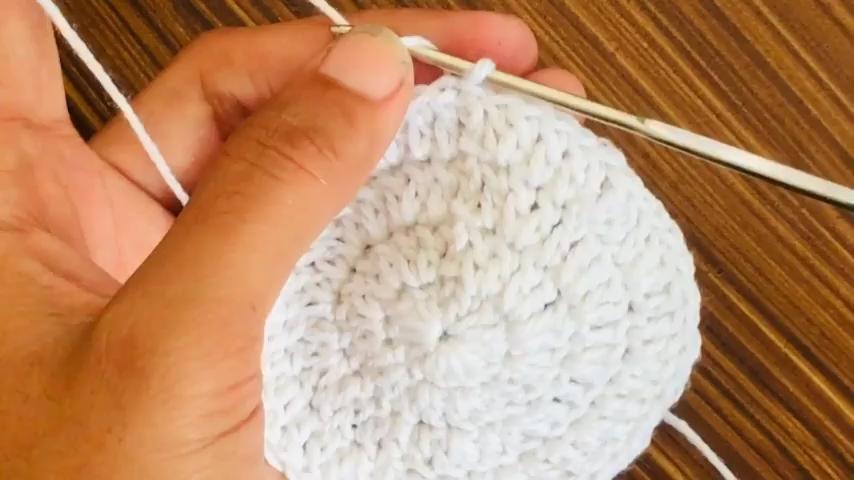
Begin with 6 single crochet stitches into a magic circle, pulling the ring closed snugly. From here, increase evenly around each round, doubling the stitch count in round one, then spacing increases evenly in subsequent rounds until the circle reaches roughly 4 inches across.
Pro-Tip: Lay the piece flat on a table every two rounds, not just at the end. Catching a ripple or cup early means undoing two rounds instead of the whole coaster.
Shaping the Cat Ears
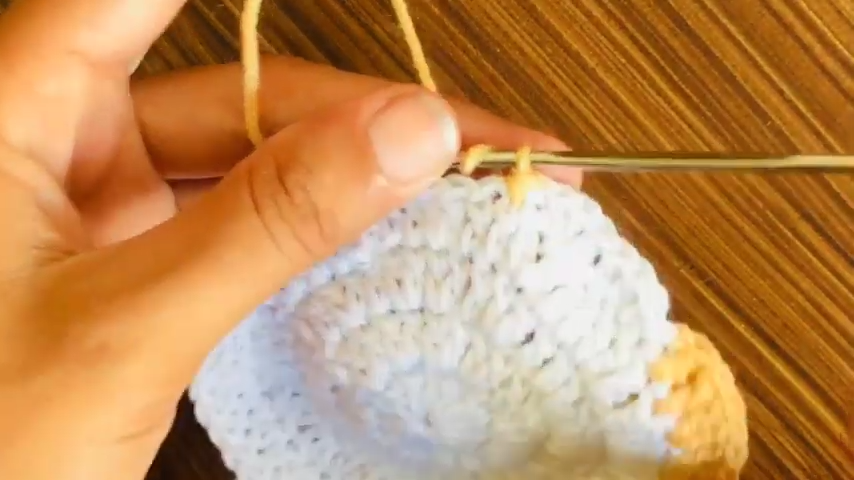
Work each ear as a small triangle, a handful of stitches building up and decreasing back down to a point either directly into stitches along the final round or as a separate piece. Making both ears in the same sitting, using the identical stitch count, keeps them matched.
Adding Face Details
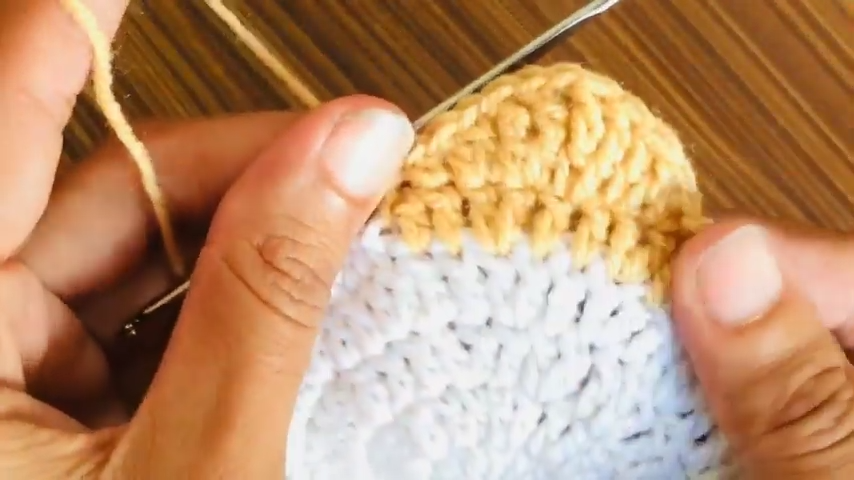
Switch colors for markings using the last-two-loops technique mentioned above, and keep any patches (like an eye patch or muzzle marking) symmetrical by counting stitches from the center point outward on both sides.
Assembling Ears onto the Base
If ears are worked separately, pin them in place before sewing, checking that both sit at matching height and angle. Whip stitch along the base of each ear, weaving in ends securely so nothing pulls loose with regular handling.
Border and Edging
An optional single round of slip stitch or reverse single crochet around the outer edge cleans up the silhouette and adds a touch of durability to the edge that takes the most handling.
Stitch Count Checkpoints
Count stitches before closing each round. A miscount early in a flat circle compounds with every subsequent increase round, throwing the whole shape off-center by the time ears go on.
Keeping a Set Identical
Log the exact stitch count per round on the first coaster, then follow that same log for every coaster after — same hook, same tension, same number of rounds. Comparing two finished coasters side by side is the fastest way to catch a set that’s drifted apart in size.
Shaping and Lay-Flat Tips
If a circle domes slightly, a light steam block usually corrects it pin the piece flat on a blocking mat, hover a steam iron above without touching the yarn, and let it dry completely before moving it.
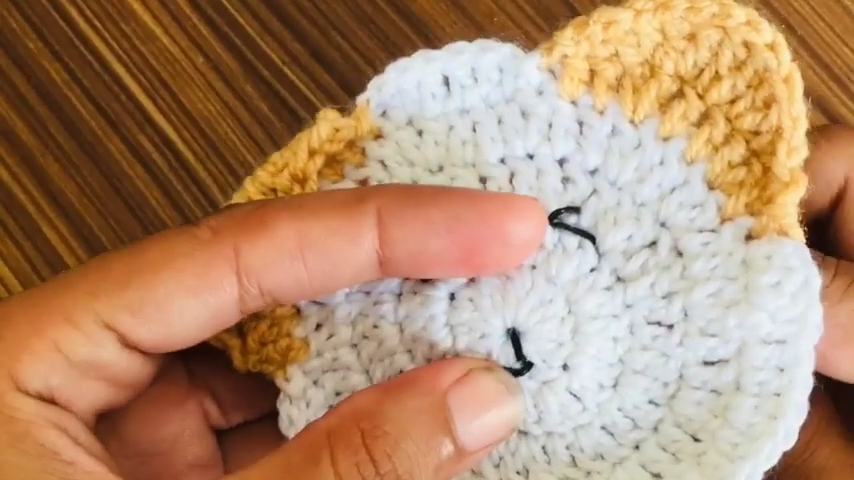
If you enjoy learning visually, be sure to watch the complete video tutorial before starting your project. The video shows every step of making the Crochet Cat Coaster Amigurumi, from creating the magic ring and crocheting the flat circular coaster to attaching the ears and embroidering the cat’s face.
Watch The Video Tutorial
If you’d like to follow along visually, this video walkthrough covers
the same steps shown below. It’s a helpful reference if you prefer
watching over reading, but the full written pattern with exact stitch
counts is available right here on this page.
Blocking
Cotton yarn responds especially well to blocking. Pin the finished circle flat, mist lightly with water, and let it air dry fully before attaching ears or embroidering the face; blocking after assembly risks warping the ear shape.
Common Mistakes
Skipping the flat-lay test until the very end, mismatching ear stitch counts between the two sides, and rushing color changes without the last-two-loops technique are the three issues that show up most in early attempts.
Troubleshooting
Problem: Coaster cups upward like a shallow bowl.
Why it happens: Tension is too tight for the hook size, pulling the increase rounds inward.
How to recognize it: The edges lift off the table when the center is pressed flat.
How to fix it: Size up the hook by half a millimeter, or consciously loosen tension on increase stitches.
Problem: Edges ripple or wave.
Why it happens: Too many increases for the round, or tension too loose.
How to recognize it: The circle lies flat in the center but the outer edge buckles.
How to fix it: Reduce increases slightly on the outer rounds, or size down the hook.
Problem: Ears don’t match.
Why it happens: Different stitch counts or tension between the two ears, often made on separate days.
How to recognize it: Side-by-side comparison shows a visible size or angle difference.
How to fix it: Frog and rework the smaller ear to match the stitch count of the larger one.
Problem: Visible jog line on color-change markings.
Why it happens: Color switched at the standard point instead of one stitch early.
How to recognize it: A stair-step line where colors meet, rather than a clean diagonal.
How to fix it: Rework the round, changing colors one stitch before the marking begins.
Finishing
Attaching Eyes and Face Details Safely
Embroidered features are the safest and most durable option for an item that gets handled daily — safety eyes work too, but check the backing washer sits flush and won’t catch on tablecloths or napkins.
Adding a Non-Slip Backing
A thin circle of felt or non-slip fabric glued or stitched to the back keeps the coaster from sliding on smooth surfaces like glass or lacquered wood tables.
Washing and Care
Cotton coasters handle hand washing and air drying well and hold up to repeated spills without losing shape. Acrylic versions should avoid prolonged contact with very hot mugs, as sustained heat can slightly flatten stitch texture over time.
Styling Ideas
A set of four to six coasters in coordinated but not identical colors makes an easy gift bundle. Matching them loosely to a kitchen’s existing palette sage and cream, terracotta and black turns a simple craft project into a decor accent.
FAQs
Does gauge matter for a cat coaster?
Exact gauge matters less than consistency what matters most is testing your own tension against a flat surface before committing to a full set.
Can acrylic yarn be used instead of cotton?
Yes, though cotton holds its shape better around hot mugs and absorbs spills more effectively over time.
How do I keep multiple coasters the same size?
Track stitch counts per round on the first coaster and repeat that exact structure for every coaster after.
Why does my coaster curl at the edges?
Curling usually points to loose tension or too few increases for the round a firmer hook size or tighter stitches typically resolves it.
Conclusion
A handful of rounds, two little ears, and a bit of embroidery turn simple cotton scraps into a coaster set worth gifting or keeping. Test the flatness early, keep tension consistent across the set, and the rest comes together in an evening.