Free Crochet Hat Keychain Pattern for Beginners
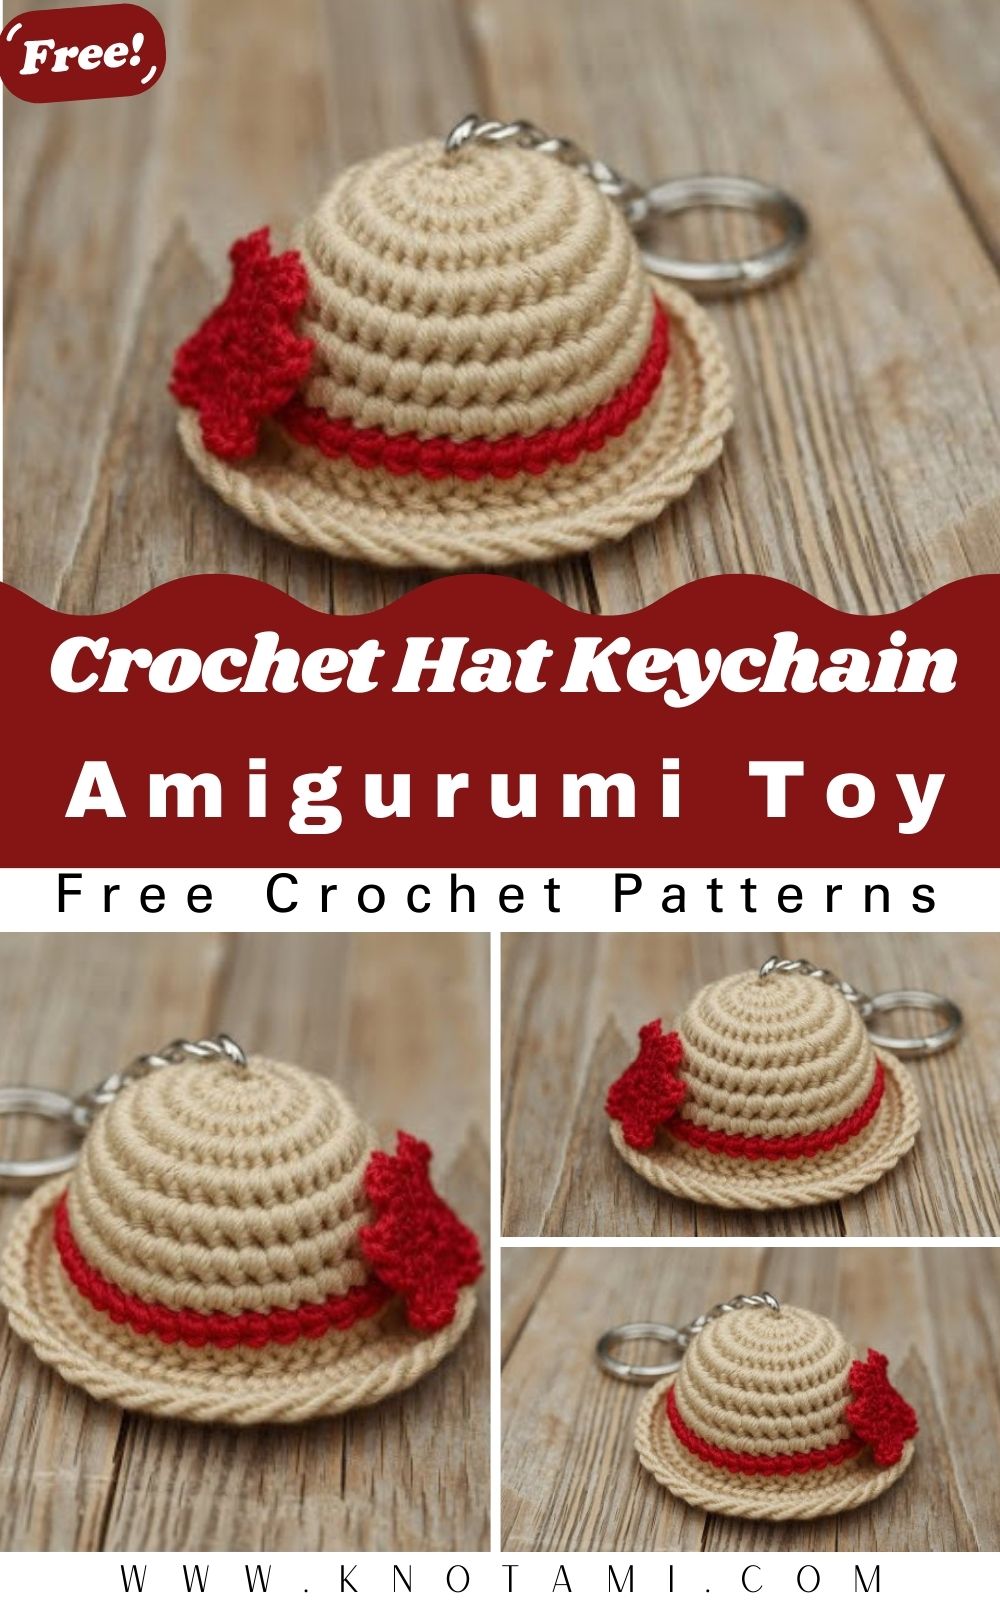
A magic ring a few rounds of single crochet and suddenly there is a tiny hat sitting in your palm. It is small enough to lose in a drawer yet sturdy enough to ride on your keys for months. This free crochet hat keychain pattern for beginners turns a little leftover cotton into something you will actually carry every day.
Working this small changes things a bit. Tension matters more than on a full-size project because one loose stitch shows right away on a round this tiny. The keyring also needs more than a quick loop of yarn if you want it to last. This pattern covers both along with the shaping that keeps the crown round and the brim flat.
Skill Level
Beginner. You should be comfortable making a magic ring, working single crochet in the round, and making simple increases.
Materials
- Yarn: Fingering or sport weight cotton, under 10 g in total. You need a main color for the hat, a contrast color for the band, and a small bit of a third color for the flower.
- Hook: 2.5 mm
- Hardware: One keyring (about 25–30 mm across), one jump ring, and a lobster clasp if you want to clip it onto bags too
- Notions: Stitch marker, tapestry needle, scissors, and small pliers for the jump ring
- Optional trims: A tiny pearl bead, a mini button or a small bow
Abbreviations
- MR – magic ring
- ch – chain
- sl st – slip stitch
- sc – single crochet
- inc – increase (2 sc in the same stitch)
- st(s) – stitch(es)
Before You Start
Tension. On rounds this small, a slightly loose stitch is the difference between neat and gappy. Make a practice magic ring first, then hold it up to the light. If you can see light between the stitches, go down a hook size or tighten your hand.
Stitch markers. Work in continuous rounds and move your marker up at the start of every round. Count your stitches before starting the next one. At this scale, a missing stitch will not look wrong until several rounds later.
Step-by-Step Hat Keychain Pattern
Step 1: Crochet the Crown
The crown is a flat circle that grows by 6 stitches each round until it reaches 30 stitches.
- Round 1: 6 sc in MR, pull tight (6)
- Round 2: inc in each st around (12)
- Round 3: (sc 1, inc) 6 times (18)
- Round 4: (sc 2, inc) 6 times (24)
- Round 5: (sc 3, inc) 6 times (30)
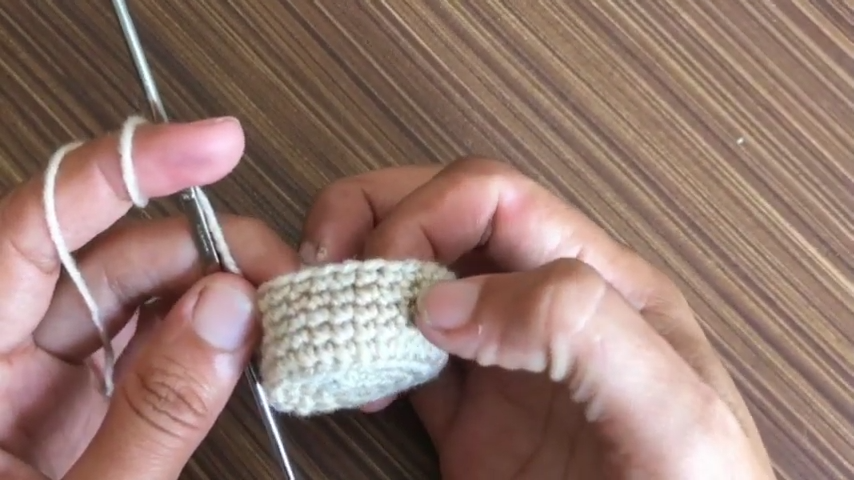
Lay the piece on the table after each round. It should sit flat. If it starts to cone upward, the increases are bunched together, so undo the round and space them evenly. Check the video to confirm the crown size before moving on.
Step 2: Crochet the Hat Sides
Now stop increasing. Working even rounds makes the edge turn down and builds the straight sides of the hat.
- Rounds 6–8: sc in each st around (30)
For a deeper hat, add one or two more even rounds before the brim. The piece should now look like a small dome with straight sides.

Step 3: Crochet the Brim
Increasing again at the bottom edge pushes the brim outward.
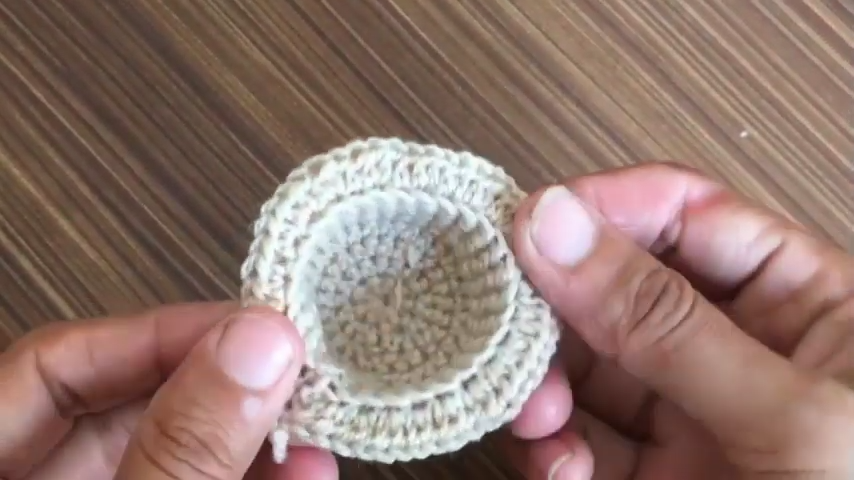
- Round 9: (sc 4, inc) 6 times (36)
- Round 10: sc in each st around (36)
For a wider brim, repeat another increase round with the increases spaced evenly. Sl st into the next stitch and fasten off.
If you want a decorative edge, work one of these around the brim before fastening off: a slip stitch border, crab stitch (reverse single crochet), or a small picot edge.
If the brim curls under instead of spreading, your stitches are likely too tight on that round. Loosen your hand just for the brim, or give it a light steam once it is finished.
Step 4: Add the Decorative Band
Join your contrast color just above the brim, where the sides meet it. Work one round of surface slip stitch, or single crochet, all the way around the hat. Fasten off and weave in the ends on the inside.
Colors that pop well against a neutral hat include bright red, navy, emerald green, mustard yellow, dark brown and black.
Step 5: Crochet the Flower
- Make a magic ring.
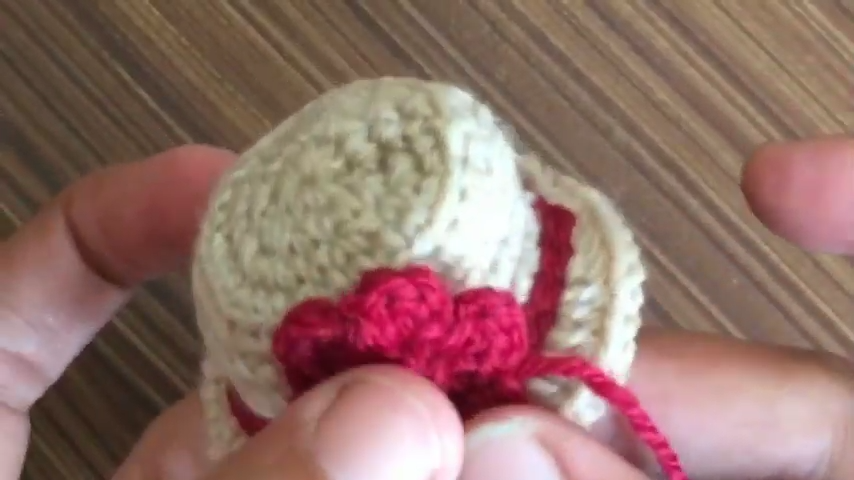
- Into the ring, work (ch 2, sl st) 5 times to form five little petals.
- Pull the ring closed and fasten off, leaving a long tail.
- Sew the flower onto one side of the band.
A tiny pearl bead in the center of the flower, or a small button or bow in its place, is an easy way to make each keychain a little different.
Step 6: Attach the Keyring
This is the step that decides whether the hat survives daily use, so take your time.
- Using your tapestry needle, sew a small yarn loop through the center top of the crown. Pass through at least twice, in slightly different spots each time, then knot it firmly inside and weave the tail through several stitches.
- Open the jump ring with pliers, slide it through the yarn loop and the keyring, then close it fully so there is no gap.
- Add a lobster clasp to the jump ring if you want to clip it onto a bag instead.
- Give the ring a firm tug before calling it done.
Watch the Video Tutorial
Prefer to learn by watching? Play the full video before you begin. It shows every stage of this crochet hat keychain, from the rounded crown and brim to the little flower and the keyring.
Common Mistakes
- Gaps between stitches: The hook is too big for the yarn, or tension is loose.
- A cone-shaped crown: The increases were bunched together instead of spread evenly.
- An uneven brim: Tension changed partway around the increase round.
- A weak keyring: One pass of yarn was used instead of a reinforced loop.
- Losing count: The stitch marker was not moved up every round.
Troubleshooting
- The hat looks lopsided: Recount the crown rounds. An uneven side usually comes from a missed or extra stitch there.
- The brim will not lie flat: Hold a steam iron just above it without touching the yarn, then let it cool flat. Do not soak it.
- The keyring came loose: Cut the old loop out and sew a fresh reinforced one instead of patching the old spot.
Size Changes
A 2.0 mm hook with finer thread makes a smaller hat, which is nice as a bag charm. A 3.0 mm hook gives a softer, slightly larger hat, though the brim will be less crisp.
Seasonal Hat Charm Ideas
- Spring: A cream or pale pink hat with a mint band and a yellow flower.
- Summer: A tan “straw” hat with a navy or red band. Skip the flower and add a tiny bow.
- Autumn: A mustard or rust hat with a dark brown band and a small crochet leaf.
- Winter holidays: A red hat with a white band and a green flower, or a green hat with a red band.
- Back to school: The hat in school colors, clipped to a backpack strap (for teens and adults).
If you love making tiny charms like this, try the crochet coffee cup keychain or the blueberry keychain next. For a festive set, the hat pairs nicely with the Christmas tree keychain and the Santa Claus keychain.
Care and Durability
A keychain gets knocked around every day, and cotton holds up better than acrylic against rubbing from keys and zippers. Spot clean it with a damp cloth instead of putting it in the washing machine. Check the keyring loop now and then, and sew it again as soon as it feels loose.
FAQs
Can I use worsted weight yarn instead?
Yes, but the hat will come out noticeably bigger and the brim will look less sharp. Use a hook around 3.5 mm so the fabric stays firm.
Do I need to stuff this hat?
No. The hat is open underneath, and firm, even stitches hold the dome shape on their own.
Will this fit a standard keyring?
Yes. A regular keyring of about 25–30 mm works well at this size.
Is this safe to hang on a child’s backpack?
Jump rings, clasps and beads are small parts that can become a choking hazard if they come off. This keychain is best for adult keys and bags, not items young children handle or put in their mouths.
Your Pocket-Sized Hat Is Ready to Travel
Ten short rounds, a band, a flower and a well-anchored ring, and you have a tiny accessory that goes wherever your keys go. Once the first one is done, the second takes half the time. Make a few in different colors to keep on hand for last-minute gifts.