
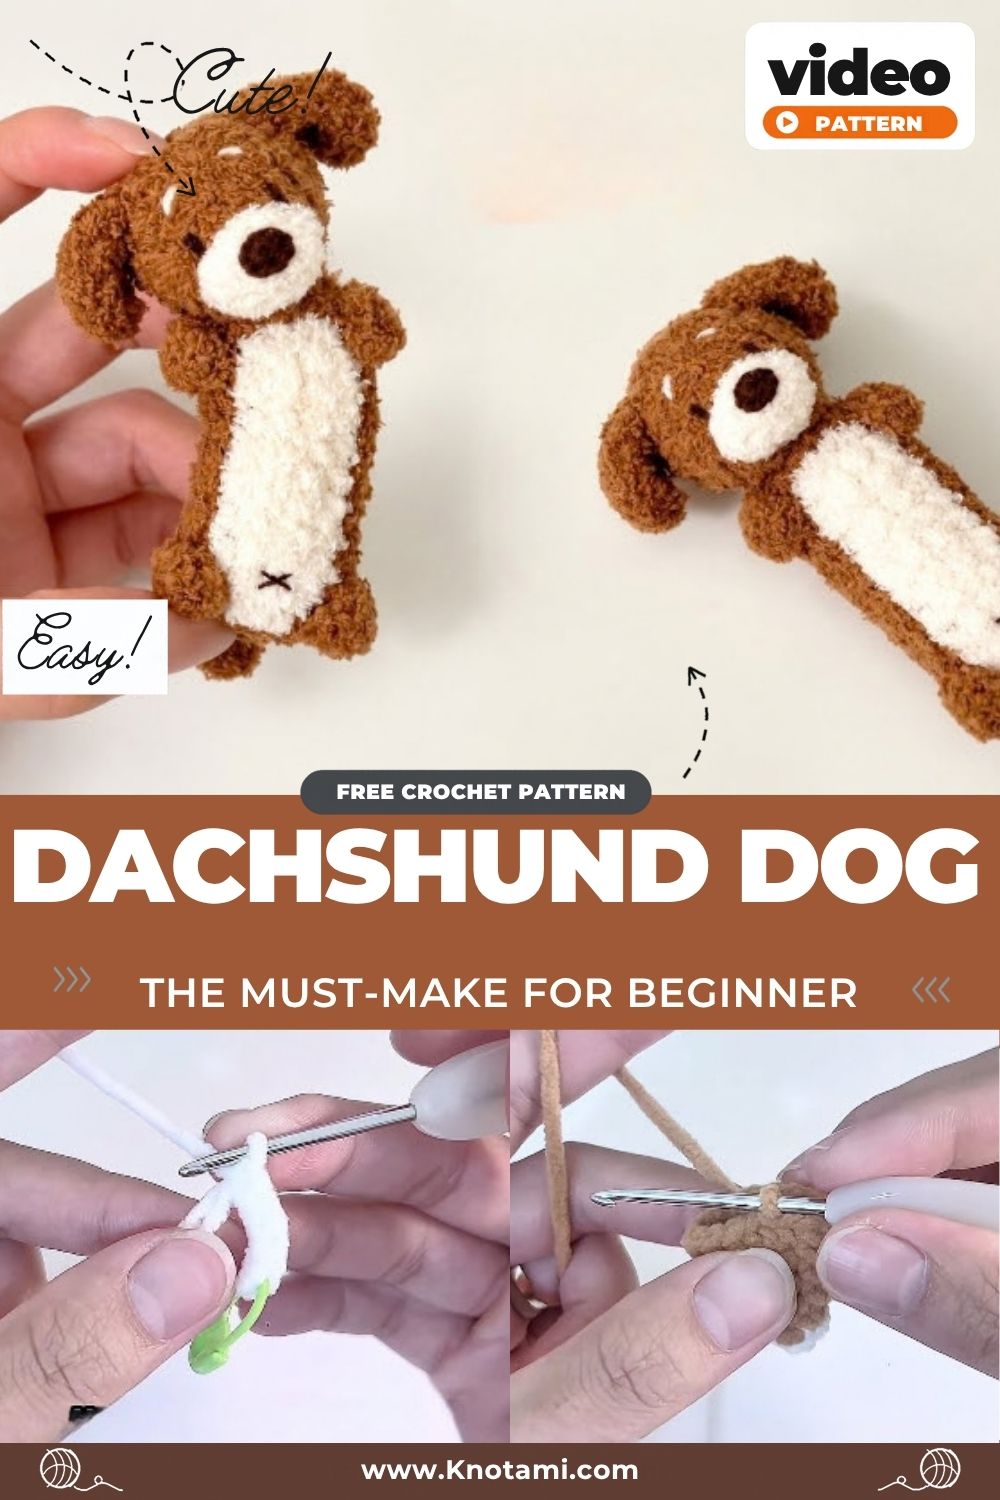
Velvety caramel loops, a button nose, and two floppy ears come together in the Crochet Dachshund Amigurumi in Fuzzy Yarn: Easy Mini Pup Pattern, a crochet dachshund dog amigurumi that dangles from your keys and makes a sweet, quick project for any sausage dog fan.
Real dachshunds are famous for long bodies, short legs, and big personalities, and the crochet dachshund dog amigurumi keeps every one of those charms. What makes the pattern special is the yarn. Soft chenille yarn gives the pup a plush, velvety coat, while a white muzzle and chest add contrast. Better still, each part is worked separately, stuffed lightly, and then sewn together, so the mini amigurumi dog stays easy even for newer makers.
Once finished, the dog measures about 9 cm (3.5 inches) from nose to tail. In other words, it’s small enough for a keychain, yet sturdy enough for little hands to squeeze and carry around.
Crochet Dachshund Dog Amigurumi at a Glance
Skill level: beginner to advanced beginner.
If you can work a magic ring and single crochet in rounds, you can finish the pup. However, fuzzy yarn hides stitches more than smooth cotton does, so the only real challenge is counting. Luckily, a stitch marker solves most of that. And since the pieces are tiny, mistakes are quick to rip back and redo.
- Prep: about 10 minutes to gather supplies
- Stitching: roughly 1.5 to 2 hours for all the pieces
- Finishing: 45 minutes to 1 hour for the face, sewing, and keychain loop
Materials for Your Crochet Dachshund Dog Amigurumi
Before you start, gather everything in one spot. After all, small parts go missing fast, especially safety eyes.
Yarn Colors
- Tan or caramel chenille/velvet yarn (main color, about 20 g)
- White chenille yarn for the muzzle, chest, and paws (about 5 g)
- A short length of black yarn for the nose, if you skip a safety nose
Crochet Hook Size
- 4 mm hook (G-6) works well for most bulky chenille yarns
- Drop to 3.5 mm if your stitches look loose or stuffing peeks through
Safety Eyes
- One pair of 6 mm black safety eyes
- Optional: one small black safety nose (8–10 mm oval)
Stuffing
- A handful of polyester fiberfill
Needle and Scissors
- Yarn needle with a large eye (since chenille is thick, a blunt tapestry needle is easiest)
- Small sharp scissors
Keychain Ring and Extras
- Keychain ring or lobster clasp with a jump ring
- Locking stitch markers
- Optional: a mini ribbon or bell for the collar
Crochet Techniques Used
Magic Ring
Every round piece starts with a magic ring, so the center closes tightly with no hole. First, wrap the yarn around two fingers. Next, work your stitches into the loop. Finally, pull the tail to cinch it shut.
Single Crochet
Nearly the whole dog is made with single crochet (sc). Because tight sc fabric holds stuffing in, it gives amigurumi its smooth, firm shape.
Increase and Decrease
- Increase (inc): 2 sc in the same stitch
- Decrease (dec): insert into the front loop of the next 2 stitches, yarn over, pull through both, then finish as a normal sc (an invisible decrease)
Sewing Parts Together
The head, legs, ears, and tail attach with a whip stitch using the yarn tails. As long as the yarn color matches, the seams stay almost invisible in fuzzy yarn.
Abbreviations: MR = magic ring, sc = single crochet, inc = increase, dec = decrease, ch = chain, sl st = slip stitch, FO = fasten off.
How to Crochet a Dachshund Amigurumi Step by Step
Work in continuous spiral rounds. To keep track, place a stitch marker in the first stitch of each round and move it up as you go.
Step 1: Head
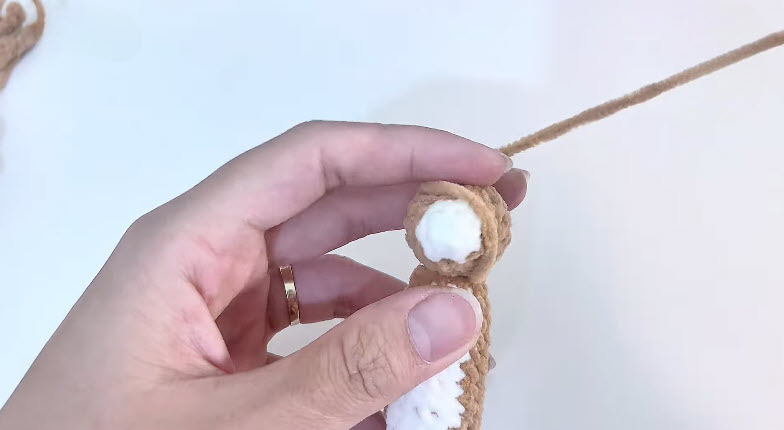
Use tan yarn.
- R1: 6 sc in MR (6)
- R2: inc in each stitch (12)
- R3: (sc, inc) x 6 (18)
- R4–R7: sc in each stitch (18), 4 rounds
- R8: (sc, dec) x 6 (12)
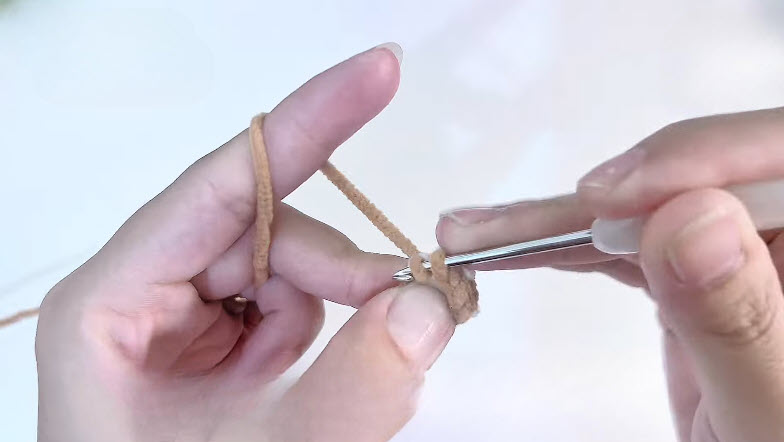
Now pause and insert the safety eyes between Rounds 5 and 6, about 5 stitches apart. Snap the backs on firmly, and then stuff the head.
- R9: dec x 6 (6)
FO and weave the tail through the front loops of the last 6 stitches. Then pull to close.
Pro-Tip: Chenille stitches are hard to read once the head is stuffed. So count Round 8 out loud before decreasing, because a missed stitch there makes the head lopsided.
Step 2: Muzzle
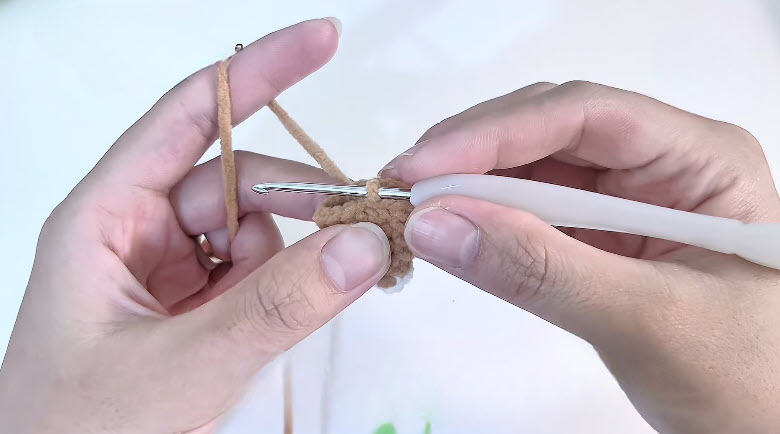
Use white yarn.
- R1: 6 sc in MR (6)
- R2: (sc, inc) x 3 (9)
- R3: sc in each stitch (9)
FO, leaving a long tail for sewing. Don’t stuff it yet.
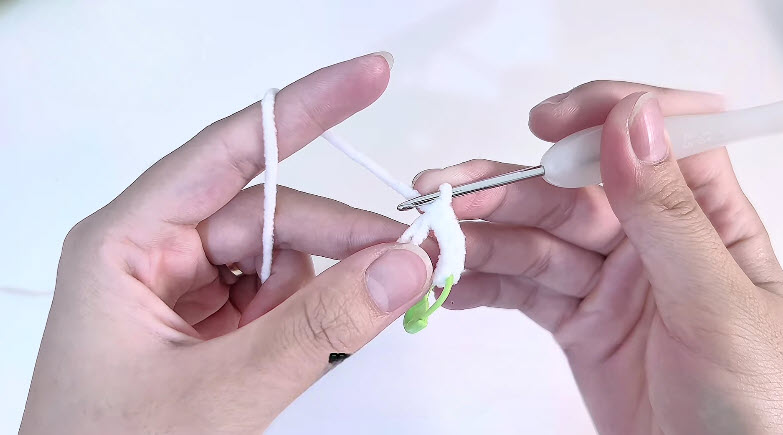
Step 3: Body
Start with white for the chest, then switch to tan.
- R1: 6 sc in MR (6)
- R2: inc in each stitch (12)
- R3: (sc, inc) x 6 (18)
- Change to tan.
- R4–R11: sc in each stitch (18), 8 rounds
Those extra rounds give the dachshund its signature long shape, so resist the urge to cut them short.
- R12: (sc, dec) x 6 (12)
Next, stuff the body firmly, keeping it smooth and tube-like.
- R13: dec x 6 (6)
FO and close the end.
Length check: the stuffed body should measure about 6 cm before you close it.
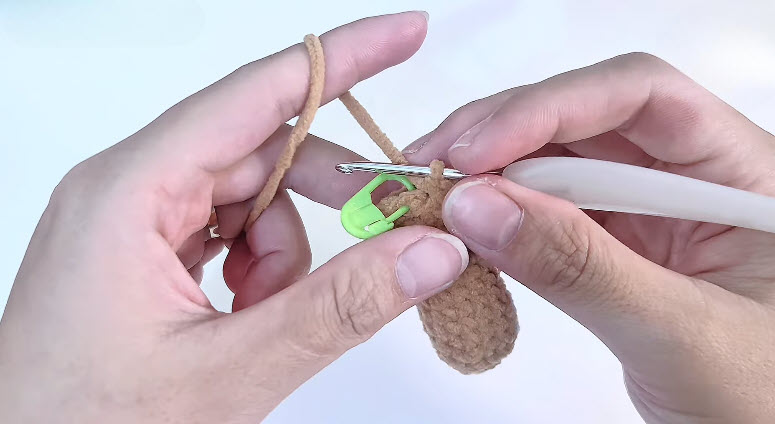
Step 4: Legs (Make 4)
Start with white for the paw, then switch to tan.
- R1: with white, 6 sc in MR (6)
- R2–R3: change to tan, sc in each stitch (6)
FO, leaving a tail for sewing. Then add a pinch of stuffing or leave the legs soft. Since dachshund legs are short, 3 rounds is enough.
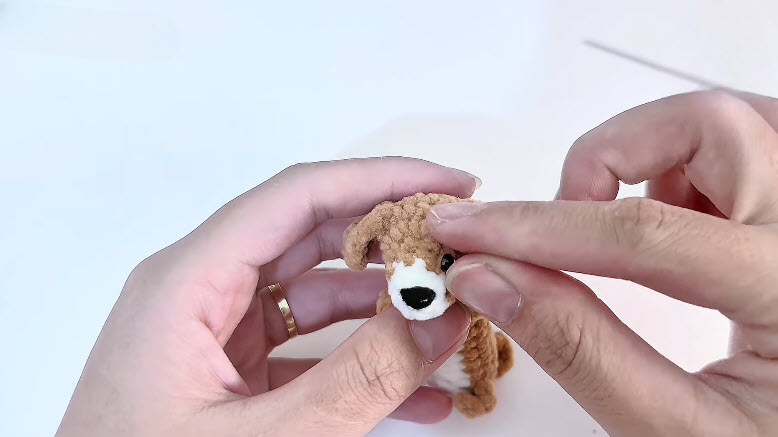
Step 5: Ears (Make 2)
Use tan yarn.
- R1: 6 sc in MR (6)
- R2: (sc, inc) x 3 (9)
- R3–R4: sc in each stitch (9)
FO, flatten, and leave the ears unstuffed. After all, floppy ears look best when they hang loose.
Step 6: Tail
Use tan yarn.
- Ch 8.
- Starting in the 2nd ch from the hook, sl st in the first chain, then sc in each of the remaining 6 chains (7).
FO, leaving a sewing tail. Usually, the fuzzy yarn makes the tail curl on its own.
Pro-Tip: If the tail looks too straight, roll it between your palms for a few seconds. That way, the chenille fibers settle into a gentle curve.
Step 7: Facial Details
- First, add the safety nose to the tip of the muzzle. Otherwise, embroider a small triangle nose with black yarn after sewing.
- Then stuff the muzzle lightly and sew it to the lower front of the head, just under the eyes.
- Finally, pin the ears on the sides of the head, roughly at Round 3, angled slightly backward.
Why it matters: pinning everything before sewing lets you check the expression from all angles, and on a face so small, every millimeter shows.
Step 8: Assembly
- Sew the head to the white chest end of the body, tilted slightly upward for a curious look.
- Next, attach two legs near the front and two near the back, spacing them evenly under the belly.
- After that, sew the tail onto the back end of the body.
- Lastly, hide all yarn tails inside the body and trim the ends.
Balance check: stand the pup on a table. If it tips, move one pair of legs a stitch further apart.
Step 9: Finishing Touches
- Sew a small loop of yarn to the top of the back, then attach the keychain ring.
- Tie a thin ribbon around the neck as a collar.
- Brush the fuzzy surface gently with your fingers to blend the seams.
Common Crochet Dachshund Dog Amigurumi Mistakes
- Skipping the stitch marker. In chenille, the round start disappears, so counts drift fast.
- Overstuffing the legs. As a result, they splay out and the pup won’t stand.
- Placing the eyes too high. Instead, keep them between Rounds 5 and 6 so the muzzle fits below.
- Sewing parts before pinning. Consequently, the face often ends up crooked.
Helpful Beginner Tips
Keep Stitches Tight
Loose stitches leave gaps where stuffing escapes. So if your fabric looks open, go down half a hook size. In fact, tight tension is the backbone of any good crochet pattern for toys.
Use Stitch Markers Every Round
Chenille hides the start of each round almost completely. Therefore, a locking marker saves you from counting blind and keeps your beginner crochet practice stress-free.
Proper Stuffing Techniques
- Add stuffing in small pinches, not one big clump.
- Then push it into the far ends first with the back of your hook.
- Stuff the head and body firmly, but keep the legs and ears soft.
- Finally, stop when the piece feels full but the stitches aren’t stretching.
Working With Fuzzy Chenille Yarn
Fuzzy yarn is soft and forgiving. Even so, it has a few quirks worth knowing before you start.
- Feel for the stitch, don’t just look. Run your fingertip over the top of the round to find each V.
- Avoid frogging too often. Chenille sheds and thins when pulled out again and again, so check counts before moving on.
- Use short tails. Otherwise, long yarn tails tangle and twist quickly in velvet yarn.
- Keep tension steady. Pulling too hard can snap chenille fibers at weak points.
Bonus Section: Kid-Safe Embroidered Eyes
For a toddler gift, skip the safety eyes and stitch the face instead. Here’s how:
- First, thread black yarn and come up from inside the head, between Rounds 5 and 6.
- Next, wrap 4 to 5 tight stitches over the same spot to form a small round eye.
- Then move 5 stitches over and repeat for the second eye.
- Finally, knot the yarn inside the head so nothing can be pulled loose.
Ways to Personalize Your Crochet Dachshund Dog Amigurumi
Coat Colors
- Black and tan for a classic dachshund coat
- Dapple grey with white spots for a spotted look
- Cream or chocolate for a long-haired variety
- Pastel pink or lilac for a playful, gift-ready version
For real coat ideas, browse the color and pattern section on the dachshund breed page.
Cute Accessories
- Tiny knitted sweater or scarf
- Felt bandana tied at the neck
- Mini bone sewn to one paw
- A small heart patch on the back
Size Swaps
- Use DK cotton and a 2.5 mm hook for an extra-small charm
- Remove 2 body rounds for a shorter, chubbier pup
- Size up with jumbo chenille and a 6 mm hook for a pillow buddy
Once you’ve tried a few versions, you’ll have a whole litter of handmade crochet ideas for gifts, craft fairs, or bag charms. For a matching keyring friend, our round bear keychain pattern works up just as fast.
Caring for Your Crochet Dachshund Dog Amigurumi
Spot clean the dog with a damp cloth and a drop of mild soap. Afterwards, let it air dry fully before clipping it back on your keys. However, avoid the washing machine, since spinning can flatten chenille and loosen the safety eyes.
Crochet Dachshund Dog Amigurumi FAQs
What Is the Best Yarn for Amigurumi?
Chenille or velvet yarn gives a soft, plush finish and hides small mistakes. On the other hand, cotton is better if you want crisp stitch definition. For beginners, a smooth medium-weight acrylic is the easiest to learn on. To read more about the craft itself, see the history of amigurumi.
How Do I Make a Crochet Plush Firm?
Use a smaller hook than the yarn label suggests, and stuff in small amounts. Also, pack the fiberfill well into the ends. Closing each piece with neat decreases keeps the shape tight, too.
How Long Does a Crochet Dachshund Dog Amigurumi Take?
Most makers finish the crochet dachshund dog amigurumi in about 2 to 3 hours. Beginners, however, may need an extra hour for sewing and facial details.
Is the Toy Safe for Babies?
Safety eyes can come loose with heavy chewing. For that reason, use the embroidered eyes from the bonus section for children under 3.
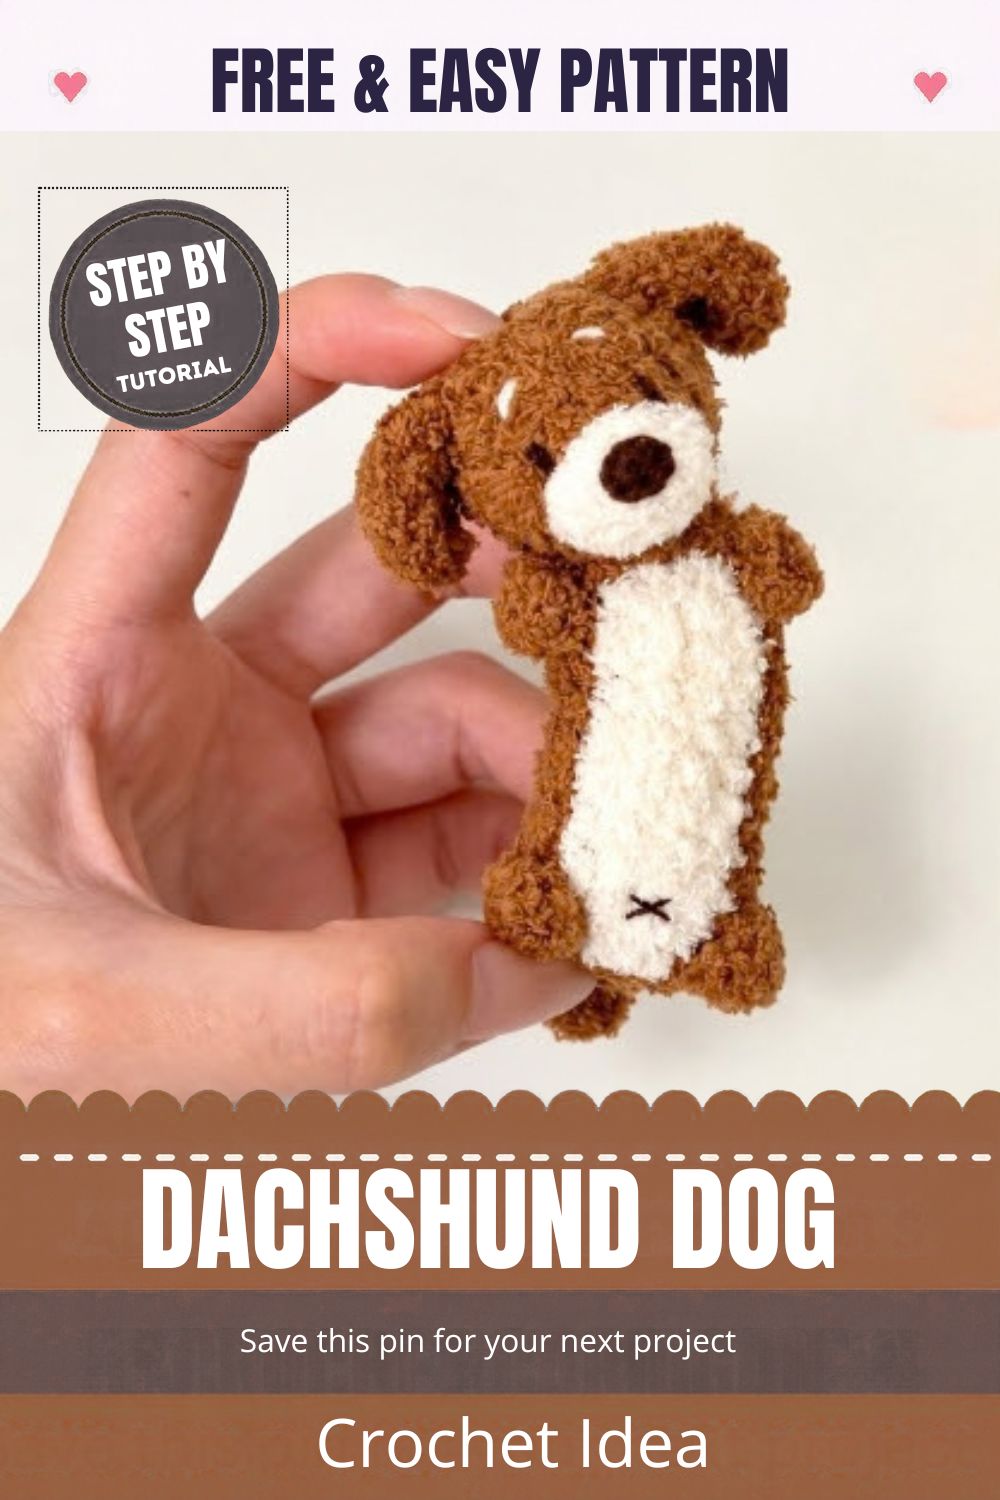
Your Sausage Pup Is Ready for Adventures
A tiny crochet dachshund dog amigurumi shows that a quick make can still be full of character. After all, a few rounds of tan, a white muzzle, and two floppy ears are all it takes to bring one to life.
So grab your fuzzy yarn and a stitch marker, and follow the crochet tutorial one step at a time. Once your pup is finished, clip it to your keys and start planning the next color. And if you’d like another small friend, the mini crochet panda amigurumi makes a lovely next project.