
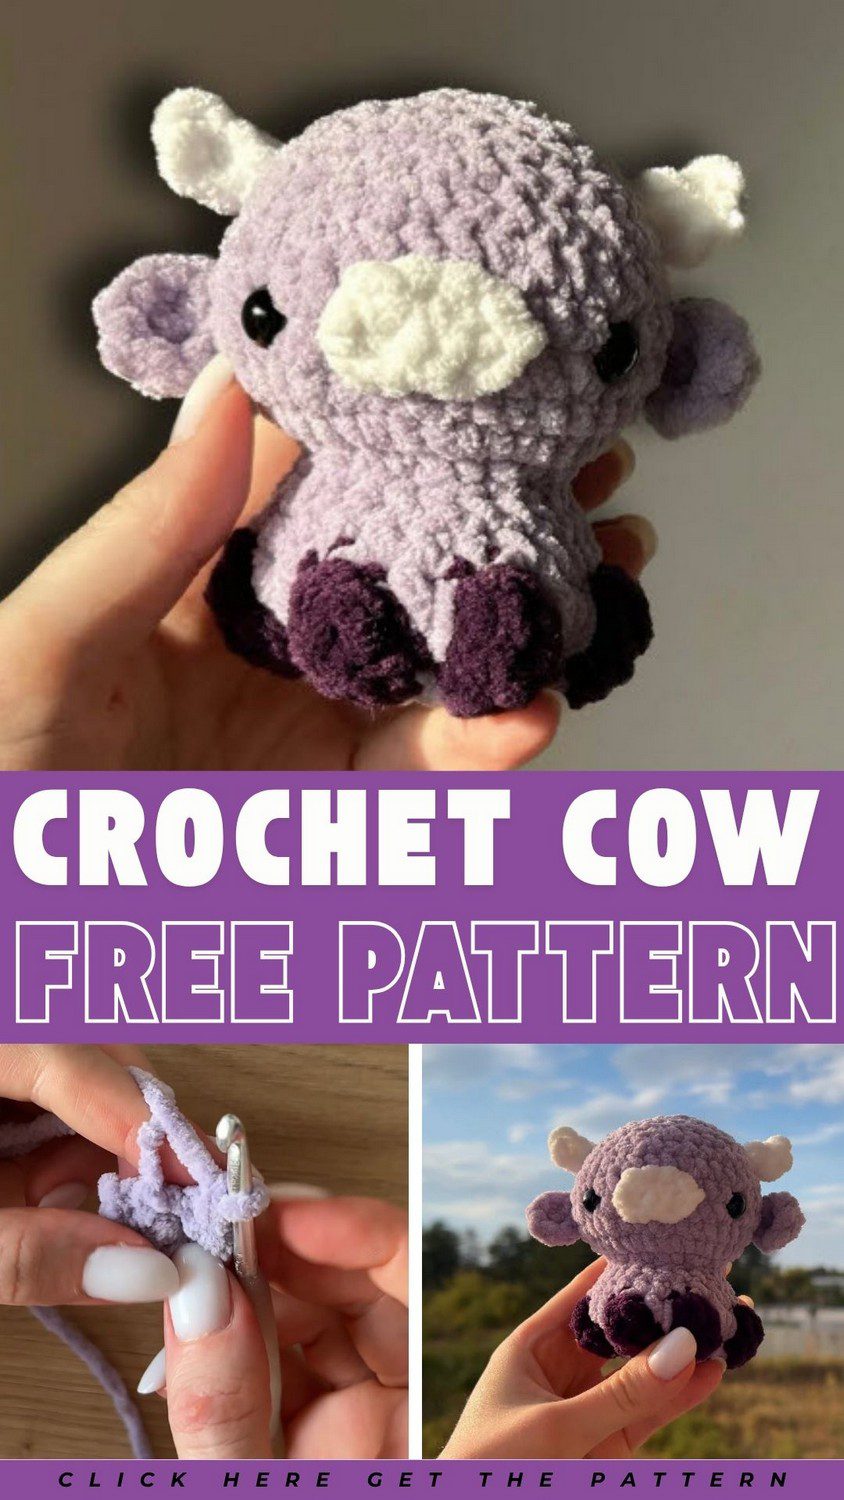
A little cow with big cuddle energy is about to join your yarn basket. This crochet cow amigurumi pattern gives you a playful yet practical toy with a soft plush look and classic cow patches that stand out. It is a cute crochet cow toy that can sit on a shelf, ride along on a keychain or be wrapped up as a present. The plush texture is made for hugging, and kids can turn it into the hero of their own farm stories.
If you like cottagecore crochet animals or any kawaii amigurumi pattern, this one fits right in with its sweet face and gentle shape. The crochet plush cow pattern uses simple shapes and a little sewing, so it works as a beginner amigurumi cow once you know the basics. The finished cow brightens up nurseries, bedrooms and cozy corners, which makes it great handmade nursery decor. It is also one of those crochet gift ideas for kids that people keep for years. Make an extra one now, and you will already have Christmas crochet gift ideas and Valentine’s crochet gifts ready when the season arrives.
Project Overview
Skill level: Advanced beginner (continuous rounds, increases, decreases and basic assembly)
Finished size: About 3 to 4 inches (7 to 10 cm) tall with plush chenille yarn
You will make:
- Head (white) with 8 mm safety eyes
- Body (white)
- Muzzle (pink), lightly stuffed, with black embroidered nostrils
- 2 horns (cream), unstuffed
- 2 inner ears (pink)
- 2 outer ears (white), each joined to an inner ear
- Patches (black or dark brown), surface-stitched on the head and body
- Optional eyebrows (black embroidery floss)
- Optional keychain loop
Materials and Quantities
- Yarn: chenille or sport-weight yarn in white (main colour), black or dark brown (patches), light pink (muzzle and inner ears) and cream (horns)
- Estimated yarn amount: roughly 20 to 30 g of white plush yarn, plus small scraps of the other colours (designer recommendation)
- Hook: 4.0 mm. Use 3.5 to 4.0 mm for DK or worsted cotton, or 4.5 to 5.0 mm for plush chenille.
- Designer tip: pick the hook size that keeps your stitches tight, so the stuffing doesn’t show through.
- Safety eyes: 8 mm (6 to 8 mm depending on scale)
- Polyester fiberfill
- Stitch marker
- Tapestry needle
- Black embroidery floss
- Scissors
- Sewing pins
Stitch Abbreviations (US Terms)
MR: magic ring
sc: single crochet
inc: increase (2 sc in the same stitch)
dec: invisible decrease. Insert the hook in the front loop of the next 2 stitches, yarn over and pull through all loops.
sl st: slip stitch
ch: chain
FLO: front loop only
BLO: back loop only
FO: fasten off
Skill Level, Gauge and Sizing
This pattern is for advanced beginners who are comfortable working in continuous rounds and counting stitches.
Gauge is not critical for a toy (designer recommendation). What matters is that your stitches are tight enough to hide the stuffing. If you can see fiberfill between stitches, go down a hook size.
Size depends on your yarn. Plush chenille gives the 3- to 4-inch cow above, and thinner yarn will give a slightly smaller one.
Before You Begin
- Work in continuous spiral rounds. Don’t join at the end of a round.
- Put a stitch marker in the first stitch of every round and move it up as you go.
- Count your stitches at the end of every round, so mistakes don’t carry into the next one.
- Stuff firmly as you go, but don’t overstuff, or gaps will show between stitches.
Complete Crochet Cow Amigurumi Pattern
Head (white)
Rnd 1: 6 sc in MR [6]
Rnd 2: inc around [12]
Rnd 3: (sc, inc) x 6 [18]
Rnd 4: (2 sc, inc) x 6 [24]
Rnd 5 to 8: sc in each st [24]
Insert the safety eyes between Rnds 6 and 7, about 5 stitches apart.
Rnd 9: (2 sc, dec) x 6 [18]
Rnd 10: (sc, dec) x 6 [12]
Stuff the head firmly.
Rnd 11: dec around [6]
FO, close the opening and weave in the tail.
Body (white)
Rnd 1: 6 sc in MR [6]
Rnd 2: inc around [12]
Rnd 3: (sc, inc) x 6 [18]
Rnd 4: (2 sc, inc) x 6 [24]
Rnd 5: (3 sc, inc) x 6 [30]
Rnd 6 to 9: sc in each st [30]
Rnd 10: (3 sc, dec) x 6 [24]
Rnd 11: sc in each st [24]
Rnd 12: (2 sc, dec) x 6 [18]
Stuff the body firmly.
Rnd 13: (sc, dec) x 6 [12]
FO, leaving a long tail for sewing to the head.
Designer tip: the 12-stitch opening can be sewn to the base of the head, or closed with a few more decreases. The original pattern doesn’t say which, so choose whichever looks neater with your yarn.
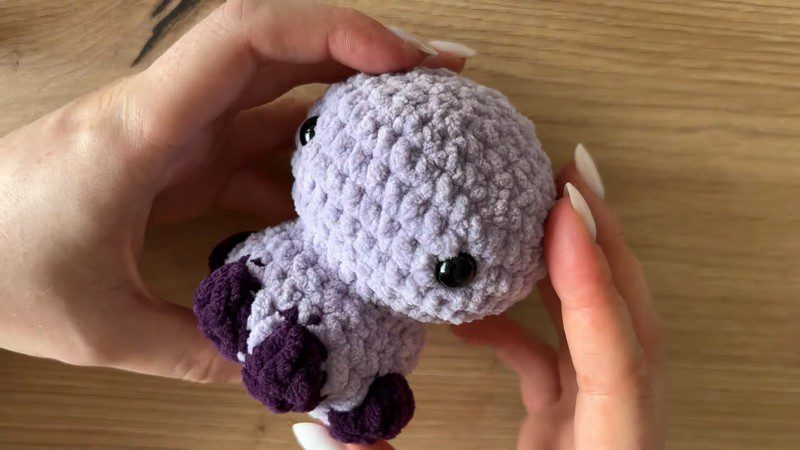
Ears (make 2)
Ear (pink)
Rnd 1: 6 sc in MR [6]
Rnd 2: inc around [12]
FO.
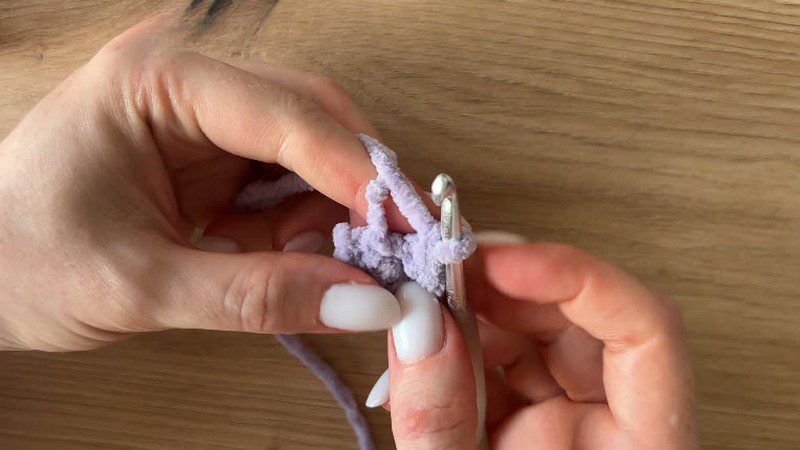
Horns (make 2, cream)
Rnd 1: 4 sc in MR [4]
Rnd 2 to 5: sc in each st [4]
FO, leaving a long tail. Do not stuff.
(white)
Rnd 1: 6 sc in MR [6]
Rnd 2: inc around [12]
Don’t fasten off.
Joining
Place the pink inner ear against the white outer ear and fold the base in half. Sc through both layers to secure. FO with a long tail.
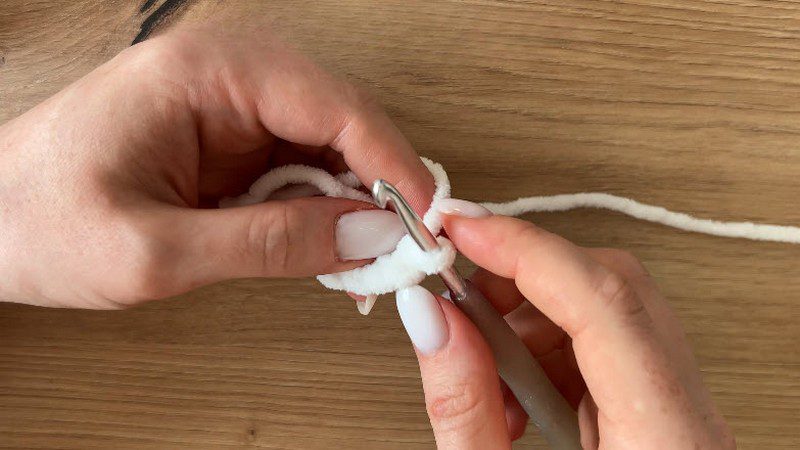
Muzzle (pink)
Rnd 1: ch 5. Starting in the 2nd ch from the hook: 3 sc, 3 sc in the last ch. Working along the other side of the chain: 2 sc, inc [10]
Rnd 2: inc, 2 sc, 3 inc, 2 sc, 2 inc [16]
Rnd 3: sc in each st [16]
FO, leaving a long tail. Stuff lightly and embroider two short vertical nostril lines in black.
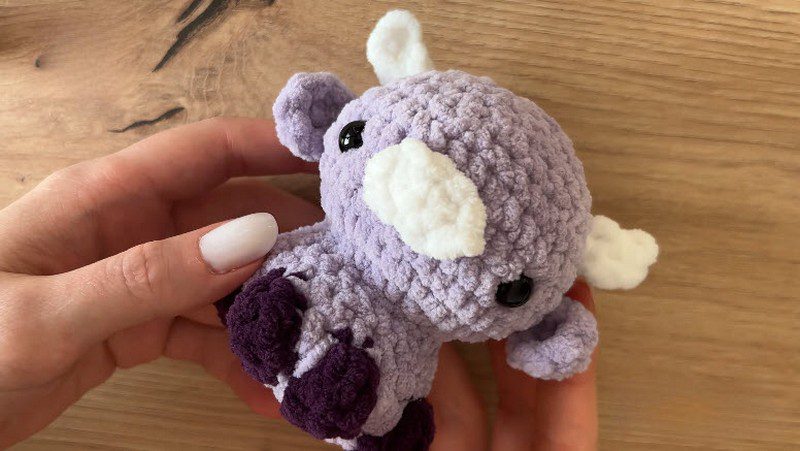
Assembly
Pin every part in place before sewing, so both sides match.
- Head to body: sew the neck of the head to the top of the body with the body’s yarn tail.
- Muzzle: pin the stuffed muzzle centred just below the eyes, then sew around its edge.
- Horns: sew them on top of the head, angled slightly outward.
- Ears: sew the folded base of each ear beside or just below its horn.
- Patches: surface-stitch random black or brown patches on the head and body.
- Face details: embroider small eyebrows above the eyes if you like.
Finishing
- Knot the ends securely and bury the tails inside the stuffed body.
- Roll each piece gently between your fingers to even out the stuffing.
- Check symmetry and make sure all ends are hidden.
- For a keychain, attach a loop through anchored stitches on top of the head.
Customisation
- Colours: try brown patches with a cream body, or a pastel pink cow with white patches.
- Size: thicker yarn with a larger hook, and bigger safety eyes, makes a bigger cow. Thinner yarn with a smaller hook makes a smaller one. Keep the stitches tight either way.
- Baby-friendly version: skip the plastic eyes and embroider the eyes with black yarn.
Troubleshooting
- Lost the start of the round: this usually happens when the stitch marker is skipped. Put a marker in the first stitch of every round and move it up each time.
- Overstuffed cow: too much fiberfill stretches the stitches and shows gaps. Stuff in small amounts and stop when the shape feels firm but still has a little give.
- Uneven tension: loose and tight stitches make a lumpy shape. Hold the yarn the same way throughout, and go down a hook size if the fabric looks loose.
- Stuffing showing between stitches: use a smaller hook, keep your stitches snug and avoid overstuffing.
Care Instructions
These are general recommendations.
- Spot clean with a damp cloth and a little mild soap.
- Chenille can mat, so brush it gently with your fingers and avoid rubbing hard.
- Keep the cow away from heat, such as radiators and hot dryers.
Safety note: for babies and small children, skip the plastic eyes and embroider all facial features with yarn.
FAQs
Can I use cotton instead of chenille?
Yes. Use a 3.5 to 4.0 mm hook with DK or worsted cotton. The cow will look less fluffy but will hold its shape well.
How do I make the cow bigger?
Use thicker yarn, a larger hook and bigger safety eyes. The stitch counts stay the same.
How do I make it baby-safe?
Embroider the eyes and all face details with yarn instead of using safety eyes.
Why is my stuffing showing?
Your stitches are probably too loose or the cow is overstuffed. Try a smaller hook and use less fiberfill.
How do I attach the patches?
Surface-stitch them onto the head and body with black or dark brown yarn, as described in the assembly steps.
Bonus: A Cow Gift Set Idea
Make a few cows in different patch colours and tie them together in a small gift bag. Add a handwritten tag with the cows’ names. It makes a sweet housewarming or birthday gift. If it’s for a young child, use the embroidered eyes and leave off the keychain loop.
That’s the Whole Cow, Really
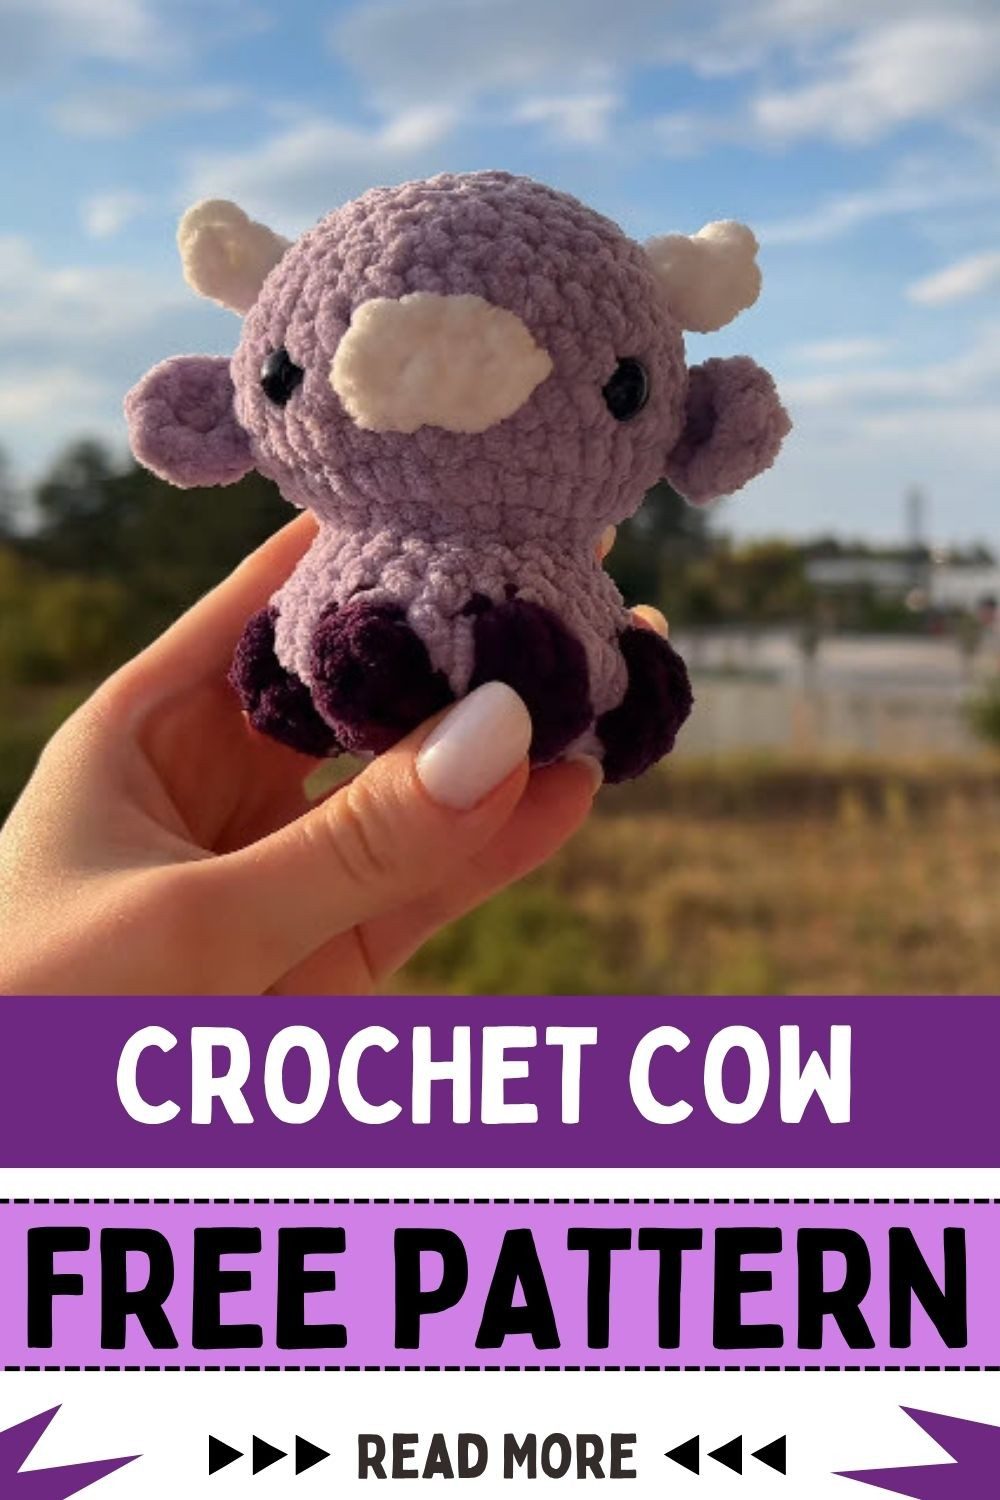
So that’s pretty much it. Once you’ve done the head and body, the rest is just small bits and some sewing. I’d say don’t rush the stuffing and the pinning, because that’s where a cow looks either cute or a bit wonky. If you take your time with those two, your crochet cow amigurumi pattern will turn out great. Pick your favourite colours, stitch on some patches and enjoy your new little cow.