
It starts with a single loop, then suddenly you’re holding something you made from scratch. Crochet isn’t just a hobby; it’s an art form that weaves patience, creativity, and love into every stitch. The satisfaction of crafting something tangible from yarn is unmatched. It’s a blend of mindfulness and imagination that brings joy to both the maker and the receiver.
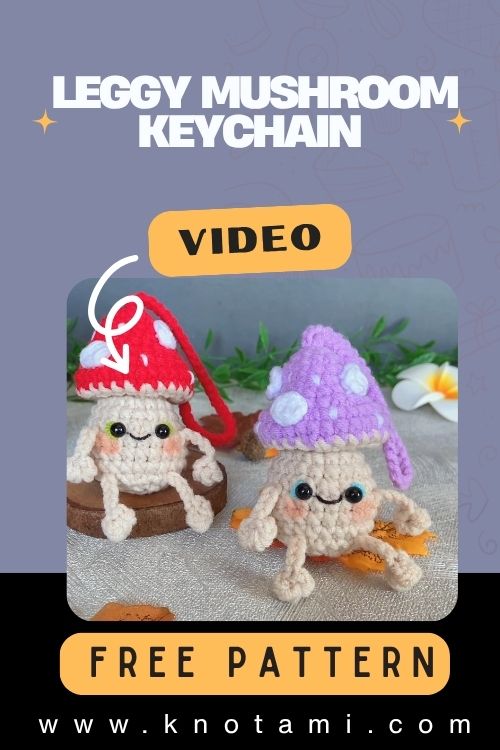
Today, we’re exploring a whimsical project that’s bound to make your heart smile: the Crochet Cute Leggy Mushroom Keychain Amigurumi Pattern. This miniature masterpiece is not only adorable but also bursting with personality! With its cheerful cap, long little legs, and irresistible charm, it’s the perfect companion for your keys, backpack or even your crochet shelf display.

Materials & Tools
Before we dive into the fun part (stitching!) let’s make sure you have everything ready.
Materials List
-
Yarn: Soft acrylic or cotton yarn in red (for the cap), white (for the stem and legs) and a small amount of beige or brown for optional details. Medium weight (Category 3 or 4) works perfectly.
-
Hook Size: 2.5 mm – 3 mm crochet hook depending on your yarn thickness and stitch tension.
-
Stuffing: Polyester fiberfill or cotton stuffing to give the mushroom its plump shape.
-
Safety Eyes: 6 mm or 8 mm safety eyes for that adorable amigurumi expression.
-
Scissors: For cutting yarn neatly.
-
Tapestry Needle: To weave in ends and sew parts together securely.
-
Stitch Markers: To mark your rounds and avoid losing your place especially handy for beginners.
Yarn & Color Tips
For the most charming look go for vibrant red and bright white to mimic a classic toadstool. However don’t be afraid to experiment! Soft pinks, earthy browns or even pastel blues can create a fantasy-inspired mushroom. A yarn with a smooth texture will make your stitches crisp and even, while slightly fuzzy yarn can give a more rustic, woodland feel.
Step-by-Step Crochet Instructions
Now, let’s bring your Crochet Cute Leggy Mushroom Keychain to life! This pattern follows standard amigurumi techniques worked in continuous rounds unless otherwise stated.
1. Making the Mushroom Cap
-
Start with red yarn.
-
Make a magic ring and work 6 single crochets (sc) into the ring. (6 sts)
-
Round 2: 2 sc in each stitch around (12 sts).
-
Round 3: (1 sc, inc) around (18 sts).
-
Round 4: (2 sc, inc) around (24 sts).
-
Round 5–7: Sc around (24 sts) this builds height.
-
Slightly stuff the cap to maintain shape.
Pro Tip: Keep your tension consistent to avoid bumps. Use your thumb and forefinger to gently pinch the cap while stuffing it helps maintain that perfect dome shape.
2. Forming the Stem and Neck
-
Switch to white yarn.
-
Round 8: Work 1 sc in the back loop of each stitch to create a clean edge where the cap meets the stem.
-
Round 9–14: Sc around (24 sts) to form the stem.
-
Begin light stuffing as you go; overstuffing may distort the shape.
🪶 Expert Tip: When transitioning between colors, insert your hook into the last stitch of the old color and pull through with the new yarn for a seamless change.
3. Building the Lower Body
-
Continue working in white yarn decreasing slightly to shape the lower stem:
-
Round 15: (2 sc dec) around (18 sts).
-
Round 16: (1 sc dec) around (12 sts).
-
-
Stuff firmly but evenly.
4. Attaching the Legs
This is where your mushroom gets its adorable leggy personality!
-
Crochet two long thin tubes in white yarn (approx. 10–12 chains long, then sc back).
-
Stuff lightly or leave unstuffed for a floppy leg effect.
-
Sew the legs to the base securely.
Balance Tip: Place both legs symmetrically to ensure your mushroom stands or dangles evenly.
5. Assembling the Face & Details
-
Insert safety eyes between Rounds 6 and 7.
-
Stitch a tiny smile using black embroidery thread.
-
Add white felt spots or crochet small white dots to attach to the mushroom cap.
Optional: Add a mini bow or heart accessory for an extra dose of cuteness.
6. Keychain Attachment
Attach a metal keychain loop to the top of the cap using sturdy yarn or thread. You can also add a jump ring for flexibility.
Pro Tip: Reinforce the loop area by sewing through several layers of stitches so the keychain holds securely even with daily use.
7. Final Touches
Check for loose threads secure all ends, and gently shape your mushroom by pressing it with your fingers.
Now step back and admire your handmade little mushroom it’s ready to brighten up your keys or make someone’s day as a thoughtful gift!
Customization Ideas
The beauty of this Crochet Cute Leggy Mushroom Keychain lies in its endless creative possibilities.
-
Color Variations: Try a pastel pink cap with a cream stem for a fairy-core vibe, or go bold with rainbow yarn for a fantasy mushroom.
-
Themed Versions:
-
Christmas Mushroom: Use green and red with tiny snowflake spots.
-
Rainbow Dream: Alternate cap stripes in rainbow shades.
-
Spring Edition: Add embroidered flowers around the base.
-
-
Different Textures: Use velvet or plush yarn for a super soft finish.
-
Accessories: Add scarves mini hats, or even tiny crocheted bees perched on top!
Advanced Tips & Troubleshooting
Even experienced crocheters run into small hiccups, so here are some expert-level tips to help you perfect your project:
-
Invisible Decrease: To avoid visible bumps, insert the hook into the front loops of two stitches, then complete as one single crochet.
-
Consistent Tension: Keep your yarn feeding evenly through your fingers; relax your grip to avoid overly tight stitches.
-
Preventing Twists in Rounds: Mark your first stitch each round using a stitch marker.
-
Fixing Uneven Shapes: Gently massage and reshape the piece after stuffing it works wonders.
-
Balanced Stuffing: Add stuffing in small amounts. Overstuffing can stretch stitches, while understuffing makes the plush saggy.
-
Joining Parts Seamlessly: Use the invisible whip stitch and match stitch by stitch for clean joins.
-
Reading Abbreviations: Familiarize yourself with basic amigurumi abbreviations like sc (single crochet), inc (increase), and dec (decrease).
-
Managing Yarn Ends: Use a tapestry needle to weave in ends in a zig-zag motion to prevent unraveling.
-
Prevent Eye Slipping: Place a small piece of felt behind safety eyes before locking them for better hold.
-
Finishing Polish: A lint roller can remove tiny yarn fuzz for a professional final look.
Care Instructions
Your handmade Crochet Cute Leggy Mushroom Keychain deserves gentle care:
-
Wash: Hand wash in lukewarm water using mild detergent.
-
Dry: Gently squeeze excess water (don’t wring!) and air dry flat.
-
Avoid Sunlight: Keep out of direct sunlight to prevent color fading.
-
Storage: Store in a cool dry place or display under a clear dome for long-term preservation.
-
Gift Wrapping Tip: Wrap in tissue paper or place inside a small organza bag for gifting.
Display & Gift Ideas
Once your mushroom is complete, there are countless ways to enjoy and share it:
-
Home Decor: Display on shelves hanging plants or your crochet nook.
-
Desk Companion: Add a cheerful touch to your work desk or study space.
-
Kid’s Room Accent: A cute, safe decor item for a nursery or child’s room.
-
Holiday Ornament: Attach to Christmas trees or wreaths.
-
Personalized Gift: A handmade treasure for friends, family, or crochet lovers.
-
Bag Charm: Clip to backpacks or handbags for a playful accessory.
Benefits of Making This Crochet Mushroom
Creating your Crochet Cute Leggy Mushroom Keychain isn’t just fun it’s deeply rewarding in many ways:
-
Relaxation & Mindfulness: The repetitive stitches encourage calm focus and reduce stress.
-
Stress Relief: Crocheting releases tension and promotes a meditative mindset.
-
Sense of Accomplishment: Watching your mushroom come to life is wonderfully satisfying.
-
Eco-Friendly Gifting: Handmade gifts reduce waste and carry heartfelt value.
-
Emotional Connection: Each stitch represents time, care, and creativity making it a truly personal gift.
Photography & Social Media Tips
Want to show off your cute creation online? Try these pro tips:
-
Natural Light: Photograph near a window for soft, flattering light.
-
Simple Backgrounds: Use neutral tones or wood textures to highlight your mushroom.
-
Add Props: Include yarn balls crochet hooks or small flowers for cozy vibes.
-
Close-ups: Capture the stitches and details up close.
-
Angles: Experiment with top-down or diagonal shots.
-
Editing: Lightly brighten and sharpen to enhance texture.
Project Summary Table
| Category | Details |
|---|---|
| Skill Level | Easy – Intermediate |
| Estimated Time | 6-8 hours (approx.) |
| Finished Size | 10-14 inches (depends on yarn & hook) |
| Estimated Cost | $10-15 |
Conclusion
The Crochet Cute Leggy Mushroom Keychain is more than just a quick amigurumi project it’s a joyful reminder of what makes crochet so special. From the soft texture of yarn sliding through your fingers to the moment your little mushroom smiles back at you, every stitch tells a story of creativity and care.