

Crocheting is more than just looping yarn; it’s the art of turning soft fibers into something truly magical, a tangible form of creativity and care. Each stitch carries patience, warmth, and imagination, bringing to life characters, animals, and cozy little worlds crafted by hand. Few things compare to the satisfaction of watching yarn evolve into something adorable and full of charm.
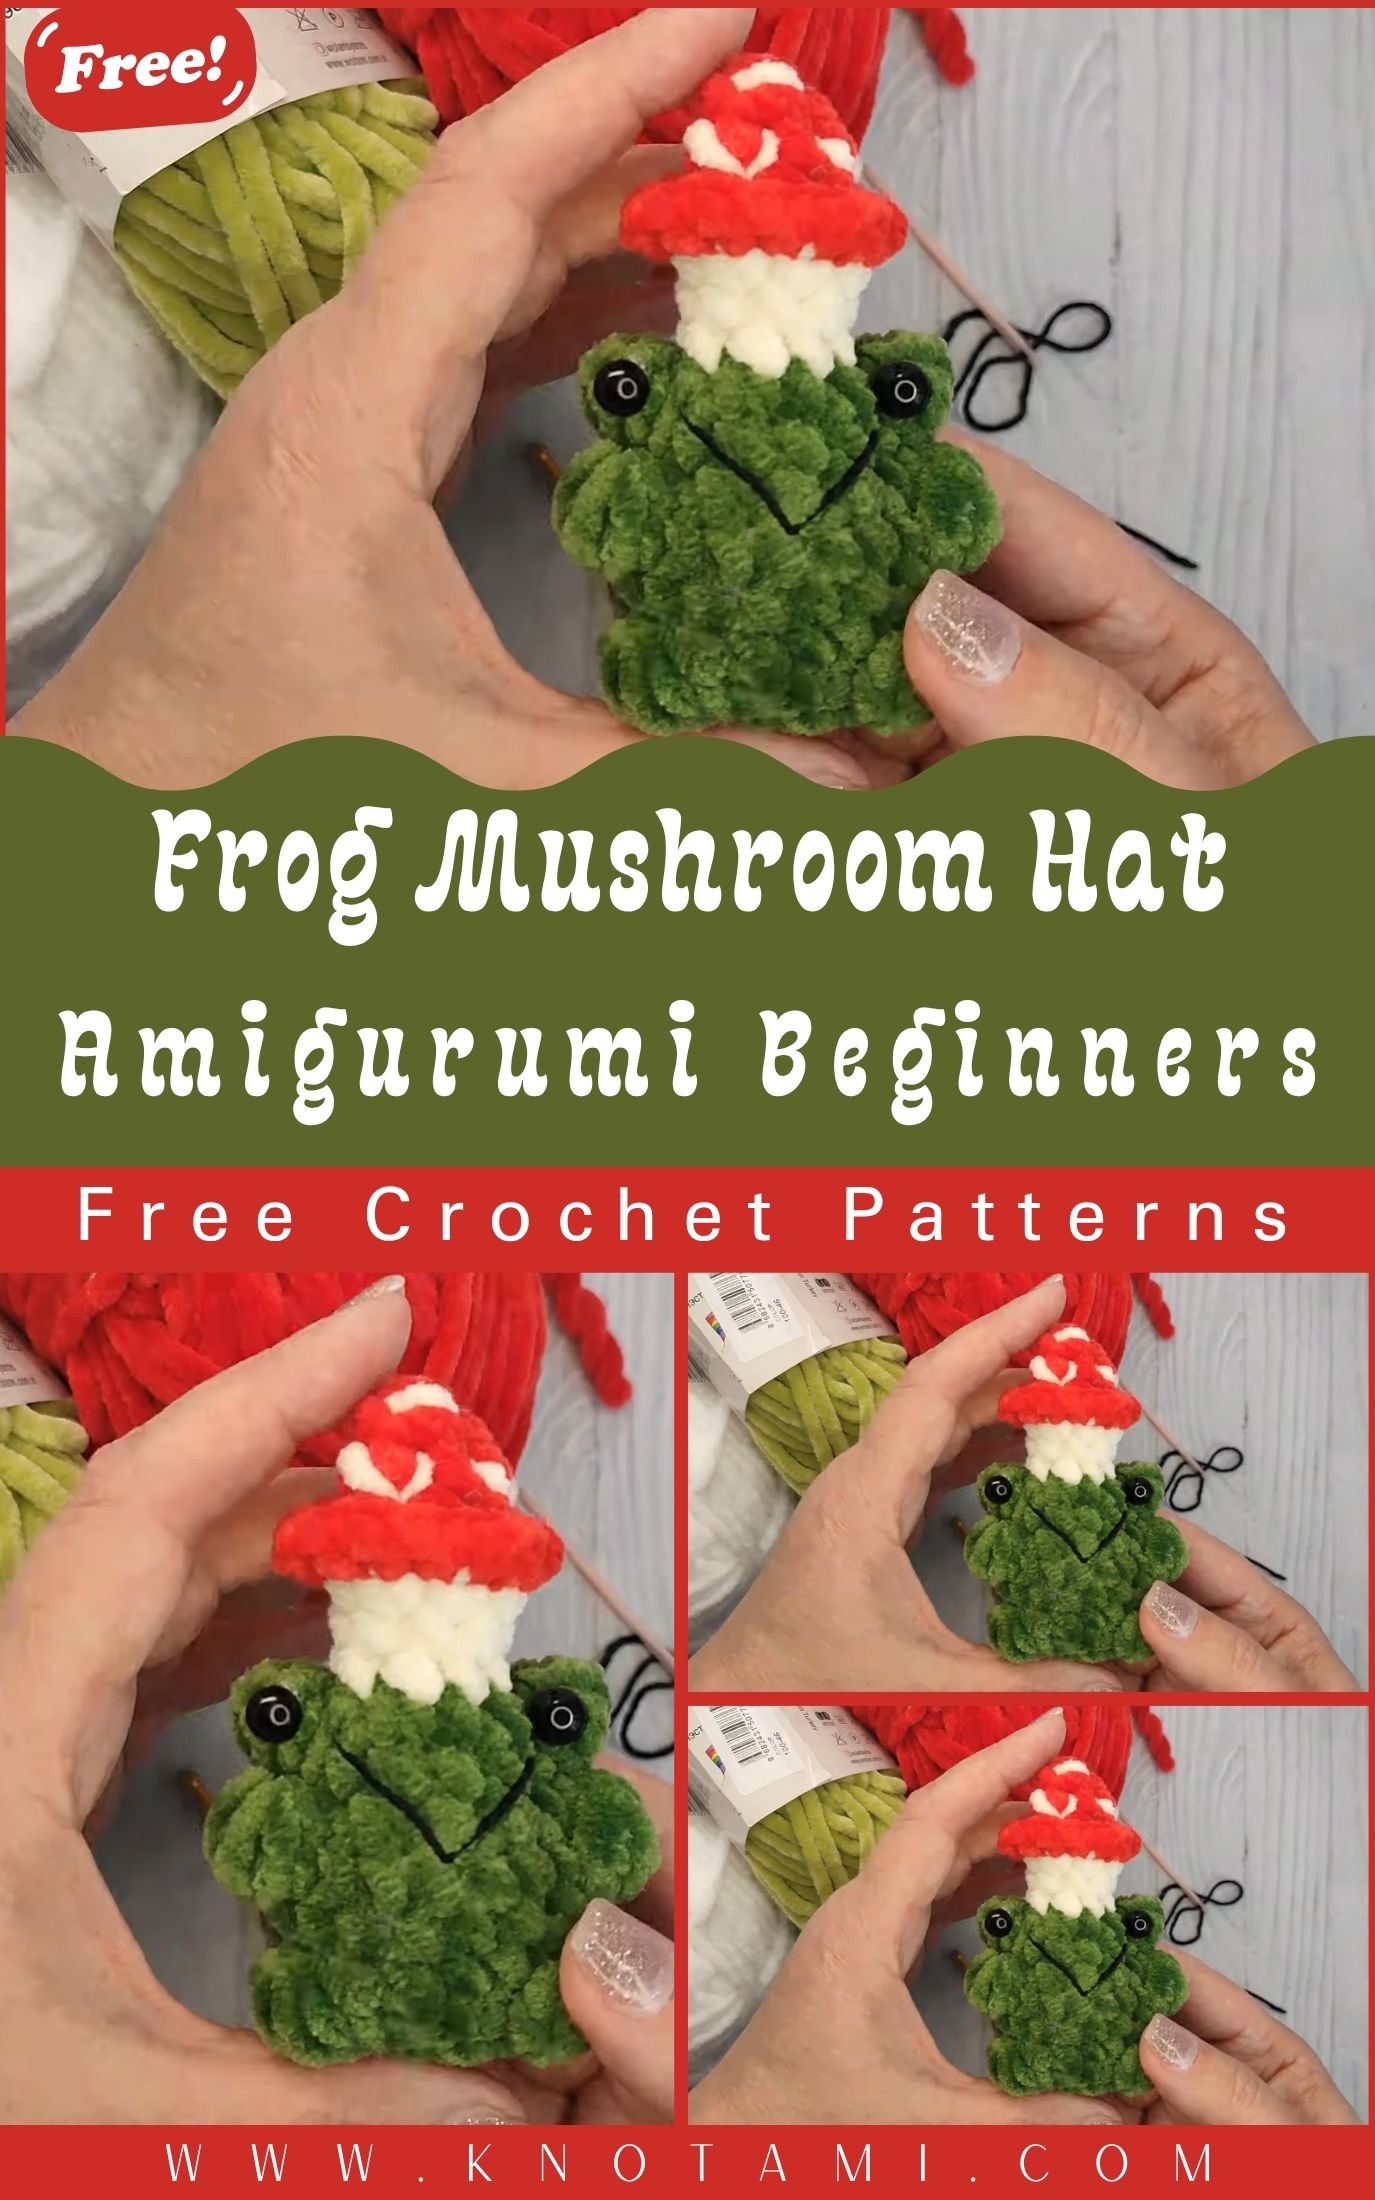
The Crochet Frog Mushroom Hat is one of those projects that instantly puts a smile on your face. Combining two beloved themes, the playful frog and the whimsical mushroom, this amigurumi design is a delightful blend of fantasy and cuteness. Whether you’re drawn to its tiny smile, bright colors or forest fairy-tale vibe, this project promises fun, creativity, and endless joy.
Materials & Tools You’ll Need
Before diving in, let’s gather everything needed to make your Crochet Frog Mushroom Hat Amigurumi come to life.
Essential Materials:
-
Yarn: Medium-weight (worsted) acrylic or cotton yarn in green (frog body), red (hat top), white (hat spots), and a touch of pink or black for details.
-
Crochet Hook: 3.0 mm to 3.5 mm hook (depending on your tension).
-
Stuffing: Premium fiberfill stuffing to help your frog hold its shape.
-
Safety Eyes: 8–10 mm black plastic eyes (or embroider your own).
-
Scissors: Sharp and clean for snipping yarn neatly.
-
Tapestry Needle: For sewing parts together and weaving in ends.
-
Stitch Markers: To keep track of your rounds.
Pro Tip
When choosing yarn consider texture and stretch. Cotton yarn gives structure and neat stitch definition, while acrylic offers softness and flexibility. For a playful twist, mix matte and glossy yarns for a unique visual texture. Try pairing lime green with cherry red or forest green with burgundy for a cozy woodland vibe.
Step-by-Step Crochet Instructions
This section will walk you through creating your adorable frog from top to bottom with expert tips to make it picture-perfect.
1. Making the Head
Start with green yarn and a magic ring.
-
Round 1: 6 single crochets (sc) into the ring.
-
Round 2: Increase in each stitch (12 sc).
-
Round 3: (1 sc, inc) around (18 sc).
-
Continue increasing evenly until the head reaches your desired width (usually around 30–36 sc).
Once you have a rounded sphere, crochet several rounds without increasing to build height. Stuff the head gradually to keep it even.
Expert Tip: Use small handfuls of stuffing at a time and press gently with your fingers to avoid lumps.
2. Forming the Neck and Upper Body
Once the head is ready, slightly decrease to form a gentle neck curve:
-
(4 sc, dec) around for one or two rounds.
-
Crochet a few even rounds for the torso before widening again slightly.
The neck transition adds character a subtle taper makes your frog look more natural.
3. Building the Main Body
Continue with the same green yarn.
-
Crochet evenly to shape a soft, cylindrical body.
-
Keep checking symmetry by holding the frog upright.
-
Add more stuffing as you go firm but flexible.
If you’re making your frog sit, flatten the bottom slightly before closing off.
4. Shaping or Attaching the Base
The base can be simple or shaped like a lily pad!
To make a flat base:
-
Crochet a flat green circle slightly larger than the body bottom, then sew it on securely.
Optional: Add a small coil or feet for extra detail.
5. Creating the Frog’s Limbs
Each arm and leg is made separately:
-
Start with a small magic ring (6 sc).
-
Crochet 5–6 rounds for arms or longer for legs.
-
Slightly stuff before sewing onto the body.
You can make the feet webbed by crocheting small chain extensions and slip-stitching them into shape.
6. Crafting the Mushroom Hat
Now comes the most iconic feature!
-
With red yarn, make a magic ring and increase as you would for a flat circle (6, 12, 18, 24, etc.).
-
When it’s wide enough, work a few rounds without increases to form a gentle bowl shape.
-
Switch to white yarn to create the underside brim, crocheting evenly.
-
For the classic mushroom look, stitch or glue small white dots (made separately) onto the red cap.
Pro Tip: Use slightly thinner yarn for the hat’s edge to make it look crisp and well-defined.
7. Assembly and Final Touches
-
Attach safety eyes to the frog’s head between Rounds 8–10.
-
Use pink yarn to embroider tiny cheeks or blush spots.
-
Stitch the mushroom hat slightly tilted that’s where the charm lies!
-
Add any small details like a smile, eyebrows, or a micro flower on top.
Expert Balancing Tip: When attaching parts, stuff and position first using pins before stitching permanently. This helps achieve perfect symmetry.
Customization Ideas
The Crochet Frog Mushroom Hat Amigurumi is a playground for creativity! Try these fun variations:
-
Color Schemes: Swap traditional green and red for pastel tones mint and blush pink make an adorable spring version!
-
Yarn Types: Try fuzzy chenille yarn for a plushie look, or fine cotton for crisp stitches.
-
Themed Versions: Create a Halloween frog with a pumpkin hat, or a Christmas frog with holly decorations.
-
Accessories: Add a small bow tie, scarf, or even a mini mushroom friend to accompany your frog.
Let your imagination lead this pattern is flexible enough to adapt to any creative theme!
Advanced Tips & Troubleshooting
Perfecting your amigurumi takes patience, but these pro tips can help you crochet like a master:
-
Invisible Decreases: Use the front loops only (FLO) method for smooth, unnoticeable shaping.
-
Even Stitch Tension: Relax your hands overly tight stitches make assembly difficult.
-
Preventing Twists: Use stitch markers to track your rounds and always start in the same direction.
-
Fixing Uneven Shapes: If your piece leans or bulges, adjust stuffing density in that section.
-
Proper Stuffing Balance: Stuff progressively, not all at once, for smoother results.
-
Seamless Joining: Use the whipstitch or invisible join to connect limbs.
-
Reading Abbreviations: Familiarize yourself with sc (single crochet), inc (increase), and dec (decrease).
-
Color Transitions: To change yarn color cleanly, pull the new color through on the last loop of the previous stitch.
-
Finishing Off: Always weave in ends securely use a tapestry needle in multiple directions to prevent unraveling.
-
Blocking (Optional): Lightly steam or hand-shape your frog to make it look neat and even.
Care Instructions
Your handmade Crochet Frog Mushroom Hat Amigurumi deserves love and gentle care!
-
Hand Wash Only: Use mild detergent in cool water.
-
Avoid Wringing: Squeeze gently don’t twist.
-
Air Dry Flat: Shape it while drying to maintain form.
-
Avoid Sunlight: Prolonged exposure can fade colors.
-
Safe Storage: Keep in a dust-free box or display case if gifting or showcasing.
Display & Gift Ideas
Once your frog is ready, show it off or share it with love! Here are fun ways to enjoy your creation:
-
Home Décor: Place it on a shelf or near plants for a forest-cottage aesthetic.
-
Kid’s Room Accessory: Perfectly safe and cuddly for little ones.
-
Desk Companion: Brighten your workspace with a tiny green friend.
-
Holiday Ornament: Hang it on your Christmas tree or spring wreath.
-
Handmade Gift: Give it to a friend who loves quirky nature-inspired art.
Benefits of Creating a Crochet Frog Mushroom Hat
Crocheting this whimsical frog isn’t just a craft it’s a self-care ritual.
-
Relaxation & Mindfulness: Repetitive stitching soothes the mind and calms anxiety.
-
Stress Relief: Focusing on color and texture provides a healthy creative escape.
-
Accomplishment: Completing your frog brings genuine joy and pride.
-
Eco-Friendly: Handmade items promote sustainable, waste-free gifting.
-
Emotional Connection: A handmade frog carries your warmth, making it more meaningful than store-bought toys.
Photography & Social Media Tips
Ready to show off your adorable frog to the world? Make your photos shine!
-
Lighting: Use soft daylight early morning or late afternoon light works best.
-
Props: Add crochet hooks, yarn skeins, or flowers for a cozy vibe.
-
Backgrounds: Keep it simple white wood or neutral tones make your colors pop.
-
Close-ups: Highlight stitches and tiny mushroom details.
-
Consistency: Use the same filters or angles for a clean Instagram aesthetic.
Project Summary
| Category | Details |
|---|---|
| Skill Level | Beginner to Intermediate |
| Estimated Time | 6–8 hours (approx.) |
| Finished Size | 10–14 inches (depending on yarn) |
| Estimated Cost | $10–15 USD |
Conclusion
There’s something truly heartwarming about creating your own Crochet Frog Mushroom Hat Amigurumi from the first loop of yarn to the final embroidered smile. Each stitch tells a story of patience, imagination, and care. This isn’t just a crochet project; it’s a handmade treasure that captures joy, color, and creativity in one adorable piece.
So, grab your hook find your favorite shade of green, and start crafting! Let this little frog remind you that happiness can be made one stitch at a time.