
Materials & Tools
Before you start, gather all your supplies so your crochet flow stays smooth from start to finish.
What You’ll Need
-
Yarn: Cotton or acrylic yarn (Weight 3 or 4 – Light Worsted/DK)
-
Red (for the body)
-
Black (for the head and spots)
-
White (optional for detailing or eyes)
-
-
Hook Size: 2.5 mm – 3.0 mm crochet hook (depending on your yarn thickness)
-
Stuffing: Polyester fiberfill
-
Safety Eyes: 6 mm or 8 mm (optional you can also embroider eyes)
-
Tapestry Needle: For sewing and weaving ends
-
Scissors: Sharp and small for precise trimming
-
Stitch Markers: To keep track of your rounds
-
Keychain Ring or Clip: For finishing and attaching your amigurumi
Yarn & Color Tips
For a classic ladybug look, choose a bright red body with black details. However, if you love experimenting, try pastel pink, lavender, or mint for a kawaii-inspired color palette. Cotton yarn creates a crisp, structured finish perfect for keychains, while soft acrylic gives a plush, squeezable feel. Always use a smaller hook size to ensure tight stitches this prevents the stuffing from showing through.
Step-by-Step Crochet Instructions
This step-by-step guide will walk you through crafting your adorable kawaii ladybug keychain from start to finish.
Step 1: Making the Head
-
Start with Black Yarn.
Begin with a magic ring and work 6 single crochets (sc) into the ring. Pull tight. -
Increase Rounds:
-
Round 2: 2 sc in each stitch (12).
-
Round 3: (1 sc, inc) repeat around (18).
-
-
Even Rounds:
Continue 2–3 rounds of plain sc for depth. -
Stuff Lightly:
Add a small amount of fiberfill as you go to maintain the round head shape.
Tip: If you’re using safety eyes, insert them now usually between rounds 3 and 4, about 5 stitches apart.
Step 2: Forming the Neck & Upper Body
-
Attach red yarn to transition into the ladybug’s body.
-
Round 1: Crochet 1 sc in each stitch (18).
-
Round 2: Increase evenly (sc, inc) repeat around (27).
-
Continue for 4–5 rounds to build the body’s midsection.
-
Begin stuffing gradually to ensure firmness without lumps.
Pro Tip: Keep the transition from black to red tight for a clean color line it’s the defining feature of your ladybug!
Step 3: Building the Main Body
-
Continue crocheting in red yarn for several rounds until the body length feels right (about 10–12 rows total).
-
To shape the classic ladybug curve, begin decreasing:
-
(sc, dec) repeat around.
-
Then (dec in every stitch) to close the end.
-
-
Before fully closing, insert your final bit of stuffing and flatten slightly to form a rounded oval.
Shaping Tip: Lightly flattening the stuffed body gives that authentic beetle shape plump in the middle and slightly flat on the bottom.
Step 4: Adding the Dots & Face Details
Now for the part that gives your ladybug its signature charm!
-
With black yarn, crochet or embroider small round spots on the back.
-
You can make small circles using magic rings (4–6 sc each).
-
Stitch them evenly across the red body using your tapestry needle.
-
-
Use white yarn or embroidery floss to add tiny eye highlights for that kawaii sparkle.
-
For an extra cute expression, embroider a tiny mouth or pink blush spots using pastel thread.
Tip: The number of dots doesn’t have to be exact feel free to play with symmetry or spacing to give your ladybug unique character.
Step 5: Creating the Base & Legs
-
Legs (optional but adorable):
-
Make four short chains (ch 4) with black yarn.
-
Slip stitch down each chain to make a thin leg.
-
Sew them to the underside of the body two on each side.
-
-
Base Finishing:
-
Ensure the bottom is smooth and slightly flat so your ladybug sits neatly on a surface.
-
Step 6: Assembly & Positioning
Now that all your pieces are complete, it’s time to bring your little ladybug to life!
-
Secure the head to body seam tightly using whip stitch or ladder stitch for an invisible join.
-
Position legs symmetrically and sew them carefully.
-
Attach a keychain ring or lobster clasp to the top center of the head using strong thread or a jump ring.
-
Give your plush a final shape adjustment press gently to smooth the stuffing.
Finishing Tip: Brush the surface gently with a soft cloth to remove fuzz and make the yarn colors pop.
Step 7: Adding Final Touches
Here’s where your ladybug gets its “kawaii” personality!
-
Attach a tiny crochet bow or flower between the eyes.
-
Add felt wings with a contrasting border stitch.
-
Sew on mini beads for extra sparkle.
-
Optionally, dab a little blush powder on the cheeks for a soft rosy look.
Each detail adds more cuteness and individuality your amigurumi should reflect you!
Customization Ideas
The beauty of amigurumi lies in its versatility you can truly make each creation your own.
Color Variations
-
Classic Ladybug: Red body, black spots.
-
Fantasy Ladybug: Use pastel blues, pinks, or lilacs.
-
Rainbow Bug: Alternate colors for each round for a gradient effect.
-
Holiday Themed: Red and green for Christmas, orange and black for Halloween.
Yarn Options
-
Velvet Yarn: For a plush, soft toy-like feel.
-
Cotton Yarn: Crisp, sturdy texture perfect for keychains.
-
Metallic Yarn: Adds shimmer for a glam ladybug look.
Accessory Ideas
-
Add a tiny hat or scarf for personality.
-
Stitch on initials or charms for personalization.
-
Turn it into a bag charm or car mirror ornament.
Creative Twist: Crochet a tiny leaf base and sit your ladybug on it for an adorable display option!
advanced Tips & Troubleshooting
Even simple amigurumi projects benefit from a few expert-level tricks. Here are some to make your ladybug look polished and professional:
-
Invisible Decreases: Work through the front loops of two stitches it creates smooth, seamless shaping.
-
Even Tension: Keep your yarn tension consistent; uneven stitches cause bumps or gaps.
-
Avoid Twisting Rounds: Always mark your first stitch; this keeps your shape aligned.
-
Stuff Gradually: Add stuffing little by little for balanced firmness.
-
Check Symmetry: Use pins before sewing on parts to ensure correct placement.
-
Smooth Seams: Use ladder stitch for nearly invisible joins between body and head.
-
Fixing Uneven Shapes: Gently reshape with your hands or steam lightly if the yarn allows.
-
Avoid Overstuffing: Too much stuffing can stretch stitches and distort the shape.
-
Pattern Abbreviations: Always keep a quick note of sc (single crochet), inc (increase), dec (decrease), sl st (slip stitch), ch (chain).
-
Final Finish: Use a lint roller or fabric brush to clean your amigurumi before gifting.
Conclusion
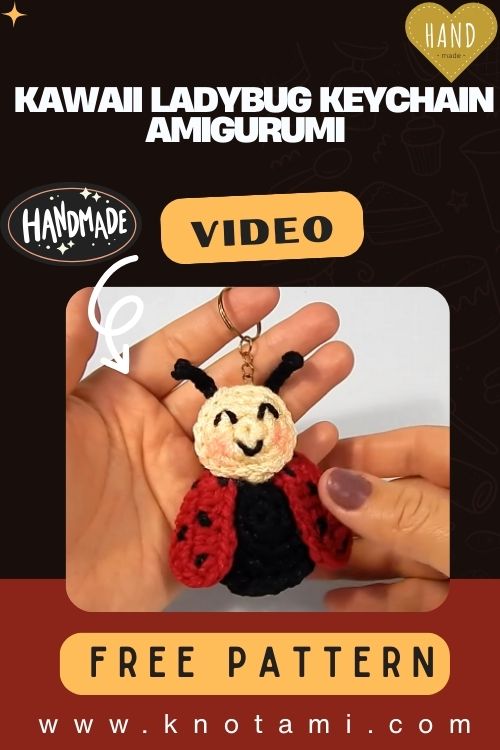
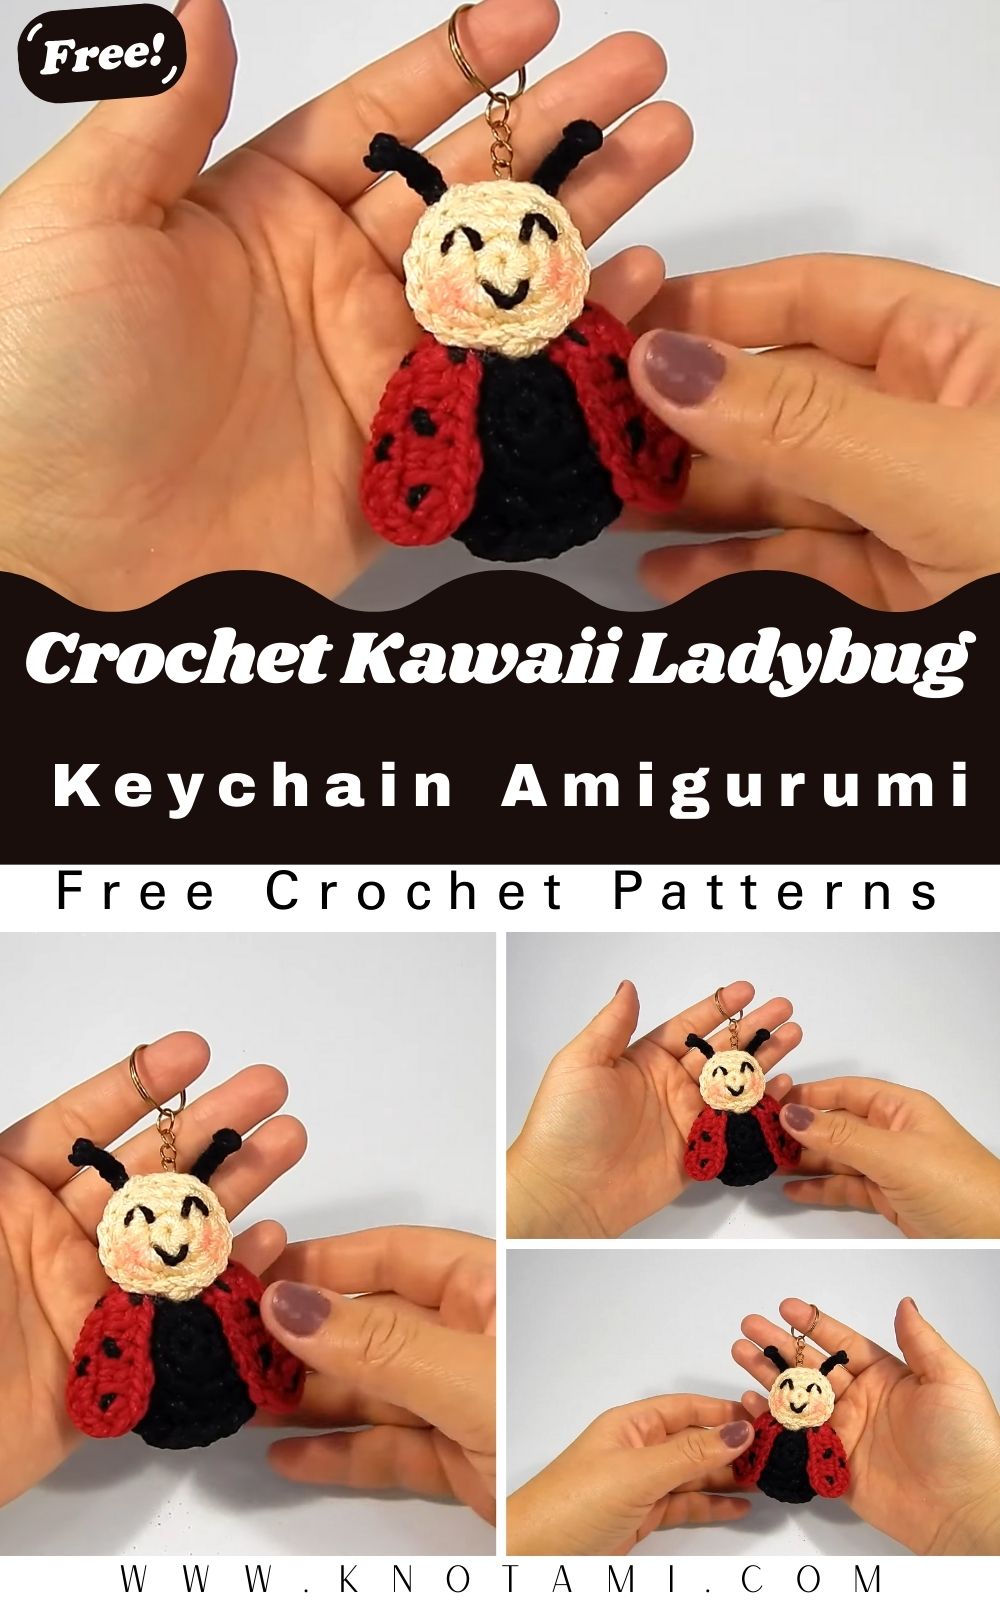
The Easy Crochet Kawaii Ladybug Keychain Amigurumi Pattern perfectly captures the magic of handmade art simple, joyful, and irresistibly cute. With just a bit of yarn and creativity, you can craft a small piece of happiness that fits right in your hand. Whether you’re making it to gift, to sell, or to brighten your own day, this little ladybug embodies everything beautiful about crochet warmth, creativity, and care.
So, pick up your hook, choose your favorite yarn, and let your imagination fly. In just a few cozy hours, you’ll have a kawaii ladybug keychain that’s as adorable as it is meaningful proof that even the smallest creations can bring the biggest smiles.