
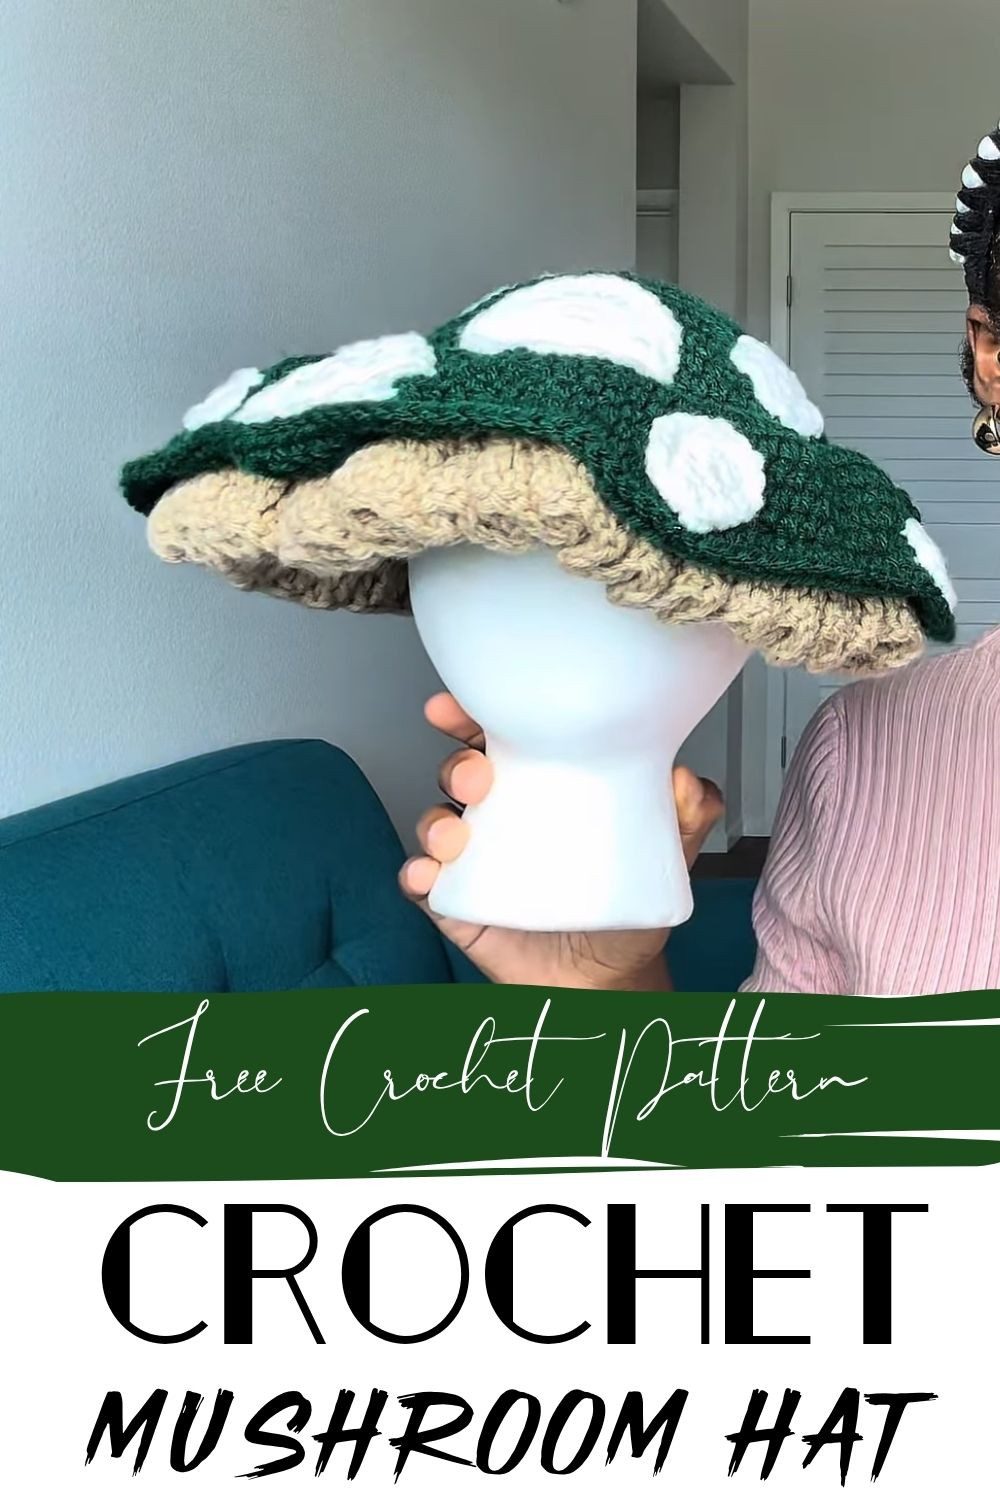
This crochet mushroom hat pattern builds a domed green cap with pink ruffled “gills” underneath and flat white spots on top. It uses no stuffing, safety eyes or buttons, so the whole look comes from yarn and a few stitch tricks. It works as a wearable accessory or a fun photo prop.
The hat is worked in joined rounds with half double crochet, then trimmed with treble crochet ruffles and sewn-on spots. Front and back loop work creates the ridges that hold the ruffles. The pattern is rated advanced beginner. Once you see how the rounds grow, you can swap colors and spot sizes to make the hat your own.
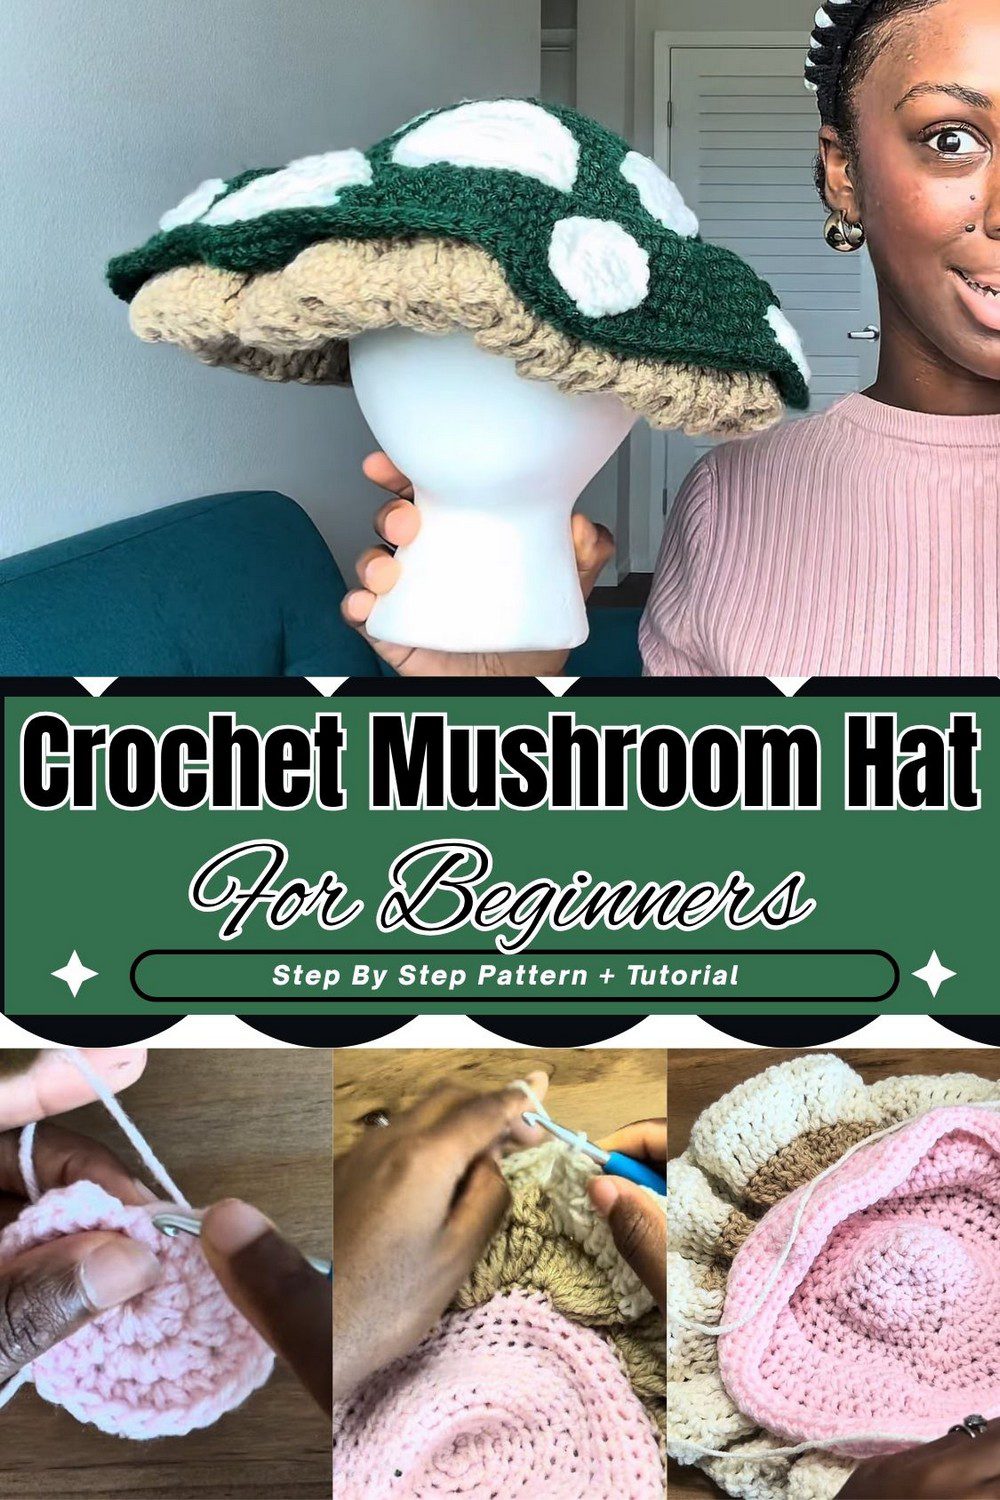
Crochet Mushroom Hat Pattern Overview
- Designer/source: Mainmade Crochet
- Look: Domed green cap, pink ruffled gills underneath, flat white spots on top
- Skill level: Advanced beginner. The pattern uses rounds, chains, half double crochet and treble crochet, plus front and back loop work.
- Terminology: US
- Finished size: Adult hat size. The designer notes that the video demo may be miniature, but the full yardage makes an adult hat.
- Gauge: Not provided by the designer.
The hat is worked in joined rounds with half double crochet, and then it is trimmed with treble crochet ruffles and sewn-on spots. Front and back loop work creates the ridges that hold the ruffles. Because the pattern needs no stuffing, safety eyes or buttons, the whole look comes from yarn and a few stitch tricks. Once you see how the rounds grow, you can swap colours and spot sizes to make the hat your own.
Materials and Quantities for the Crochet Mushroom Hat Pattern
All quantities are the designer’s “about” amounts.
- Worsted weight (4) yarn in green (cap), about 100 g
- Worsted weight (4) yarn in pink (ruffles), about 150 g
- Worsted weight (4) yarn in white (spots), about 50 g
- 5.0 mm (H/8) crochet hook
- Scissors
- Tapestry needle
- Stitch markers
Abbreviations and Special Stitches
ch: chain
sl st: slip stitch
hdc: half double crochet
inc: hdc increase (2 hdc in the same stitch)
sc: single crochet
tr: treble crochet
FLO: front loop only
BLO: back loop only
Half double crochet (hdc): First, yarn over, insert your hook into the stitch, yarn over and pull up a loop (3 loops on the hook). Then yarn over and pull through all 3 loops.
Increase (inc): Simply work 2 hdc in the same stitch.
Treble crochet (tr): Yarn over twice, insert your hook into the stitch, yarn over and pull up a loop (4 loops on the hook). After that, yarn over and pull through 2 loops, three times.
Single crochet (sc) and slip stitch (sl st): These stitches make the ruffle base rounds and join the rounds, since a sl st joins each round to its first stitch.
Front loop only and back loop only: FLO means you work only into the loop closest to you, while BLO means you work only into the loop farthest from you. In this pattern, the loops left unworked in the FLO rounds form ridges.
Joined rounds: Finish every round with a sl st into the first stitch. Note that the turning ch 1 does not count as a stitch.
Starting ring: Ch 4 and sl st into the first ch, or use a magic ring instead.
Before You Begin
- First, place a stitch marker in the first stitch of every round, so you always know where to join.
- Also, do not count the turning ch 1 as a stitch.
- Do not work into the slip stitch join. Instead, skip it and work into the next stitch.
- Keep the increases evenly spaced, because uneven spacing gives a wavy bowl instead of a smooth dome.
Pattern notes:
- The cap has 8 increase groups in every round, so each round’s stitch count is 8 times the round number.
- However, counts for R14 to R19 are calculated from this pattern, as the designer does not state them.
- Also, the number of hdc between increases in each round is the round number minus 2.
- Finally, sew the spots on after the cap and ruffles are finished.
Complete Crochet Mushroom Hat Pattern
Green Cap of the Crochet Mushroom Hat: Rounds 1 to 12
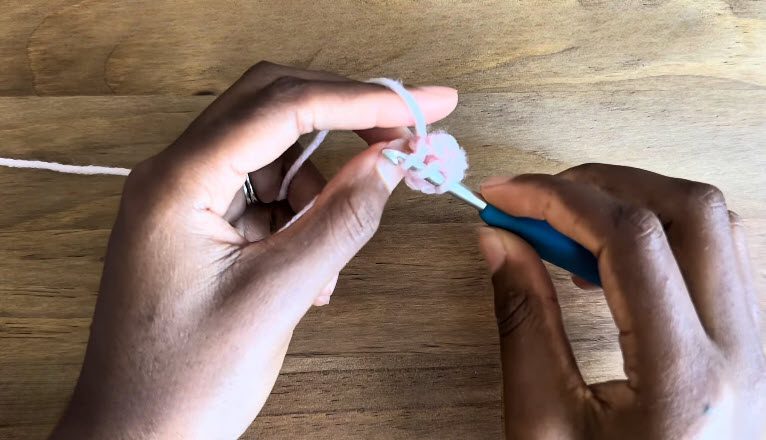
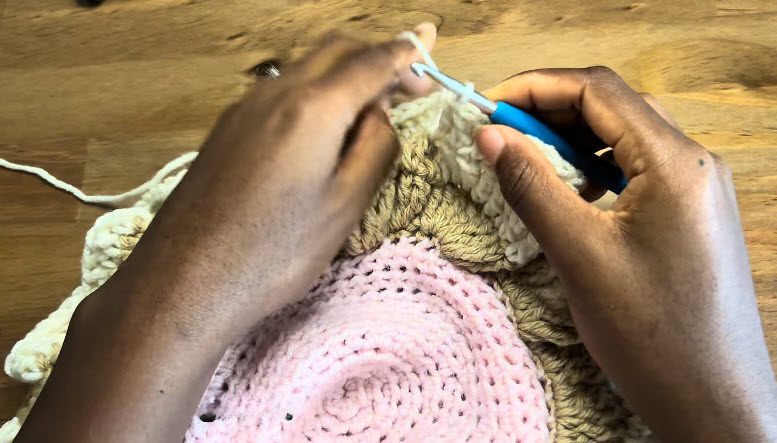
Foundation: Ch 4, sl st to the first ch to form a ring. Hold the hook and yarn as shown in the photo below, and make your starting ring before the first round.
- R1: Ch 1, 8 hdc in the ring, sl st to join (8)
- R2: Then, ch 1, inc in every st around, sl st to join (16)
- R3: Next, ch 1, [inc, 1 hdc] around, sl st to join (24)
- R4: Ch 1, [inc, 2 hdc] around, sl st to join (32)
- R5: Then, ch 1, [inc, 3 hdc] around, sl st to join (40)
- R6: Ch 1, [inc, 4 hdc] around, sl st to join (48)
- R7: After that, ch 1, [inc, 5 hdc] around, sl st to join (56)
- R8: Ch 1, [inc, 6 hdc] around, sl st to join (64)
- R9: Next, ch 1, [inc, 7 hdc] around, sl st to join (72)
- R10: Ch 1, [inc, 8 hdc] around, sl st to join (80)
- R11: Then, ch 1, [inc, 9 hdc] around, sl st to join (88)
- R12: Finally, ch 1, [inc, 10 hdc] around, sl st to join (96)
Cap Ridges and Dome: Rounds 13 to 20
Since the increase rounds spread the stitches into a flat, even circle, keep every increase spaced the same as you move on to the first ridge.
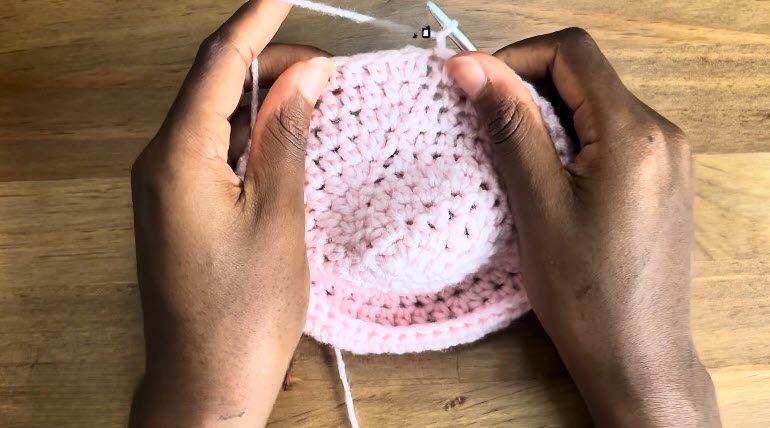
- R13 (FLO): Ch 1, working in front loops only, [inc, 11 hdc] around, sl st to join (104). The unworked back loops form a ridge.
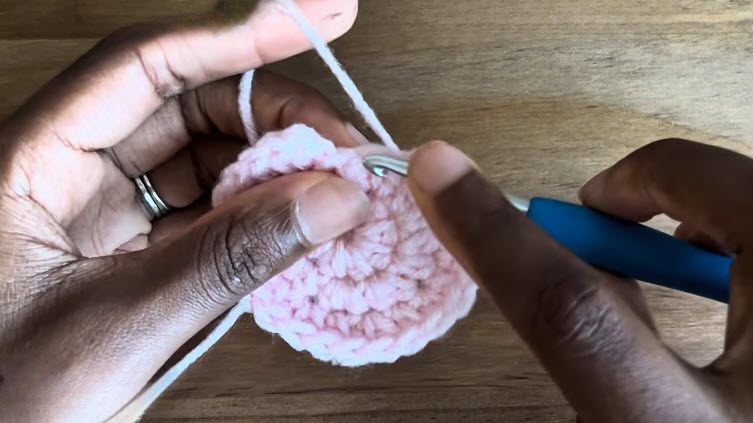
From here, the flat circle bends into a dome, and the ridge shows along the edge.
- R14: Next, ch 1, [inc, 12 hdc] around, sl st to join (112, calculated)
- R15: Ch 1, [inc, 13 hdc] around, sl st to join (120, calculated)
- R16: Then, ch 1, [inc, 14 hdc] around, sl st to join (128, calculated)
- R17: After that, ch 1, [inc, 15 hdc] around, sl st to join (136, calculated)
- R18 (FLO): Ch 1, working in front loops only, [inc, 16 hdc] around, sl st to join (144, calculated). This forms the second ridge.
- R19: Next, ch 1, [inc, 17 hdc] around, sl st to join (152, calculated)
- R20: Lastly, ch 1, hdc in each st around with no increases, sl st to join (152, calculated). Fasten off and weave in the ends.
Pink Ruffles for the Crochet Mushroom Hat
Tier 1
- Base round: First, join the yarn to an unworked back loop of R12. Then ch 1, sc in each BLO around (96 sc), sl st to join.
- Cluster round: Next, ch 4 (counts as the first tr), 4 tr in the same stitch, then 5 tr in every stitch around, sl st to join.
For the second tier, work the ruffle yarn along the next ridge, so each tier grows out from the edge of the cap.
Tier 2
- Base round: Repeat the sc base round on the R17 ridge.
- Cluster round: Then repeat the 5-tr cluster round.
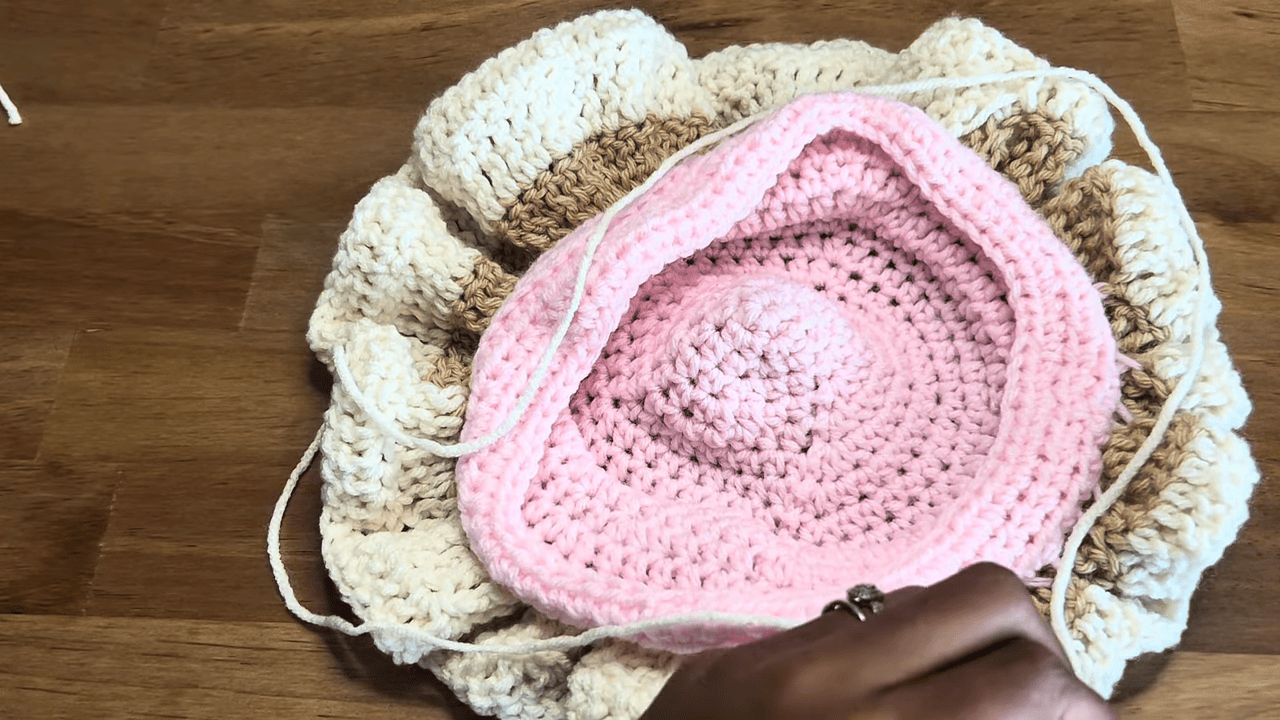
Before moving on, turn the hat over and check that both ruffle tiers sit evenly around the underside.
White Spots for the Mushroom Hat
Small spot
- Ch 4, sl st to form a ring.
- Next, ch 1, 6 hdc in the ring, sl st to join.
- Finally, fasten off, leaving a long tail for sewing.
Medium or large spots
- Work the small spot through the 6 hdc round.
- R2: Then inc in each st around.
- R3: After that, [inc, 1 hdc] around.
- Lastly, fasten off, leaving a long tail for sewing.
Assembly and Finishing the Crochet Mushroom Hat
Sewing the Ruffles
Sew each ruffle down every few stitches, skipping 1 to 2 stitches per anchor point, so the gills drape evenly.
Adding the Spots
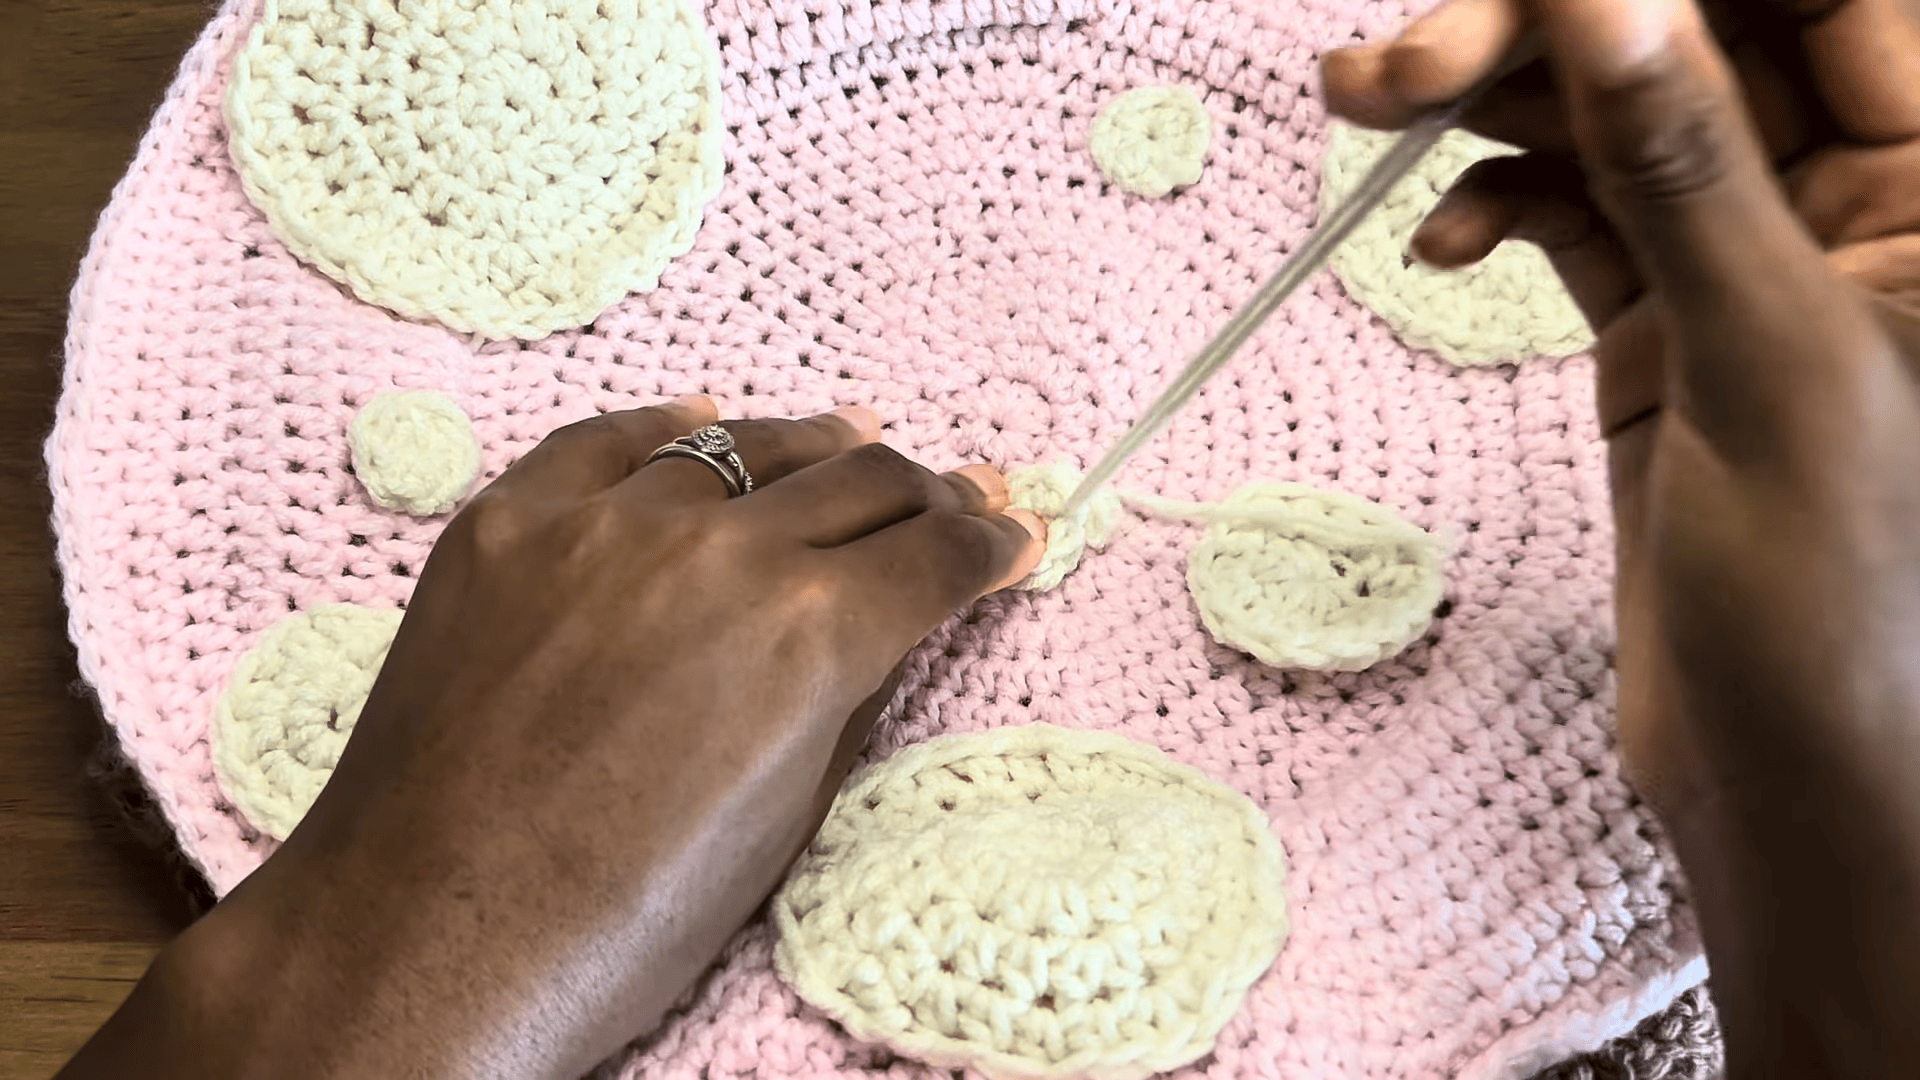
Next, sew the spots onto the cap at random, using the long tails. Place them in a mix of sizes first, and then stitch each one down with its long tail.
Final Touches
- Once the hat is done, fasten off with a 6-inch tail and weave it through nearby loops.
- Block or gently steam the hat, so the ruffles flare out cleanly.
- After that, lay the hat flat and check that the dome is smooth and the ruffles are even.
- Finally, as an option, add a chained hanging loop at the top centre.
Customization Ideas
- Colour swaps: Choose any three colours for the cap, ruffles and spots.
- Spot sizes: Mix small spots with medium or large ones for a more natural look.
- Other mushroom looks: Use a different cap colour with contrasting ruffles, while keeping the same stitch counts and construction.
Bonus Section: Photo Styling Ideas for the Crochet Mushroom Hat
Since this hat also works as a fun photo prop, a simple setup goes a long way. For example, shoot it in soft natural light against a plain backdrop, so the green cap and pink gills stand out. Also, take a close-up of the ruffle tiers, because they are the most eye-catching part. Finally, try a few different spot layouts before you sew, and photograph the one you like best.
Spot Layout Planning
Before you sew anything on, lay your spots on the finished cap. Try a mix of sizes and shuffle them until the spacing looks balanced. Then take a photo of the layout you like, and sew the spots down one at a time.
Troubleshooting the Crochet Mushroom Hat Pattern
The cap looks like a wavy bowl. Check your increase spacing first, because every round needs 8 evenly spaced increase groups.
My stitch counts are off. The usual causes are counting the turning ch 1 as a stitch or working into the slip stitch join. Compare each round against the counts above.
The ruffles look uneven. Sew them down every few stitches, skipping 1 to 2 stitches per anchor point. Then block or steam so they flare cleanly.
The edge is curling. Block or gently steam the hat, and then lay it flat to check the shape.
Care Instructions
The original pattern gives no care instructions. As a general tip, check the care label on your yarn before washing. Gentle steaming is the only finishing method the pattern describes.
Frequently Asked Questions About the Crochet Mushroom Hat Pattern
What skill level is this pattern? Advanced beginner, because the pattern uses treble crochet and front and back loop work.
Do I need stuffing or safety eyes? No, because the hat needs no stuffing, safety eyes or buttons.
Can I use a magic ring instead of a chain ring? Yes, so you can start with ch 4 and a sl st, or use a magic ring.
Can I turn this into a toy? If you adapt it for young children, double-stitch the spots. However, do not use loose buttons or small parts.
Okay, Time to Hook Up
So that’s the hat. Just take it round by round, keep a marker in the first stitch and count when each round ends. If the cap starts looking wavy, stop and check your increases. Once the cap is done, the ruffles and spots go quickly, and I think you’ll like how this crochet mushroom hat pattern turns out.Crochet Mushroom Hat Pattern with Spotted Green Cap