

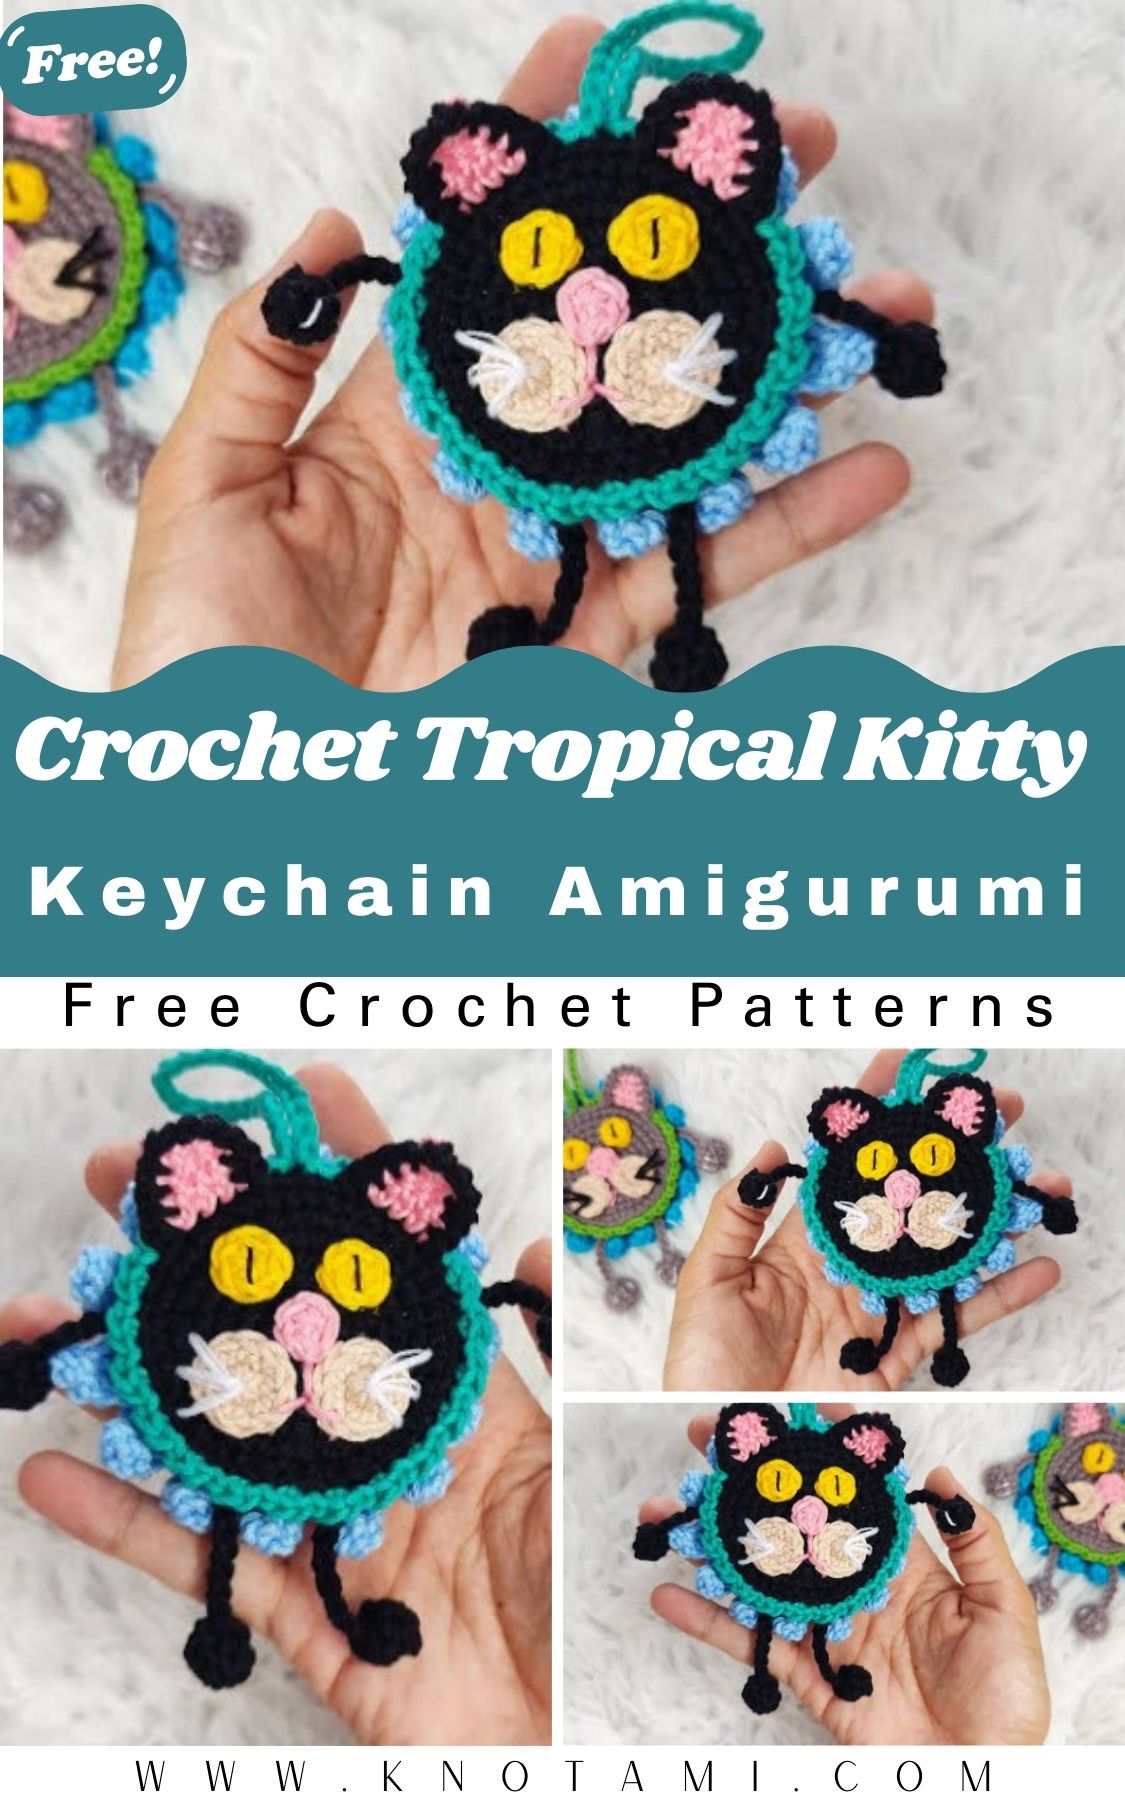
Creating your own Crochet Tropical Kitty Keychain Amigurumi Pattern is a fun and rewarding crochet project that combines the charm of cute kittens with the colorful beauty of tropical designs. This adorable handmade keychain is perfect for decorating your keys, backpack, purse, or even your favorite tote bag. It also makes a thoughtful handmade gift for friends, family, or anyone who loves cats and crochet crafts.
One of the best things about this project is that it is suitable for beginners while still being enjoyable for experienced crocheters. The pattern uses simple stitches and basic amigurumi shaping techniques, allowing you to create a professional-looking crochet kitty without needing advanced skills.
Whether you are making this tropical kitty for yourself, selling it at craft fairs, or giving it as a personalized gift, this easy pattern is a wonderful way to practice your crochet skills while creating something truly unique.
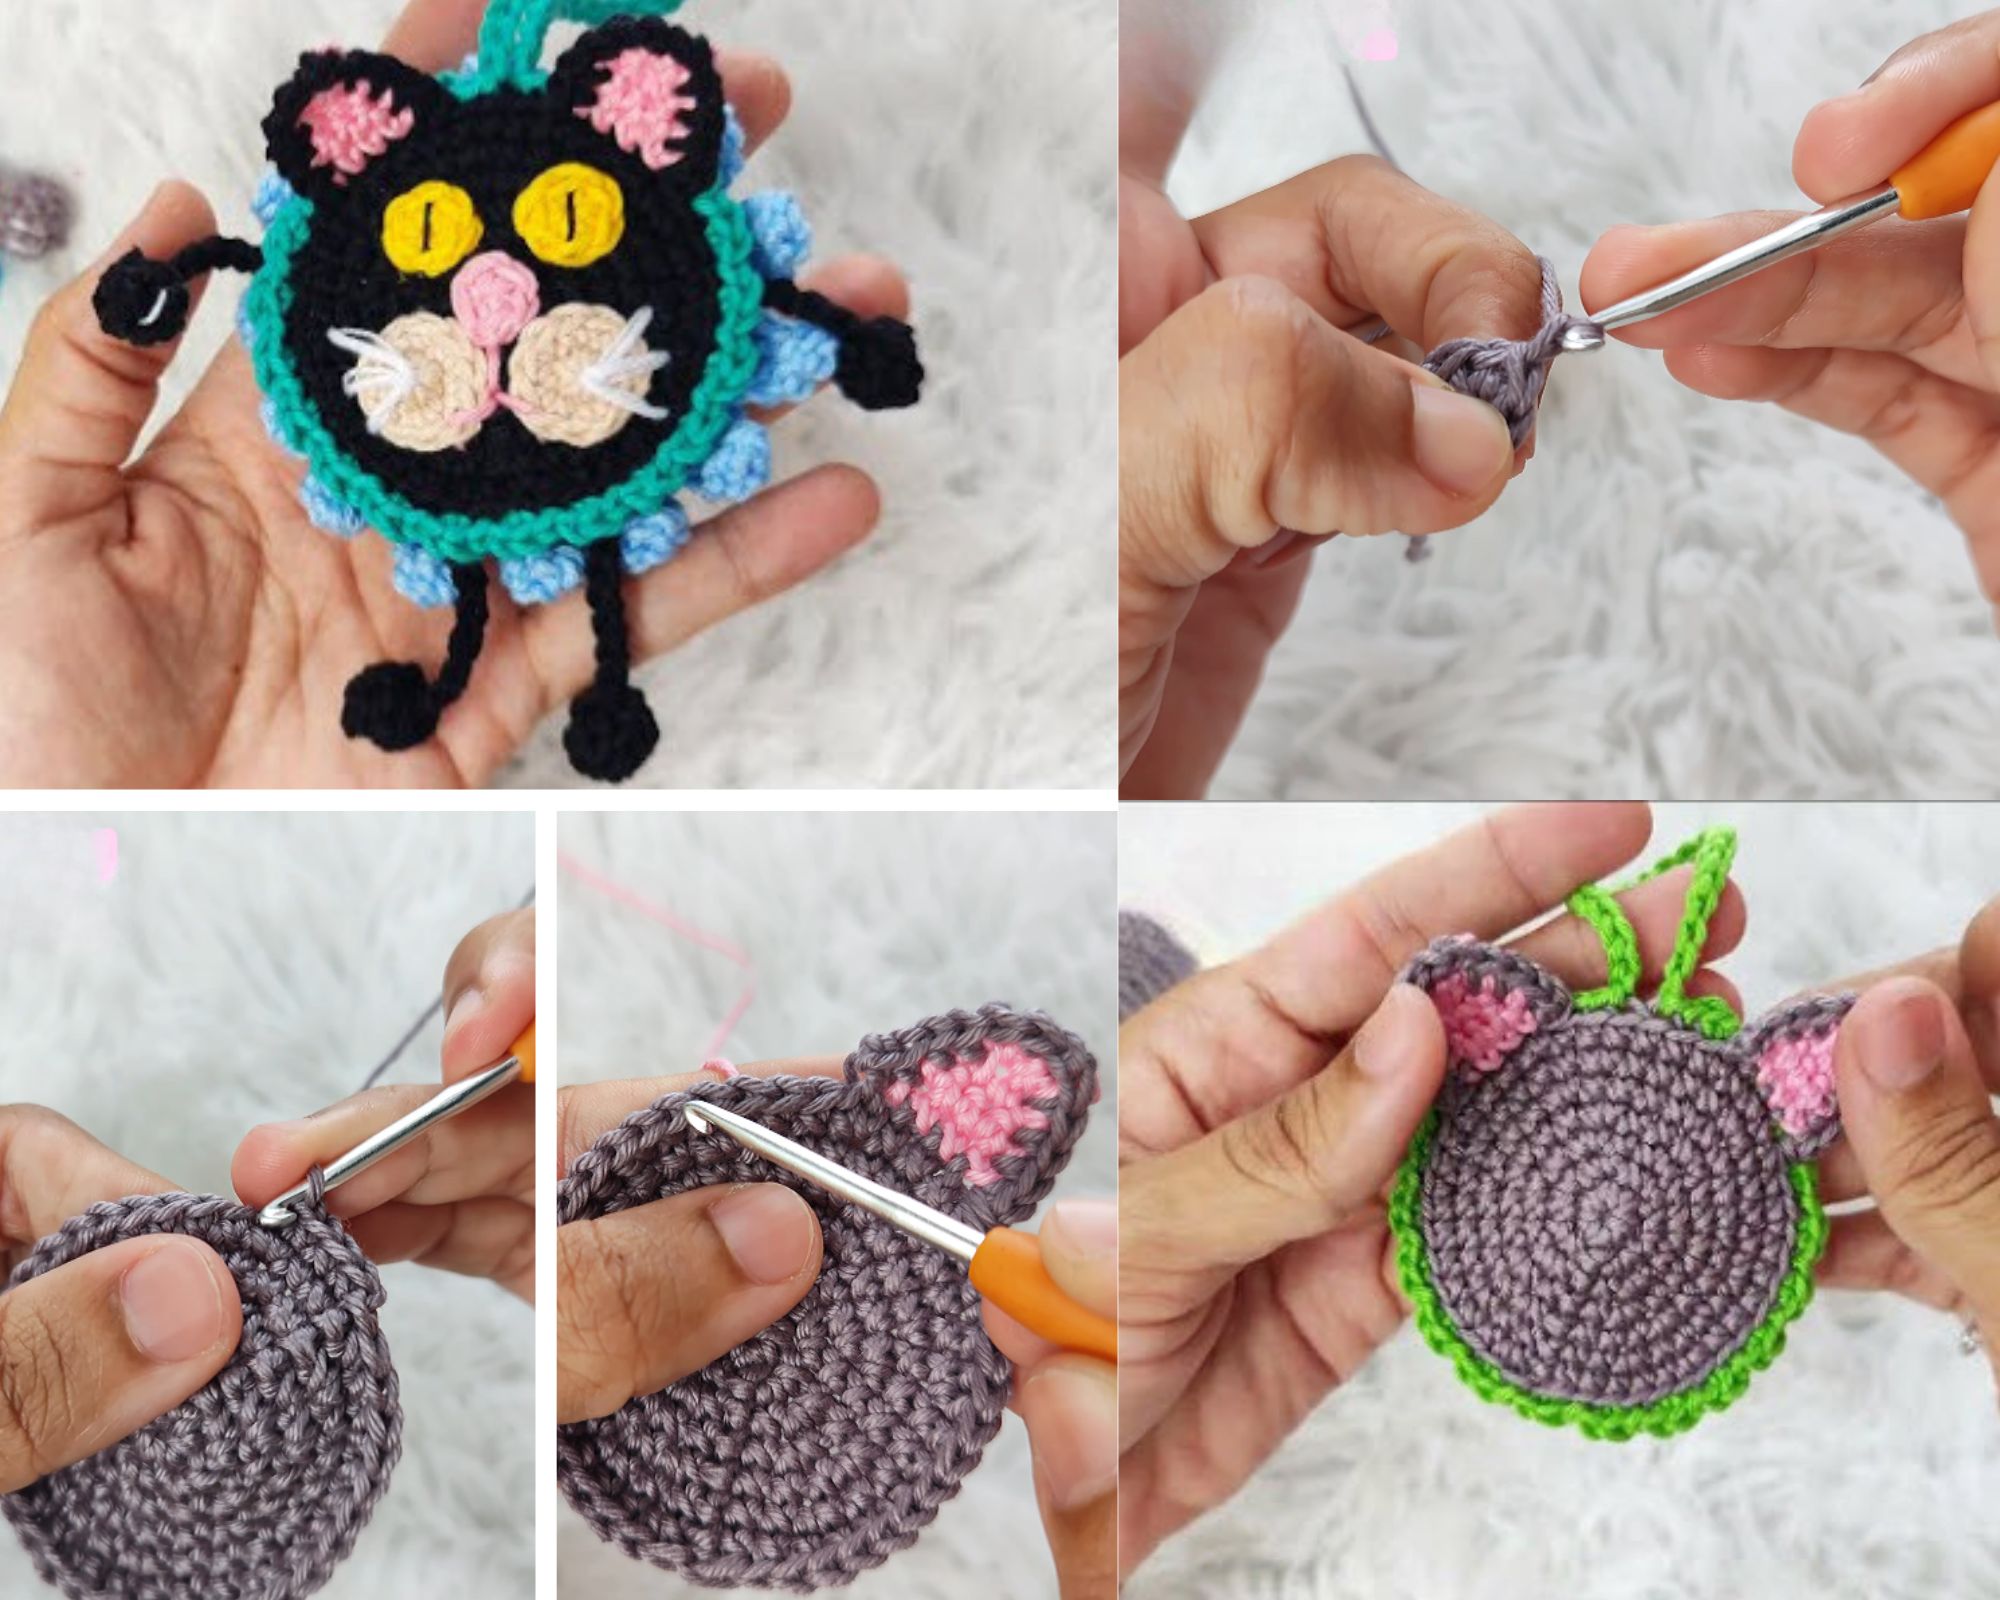
If you prefer learning by watching instead of reading, you can follow the complete video tutorial above. The video demonstrates every step of creating the Crochet Tropical Kitty Keychain Amigurumi Pattern, including making the magic ring, crocheting the head and body, attaching the ears, sewing the arms and legs, adding the facial details, and assembling the finished keychain.
Watching the video makes it much easier to understand stitch placement, shaping techniques, and proper assembly. Feel free to pause, rewind, and crochet along at your own pace until your tropical kitty is complete.
Skill Level
Difficulty: Easy
This pattern has been specially designed for beginners who already know a few basic crochet stitches. Even if this is your first amigurumi project, you can successfully complete this cute kitty by following the instructions carefully.
Recommended Experience
This pattern is perfect if you already know how to make:
- Magic Ring (MR)
- Chain Stitch (ch)
- Slip Stitch (sl st)
- Single Crochet (sc)
- Increase (inc)
- Invisible Decrease (dec)
- Fasten Off (FO)
No complicated shaping or advanced crochet techniques are required.
Materials Needed
Choosing quality materials will make your finished kitty look neat, soft, and durable. Here is everything you’ll need before starting.
Yarn
Cotton yarn is highly recommended because it produces clean stitches and helps the keychain maintain its shape.
Main Colors
- White (body and head)
- Pastel Pink (ears and cheeks)
- Yellow (flower)
- Green (leaf)
- Black (nose and whiskers)
Optional Colors
- Cream
- Light Brown
- Sky Blue
- Lavender
- Mint Green
- Peach
- Coral
- Aqua
These colors can be mixed to create different tropical-themed cats.
Recommended Yarn Brands
If you’re unsure which yarn to buy, these brands work beautifully for amigurumi projects.
- YarnArt Jeans
- Hobbii Rainbow Cotton
- Drops Safran
- Paintbox Cotton DK
- Schachenmayr Catania
- Rico Creative Cotton
Cotton yarn provides excellent stitch definition and creates a stronger finished toy than acrylic yarn.
Crochet Hook
A smaller crochet hook helps prevent stuffing from showing through the stitches.
Recommended sizes:
- 2.5 mm
- 2.75 mm
- 3.0 mm
Choose the hook size that matches your yarn.
Stuffing
Fill your kitty using high-quality polyester fiberfill.
Benefits include:
- Soft texture
- Lightweight
- Washable
- Long-lasting shape
- Easy to insert into small spaces
Avoid using cotton stuffing because it can become heavy after washing.
Safety Eyes
For the cutest appearance, use:
- 6 mm Safety Eyes
- 7 mm Safety Eyes
- 8 mm Safety Eyes
If the keychain is intended for babies or toddlers, embroider the eyes instead of using plastic safety eyes.
Additional Tools
You’ll also need:
- Stitch Marker
- Yarn Needle
- Sharp Scissors
- Measuring Tape
- Row Counter (optional)
- Sewing Pins
- Keychain Ring
- Jump Ring
- Small Jewelry Pliers
These tools make assembling the project much easier.
Optional Decorations
Want your tropical kitty to stand out?
Decorate it with:
- Mini crochet flower
- Hibiscus flower
- Palm leaf
- Tiny bow
- Mini seashell charm
- Wooden bead
- Embroidered blush
- Pink pastel chalk
- Glitter fabric paint
- Tiny embroidered pineapple
These decorations give your kitty a fun tropical vacation look.
Crochet Abbreviations
Throughout this pattern, the following abbreviations are used.
| Abbreviation | Meaning |
|---|---|
| MR | Magic Ring |
| ch | Chain |
| sc | Single Crochet |
| inc | Increase |
| dec | Invisible Decrease |
| sl st | Slip Stitch |
| FO | Fasten Off |
| st | Stitch |
If you’re new to crochet, practicing these stitches before starting the project will make the process much easier.
Step 1 – Making the Kitty Head
The head is the largest part of your tropical kitty and gives it its adorable personality.
Start by making a Magic Ring with 6 single crochet stitches.
Continue increasing evenly around each round until you have approximately 30–36 stitches, depending on how large you would like your finished kitty to be.
Once you’ve reached the desired width, crochet several rounds without increasing. This creates the smooth rounded shape that is characteristic of amigurumi animals.
As you continue crocheting, lightly fill the head with polyester fiberfill.
Avoid overstuffing because too much filling can stretch the stitches and distort the kitty’s face.
The head should feel soft while still holding its round shape.
Step 2 – Crochet the Body
The body is slightly smaller than the head to create the classic cute amigurumi look. A smaller body also helps the keychain stay lightweight and easy to carry.
Begin with a Magic Ring (MR) and crochet 6 single crochet (sc) stitches into the ring. Increase gradually over the next few rounds until you reach 24–30 stitches, depending on the size of your head.
After reaching the desired width, crochet several rounds without increasing. This creates a smooth cylindrical body. Once the body is long enough, begin decreasing evenly until only a small opening remains.
Before closing the body completely, fill it with polyester fiberfill. Use small amounts of stuffing and gently push it into place using the back of your crochet hook or a stuffing tool. The body should feel firm enough to hold its shape but still soft when squeezed.
Fasten off the yarn, leaving a long tail for sewing the body to the head later.
Step 3 – Crochet the Ears
The kitty’s ears are small but add a lot of personality to the finished project.
Using your main yarn color, start with a Magic Ring and work 4 single crochet stitches into the ring. Increase slightly during the next round before crocheting one or two additional rounds without increases.
Flatten each ear slightly to create a triangle shape.
Make two identical ears.
For a tropical-inspired look, crochet a small inner ear piece using pastel pink yarn and sew it onto the front of each ear. You can also experiment with bright tropical colors such as coral, turquoise, mint green, or sunshine yellow for a unique appearance.
When finished, leave a long yarn tail for attaching the ears to the head.
Step 4 – Crochet the Arms
The arms are tiny tubes that give the kitty a soft and cuddly appearance.
Start with a Magic Ring containing 5–6 single crochet stitches.
Crochet approximately 5–6 rounds without increasing.
Since these pieces are very small, many crocheters leave the arms unstuffed. However, you can add a tiny amount of stuffing if you prefer a fuller appearance.
Fasten off, leaving enough yarn for sewing.
Repeat the process to make the second arm.
Step 5 – Crochet the Legs
The legs are made almost the same way as the arms but are slightly thicker for better balance.
Create another Magic Ring with 6 single crochet stitches.
Work several rounds evenly before lightly stuffing each leg.
The finished legs should be slightly wider than the arms while remaining proportional to the body.
Leave a long yarn tail for sewing.
Step 6 – Crochet the Tail
Although optional, the tail completes the classic kitty look.
Chain 10–15 stitches, depending on how long you would like the tail.
Work one single crochet stitch into each chain back to the beginning.
When finished, gently curl the tail using your fingers. You can also make the tail naturally curl by crocheting with slightly tighter tension.
A curved tail gives your tropical kitty even more character.
Step 7 – Create the Facial Features
This is the stage where your kitty truly comes to life.
Carefully insert the safety eyes between Rounds 10 and 12 of the head.
Leave enough space between the eyes to create a cute and friendly facial expression.
Using black embroidery thread or black yarn, stitch a small triangle-shaped nose. Extend a short vertical line downward from the nose to create the classic “Y” shaped cat mouth.
Next, embroider three whiskers on each side of the face using thin black thread.
To make your tropical kitty even more adorable, lightly apply pink blush to both cheeks using fabric-safe blush powder, pastel chalk, or a washable fabric marker.
Take your time with the face because even small adjustments can completely change the expression.
Step 8 – Assemble the Kitty
Once all the individual pieces are complete, it’s time to put everything together.
Start by sewing the ears securely onto the top of the head. Position them evenly so they match in height and angle.
Next, attach the head to the body using the long yarn tail left earlier. Sew slowly around the neck, checking the alignment as you go.
Attach the arms to each side of the body just below the neck.
Sew the legs evenly at the bottom of the body so the kitty sits straight.
Finally, attach the tail to the back of the body.
Take a few minutes to check the overall balance of the keychain before weaving in all loose ends.
Add the Keychain Ring
To transform your amigurumi kitty into a practical keychain, attach a small jump ring to the top of the head using a yarn needle or jewelry pliers.
Connect the jump ring to a split keyring or lobster clasp.
Now your handmade kitty can be attached to:
- House keys
- Car keys
- Backpack
- School bag
- Purse
- Handbag
- Travel luggage
- Pencil case
- Zipper pull
Common Mistakes to Avoid
Even experienced crocheters make mistakes from time to time. Here are some of the most common ones to watch out for.
Uneven Stuffing
Adding too much stuffing can stretch the stitches, while too little stuffing makes the toy floppy.
Instead, add stuffing gradually until the shape feels soft but firm.
Loose Stitches
Loose stitches may expose the stuffing through visible holes.
Using a smaller crochet hook usually solves this problem.
Forgetting to Count Stitches
Always count your stitches after every round.
One missed stitch can affect the entire shape of your kitty.
Crooked Assembly
Before sewing permanently, use sewing pins to hold each piece in place.
This allows you to adjust the position before stitching.
Uneven Facial Features
The eyes, nose, and whiskers should all be centered.
Measure carefully before attaching the safety eyes.
Creative Uses for Your Crochet Tropical Kitty Keychain
Once you’ve finished your Crochet Tropical Kitty Keychain Amigurumi Pattern, you’ll discover there are so many fun and practical ways to use it. Besides being an adorable crochet project, this tiny kitty is both decorative and functional.
1. Keychain
Attach your finished kitty to your house, office, or car keys to make them easier to find. The colorful tropical design adds a cheerful touch to your everyday essentials.
2. Backpack Charm
Clip your crochet kitty onto a school bag, travel backpack, or laptop bag for a cute handmade accessory.
3. Handbag Decoration
Decorate your purse or tote bag with this charming amigurumi kitty to give it a unique handmade look.
4. Handmade Gift
A crochet kitty keychain makes a thoughtful gift for birthdays, holidays, Mother’s Day, Christmas, Valentine’s Day, or any special occasion. Handmade gifts are always appreciated because they are created with love and care.
5. Craft Fair Best Seller
Small amigurumi keychains are popular at craft fairs and online marketplaces because they are affordable, quick to make, and appeal to people of all ages.
6. Party Favor
Create several tropical kitty keychains in different colors as party favors for birthdays, baby showers, or summer-themed celebrations.
7. Desk Decoration
Place your finished kitty on your office desk, bookshelf, or workspace to add a little personality and brighten your day.
8. Collectible Amigurumi
Make a collection of tropical kitties in different colors and accessories. Add flowers, bows, hats, or tiny fruit decorations to create unique characters.
Frequently Asked Questions
Can beginners make this pattern?
Yes! This pattern is designed for beginners who know the basic crochet stitches. The instructions are simple, and the video tutorial makes each step even easier to follow.
How long does it take to make?
Most crocheters can finish the project in 2 to 4 hours, depending on their experience and crocheting speed.
What is the finished size?
Using DK or Sport weight cotton yarn with a 2.5–3.0 mm crochet hook, the finished kitty measures approximately 8–10 cm (3–4 inches) tall.
Can I use acrylic yarn?
Yes, but cotton yarn is recommended because it provides better stitch definition, holds its shape well, and creates a more professional-looking amigurumi.
Can I make a larger kitty?
Absolutely. Simply use thicker yarn and a larger crochet hook. Keep in mind that you’ll also need more stuffing, and the finished keychain will be larger.
Are safety eyes necessary?
No. If you’re making the keychain for young children, embroidered eyes are a safer alternative.
Can I sell finished crochet kitties?
Yes, you can sell the finished handmade keychains if the pattern allows it. Always respect the original designer’s copyright if you’re using someone else’s pattern.
Final Thoughts
The Crochet Tropical Kitty Keychain Amigurumi Pattern is a fun, relaxing, and rewarding project that anyone can enjoy. With only a few basic crochet stitches and a small amount of yarn, you can create a charming handmade accessory that’s perfect for everyday use or gifting.
Its compact size makes it an excellent beginner project, while the endless customization possibilities keep it exciting for experienced crocheters. Add colorful flowers, tropical leaves, bows, or even tiny fruit decorations to give each kitty its own unique personality.
If you’re following along with the video tutorial, don’t rush the process. Take your time, enjoy every stitch, and have fun bringing your little tropical kitty to life. Before long, you’ll have a cute handmade keychain that you’ll be proud to carry or share with someone special.
Happy crocheting!