
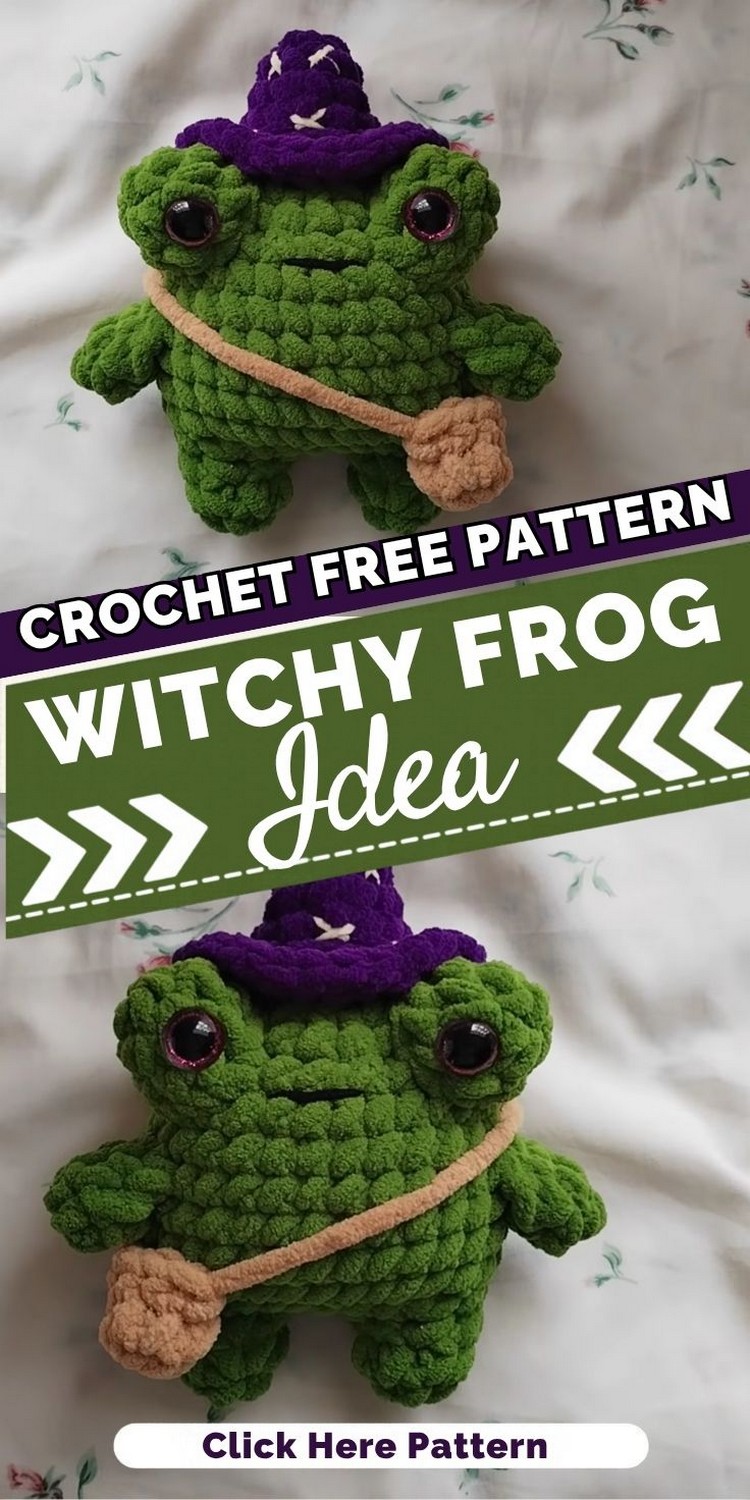
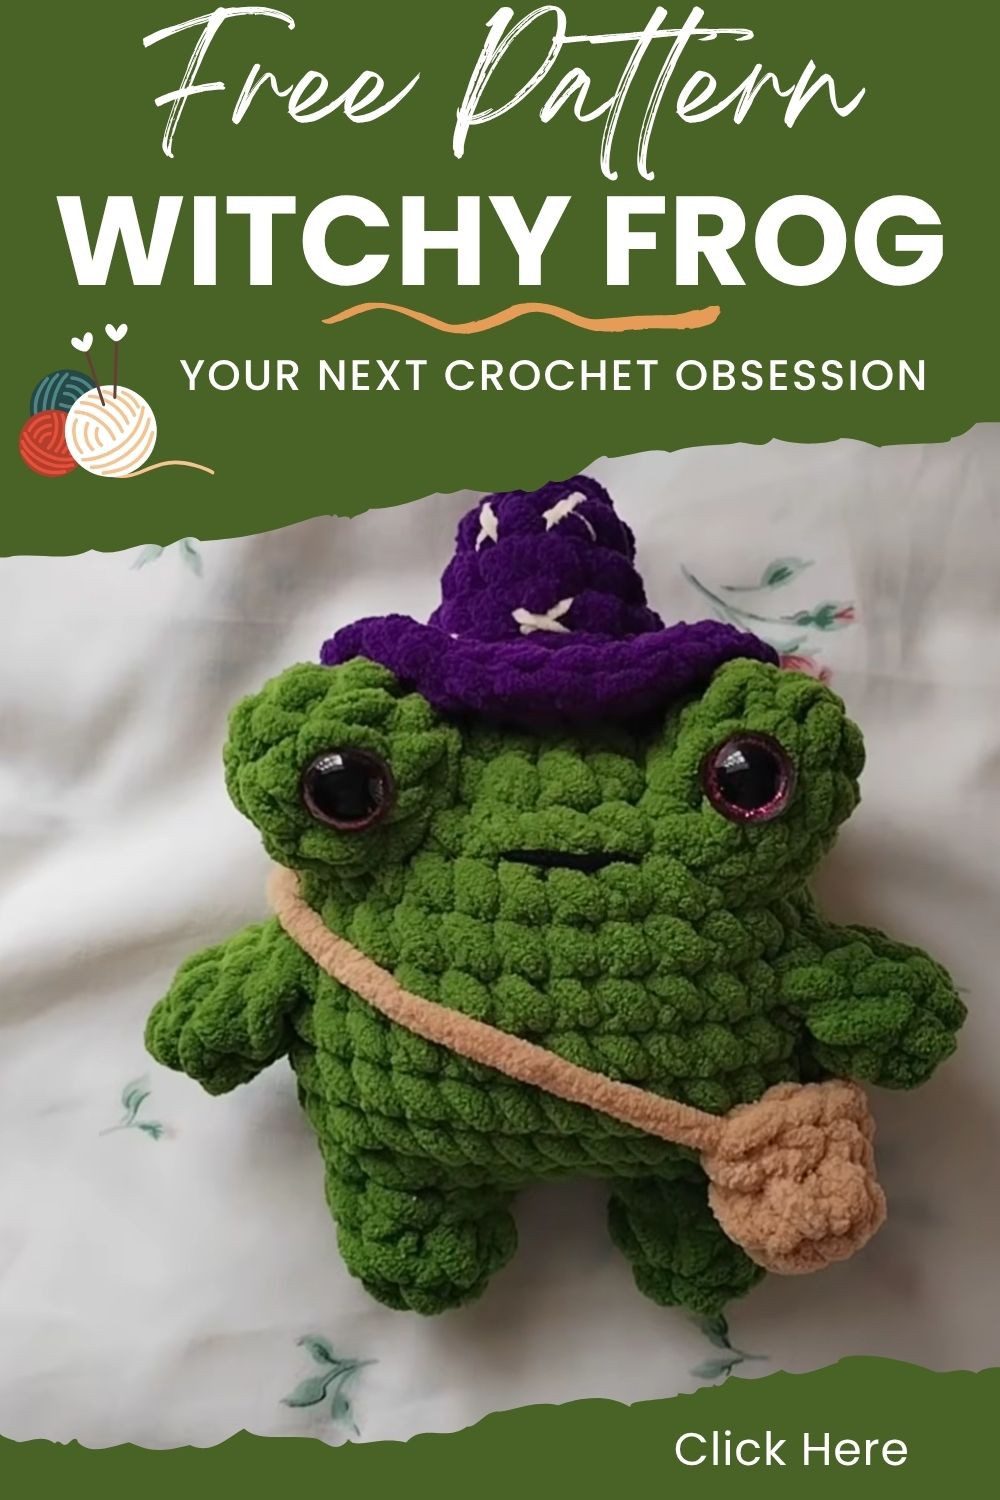
Here is a free crochet witchy frog pattern for a little green frog in a purple hat. The hat has tiny white stars on it. The frog has sparkly eyes, a small smile, and a tan bag that hangs across its body.
Every part is written out one round at a time, so it is simple to follow. This cozy fall crochet project also makes a nice handmade Christmas gift, and it fits right in with other amigurumi gift ideas.
About the Free Crochet Witchy Frog Pattern
The finished toy is a round green frog with two eyes, small arms, an embroidered mouth, and a hat that sits on top of the head. A small bag with a yarn strap crosses the body, which gives the frog a travelling-spellcaster personality. Every part is crocheted in the round and sewn on afterwards, so progress is easy to follow one piece at a time.
Standout Features of This Witchy Frog Pattern
Legs With a Chain Bridge
Instead of a single lump, the body starts from two small legs that connect through a 3-chain bridge. Working around both legs and across the chain loops creates a joined base for the body rounds.
Rounded, Stuffed Body
Gradual increases bring the body to 30 stitches before decreases taper the top. Extra stuffing goes in before closing, which is how the chubby, rounded shape forms.
Hat With a Flared Brim
Working round 6 in the front loops only, with hdc increases in each loop, flares the brim. Embroidered star crosses in contrasting yarn finish the hat.
Tiny Bag and Strap
A small bag worked like the arms hangs from a yarn strap, adding a witchy accessory.
Crochet Witchy Frog Pattern Materials and Yarn
The pattern summary points to these supplies:
- Main yarn for the frog’s legs, body, eyes, and arms
- Yarn for the hat, plus contrasting yarn for the star crosses
- Dark yarn for the mouth
- Yarn for the bag and strap
- Safety eyes or glittery eyes
- Polyester fiberfill
- Stitch marker, yarn needle, and scissors
- A crochet hook suited to the chosen yarn
Hook size, yarn weight, and yardage are not included in the supplied pattern details, so exact amounts cannot be listed. As general guidance, fluffy or chenille-style yarn gives a soft, plush look, while smooth yarn gives sharper stitch definition. Choose a hook small enough that the stuffing does not peek through the stitches. A short swatch of two or three rounds also previews how the yarn and hook work together.
Skills and Stitches for the Witchy Frog
Techniques include the magic ring, chaining to join pieces, stuffing, embroidery, and sewing parts together. The abbreviations below appear in the instructions:
- MR: magic ring
- ch: chain
- sc: single crochet
- inc: two sc worked in one stitch
- dec: two stitches worked together
- hdc: half double crochet
- FLO: front loops only
Tips Before You Start This Crochet Witchy Frog
Place a stitch marker in the first stitch of every round, since most parts are worked in continuous rounds. Count stitches at the end of each round, especially after the leg joining round, which should total 28 stitches. Cut long tails on the legs, because those tails close the gaps between them later.
Also, work with steady tension, because loose stitches let stuffing appear through the fabric and make small pieces like the arms look misshapen. Stuff firmly but evenly, since lumps are hard to hide. Pin the eyes, arms, hat, and bag before sewing to confirm they sit level.
Crochet Witchy Frog Pattern Step-by-Step Instructions
Step 1: Crochet the Frog Legs
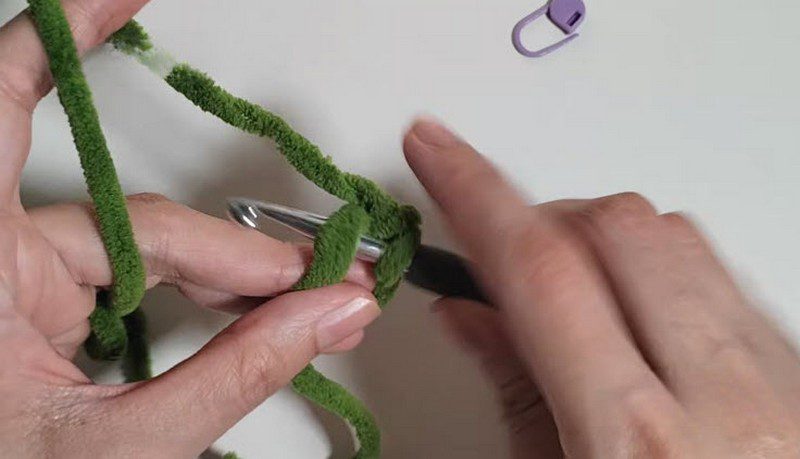
Begin with a magic ring, chain 1, and work 5 sc into the ring. Pull the tail to close the ring and place a stitch marker. Next, round 2 adds increases until the leg holds 7 stitches. Secure the yarn with a knot, turn the leg right-side out, and cut the yarn, leaving a long tail.
After that, make the second leg the same way, but do not cut the yarn. Add 3 extra sc, chain 3, and join to the first leg to connect the pair.
Pro-Tip: Leave the tail on each leg long enough to sew with, since it closes the small gaps between the legs later.
Step 2: Shape the Witchy Frog Body
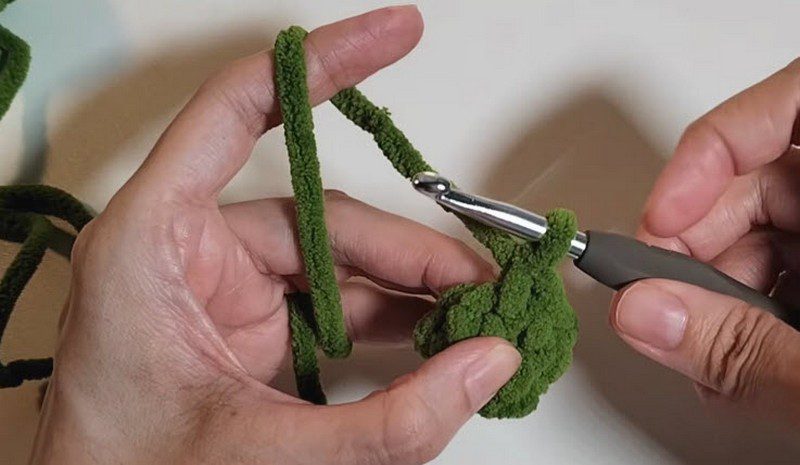
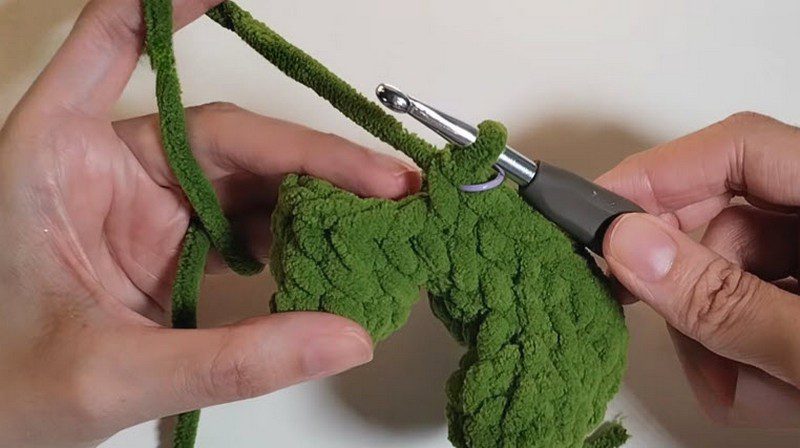
Work around the first leg for 7 sc, across the 3 chain loops, around the second leg for 7 sc, and back across the bottom of the chain loops. The pattern summary lists 28 stitches for that joining round. Then rounds 2–8 add gradual increases until the body reaches 30 stitches. Use the leftover tail to sew the small gaps closed between the legs.
Next, stuff the legs and lower body, then work decreasing rounds 9–12 to taper the top. Add more stuffing until the body looks round and chubby, then close the top opening with a yarn needle.
Pro-Tip: Stuff before the opening gets too small, because pushing fiberfill through a tiny hole is far harder.
Step 3: Make the Glittery Frog Eyes
Start with a magic ring and 5 sc for round 1. Increase in every stitch for 10 stitches in round 2, then work 1 sc in each stitch for round 3. Insert safety eyes (or glittery eyes) between rounds 2 and 3, add a little stuffing, and fasten off. Make two, one for each side. Finally, sew the eyes securely onto the upper body, keeping them level.
Step 4: Crochet the Small Arms
Work a magic ring with 6 sc for round 1, then 6 sc around for round 2. Stuff lightly and crochet the opening closed with 3 stitches. Make two arms, then sew them onto the sides of the body one round below the eyes.
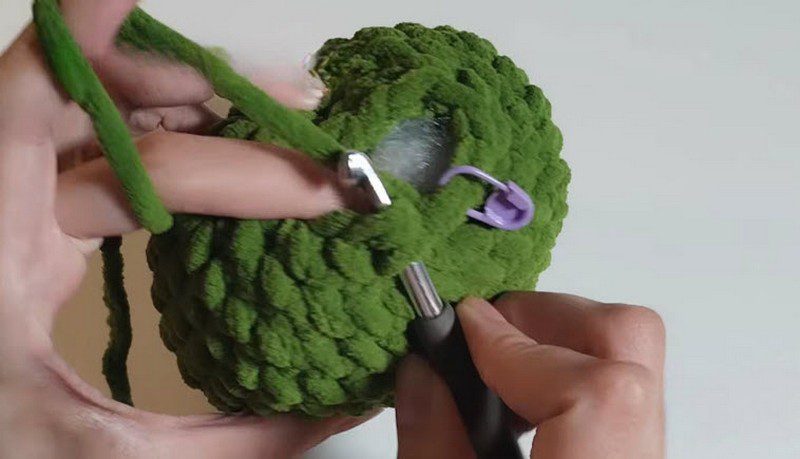
Step 5: Embroider the Frog’s Smile
Use dark yarn to embroider a small mouth between rounds 10 and 11, roughly 3 stitches wide. Keep the stitches small and even so the smile stays neat.
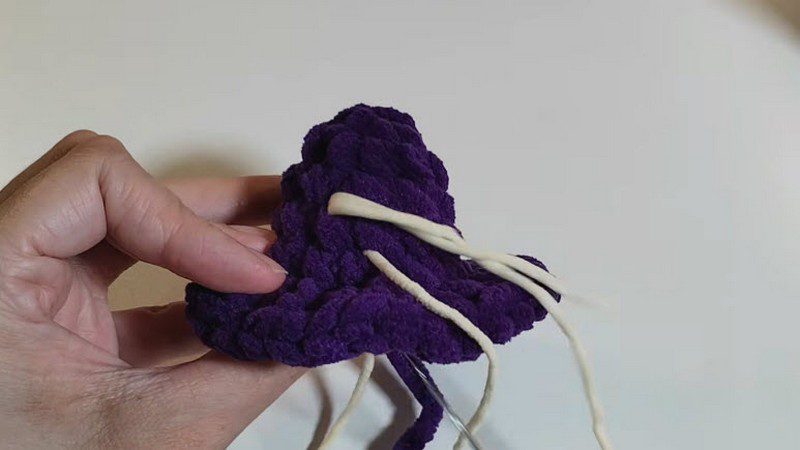
Step 6: Build the Wizard Hat
Start with a magic ring of 6 sc, then work increases through rounds 2–5 to build the pointed cone. For round 6, work in the front loops only, making hdc increases in each loop for a flared brim. Embroider small star crosses onto the hat with contrasting yarn, then stitch the hat securely onto the frog’s head.
Pro-Tip: Embroider the stars before sewing the hat on, since the cone is easier to hold and turn while it is loose.
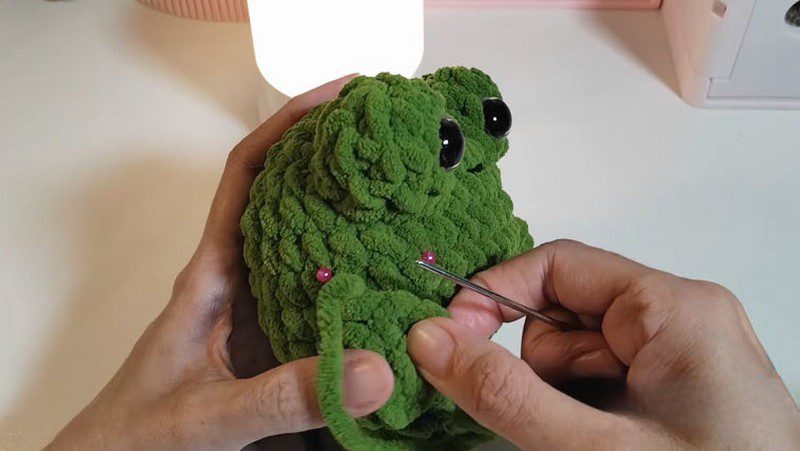
Step 7: Make the Witchy Bag
Make a small magic ring with 6 sc, then work 6 sc around for round 2. Close the top with 3 stitches, just like the arms. Lastly, measure a yarn strap, attach it to the bag, and place it around the frog’s body.
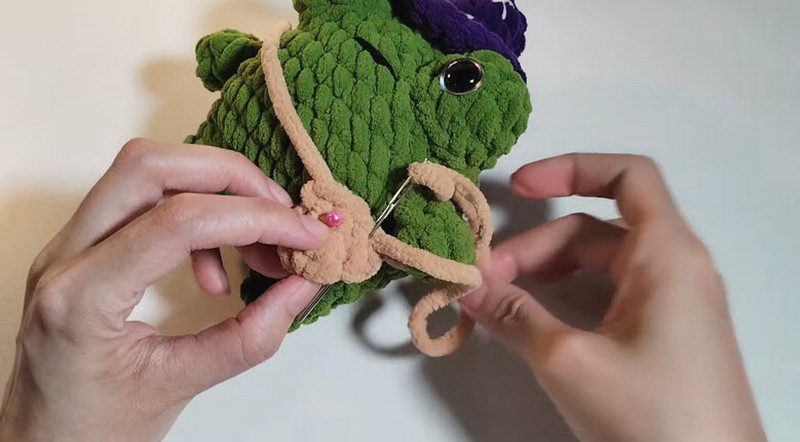
Assembling Your Crochet Witchy Frog
Assembly order affects how clean the finished frog looks. Attach the eyes first, then the arms one round below them, and pin everything before stitching. Add the hat last, centred on the head, and sew it down on all sides so it stays upright. Finally, loop the bag strap around the body and secure it with a few small stitches.
Customisation Ideas for the Witchy Frog Pattern
Color Changes
Try a different body colour for a swamp, lime, or mint look, and pair it with a hat in any dark shade.
Hat Details
Star crosses can be swapped for moons or dots using the same embroidery method.
Bag Options
Lengthen or shorten the strap for a different hang, but test the fit on the body before sewing.
Bonus: Mini Witchy Frog Keychain Version
Want a pocket-sized charm? Work the same rounds with thinner yarn and a smaller hook, and the frog shrinks to a cute bag dangler. Skip the safety eyes in favor of embroidered ones, and loop a short chain through the top of the hat for the clasp.
Common Mistakes in This Crochet Witchy Frog Pattern
Uneven eyes usually come from sewing without pins, so mark both positions and compare from the front before stitching. Gaps between the legs can be closed with the leftover tail, as the pattern advises. A lumpy body often means uneven stuffing, so add small pieces gradually and shape the toy by hand.
However, a curling hat brim usually points to a missed step. Check that round 6 was worked in the front loops only and that every loop holds an hdc increase. Arms that sit crooked can be fixed by re-pinning one round below the eyes before sewing again.
Display and Gift Ideas
Perch the frog on a bookshelf, lean it against stacked spell-style books, or tuck it into a seasonal basket as a handmade gift. A small tag or note tied nearby adds a personal touch.
Care Instructions
Fibre content is not listed, so follow the yarn label for washing. Spot cleaning with a damp cloth is a gentle general option for stuffed toys. Allow the frog to dry fully before storing, and keep it away from direct heat. Fluffy yarns may also need a soft brush to restore their texture.
FAQs About the Crochet Witchy Frog Pattern
Is the free crochet witchy frog pattern complete?
Yes, the supplied details cover the legs, body, eyes, arms, mouth, hat, and bag, all explained above.
How many parts does the frog have?
The toy is made from two legs worked into one body, two eyes, two arms, a hat, and a bag, plus embroidered details.
What yarn works best?
Fluffy yarn gives a plush look, but the supplied details do not name a specific yarn. Any suitable weight with a matching hook can work.
Is the frog suitable for small children?
The pattern summary does not say. Small sewn-on parts and safety eyes can be a concern, so plan accordingly when making toys for very young children.
Ready to Cast Some Cuddly Charm
Joined legs, glittery eyes, a starry pointed hat, and a little bag give this frog loads of personality. Each piece is quick to finish, so the whole project fits into short crafting sessions. Count your rounds, stuff generously, and your finished witch will be ready to charm whatever shelf it lands on.