
Meet the easy ribbed Rectangle Crochet Top Pattern that proves a beginner can make real wearable fashion. This free crochet top pattern works up in a rich burnt orange with neat vertical ribbing that gives a fitted look. The sleeveless shape needs no complicated shaping so you can relax and enjoy every stitch. It pairs well with jeans and skirts alike. Wear it as a cozy fall outfit or layer it under a blazer for a holiday dinner outfit. It also makes a sweet handmade gift for her.
Rectangle crochet top pattern fans will adore this ribbed beauty because it starts with plain rectangles and ends as a stylish wearable top. The ribbed texture gives lovely stretch so the fit feels snug and comfortable on many body sizes. You only need basic stitches and a little seaming which makes this rectangle crochet top pattern a great pick for confident beginners. Choose soft cotton yarn for warm days or a cozy wool blend for chilly evenings. Style it as a Thanksgiving outfit with jeans or layer it under a cardigan for easy winter layering. It also works as a thoughtful handmade gift for her since you can adjust the size just by changing the rectangle width.
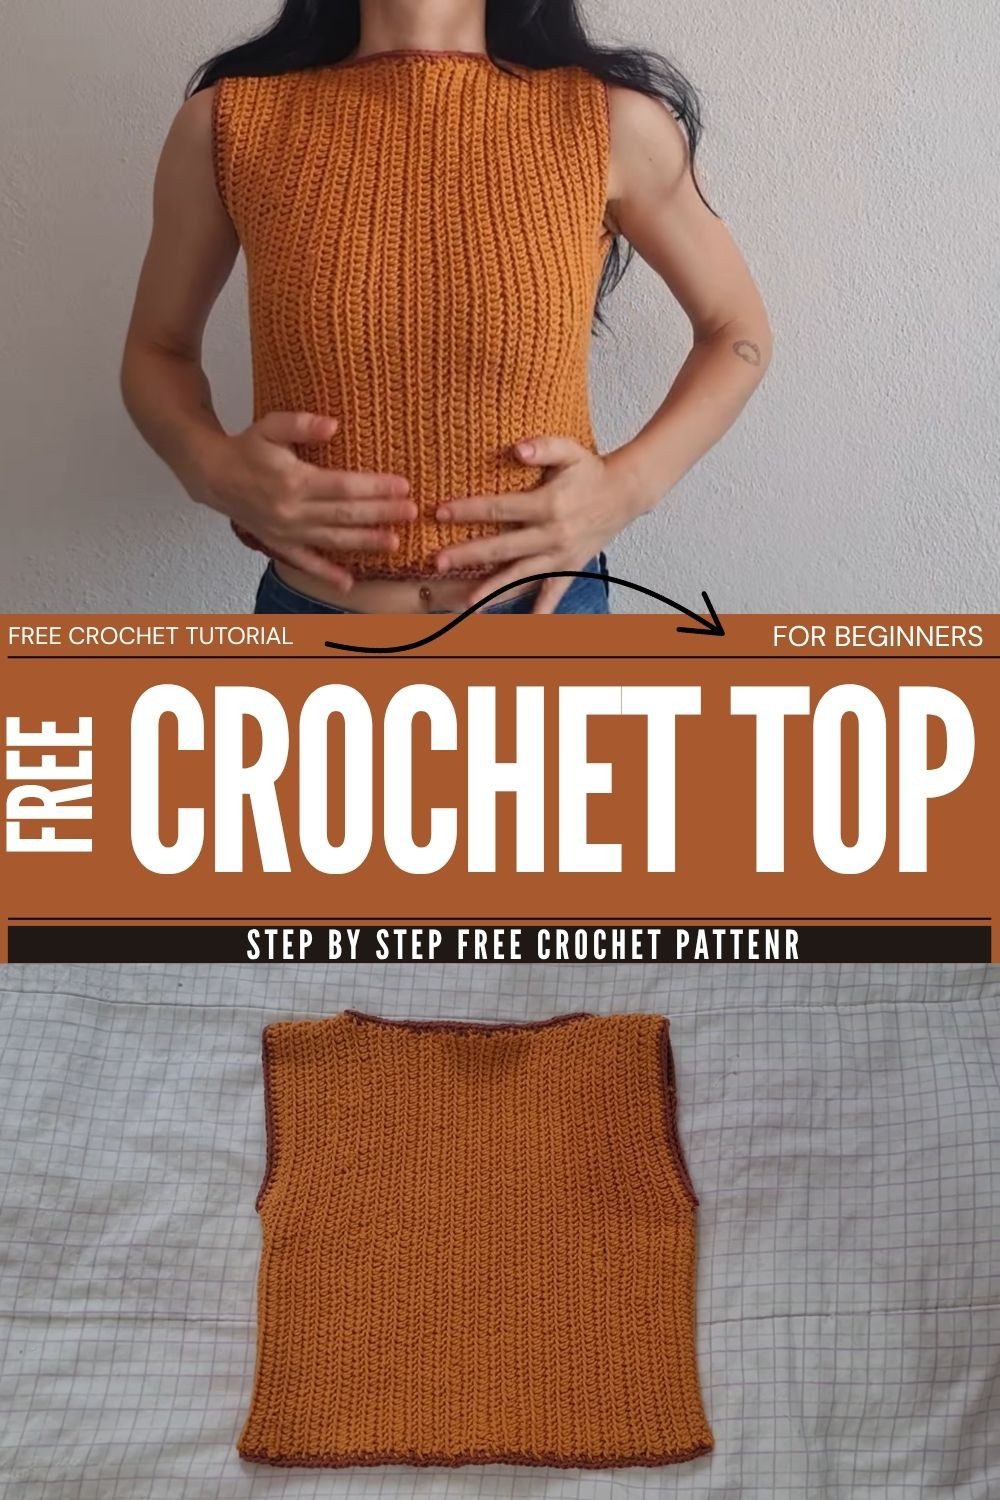
Anyone who enjoys wearable projects built from simple shapes may like the half double crochet top, since the fit depends on a few body measurements. A smooth, evenly spun yarn shows the ribs more clearly, and a 3.5 mm hook keeps the stitches tidy. Shoulder and side seams join the panels, and a single crochet edging finishes the openings.
Rectangle Crochet Top Pattern Overview
Two matching rectangles form the whole garment, joined by seams at the shoulders and sides. Each panel uses rows of half double crochet, with one stitch placed into every stitch of the row below. As the rows stack up, they create a close vertical rib effect and a ribbed edge.
Because plain rectangles form the base, the finished top has a boxy, straightforward shape. Measure from the shoulder to the hem you want, and both cropped and longer versions follow the same method.
Rectangle Crochet Top Pattern Features
One Piece to Learn
Both panels match, so you only need to work out one rectangle. The second repeats the same stitch count and row count, which makes a row counter or a small notebook very useful.
Adjustable Size
The chain of 166 is a starting point. Chain whatever number reaches your preferred length, then work rows until each rectangle equals half of your bust circumference.
Custom Openings
You choose the armhole depth by trying the piece on and marking with pins. The neck opening stays in the center of the shoulder seam, so you decide the comfort instead of following a preset measurement.
Materials for the Rectangle Crochet Top Pattern
- Yarn: Barroco Maxcolor by Círculo, or any yarn you prefer
- Hook: 3.5 mm crochet hook
- Tools: tapestry needle and scissors
- Pins: for marking the armholes
No yardage was given. Since length and width depend on personal measurements, the amount of yarn will vary, so keeping an extra skein from the same dye lot on hand is a safe choice.
Choosing Yarn
The pattern names Barroco Maxcolor by Círculo but allows any yarn. When swapping, pick a yarn that feels comfortable with a 3.5 mm hook. Smooth strands with a firm twist usually show ribs more clearly than fuzzy ones, while heavily textured yarn can hide the stitch pattern. In addition, the yarn weight was not listed, so a small swatch in half double crochet helps you judge the match between yarn and hook. The swatch also shows how the fabric feels before you start the long foundation chain.
Stitches and Terms Used in the Rectangle Crochet Top Pattern
Only a handful of basic stitches appear:
- Chain (ch): forms the foundation and the turning chains
- Half double crochet (hdc): forms both rectangles
- Single crochet (sc): forms the edging
- Slip stitch (sl st): joins the rounds of edging
Chain 2 at the start of each later row counts as the height of the first half double crochet. Finally, sew the seams with a tapestry needle instead of crocheting them.
Skill Level and Techniques
No official difficulty rating was given. However, the pattern uses only basic stitches, with no increases or decreases. The parts that need attention are the long foundation chain, a steady stitch count over many rows, seaming on the wrong side, and spacing the edging evenly around the neckline. Crocheters comfortable with half double crochet and simple seaming should find the steps familiar.
Planning Length and Width for the Rectangle Crochet Top
Measurements drive the pattern, since no size chart is provided.
For length, hold the end of a tape measure at the shoulder and run it down to where you want the top to end. The foundation chain needs to cover that distance. The 166 chains are one example, so lay the chain beside the tape measure as it grows and keep the tension relaxed instead of stretched.
For width, measure around the fullest part of your bust and divide by two. Each rectangle should reach that number. Write both measurements down so they are easy to find later, and use them for both panels to avoid a lopsided result.
Tips Before Starting the Rectangle Crochet Top Pattern
First, before chaining 166 or any custom number, count the chain in groups of ten and place a stitch marker after each group. Miscounting is easy over a long chain, and an error found after several rows is hard to fix.
Also, keep a row counter nearby, since both panels need the same number of rows to match at the seams.
Step-by-Step Rectangle Crochet Top Pattern
Make the Foundation Chain
Measure from the shoulder to the length you want, then chain 166, or the number needed to reach that length, whether cropped or longer. Check the chain against the tape measure and keep the tension even so the chain does not curl or bunch.
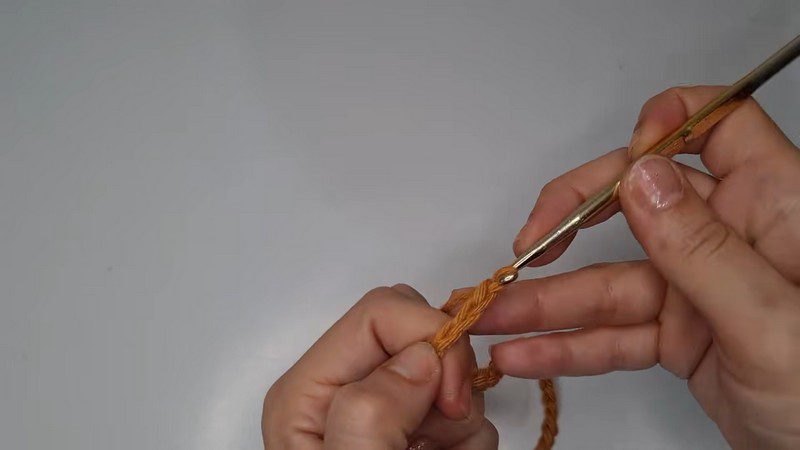
Work the First Row
Count 3 chains from the hook and make the first half double crochet there. Then continue with one half double crochet in each chain across. Move slowly through the row, because a missed chain carries into every row that follows.
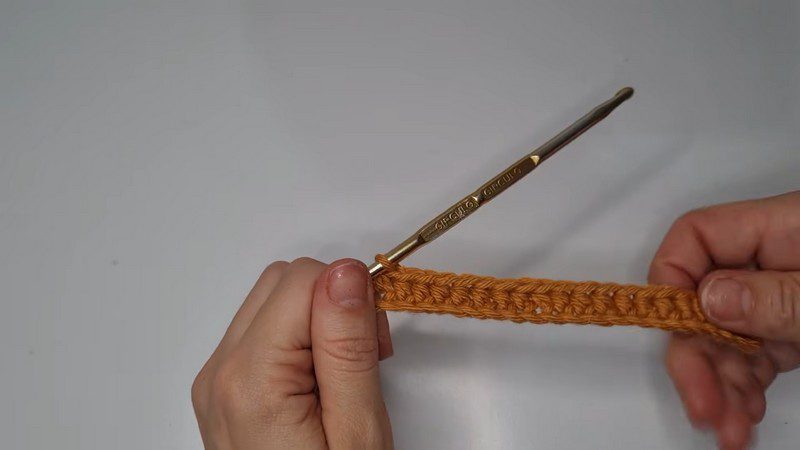
Work the Remaining Rows
Chain 2 to turn, which counts as the height of the first half double crochet. Turn the work and place one half double crochet into each stitch across. Repeat until the rectangle is as wide as half of your bust circumference. After that, make a second rectangle with the same measurements. Count stitches after a few rows to confirm that the total stays steady.
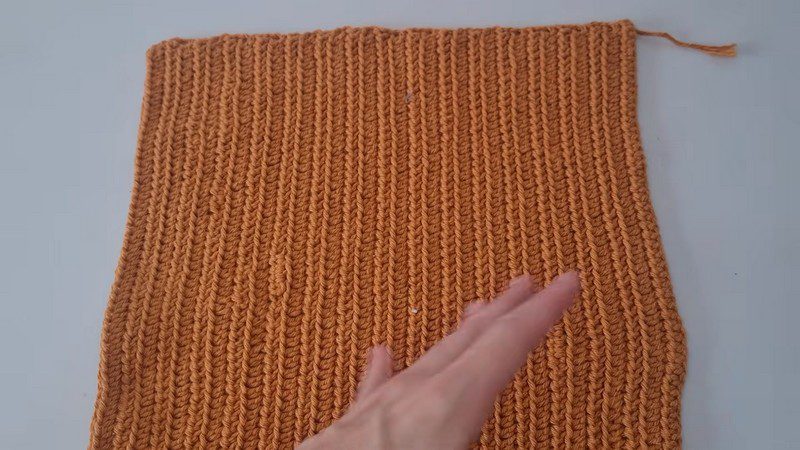
Sew the Shoulder Seams
Always work on the wrong side of the fabric. Place the two rectangles on top of each other, aligned, and sew the top shoulder edges with a tapestry needle. Leave a center opening for the head and neck, and make sure the opening is wide enough before you fasten off.
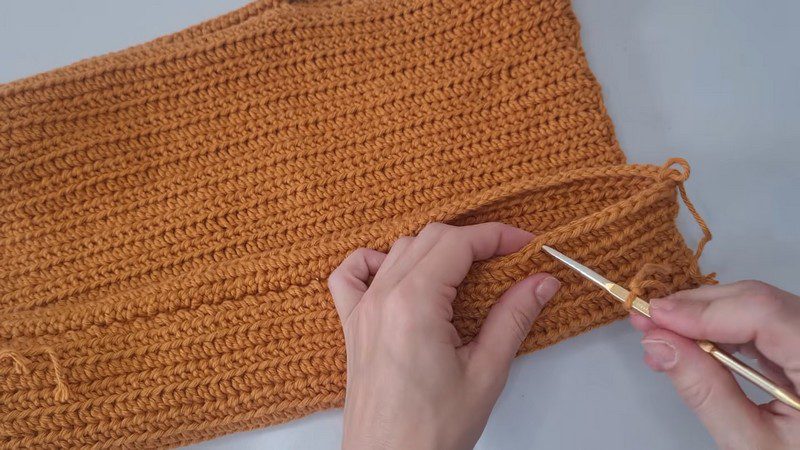
Sew the Side Seams
Slip the piece over your head and use pins to mark where the side seams should stop, leaving a comfortable opening for the arms. Then sew the sides from the bottom up to the markers. Match the rows on both edges, so the seam does not twist.
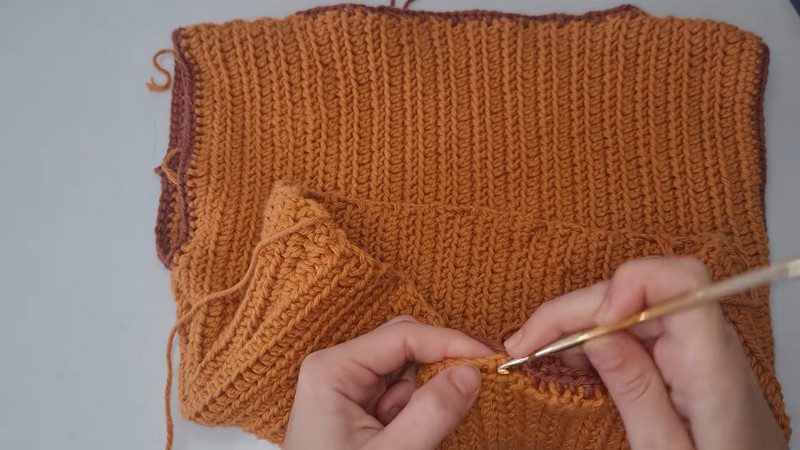
Add the Edging and Weave in Ends
Finish with single crochet around all edges.
- Armholes and bottom hem: Work a round of single crochet around each armhole opening and along the bottom hem, then join with a slip stitch.
- Neckline: Work single crochet evenly around the neckline, alternating between the sides of the rows and the row junctions.
- Yarn tails: Weave in and secure all remaining tails on the wrong side.
Finishing and Edging Tips
Edging is where the top starts to look finished, so a little patience pays off. Work the single crochet evenly around each opening and keep the stitch size consistent. At the neckline, alternate between the row sides and the row junctions, because that placement helps the stitches sit flat instead of crowding. Finally, weave the tails on the wrong side, running the needle in two directions for a secure hold.
Measurement Checklist for the Rectangle Crochet Top Pattern
Use the short list below to double-check the key numbers before you start chaining:
- Chain length: measure from the shoulder to the hem you want (the example uses 166 chains)
- Panel width: half of your bust circumference
- Panel count: two rectangles with the same stitch count and row count
- Armholes: mark with pins while you try the piece on
- Hook: 3.5 mm
Common Mistakes with the Rectangle Crochet Top Pattern
- Uneven edges: Skipping the last stitch of a row or adding an extra one changes the width. Count stitches every few rows, and place the turning chain consistently.
- Panels of different sizes: If the second rectangle ends up wider or narrower than the first, compare the two and add or remove rows before sewing.
- Tight armholes: Pins make adjusting easy. Try the piece on again after marking, and move the pins if the arm opening feels snug.
- Puckered or loose edging: Space the single crochet evenly, follow the alternating placement for the neckline, and keep your tension steady.
Ways to Customize the Rectangle Crochet Top Pattern
Length is the easiest change, since you can shorten the foundation chain for a cropped top or extend it for a longer one. Yarn color is open too, and a different yarn works as long as the swatch feels right. You adjust neckline width and armhole depth during seaming, where pins mark the openings. Any new size should still rely on half of the bust circumference for each panel.
Care Notes
The fiber content of the yarn was not listed, so the yarn label is the best guide for washing and drying. Check the label before cleaning the finished top. Folding the top flat, rather than hanging it, may help it keep its shape.
Frequently Asked Questions (FAQs)
How many chains does the rectangle crochet top pattern call for?
The pattern uses 166 chains as its example. You can raise or lower that number to reach the garment length you want, whether cropped or longer.
What hook size does the rectangle crochet top pattern need?
A 3.5 mm hook is listed. A gauge swatch shows whether your chosen yarn works well with that size.
Can any yarn work for a rectangle crochet top?
Yes. The pattern names Barroco Maxcolor by Círculo but accepts any yarn. Texture and fiber will change the look of the ribs and how the finished top feels.
How wide should each rectangle be?
Each rectangle should equal half of the bust circumference, and the two panels must match.
How do you make the armholes?
You do not crochet any armhole shaping. Instead, the side seams stop at pin markers placed while you try the piece on, and single crochet edges the openings.
Time to Start Your Two Rectangles
Two rectangles, a few seams, and neat edging are all the top requires, so the process stays easy to follow from the first chain to the last woven end. The ribbed texture, adjustable length, and pin-marked openings give you plenty of control over the fit. So choose a yarn that shows the stitches well, take careful measurements, and enjoy watching the panels grow into a wearable top.