
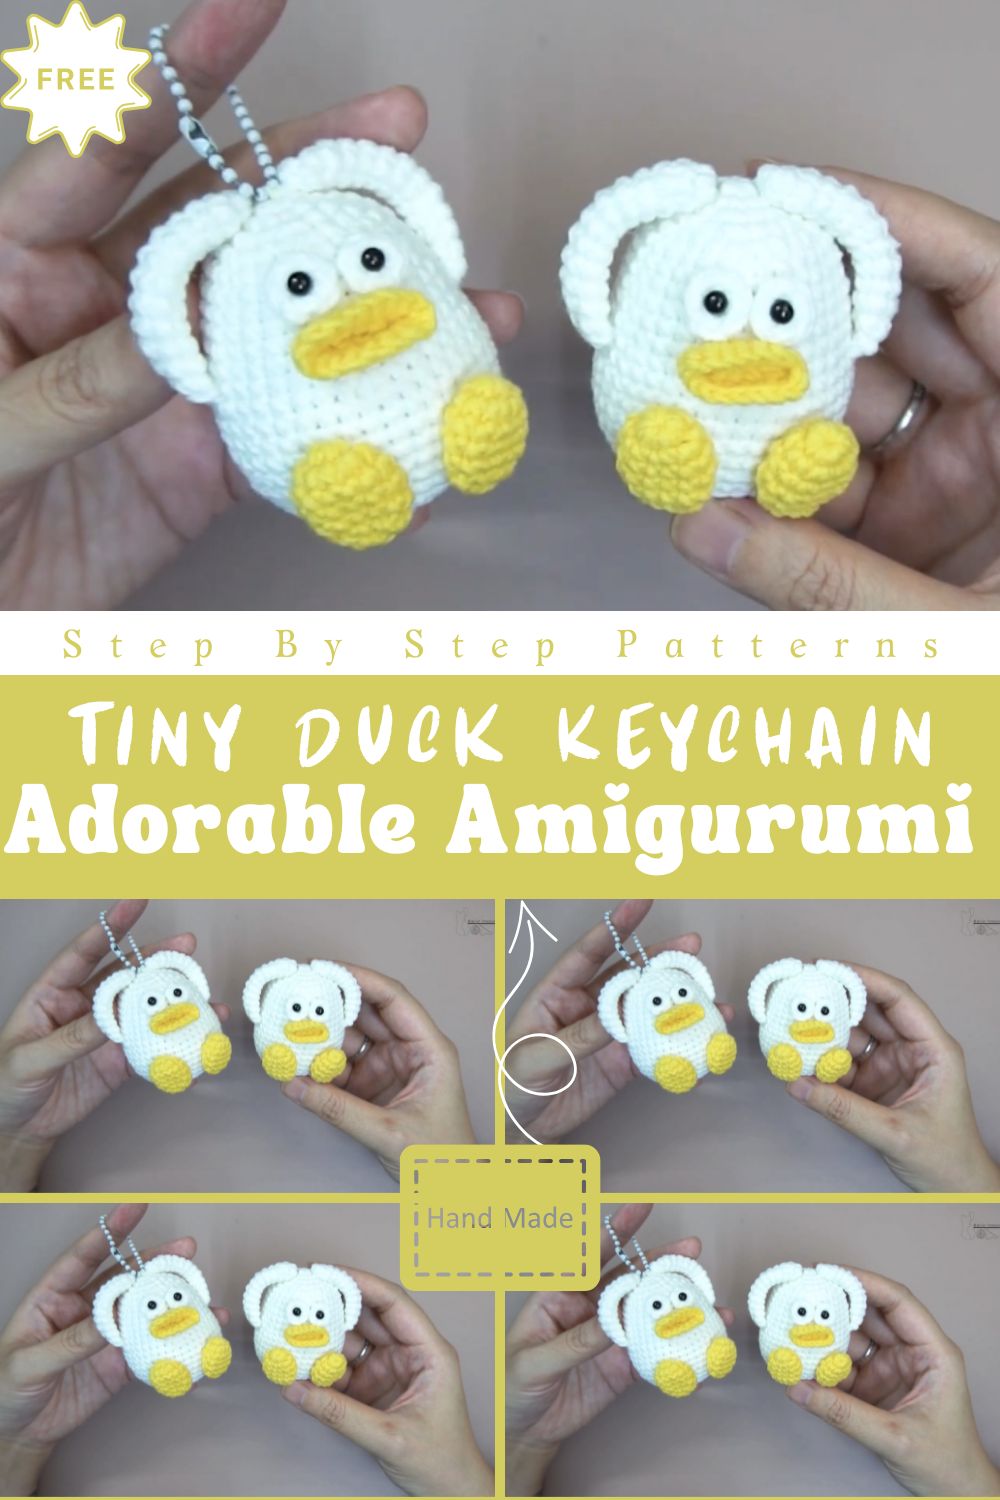
This Crochet Duck Keychain Amigurumi is a tiny, cheerful handmade project perfect for bag decoration or gifting. With its soft yellow body, little orange beak, and miniature wings, this adorable duck brings huge personality into a very small, lovable package.
What makes a handmade crochet doll truly special is the love behind every stitch. When you crochet an amigurumi yourself, you choose the shape, stuffing, and facial expression. No plastic toy carries that personal meaning. Whether it is a duck or any character you love, a handmade gift always shows someone that real care went into making it just for them.
What Makes This Pattern So Special?
There is something wonderfully silly about a chubby little red larva pursing its lips and blowing a shiny bubble. This Natural Crochet Red Larva Amigurumi takes that cartoon energy and turns it into a soft, squeezable handmade toy that people of all ages absolutely love. The rounded body, oversized cartoon eyes, and tiny floating bubble give this character so much personality that it practically tells its own story straight off the hook.
Whether you want a quirky desk companion, a unique handmade gift, or a fun project to take to your next craft fair, this little larva delivers every time.
Pattern Overview
Supplies You Will Need
Yarn and Hook
Grab everything before you sit down to stitch stopping mid-round to search for supplies breaks your rhythm and your stitch count.
- Red yarn — main body color
- White yarn — eyes and bubble detail
- Black yarn or embroidery thread — pupils and mouth lines
- Light pink or pale blue yarn — optional, for a bubble tint effect
- Hook: 2.5 mm to 3.5 mm depending on your yarn weight; always aim for tight, gap-free stitches
Other Supplies
- Polyester fiberfill stuffing
- Safety eyes, 6 to 10 mm — or embroider eyes for a child-safe version
- Tapestry needle for sewing and weaving ends
- Stitch markers
- Sharp scissors and straight pins
- Optional: small felt pieces for mouth detail, soft blush or pastel chalk for cheeks
Crochet Abbreviations
Term: sc — Single crochet
Term: inc — Increase — 2 sc into same stitch
Term: dec — Decrease — 2 stitches worked together
Term: MR — Magic Ring
Term: sl st — Slip stitch
Term: FO — Fasten off. Work all rounds in a continuous spiral — do not join at the round end. Always place a stitch marker at your round’s first stitch.
Step-by-Step Crochet Instructions
Step 1 — Build the Body
Start with a magic ring and work single crochet in continuous rounds. Increase steadily over the first few rounds to build a rounded base, keeping your tension firm throughout so no stuffing peeks through the gaps.
Work straight even rounds through the mid-body section, then add gentle increases and decreases to shape the classic larva tube with soft, natural curves. As you approach the head area, begin decreasing but do not close the top fully yet — leave the opening for stuffing and finishing.
Shaping tip: Build the head zone slightly wider than the body, then bring it in gently at the neck. This subtle difference is what gives the larva that expressive, cartoon-character look everyone recognises.
Step 2 — Add Segment Texture (Optional)
Switch to a slightly darker red or orange-red for one or two rounds, then return to your main color. Keep color changes clean by drawing the new yarn through the final loop of the last stitch before switching. You can also add surface slip stitches or embroider segment lines directly onto the finished body if you prefer to keep the construction seamless.
Step 3 — Create the Eyes
Option A – Safety Eyes: Insert safety eyes into the face area between rounds. Place a small crocheted white circle behind each one to make the eyes pop forward with that animated cartoon look.
Option B – Embroidered Eyes (best for toddlers): Crochet two small white ovals and sew them flat onto the face. Embroider black pupils on top and add a tiny white highlight stitch to each one — that single highlight dot brings the whole expression to life.
Step 4 – Shape the Mouth Area
Mark where the bubble will sit usually centered below the eyes. Use a length of yarn to lightly sculpt a small indentation, creating a natural pursed-lip look without any complex construction. Embroider a simple smile line or lip outline in black or dark red, keeping it minimal so the bubble remains the real star of the face.
Step 5 – Crochet the Bubble
Single bubble: With white or pale blue yarn, start a magic ring and increase evenly to form a flat circle. Stop when the size feels right for your larva’s face. Something between a coin and a golf ball works well for most sizes.
Bubble cluster: Make two or three circles in different sizes for a drifting effect. A larger central bubble with one or two smaller ones beside it looks like the larva just exhaled and the bubbles floated upward naturally.
Shine detail: Embroider a short curved line with white or slightly lighter thread across the bubble’s surface. This single detail transforms a flat circle into something that genuinely looks glossy and round.
Step 6 – Stuff and Close the Body
Fill the body firmly but not rock-hard overstuffing creates an unnatural tight shape while understuffing leads to dents and flat spots. Even, gradual stuffing as you go produces the best-rounded result.
Close the top opening with the final decrease rounds and weave in the end securely. If you have not already attached the safety eyes, do so now and confirm they sit symmetrically before pulling anything tight.
Step 7 – Finishing Touches
Dust the cheeks lightly with pastel chalk or diluted fabric paint for a soft blush. Keep the color subtle a gentle rosy wash looks natural while anything too bright reads as costume makeup.
Add tiny embroidered eyebrows if you want extra expression. Angled inward, they look worried or dramatic; angled outward they look permanently delighted. Even a single straight horizontal line reads as calm and content. Small details like these are what make each larva feel like its own individual character.
Assembly Guide
Attaching the Eyes and Bubble
Pin the eyes in place before committing to any stitches. Step back and look at the face from a distance small positioning differences are much easier to spot when you are not hovering directly over the work. Once you are happy, sew or lock each eye securely.
Sewing on the Bubble Cluster
Pin the bubble or bubble cluster near the mouth area and try a few positions before sewing. A bubble placed slightly off-center or angled slightly upward looks more natural and playful than one sitting perfectly straight. Attach it with your tapestry needle using firm, neat stitches that will not loosen with handling.
Beginner Tips for a Cleaner Finish
Go smaller with your hook than your yarn label recommends. Tighter stitches mean no stuffing gaps and a much neater overall look.
Count every single round. One missed increase or decrease will throw off the shape and you may not notice until several rounds later. A stitch marker in the first stitch of every round removes all guesswork.
Stuff in layers, not all at once. Pause every few rounds during the closing decreases and add fiberfill gradually. This is the single most effective way to get a smooth, evenly shaped body.
Learn the invisible decrease. Insert your hook through the front loops only of the next two stitches and sc them together. The result is a virtually seamless decrease line that looks far more professional than a standard sc2tog.
Secure every yarn end properly. Weave ends in multiple directions rather than simply knotting them. Bulky knots inside the head or face area can distort the surface shape from the outside.
Customization and Uses
Colors, Sizes, and Variations
Swap the classic red for bright orange, sunshine yellow, or even a deep plum for something unexpected. A pale green larva reads as alien-cute; a blue one feels oceanic and calm. For a miniature version, drop down to fingering-weight yarn with a 2.0 mm hook and attach a keychain ring through the top for an adorable bag charm.
Gifting and Display Ideas
This lava makes a genuinely memorable handmade gift for birthdays, get-well packages, or graduation surprises — something far more personal than anything pulled off a shelf. At craft fairs ,it draws attention immediately because it is funny and unexpected. Display a few in different expressions and color variations together and shoppers will stop every time.
On a desk or bookshelf it works as a cheerful little conversation piece. On a craft room windowsill it sits perfectly among other amigurumi. Wherever it lands, it tends to make people smile without trying very hard.
Care Instructions
Hand washes gently in cool water with a mild soap. Press — never wring — to remove water, then reshape the body carefully and lay it flat to air dry away from direct sun or heat. Store in a breathable cotton pouch rather than a sealed plastic bag, which traps moisture and can flatten the stuffing over time.
Frequently Asked Questions
What yarn gives the cleanest result?
Smooth DK or worsted-weight acrylic is the easiest starting point, with clean stitch definition, easy care, and available everywhere. Cotton yarn gives a slightly crispier finish if you prefer that look.
How do I make this safe for babies?
Skip safety eyes entirely and embroider them instead using black yarn and a satin stitch. Sew the bubble piece down very firmly or crochet it directly onto the face rather than attaching it separately. Use hypoallergenic stuffing and fully washable yarn throughout.
How do I stop the bubble from flopping over? Use tighter stitches and a slightly smaller hook for the bubble than the body. If it still lacks structure, tuck a tiny circle of felt inside the bubble before closing it off. This gives it an invisible internal skeleton without changing the outside appearance.
How long does this project take?
Most crocheters finish between two and five hours total, depending on size and how much embroidery detail they add. The bubble shine and facial embroidery take a little extra time but they are also the details that make people stop and look twice.
Can I sell finished pieces?
Handmade amigurumi with unique character designs sell well at craft markets and on platforms like Etsy. Offering different color options and the choice between safety eyes and embroidered eyes giving buyers a baby-safe option almost always increases sales.
Final Thoughts
The Natural Crochet Red Larva Blowing Bubbles is one of those rare projects that is fast to stitch, genuinely fun to make, and impossible not to love once it is finished. The bubble detail gives it a story, the big cartoon eyes give it a soul, and the chubby little body makes it the kind of thing people pick up and refuse to put back down.
Customize the colors, try different expressions, make a whole cluster of them in different sizes however you approach it, this pattern is a wonderful creative win. Now grab that red yarn and get started. Your lava is waiting