
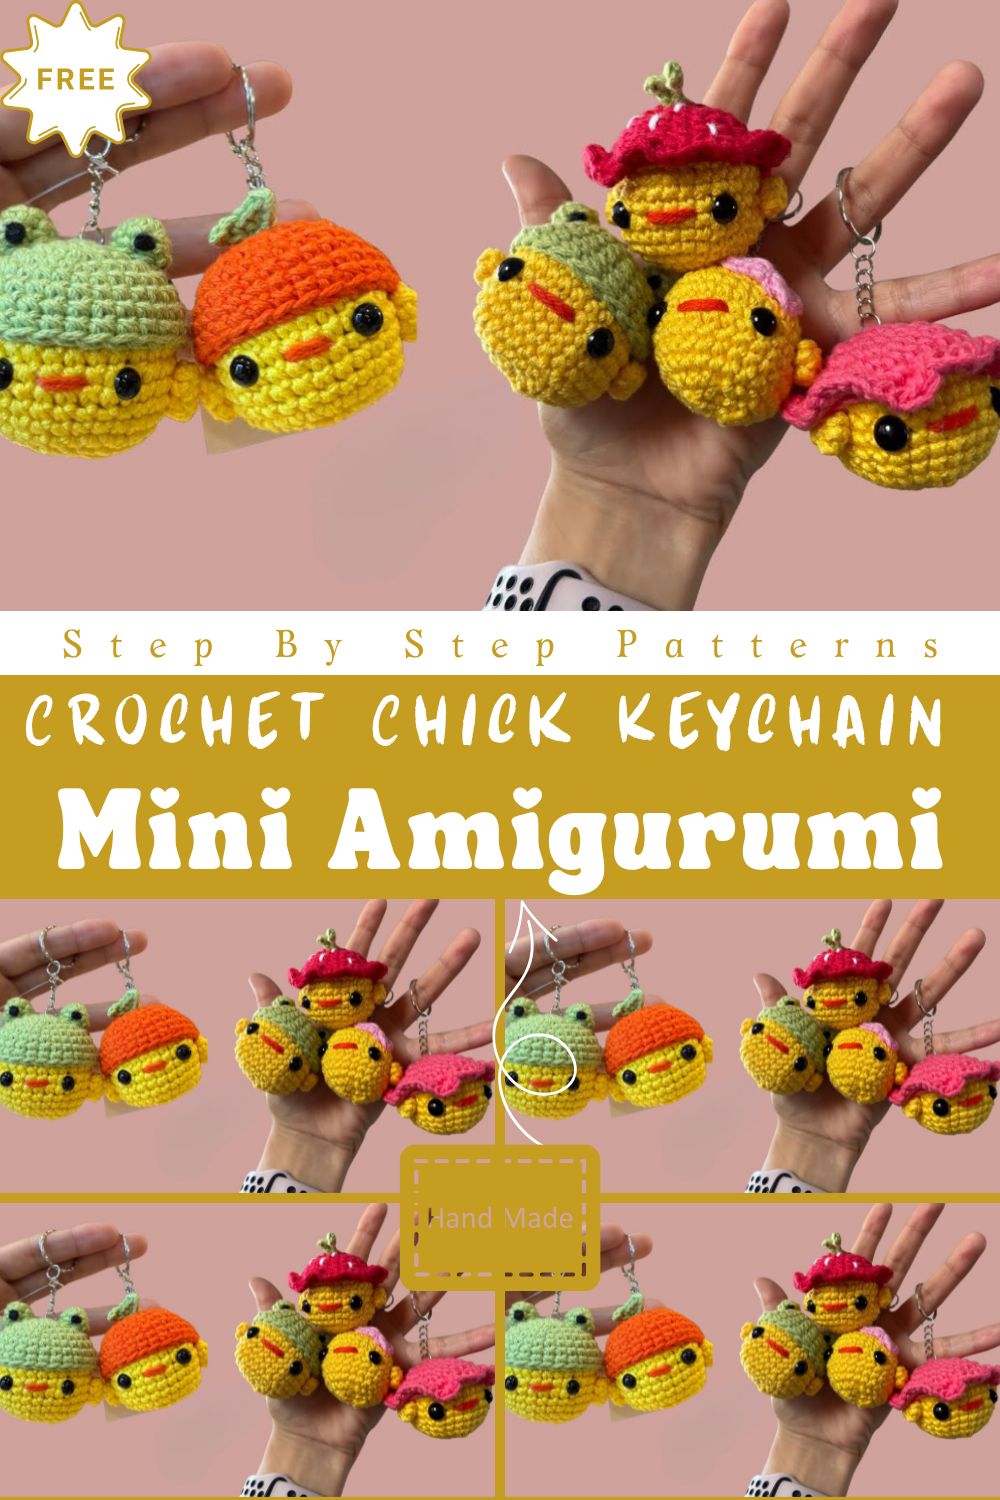
Crochet Chick Keychain Pattern adds instant beauty to bags, keys, and backpacks while showcasing your handmade style. These small amigurumi are also perfect for quick gift giving and market sales. Plus, with the same basic techniques, you can easily make amigurumi of animals, dolls, and various characters.
If you like small projects that are fun to make right from the start, this is a great choice. This easy amigurumi pattern teaches you how to create shapes without difficulty and quickly turns into something useful. Since it’s a small project, you can practice neat, round stitches while completing it quickly. The handmade beauty is visible in every detail, such as the soft yarn, cute colors, and adorable faces. Make your own amigurumi keychains and unleash your creativity.
Materials Checklist
Keep your setup simple so you can focus on stitching:
- Yarn: DK or worsted weight in chick color (yellow)
- Small amounts of yarn: orange for beak/feet, black or brown for eyes
- Crochet hook: size that matches your yarn (often 2.5–3.5 mm for tight fabric)
- Fiberfill stuffing (small amount)
- Tapestry needle (for sewing parts and weaving ends)
- Stitch marker (or a scrap of yarn)
- Scissors
- Keychain ring or lobster clasp (plus a jump ring if you like)
Procedure Steps
Step 1: Create the rounded body base
Start with a magic ring and crochet in continuous rounds to form a small sphere shape. Increase evenly so the chick stays smooth and symmetrical. Then, continue with plain rounds to build height before you begin shaping.
Step 2: Shape the top and close neatly
Next, decrease gradually to narrow the opening while keeping stitches tight. Add stuffing little by little, and press it into place so the chick stays firm but not stretched. After that, close the last gap and weave in the yarn end securely.
Step 3: Add facial details and tiny features
Attach the eyes first so you can adjust the expression before you commit. Then stitch or crochet a small beak in orange and place it centered between the eyes. For full, exact placement and counts, follow the complete instructions available in the video.
Step 4: Finish with wings and optional feet
Make two small wings (simple curved pieces) and sew them evenly on each side. If you want extra character, add tiny feet or stitch simple toes near the base. Keep your sewing tidy, and pull stitches snug so nothing flops.
Step 5: Turn it into a keychain
Finally, add a loop at the top using yarn or a small chain of stitches. Slide on the keychain ring, and knot or stitch the loop firmly. Give it a gentle tug test then you’re ready to clip it anywhere.
Cute Design & Character Appeal
This mini chick shines because it captures the classic “round and huggable” amigurumi look in keychain size. The body usually looks like a tiny puffball, which instantly reads as chick-shaped even with minimal details. Yellow yarn brings that cheerful spring vibe, while orange accents make the beak pop. You can keep the eyes simple with stitches, small safety eyes, or embroidered French knots depending on your comfort level. Because the features stay small, the finished piece looks polished without needing advanced techniques.
Uses & Benefits
This chick keychain works for everyday life, and it also makes crocheting feel practical.
- Keychain use: Clip it to keys, zipper pulls, pencil cases, or backpacks for quick personality.
- Gift idea: Make a set for teachers, friends, kids, or coworkers—especially around springtime, Easter baskets, or baby showers.
- Decorative value: Add it to a car mirror charm, desk decor, or even a crochet plush garland for a playful pop.
Plus, you can use leftover yarn, so the project helps you reduce scraps while still creating something adorable.
Why This Pattern is Perfect for Beginners
New makers often want a project that teaches fundamentals without taking forever, and this chick nails that balance. It stays small, so you finish quickly and build confidence fast. At the same time, it introduces the core skills that power most amigurumi: working in rounds, pairing increases with decreases, and assembling small parts. Because the shape stays forgiving, you can focus on consistency instead of perfection. As a result, you get a cute win that motivates the next project.
Creativity & Skill Development
- Builds patience: Each round shows progress, which encourages steady, consistent work.
- Improves tension control: Repeating stitches helps your hands learn even tension naturally.
- Teaches you to “read” your work: You get better at recognizing stitches, rounds, and small mistakes early.
- Boosts creativity: You can switch colors, change facial expressions, and alter small details to change the whole look.
- Makes personalization easy: Small tweaks (like blush cheeks, a bow, or a mini eggshell hat) create unique characters.
- Develops your personal style: Experimenting over time helps you discover what design choices feel “you.”
- Strengthens finishing skills: You improve at sewing parts neatly, shaping, and adding clean details.
- Builds confidence: As skills grow, you feel more ready to try new amigurumi animals, dolls, and characters.
Helpful Tips for Better Results
Use these practical tricks to make your chick keychain look clean and last longer:
- Choose a smaller hook than usual. A tighter fabric prevents stuffing from showing through.
- Mark the first stitch of each round. Because amigurumi spirals easily, a stitch marker keeps your counts accurate.
- Stuff gradually. Add small pinches of fiberfill and shape as you go; overstuffing can stretch stitches.
- Embed ends as you sew. Weave yarn tails through the body interior before trimming, so pieces stay secure.
- Position the eyes before sewing the beak. Once you like the expression, sew features tightly so they don’t shift.
- Reinforce the keychain loop. Use strong yarn, tight knots, and extra passes through the top so the ring doesn’t pull out.
- Keep sewing symmetrical. Check wings from the front and from above; small adjustments make a big difference.
FAQs FOR ( Crochet Chick Keychain Pattern)
1) What yarn works best for a mini amigurumi keychain?
Cotton or cotton blends hold stitch definition well and resist fuzzing. However, acrylic also works if you keep tension tight and choose a matching hook size.
2) Can I make this chick without safety eyes?
Yes. You can embroider eyes with black yarn or thread, which also makes the keychain more kid-friendly. Place them first, then adjust spacing until the face looks balanced.
3) How do I keep the keychain from stretching over time?
Use a firm loop, stitch it multiple times, and avoid a loose chain. You can also thread a thin strand of strong cord through the loop for extra strength.
4) How long does a crochet chick keychain take to make?
Most beginners finish it in about 30–90 minutes depending on comfort with rounds and sewing. Since it stays small, you can also complete it in short sessions.
Conclusion
This tiny Crochet Chick Keychain Pattern brings big payoff: you practice essential amigurumi skills, and you end with a cute accessory you can use every day. Moreover, you can customize colors and expressions while keeping the pattern beginner-friendly and fast. Therefore, it fits gift-making, craft fairs, and cozy self-care crochet nights. Follow the video for the full counts and finishing details.