
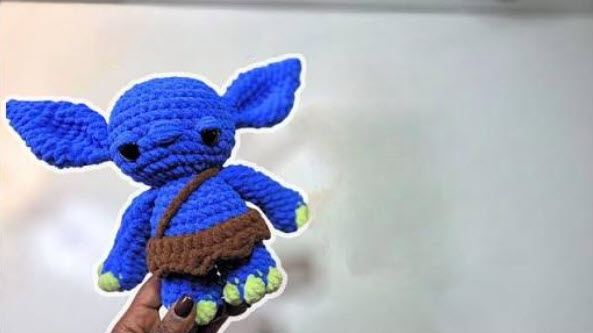
Long pointed ears pale green toes and a strap slung across the chest give this plush goblin its mischievous charm. Meet the blue crochet goblin doll amigurumi with a tiny brown pouch worked from head to toe in soft chenille-style yarn.
This crochet goblin doll makes a quirky shelf buddy or a fun gift for fantasy fans. You start with two legs that join into one body, then add the head, arms, ears and a little brown pouch. Along the way, you’ll learn how to shape and join a plush amigurumi with clean seams.
Goblin Doll Amigurumi Overview
The doll has two chunky legs, a round body and a large domed head. Its long, flat ears point out to the sides, and black safety eyes, a brown waist wrap and a strap across the chest finish the look.
- Skill level: Confident beginner. The stitches are basic, but the plush yarn and the leg join take some patience.
- Finished height: About 12 inches (30 cm)
- Time: About 4 to 5 hours
Materials
- Blue chenille yarn, bulky (weight 5), about 120 yards
- Pale green chenille yarn, about 15 yards
- Brown chenille yarn, about 30 yards
- 5 mm crochet hook
- Two 16 mm black safety eyes
- Fiberfill stuffing
- Two stitch markers, pins, a yarn needle and scissors
Not sure which weight your plush yarn is? Compare the label with the Craft Yarn Council yarn weight standards.
Abbreviations (US Terms)
- ch – chain
- sc – single crochet
- inc – 2 sc in one stitch
- dec – sc two stitches together
- rnd – round
Working with Chenille Yarn
Plush yarn hides its stitches, so count by feel as well as by sight. Push a fingertip into the fabric to find each “V” before you insert the hook.
Move your stitch marker up every single round. It’s easy to lose your place, and frogging is hard too, because chenille sheds and can “worm” out of shape. Keep your tension a little tight so the stuffing stays inside and the fabric looks smooth.
Watch the Video Tutorial
The toe join and the leg join are the trickiest parts, and they’re much easier to follow on screen. Watch the full walkthrough below.
How to Crochet the Goblin Doll
Every piece is worked in a spiral. Don’t join rounds unless a step says so.
Step 1: Make the Toes
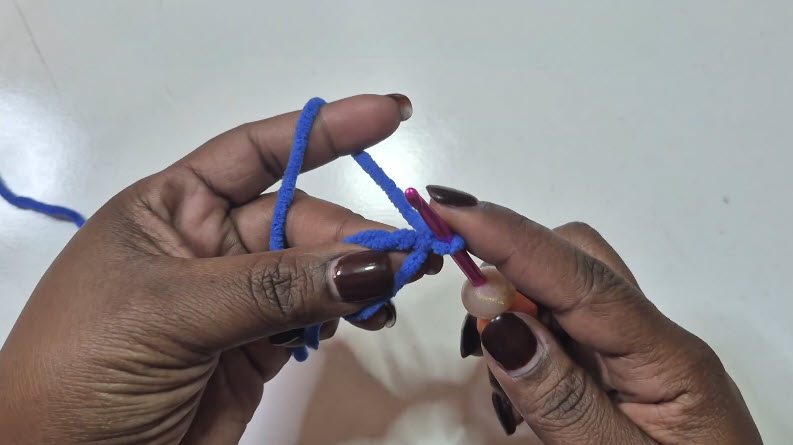
Each foot has 3 toes. Make a magic ring with pale green yarn, holding the working yarn over your left index finger for steady tension.
- Rnd 1: 5 sc in magic ring (5)
- Rnd 2: sc in each st around (5)
- Rnd 3: switch to blue, sc in each st around (5)
Place a marker in the first stitch right away. Fasten off the first two toes, but keep the yarn attached on the third toe.
Step 2: Build the Legs
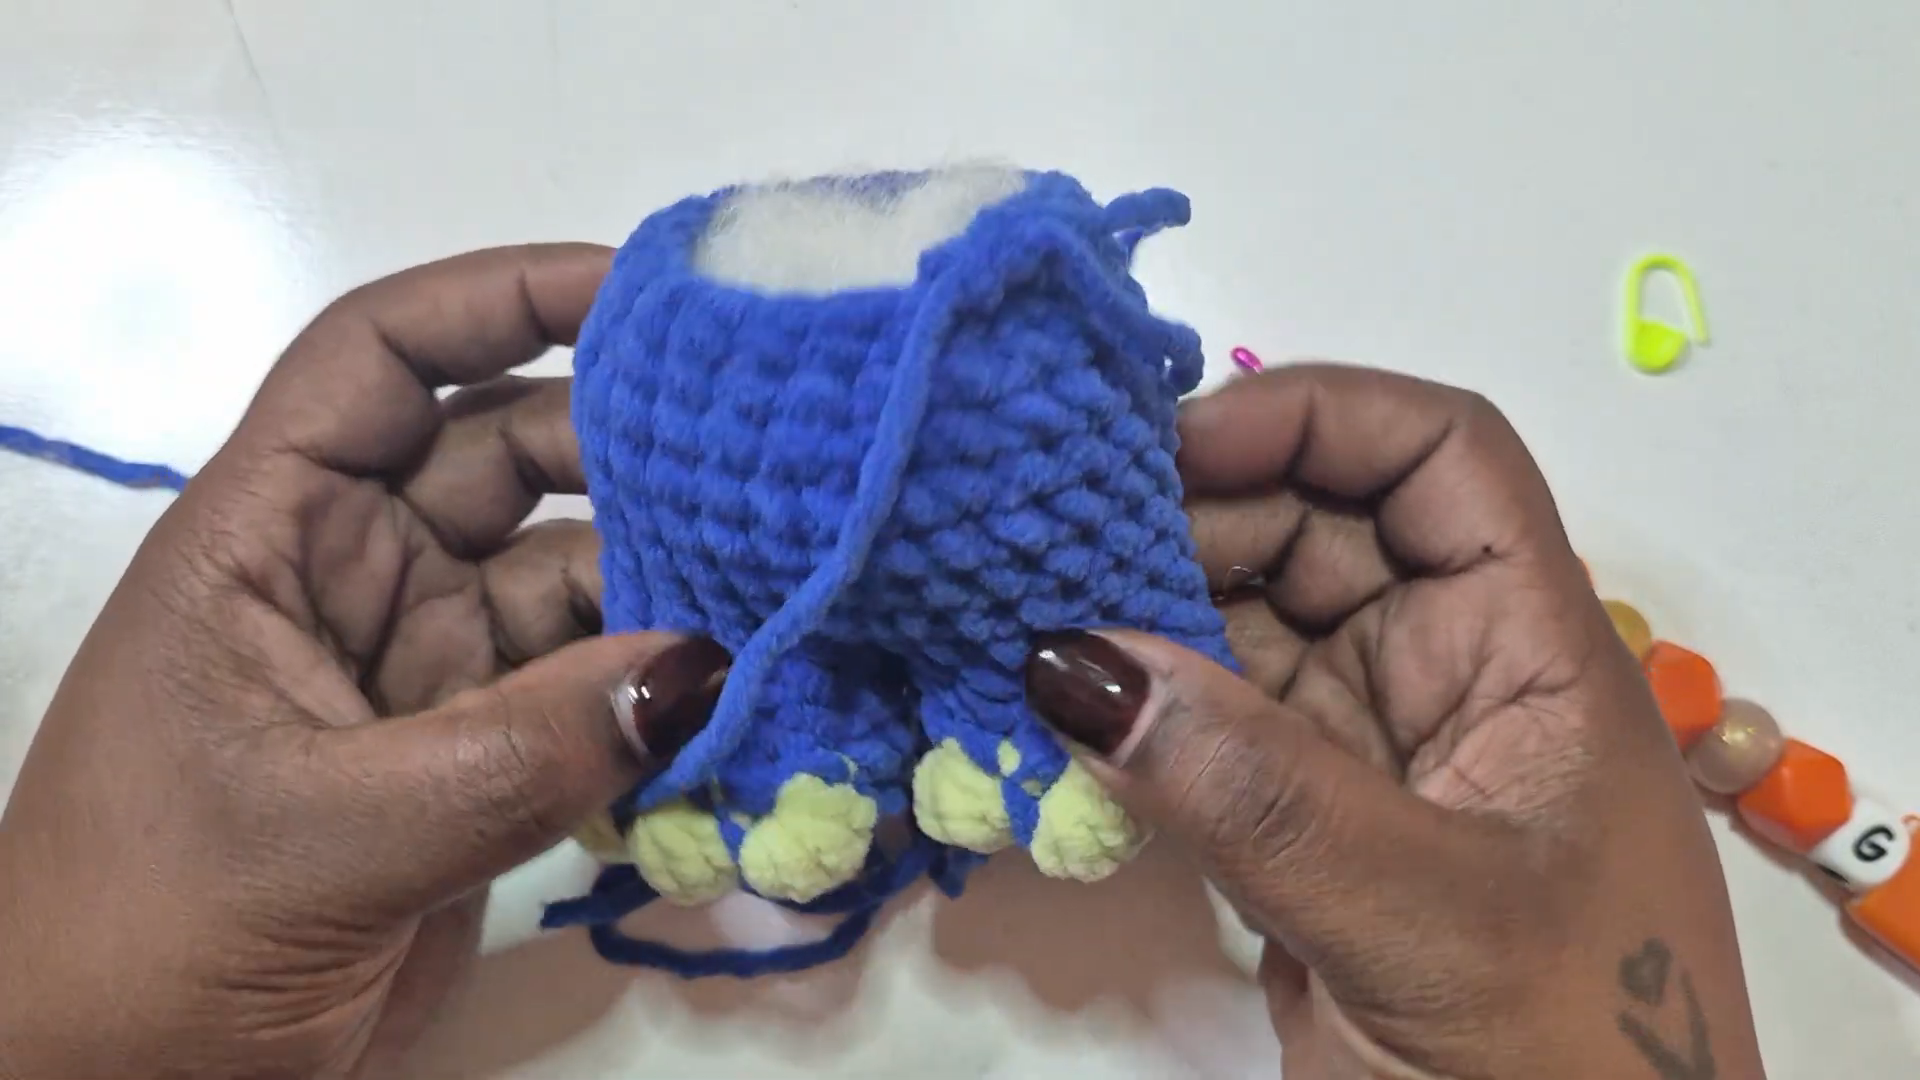
Line up all 3 toes side by side, with the toes facing forward. Join them in one round using the third toe’s yarn.
- Rnd 4: 4 sc on toe 3, 2 sc on the front of toe 2, 4 sc on toe 1, 2 sc on the back of toe 2 (12)
- Rnd 5: (sc 4, dec) twice (10)
- Rnds 6–14: sc in each st around (10)
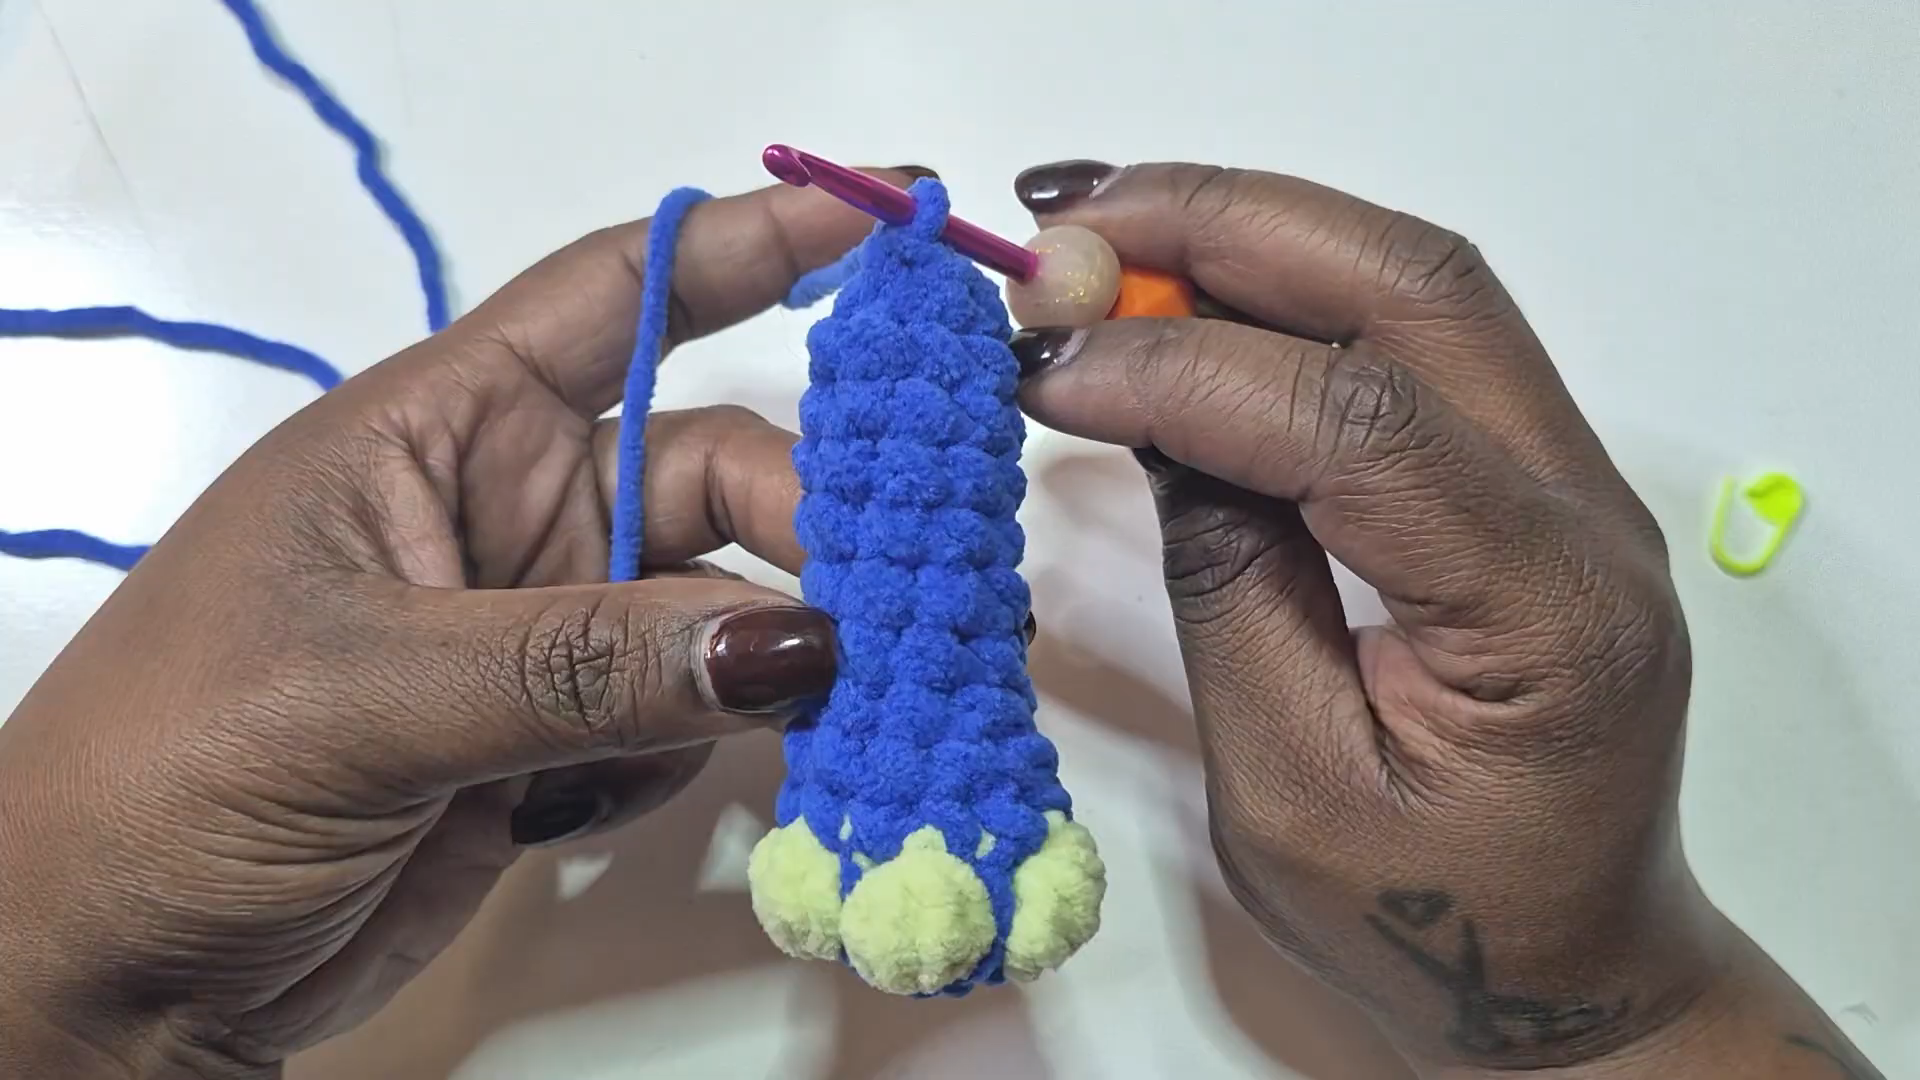
The finished leg should look like a straight blue tube with a row of green toes at the bottom. Make a second leg the same way. Fasten off the first leg, but keep the yarn attached on the second.
Step 3: Join the Legs into the Body
Check that both feet face forward and the legs sit at the same height. A twisted leg is hard to fix once it’s stuffed. Then, from the second leg, ch 2 and sc into the first leg to connect them.
- Rnd 1: 10 sc around leg 1, 2 sc in the chains, 10 sc around leg 2, 2 sc in the back of the chains (24)
- Rnd 2: (sc 3, inc) 6 times (30)
- Rnds 3–8: sc in each st around (30)
- Rnd 9: (sc 3, dec) 6 times (24)
- Rnd 10: (sc 2, dec) 6 times (18)
- Rnd 11: sc in each st around (18)
Stuff the legs and body firmly now, before the opening gets too narrow to reach down. Use a little less stuffing at the crotch so the join doesn’t stretch. Fasten off with a long tail for sewing on the head.
Step 4: Shape the Head
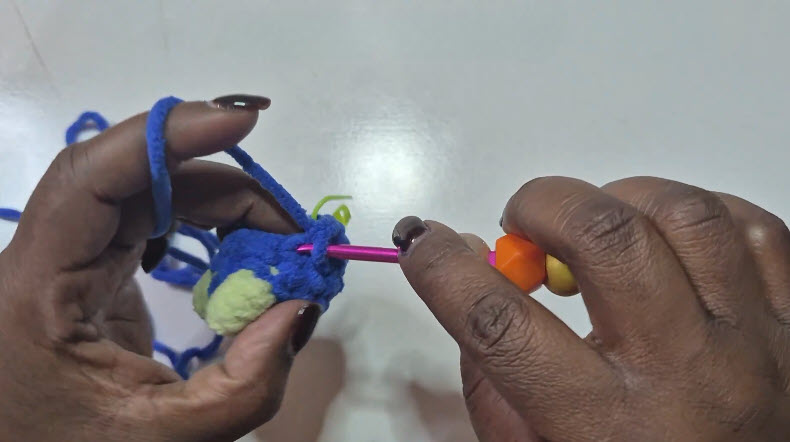
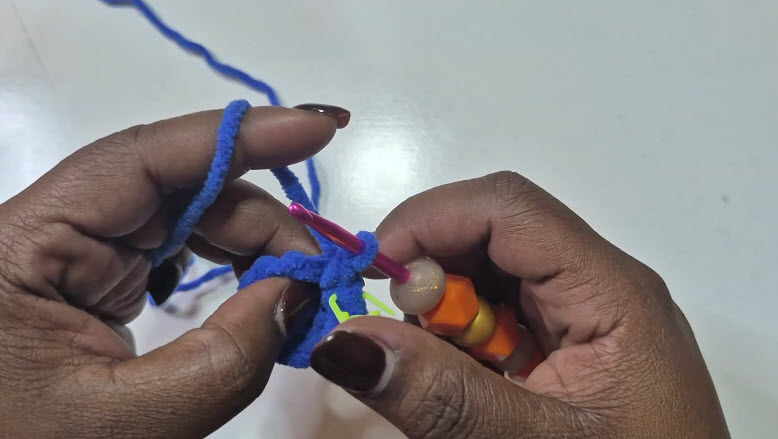
The head is worked as a separate piece. Start a new magic ring with blue yarn.
- Rnd 1: 6 sc in magic ring (6)
- Rnd 2: inc in each st (12)
- Rnd 3: (sc, inc) 6 times (18)
- Rnd 4: (sc 2, inc) 6 times (24)
- Rnd 5: (sc 3, inc) 6 times (30)
- Rnd 6: (sc 4, inc) 6 times (36)
- Rnds 7–12: sc in each st around (36)
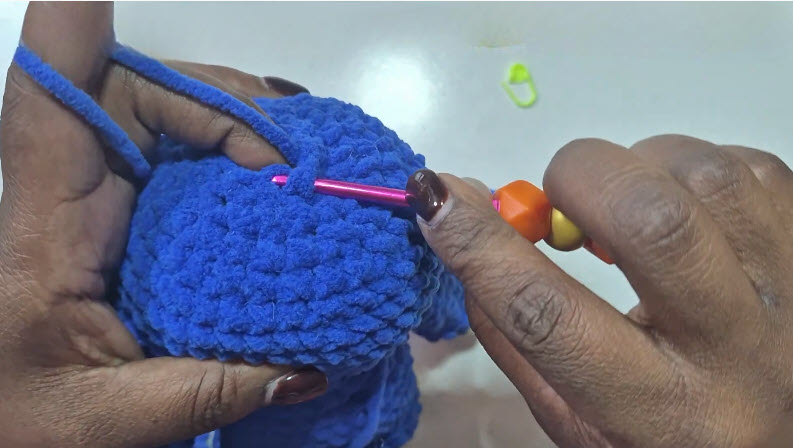
The head should now look like a smooth, round dome. Before Round 13, insert the safety eyes between Rounds 9 and 10, about 6 stitches apart, and lock the backs.
- Rnd 13: (sc 4, dec) 6 times (30)
- Rnd 14: (sc 3, dec) 6 times (24)
- Rnd 15: (sc 2, dec) 6 times (18)
Stuff the head firmly and leave the 18-stitch opening, since it will be sewn onto the 18-stitch top of the body.
Step 5: Make the Arms (make 2)
Start each arm in pale green, then switch to blue.
- Rnd 1: 5 sc in magic ring with green (5)
- Rnd 2: sc in each st around (5)
- Rnd 3: switch to blue, sc 4, inc (6)
- Rnds 4–12: sc in each st around (6)
Stuff only the lower half. Flatten the top and sc 3 across to close it, which helps the arm sit flush at the shoulder.
Step 6: Crochet the Pointed Ears (make 2)
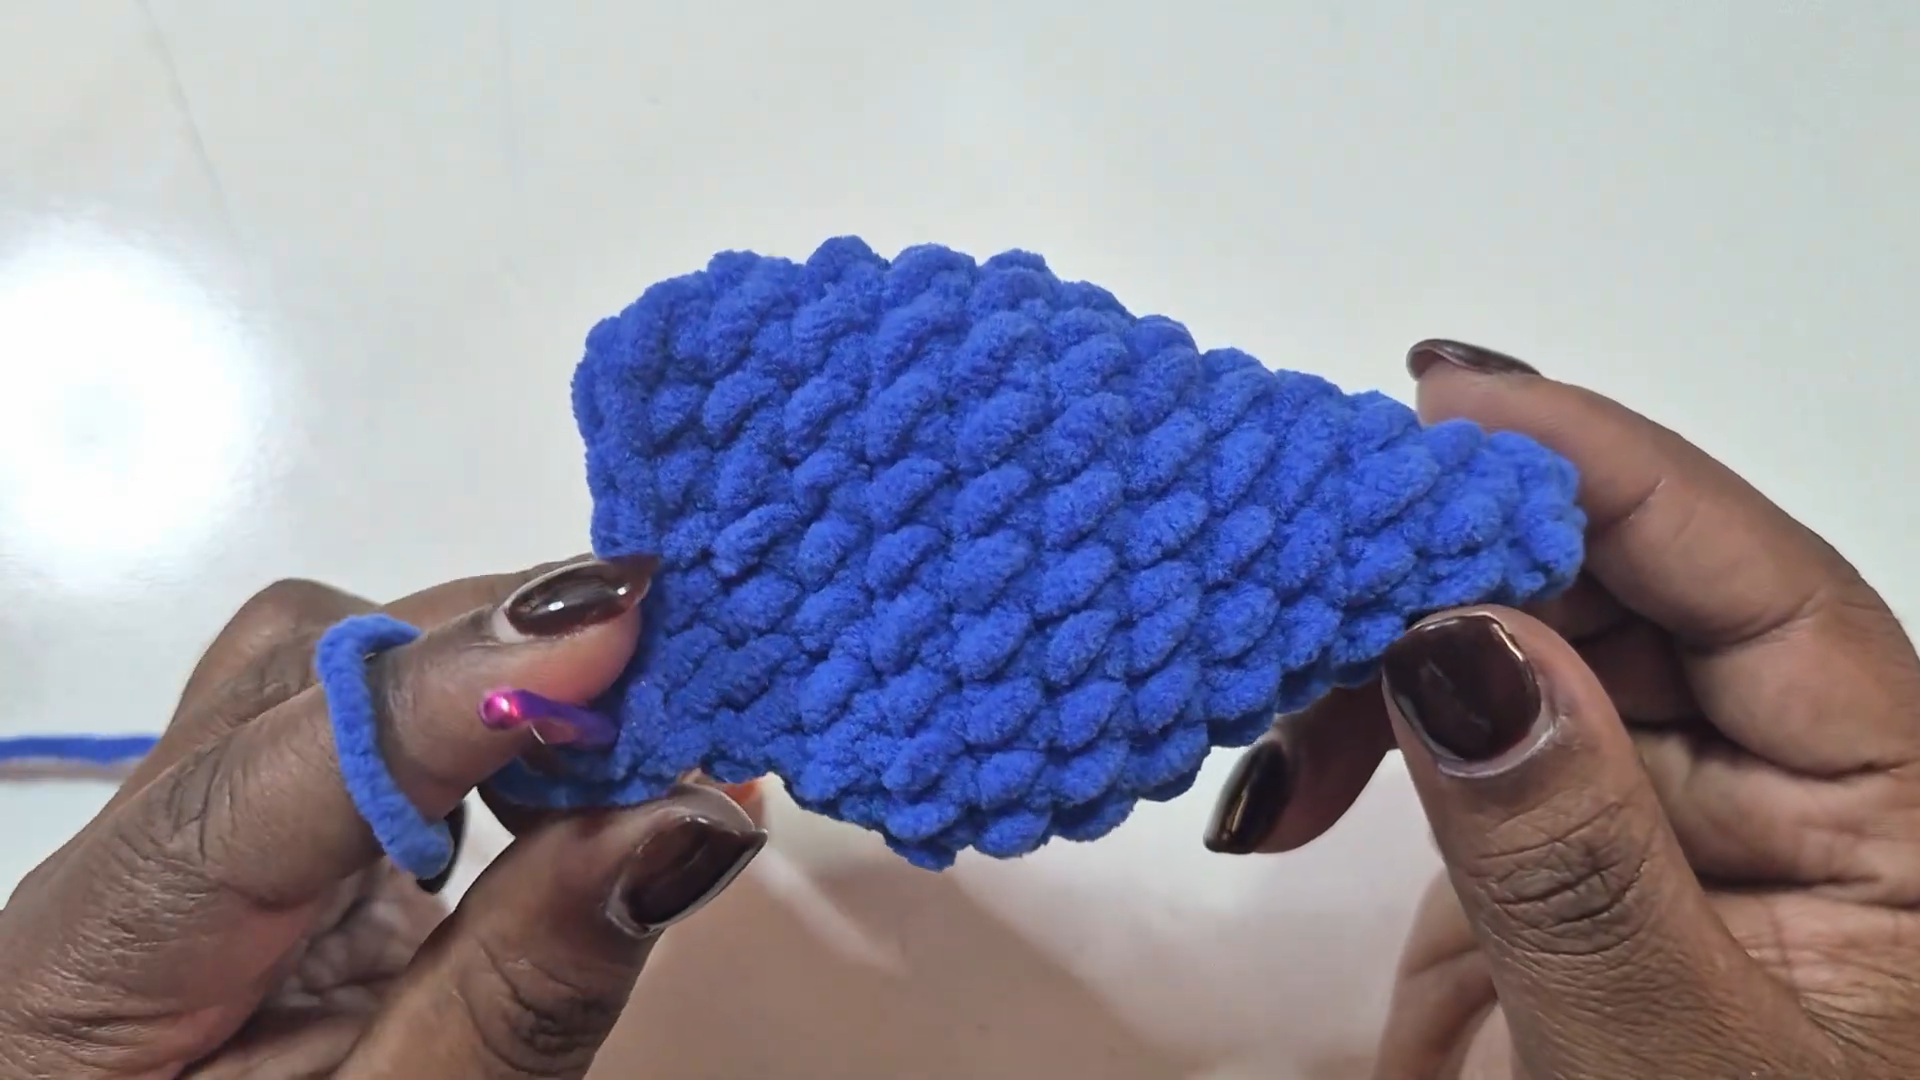
The ears are flat and unstuffed. They’re worked in rows, turning with ch 1 each time.
- Ch 2. Row 1: sc in 2nd ch from hook (1)
- Row 2: inc (2)
- Row 3: inc twice (4)
- Row 4: sc, inc twice, sc (6)
- Row 5: sc across (6)
- Row 6: sc, inc, sc 2, inc, sc (8)
- Rows 7–9: sc across (8)
- Row 10: (sc 2, dec) twice (6)
- Row 11: (sc, dec) twice (4)
Fasten off with a long tail. The starting chain forms the pointed tip.
Step 7: Make the Waist Wrap, Pouch and Strap
- Waist wrap: With brown yarn, ch 31. Sc in the 2nd ch from the hook and across (30), then work 3 more rows of 30 sc, turning with ch 1. Wrap it around the hips and sew the short ends together at the back.
- Pouch: Ch 5. Sc in the 2nd ch from the hook and across (4), then keep working rows of 4 sc until you have 8 rows. Fold the bottom 3 rows up, sew the sides, and let the top fold down as a flap.
- Strap: Ch 40 with brown yarn.
Step 8: Assemble Your Goblin Doll
- Sew the head’s open edge to the top of the body, adding a little extra stuffing at the neck just before closing the seam.
- Pin the ears to the sides of the head, level with the eyes. Step back and check they stick out at the same angle before sewing.
- Sew the arms on just below the head seam.
- Sew the pouch to the waist wrap at one hip. Sew one end of the strap to the pouch, run it across the chest, and tack it at the opposite shoulder so it lies flat.
- Check the doll from the front and back, then weave all tails deep into the body.
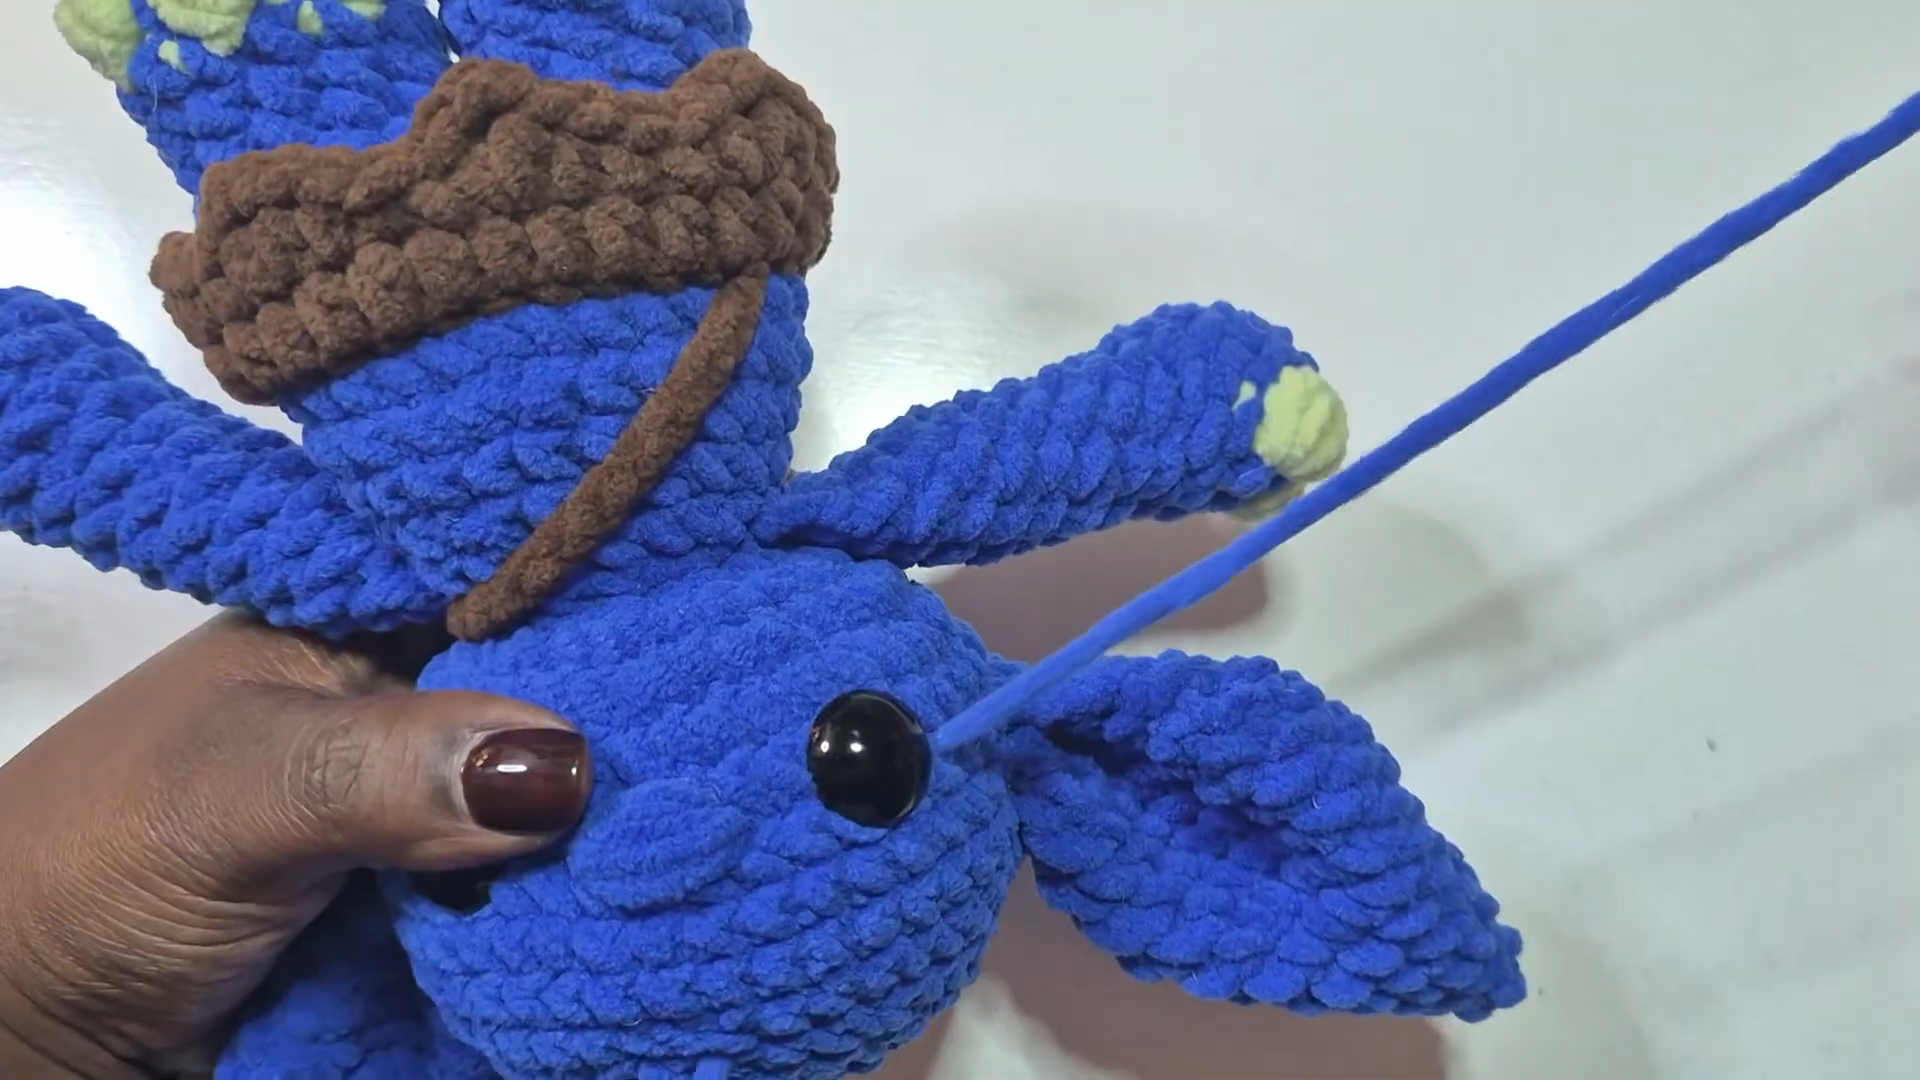
Closing the Gap Between the Legs
A small hole often shows where the two legs meet, because the join stitches stretch when you stuff. To fix it, thread a yarn needle with blue yarn and stitch across the gap from the inside of one leg to the other. Pull gently until the gap closes, then knot and hide the tail. To prevent it in the first place, stuff the crotch area last and use a little less fiberfill there.
Common Mistakes to Avoid
- Losing count: Move your marker every round. A missed stitch is hard to spot later in plush yarn.
- Twisted legs: Always check the toes face forward before joining.
- Loose tension: Loose stitches let the fiberfill show. Go down to a 4.5 mm hook if you see gaps.
- Uneven ears: Pin both ears first, then step back and look before sewing.
Give Your Goblin a Backstory: Accessory Ideas
Every goblin needs a little personality. The pouch is a great start, and a few more tiny details turn your doll into a character with a story.
- Treasure hunter: Tuck a few gold beads or a tiny felt coin into the pouch so they peek out from under the flap.
- Forest forager: Crochet a tiny red mushroom with white French-knot spots and sew it into one hand.
- Hooded wanderer: Work a small brown hood in rows and tack it on the back of the head, with the ears poking out the sides.
- Cheeky face: Embroider a lopsided grin and a pair of pointy eyebrows in black yarn above the eyes.
- New skin colors: Try moss green, lilac or dusty teal, and swap the brown for a darker leather shade.
Love quirky characters? The Grinch amigurumi is another mischievous green friend, and the onion doll amigurumi brings a funny veggie character to your shelf. For more chenille practice, try the chenille penguin amigurumi or the heart doll.
FAQs
Can a beginner make this goblin doll?
Yes, if you know sc, inc and dec. The trickiest part is counting stitches in plush yarn.
Is this doll safe for young kids?
Safety eyes can come loose under heavy play. For children under 3, embroider the eyes with black yarn instead, and skip any bead treasure in the pouch.
Can I use regular worsted yarn?
Yes, but the doll will turn out smaller. Use a 3.5 mm hook so the stitches stay tight.
How do I wash a chenille amigurumi?
Spot clean with a damp cloth and mild soap, then let it air dry flat. Avoid the washing machine, since chenille can worm and matt.
A Little Mischief-Maker for Your Shelf
With green toes planted, pointed ears out wide and a pouch ready for tiny treasures, your goblin is ready to guard the bookshelf. Save your leftover green chenille for the toes of a second doll, because a pair of these goblins looks even better side by side.