Crochet Onion Doll Amigurumi Pattern for Good Vibes
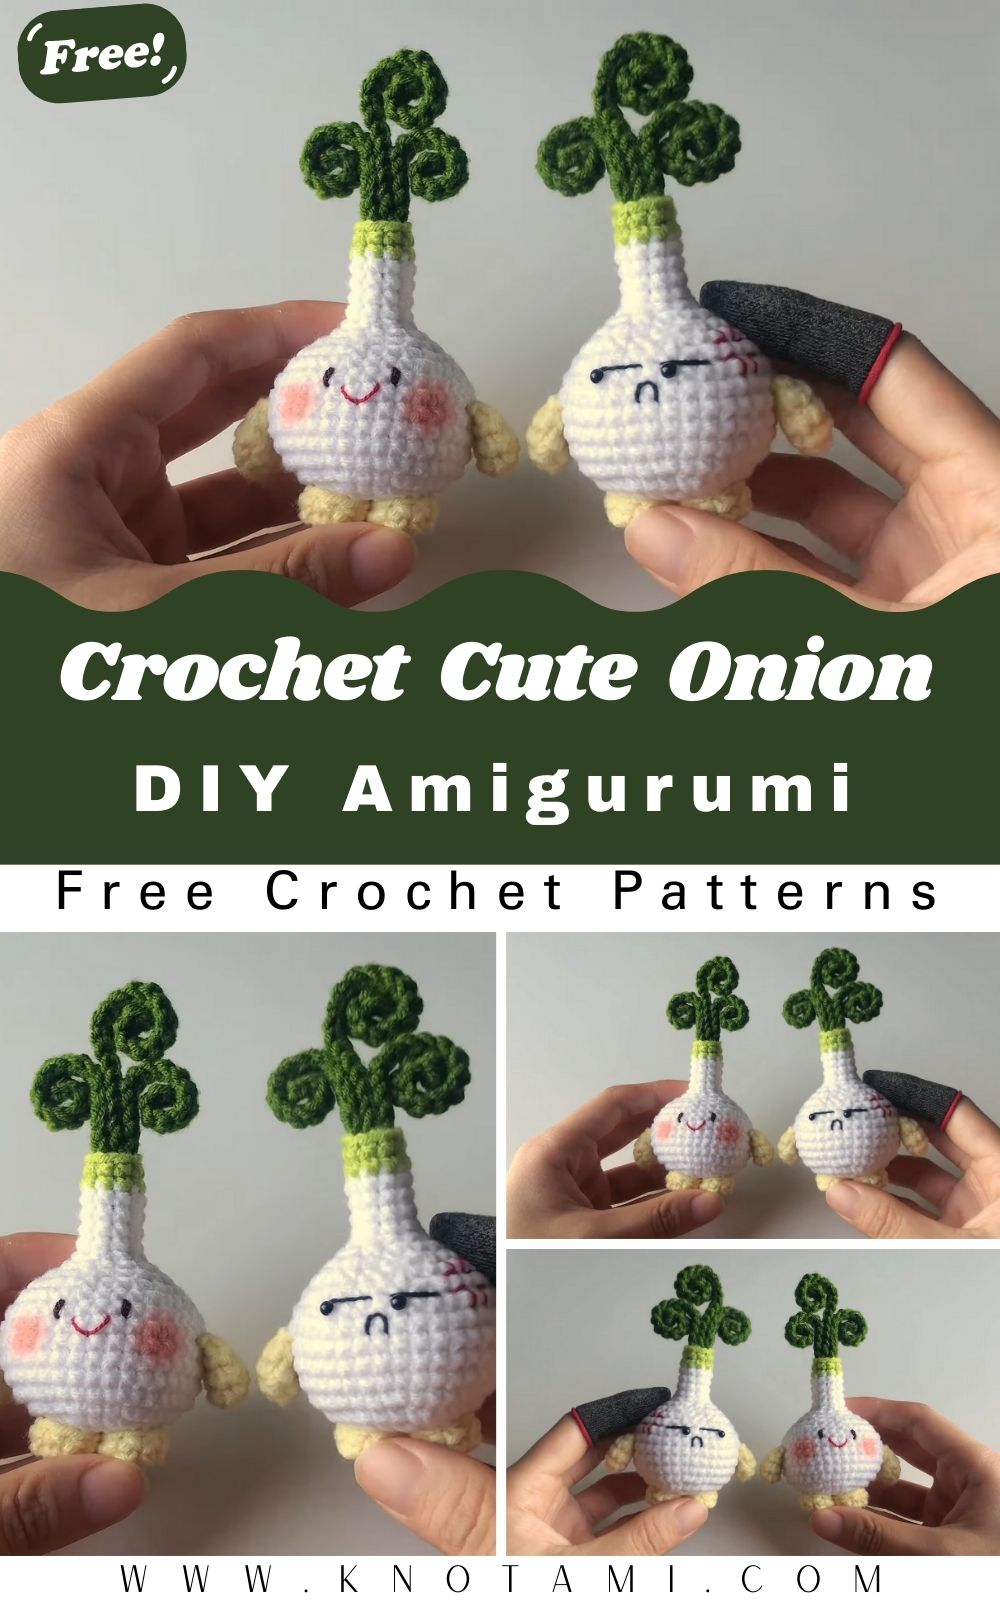
A round cream bulb, a slim neck, and a few green leaves bring this crochet onion doll amigurumi pattern for good vibes to life. With its tiny arms and legs, this little veggie friend adds a quirky, handmade touch to any shelf or desk.
The doll uses basic stitches like the magic ring, single crochet, increases, and decreases, so it’s approachable for newer crocheters who already know how to work in the round. It also makes a fun addition to a kitchen shelf or a cheerful handmade gift.
Skill Level
Confident beginner. You should be comfortable with the magic ring, single crochet, increases, decreases, and working in continuous spiral rounds.
Materials
- Yarn: Smooth worsted or DK weight yarn in cream or white for the body, plus green in the same weight for the leaves.
- Crochet hook: About one size smaller than your yarn label recommends, so the stitches stay tight and hide the stuffing.
- Safety eyes: A size that suits your doll. Pin them in place first to test the look.
- Stuffing: Polyester fiberfill.
- Tools: Stitch markers, a yarn needle, scissors, and a pin or two for test-placing the eyes.
- Optional: Pink yarn or blush for the cheeks, and black yarn for an embroidered mouth.
Abbreviations (US Terms)
- ch – chain
- sc – single crochet
- inc – increase (2 sc in the same stitch)
- dec – decrease (sc 2 stitches together)
- st(s) – stitch(es)
Before You Start
The body is worked in one continuous spiral with no joins, so keep a stitch marker in the first stitch of every round and move it up as you go.
On a smooth, light-colored body, regular decreases can leave small bumps. An invisible decrease, worked through the front loops of the next two stitches, gives a cleaner finish.
How to Crochet the Onion Doll
Step 1: Start the Body
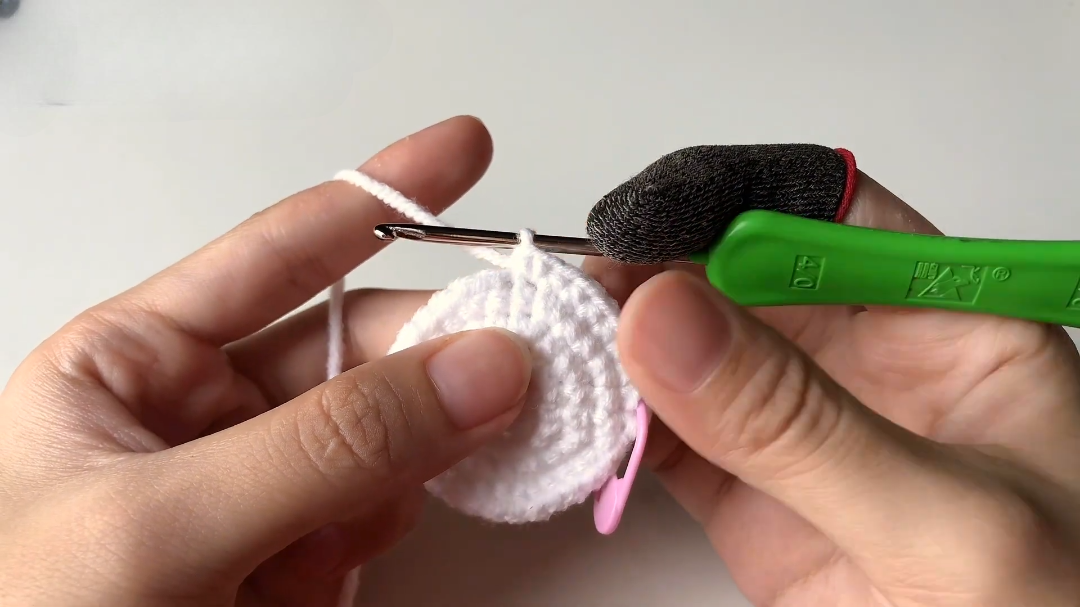
With cream yarn, make a magic ring. Spread the stitches evenly around the ring, then pull the tail tight so no hole remains in the center. Work Rounds 1–3 as shown in the video, increasing to build a flat circle.
Step 2: Work the Increase and Body Rounds

- Round 4: *1 sc, inc, 1 sc* around. This staggers the increases so the body grows round instead of hexagonal.
- Round 5: *7 sc, inc* 4 times. (36 sts)
- Rounds 6–10: Sc in each stitch around. (36 sts) These rounds form the middle of the onion.
If you’re using safety eyes, insert them between Rounds 8 and 9 now, before stuffing. Pin-test the spacing first, since the eyes are the hardest part to change later.
Step 3: Decrease to Shape the Neck
- Round 11: Begin decreasing evenly as shown in the video. (30 sts)
- Round 12: *3 sc, dec* around. (24 sts)
- Round 13: *1 sc, dec, 1 sc* around. (18 sts)
- Round 14: *1 sc, dec* around. (12 sts)
Stop and stuff the body firmly now. Push the fiberfill out into the sides so the onion stays full and round.
Step 4: Finish the Neck and Top

- Round 15: *2 sc, dec* 3 times. (9 sts)
- Rounds 16–19: Sc in each stitch around. (9 sts) These rounds form the thin neck of the onion.
At the end of Round 19, change from cream to green yarn and finish the top as shown in the video. Add a little stuffing to the neck so it doesn’t flop.
Step 5: Make the Leaves (Make 3)
- With green yarn, ch 20.
- Starting in the second chain from the hook, sc back along the chain.
- Fasten off, leaving a tail for sewing.
Make two medium leaves and one longer leaf, adjusting the chain length as shown in the video. Sew all three securely to the green top.
Step 6: Add the Arms and Legs

- Legs (make 2): Work 6 sc into a magic ring and increase gradually to form a small nub.
- Arms (make 2): Start the same way, but make them slightly longer and flatter at the end.
Sew the legs to the very bottom so the onion can sit upright, and attach the arms halfway up the sides of the body. Add a little blush or an embroidered mouth if you like.
Video Tutorial
Giving Your Onion Good Vibes
The cheerful look comes from a few small choices. Keep the body round rather than egg-shaped, space the eyes a little wider than feels natural, and add a gentle smile. A touch of blush under the eyes softens the face even more.
Common Mistakes to Avoid
- Forgetting to move the marker: If you lose the start of a round, the increases shift and the onion looks lopsided.
- Stacking increases: Increases worked in the same spot every round make pointed corners. Stagger them as in Round 4.
- A floppy neck: The neck is thin, so add a little stuffing before you close the top.
- Losing count: Count your stitches at the end of each round, especially during the decreases.
Make It a Veggie Family
- Red onion: Work the body in pale purple or pink for a red onion twin.
- Garlic buddy: Use pure white yarn and shorter leaves for a garlic-style friend.
- Mini size: Use a finer yarn and smaller hook to make a tiny onion for a keychain.
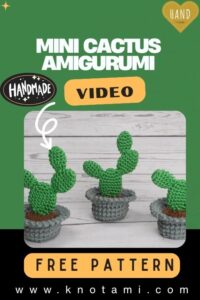
If you like cute plant and food makes, try this mini cactus crochet amigurumi or a crochet blueberry keychain next.
Display and Gift Ideas
Set the onion on a kitchen shelf, a desk, or next to your plants. It also makes a sweet gift-basket topper or a small “thinking of you” gift.
Finishing and Care
Weave each yarn tail through several stitches inside the doll before trimming, so the ends don’t work loose. Spot clean the finished onion with a damp cloth, and skip the washing machine to protect the safety eyes and the stuffed shape.
Frequently Asked Questions
Can I embroider the face instead of using safety eyes?
Yes. Embroidery is easier to adjust and safer for young children, while safety eyes add a little more dimension.
Why does my onion look like an egg?
Usually the even rounds in the middle are too many for the width of the body. Check that you worked five even rounds (Rounds 6–10) and no more.
What size safety eyes should I use?
It depends on your yarn and the size of your doll. Pin a couple of sizes in place and pick the one that looks best before you secure them.
Can I skip the arms and legs?
Yes. Without the limbs, you’ll have a simple onion amigurumi that still looks cute on a shelf.
Final Notes
This crochet onion doll amigurumi turns a simple round bulb into a cheerful little character. Shape the body, finish the neck with green leaves, and add the tiny limbs, and your good-vibes veggie friend is ready to display. Happy crocheting!