
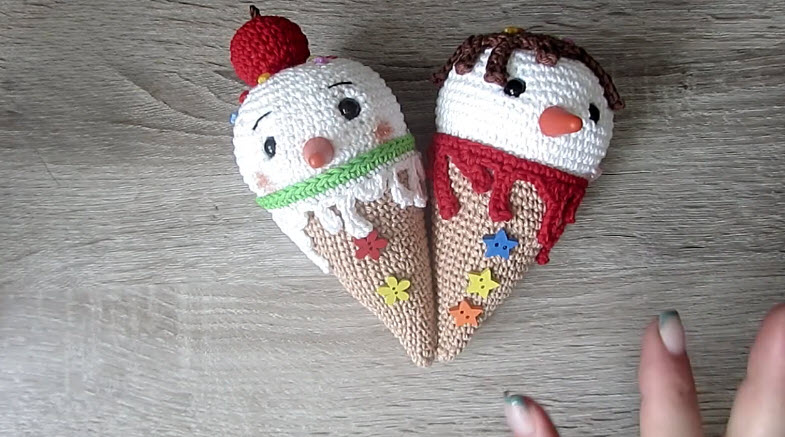
A sand-colored cone topped with a plump white scoop, two dark eyes and a tiny orange nose give this crochet Christmas ice creams pattern with snowman faces its playful winter charm. A green scarf with scalloped white drips finishes each one.
The cone and scoop are worked in one continuous piece from the tip upward, switching from beige to white with no separate scoop to sew on. Below you’ll find the cone shaping, the collar with drips, balanced eye placement, and stuffing tips for a firm little snowman that hangs neatly as a Christmas tree ornament.
Pattern Overview
- Construction: Cone and scoop in one piece, worked in continuous rounds. The green collar is made separately.
- Stitches: Single crochet, increases, decreases, one back loop round, and double crochet for the drips
- Size: About 5–5.5 inches tall with fingering weight cotton and a 2 mm hook
- Skill level: Advanced beginner, comfortable with the magic ring and working in spirals
- Time: About 10 minutes of prep, 2–3 hours of stitching, and 30–40 minutes for the face, collar and finishing
Materials
- Fingering weight mercerized cotton in sand/beige, white, green and orange, plus a little black
- 2 mm crochet hook (2.25 mm works if you crochet tightly)
- Two 6 mm safety eyes, or black yarn for embroidered eyes
- Polyester fiberfill
- Scrap yarn in a contrast color for a running marker
- Tapestry needle, scissors and pins
Yarn, Hook and Gauge
Mercerized cotton gives the cone crisp stitch definition and helps the scoop keep its round shape. Acrylic works too, though the cone may feel softer. Gauge isn’t critical for a decoration, but the fabric should be tight enough that stuffing can’t peek through. If white fiberfill shows between the beige stitches, go down a hook size.
Stuffing and Safety
Safety eyes are not suitable for children under 3. For a toddler’s gift, embroider the eyes with black yarn and sew the nose on firmly. Stuff small amounts at a time, since cotton shows every lump.
Abbreviations (US Terms)
- MR – magic ring
- ch – chain
- sc – single crochet
- dc – double crochet
- inc – 2 sc in one stitch
- dec – single crochet two together
- BLO – back loop only
- sl st – slip stitch
- st(s) – stitch(es)
Watch the Video Tutorial
If you’d like to see the color change and the scalloped drips up close, the full video is below.
Step-by-Step Ice Cream Pattern
Step 1: The Cone (sand yarn)
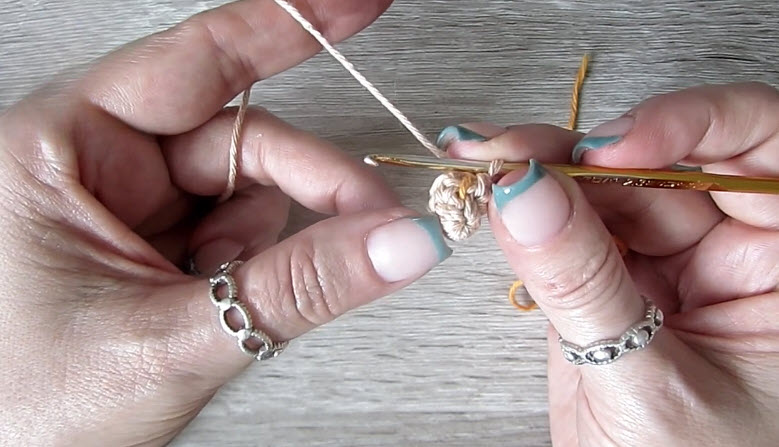
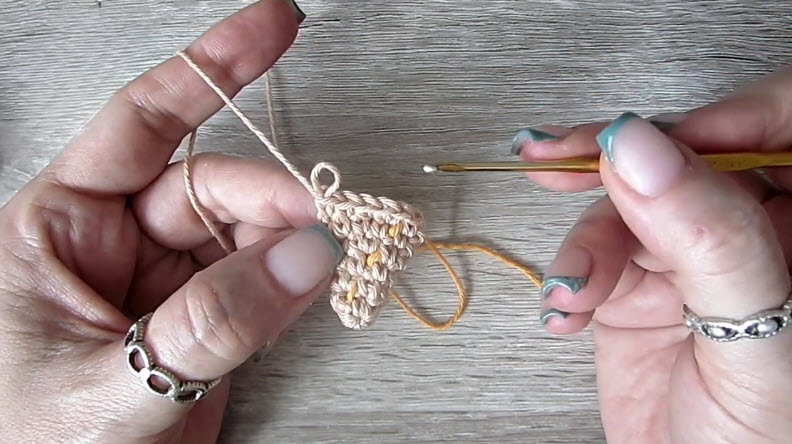
Lay a strand of scrap yarn across your first stitch. At the end of each round, flip it forward or back over the work. This running marker never slips out, which is handy when so many rounds look alike.
- R1: 4 sc in MR (4)
- R2: (sc, inc) ×2 (6)
- R3: (2 sc, inc) ×2 (8)
- R4: (3 sc, inc) ×2 (10)
- R5: (4 sc, inc) ×2 (12)
- R6: sc around (12)
- R7: (3 sc, inc) ×3 (15)
- R8: sc around (15)
- R9: (4 sc, inc) ×3 (18)
- R10: sc around (18). Start stuffing now, pushing small tufts into the tip with the back of your hook.
- R11: (5 sc, inc) ×3 (21)
- R12: sc around (21)
- R13: (6 sc, inc) ×3 (24)
- R14: sc around (24)
- R15: (7 sc, inc) ×3 (27)
- R16: sc around (27)
- R17: (8 sc, inc) ×3 (30)
- R18: sc around (30)
- R19: (9 sc, inc) ×3 (33)
- R20: sc around (33)
- R21: (10 sc, inc) ×3 (36)
- R22–23: sc around (36)
Stitch check: Count to 36 before switching colors. Being one stitch off here changes how the scoop sits.
Step 2: Color Change and Scoop Ledge (white)
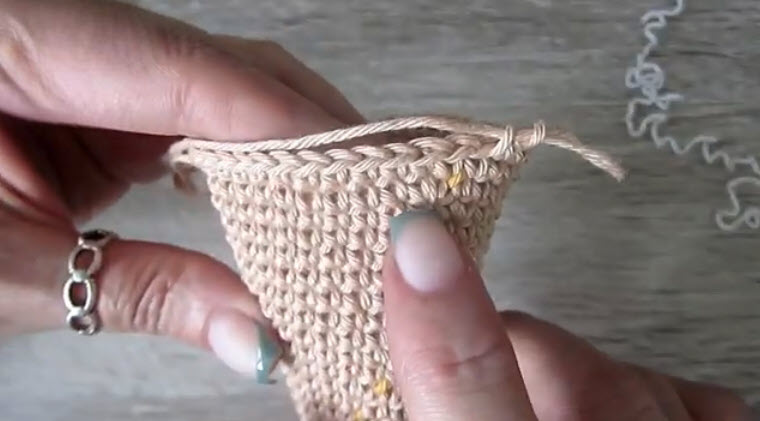
On the last stitch of R23, pull through the final loops with white.
- R24: BLO sc around (36)
The back loop round leaves a neat ridge where the scoop meets the cone.
Tip: Slip stitch the first stitch of R25 instead of working a full sc, then continue as normal. This softens the stair-step jog at the color change.
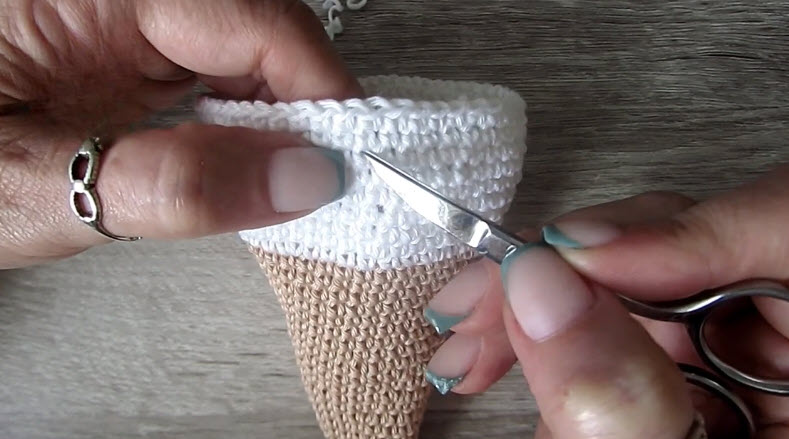
Straight cone check: Before going further, stand the piece on its tip against a ruler. If it leans, press a little extra fiberfill into the thinner side now, while the top is still open.
Step 3: Scoop Body
- R25: (5 sc, inc) ×6 (42)
- R26–32: sc around (42)
Shape check: Pinch the scoop gently. It should bulge slightly past the top edge of the cone, like a real scoop.
Step 4: Green Collar with Drips
Make the collar now, so you can use it to place the face before closing the scoop.
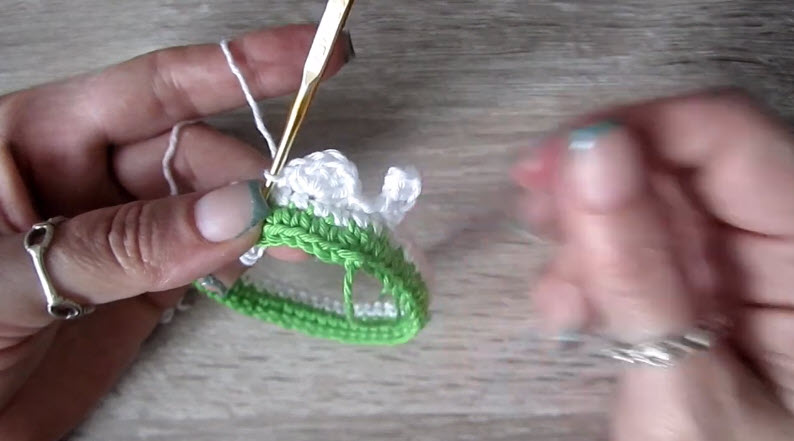
- With green, ch 41. Sc in the 2nd ch from the hook and across (40). Ch 1, turn, sc across (40).
- Join white to the lower long edge: *skip 1, 5 dc in the next st, skip 1, sl st in the next st*. Repeat from * across for 10 scallops.
Fit check: Wrap the strip around the base of the scoop. It should hug the scoop without pulling. If it’s loose, remove chains in multiples of 4 to keep the scallop repeat even.
Step 5: Place the Face
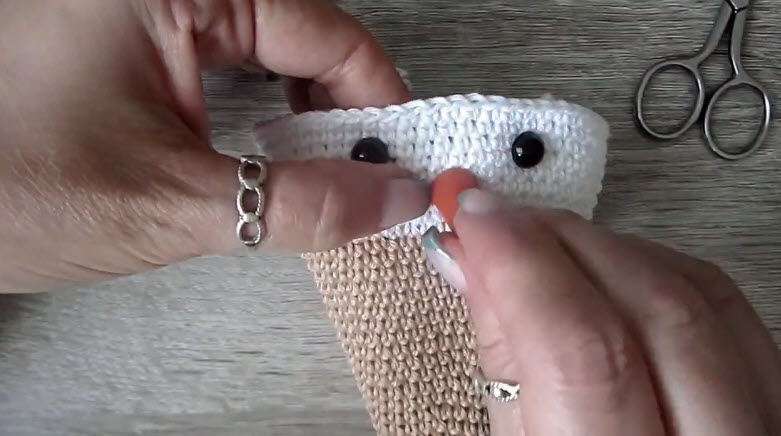
Pin the collar loosely around the base of the scoop. Place the safety eyes one to two rounds above the collar line, about 6–7 stitches apart. Check the face from the front and both sides before snapping on the washers. The nose will go centered between the eyes and slightly below them.
Step 6: Close the Scoop
- R33: (5 sc, dec) ×6 (36)
- R34: (4 sc, dec) ×6 (30)
- R35: (3 sc, dec) ×6 (24). Stuff firmly now, filling the center well so the top stays rounded.
- R36: (2 sc, dec) ×6 (18)
- R37: (sc, dec) ×6 (12)
- R38: dec ×6 (6)
Top up the stuffing, weave the tail through the front loops, pull closed and hide the end inside.
Step 7: Carrot Nose (orange)
- R1: 4 sc in MR (4)
- R2: (sc, inc) ×2 (6)
- R3: sc around (6)
Stuff lightly, then sew it on with the open end against the face.
Step 8: Finish
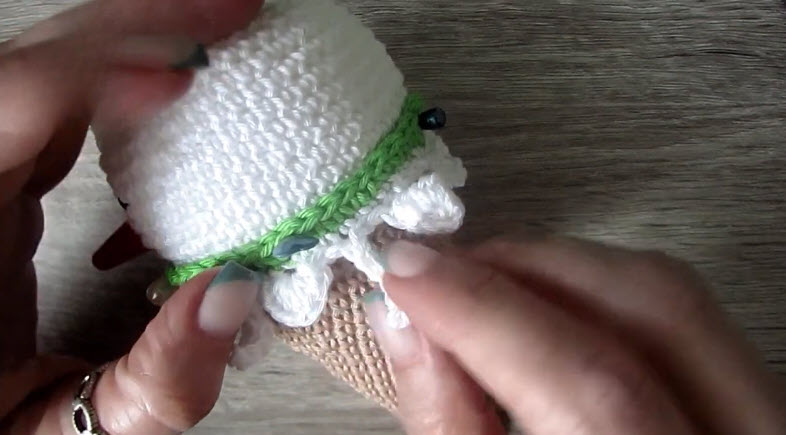
Wrap the collar around the base of the scoop with the drips hanging down over the cone, and sew the short ends together at the back. Tack the collar to the scoop in a few spots so it doesn’t slide. Weave in all tails, and thread a ribbon through the top center if you want to hang it on the tree.
Common Mistakes
- Losing the round count on the cone: The running marker solves this, since clip markers pop out of tight cotton.
- Understuffing the tip: A floppy tip bends sideways. Pack it before the cone gets too wide to reach.
- Eyes placed too high: The face ends up looking like it’s on a hat instead of a scoop.
- Working R24 in both loops: The ledge disappears and the scoop blends into the cone.
Troubleshooting
- The cone twists in a spiral: This is normal in continuous rounds. Roll it between your palms after stuffing to straighten the lines.
- The scoop looks flat on top: Add stuffing to the center rather than the sides before closing.
- The scallops curl upward: Switch to 4 dc per scallop, or go up one hook size for the trim only.
- The cone leans: This is almost always uneven stuffing. Stuff the scoop half full, check the lean again, then finish.
Colors and Personal Touches
Try a peppermint pink scoop with a red collar, chocolate brown with a white scarf, or a pale blue scoop for a frosty look. Keep the cone beige so it still reads as ice cream.
- Tiny hat: Crochet a small red cone hat and tilt it on the scoop.
- Sprinkles: Embroider short straight stitches in red and green across the scoop.
- Name tag: Sew a small felt tag with a name to the collar.
- Double scoop: Add six more plain rounds before closing for a taller scoop.
Make a Holiday Character Scoop Set
The snowman is just the start. With the same cone and scoop, you can crochet a whole cast of Christmas characters for a themed ornament set.
- Reindeer: Make a brown scoop, add a red pom-pom nose, and sew two small brown chain-stitch antlers on top.
- Santa: Keep the scoop white, add a tiny red cone hat with a white brim, and embroider a fluffy white beard below the eyes.
- Elf: Make a pale peach scoop with a pointed green hat and tiny triangle ears on the sides.
- Gingerbread: Use a warm brown scoop and embroider white squiggly “icing” lines across it.
- Penguin: Work the scoop in black, then sew a small white oval face patch in front with an orange beak.
For more festive makes, pair these ice creams with the crochet Christmas snowman and the Christmas tree keychain. The crochet candle amigurumi and the Grinch amigurumi add even more holiday fun to your display.
Care Instructions
Spot clean with a damp cloth and mild soap, then air dry standing upright so the cone keeps its shape. Avoid the dryer, since heat can loosen the safety eye backs.
FAQs
Can I make it with worsted weight yarn?
Yes. Use a 3.5–4 mm hook, and the finished piece will be noticeably larger.
How do I keep the cone tip pointed?
Stuff with tiny tufts, and don’t stretch the magic ring open. Pull it tight twice.
Can I skip the collar?
Yes. Work the white drips directly into the front loops left from R24 instead. With 36 stitches, the same scallop repeat gives you 9 drips.
Is it safe for babies?
Only with embroidered eyes, a securely sewn nose, and no loose embellishments.
A Scoop of Holiday Cheer
Once the collar sits evenly and the little face looks balanced from every angle, your snowman scoop is ready to hang. Make a small batch in different flavors, and you’ll have a sweet ornament set that’s just as fun to give as it is to keep.