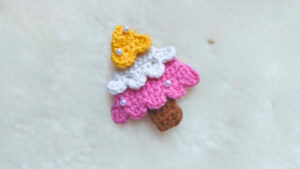
Free Crochet Christmas Tree Keychain Pattern for Beginners
A little green yarn a few ridges of snowy trim and a tiny yellow star turn into holiday magic with this Christmas crochet tree keychain. It’s a quick cheerful charm for your keys and it looks just as sweet hanging on the tree as an ornament.
You only need basic stitches like single crochet and a magic circle, so it’s a comfortable pick even if you’ve just picked up a hook. It uses very little yarn, which makes it a great stash-buster. Try different shades of green, or go playful with pink or white, and every tree ends up with its own festive personality.

Skill Level
Beginner. If you can make a single crochet, you’re already halfway there. The pattern also uses back loop stitches and reverse single crochet, which are easy to pick up on a project this small. Any mistake is quick to undo.
Time: About 45 to 60 minutes. Your first tree may take a little longer while you get the hang of the garland stitch.
Materials
- Green yarn: A small amount of 4-ply yarn. Two shades of green look lovely if you’re making several trees.
- Brown yarn: For the trunk
- White yarn: For the snowy garland
- Yellow yarn: A tiny bit for the star
- Black yarn or small beads: For the face
- Scrap yarn: A few bright colors for the ornaments
- Stuffing: Polyester fiberfill
- Hooks: 3 mm for the tree and 2.5 mm for the star
- Hardware: A keyring and a jump ring
- Tools: Yarn needle, stitch marker, scissors
- Optional: A tiny bell to hide inside the stuffing for a jingle
Abbreviations
- sc – single crochet
- inc – increase (2 sc in the same stitch)
- dec – decrease (invisible decrease recommended)
- BLO – back loop only
- FLO – front loop only
- ch – chain
- sl st – slip stitch
Before You Start
Use a hook a little smaller than your yarn label suggests. If the label says 4 mm, try 3 mm. Tighter stitches keep the white stuffing from peeking through.
You’ll work in continuous rounds, so place a stitch marker in the first stitch of every round. No marker? A paperclip or a scrap of contrast yarn works just as well.
For smoother shaping, use the invisible decrease: insert your hook into the front loops only of the next two stitches, then finish it like a normal single crochet.
Step-by-Step Christmas Tree Keychain Pattern
Step 1: Crochet the Tree Body
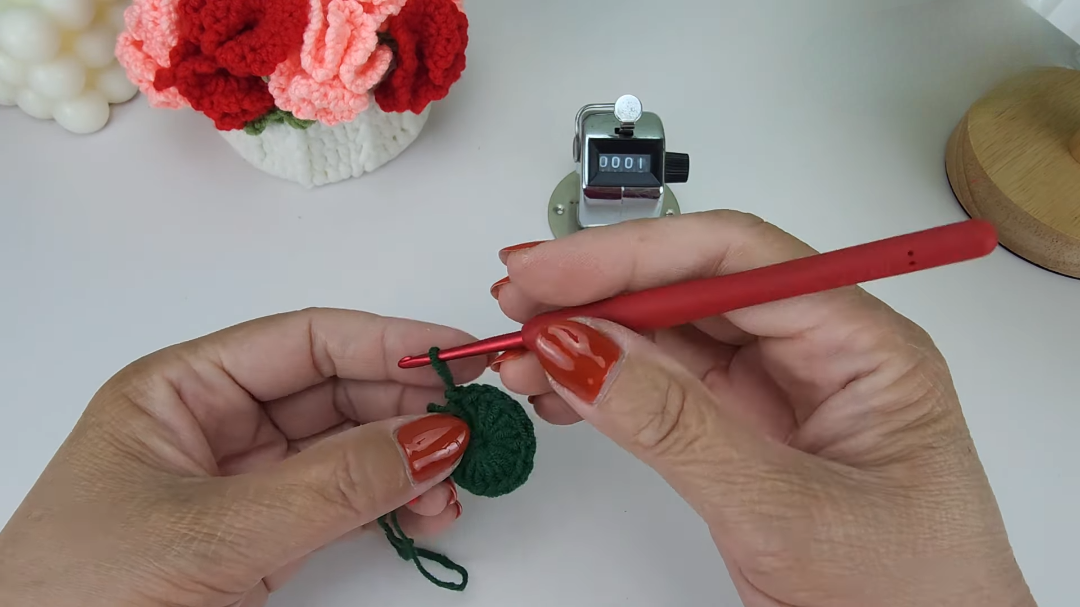
With green yarn and the 3 mm hook, make a magic circle. Pulling it tight leaves no hole at the tip of the tree.
- Round 1: 6 sc in the magic circle, pull closed (6)
- Round 2: sc in each st around (6)
- Round 3: (1 sc, inc) 3 times (9)
- Round 4: (2 sc, inc) 3 times (12)
- Round 5 (BLO): sc in each st around (12). This leaves a ring of free front loops for the first garland.
- Round 6: (3 sc, inc) 3 times (15)
- Round 7: (4 sc, inc) 3 times (18)
- Round 8 (BLO): sc in each st around (18). This makes the second ring of free loops.
- Round 9: (5 sc, inc) 3 times (21)
- Round 10: (6 sc, inc) 3 times (24)
Increasing only three times per round keeps the shape tall and cone-like instead of round.
Step 2: Close the Base and Add the Trunk
- Round 11 (BLO): (2 sc, dec) 6 times (18). Working in the back loops gives the base a crisp edge.
- Round 12: (1 sc, dec) 6 times (12). Change to brown on the last stitch.
- Round 13 (FLO): With brown, sc in each st around (12)
- Round 14: sc in each st around (12). Stuff the tree firmly now through the trunk opening. Add the bell here if you’re using one.
- Round 15 (BLO): dec 6 times (6)
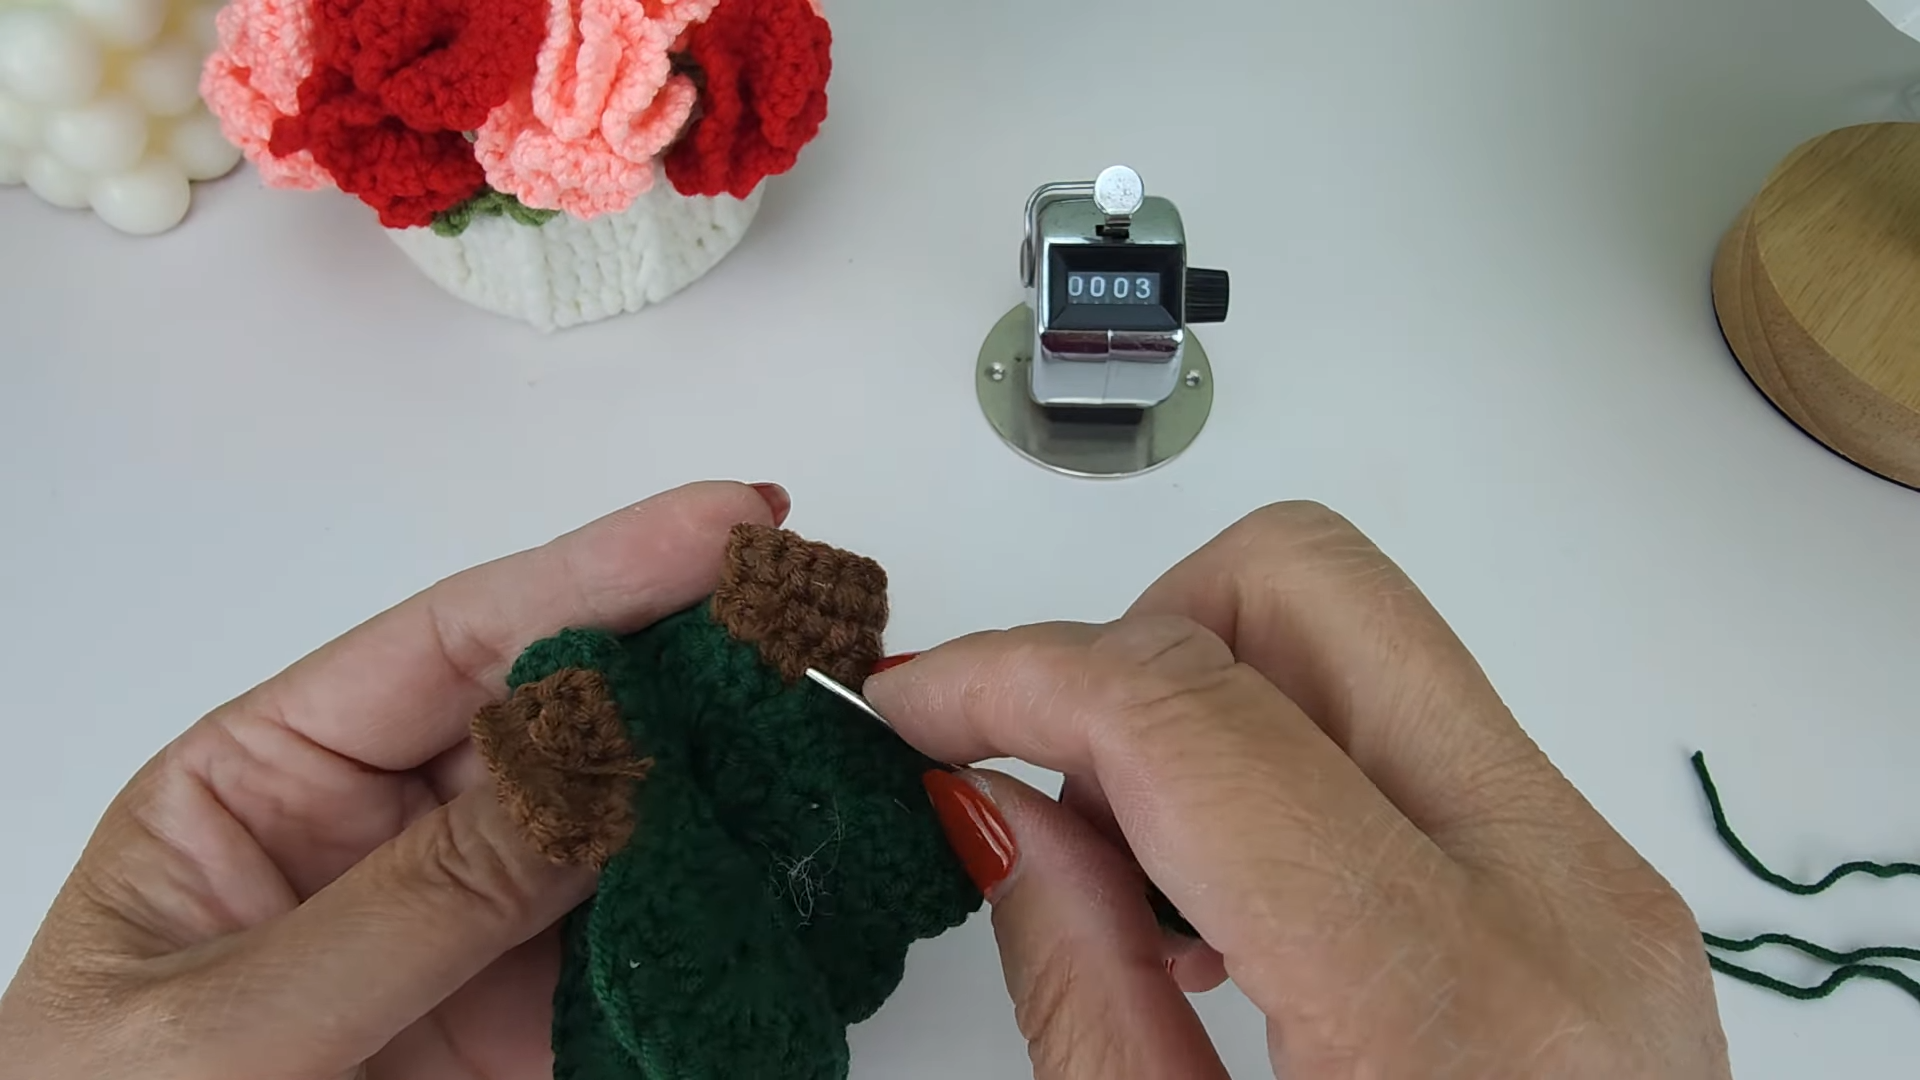
Fasten off, leaving a long tail. Thread it through the front loops of the last 6 stitches and pull tight to close the trunk.
Tip: For a flatter bottom, pass the tail up through the center of the tree and out the tip, then back down again. Pull gently to press the stuffing down slightly before weaving in the end.
Step 3: Add the Snowy Garland
Hold the tree upside down. Join white yarn in one of the free front loops left by Round 8. Work reverse single crochet (crab stitch) into each front loop around, moving to the right instead of the left. This creates a bumpy, cord-like edge that looks like snow on the branches. Join with a sl st and fasten off.
Repeat on the smaller ring of front loops left by Round 5.
Step 4: Add the Face and Ornaments
To give your tree a face, sew on two small black beads or embroider two eyes, then stitch a tiny smile below them. For ornaments, make French knots in bright scrap yarn scattered over the green sections.

Step 5: Make the Tiny Star
With yellow yarn and the 2.5 mm hook, make a magic circle. Then work (ch 2, sl st in the 2nd ch from the hook, sl st into the ring) 5 times to make five little points. Pull the ring closed and sew the star firmly to the tip of the tree.
Step 6: Attach the Keyring
With a tapestry needle, sew a small yarn loop through the top of the tree just behind the star, going through a few times so it’s strong. Open a jump ring, slide it through the loop and the keyring, and close it completely. Give it a firm tug to check.
Want an ornament instead? Skip the hardware and leave a longer yarn loop for hanging.
Watch the Video Tutorial
If you’d like to see the back loop ridges and the crab stitch garland up close, follow along with the full video below.
Tips for a Neat Finish
- Tension: Keep it steady. Tight stitches in one area and loose ones in another make the tree look lopsided.
- Yarn choice: Cotton shows the ridges and garland clearly. Acrylic looks a little fuzzier and cozier.
- Ends: Weave all tails into the inside of the tree so they don’t poke out between the garlands.
Common Mistakes
- Overstuffing: It stretches the stitches and lets the stuffing show through.
- Missing the BLO rounds: If you work Rounds 5 and 8 through both loops, there’s nowhere to add the garland.
- Hook too big: This leaves a floppy tree with holes. Stick to 3 mm or smaller for 4-ply yarn.
- No stitch marker: One missed stitch can make the cone lean.
Ways to Use Your Tree
It makes a handy keychain that’s easy to spot in a big bag, and since it’s soft, it won’t scratch your phone. With a yarn loop instead of a ring, it becomes a Christmas tree ornament. It’s also cute as a bag charm, a backpack tag, or a gift topper tied into the ribbon on a wrapped box.
Make a Mini Tree Advent Garland
Because each tree takes under an hour, a small batch is very doable before December. Here’s how to turn them into a countdown garland.
- Choose your number: Make 6, 12 or all 24 trees, depending on how much time you have.
- Vary the colors: Mix light and dark greens, and add a few white or pink trees for fun.
- Number them: Tie a small paper tag with a date to each tree’s hanging loop.
- String them up: Clip or tie each tree onto a length of twine or a long crochet chain across a mantel or doorway.
- Count down: Take one tree off each day and turn it into a keychain or gift topper for someone special.
Want a bigger tree for the shelf? Try the layered crochet Christmas tree. For more holiday charms, pair this one with the Santa Claus keychain and the crochet hat keychain, or add the Christmas snowman to your decorations.
FAQs
What if I can’t make a magic circle?
Chain 2, then work 6 sc into the second chain from the hook. The magic circle gives a cleaner tip, but this works well too.
Can I wash my tree?
Yes, if you used acrylic or cotton. Hand wash in cold water and let it air dry. If you glued anything on, wipe it with a damp cloth instead.
Can I make a bigger tree?
Yes. Use a thicker yarn and a bigger hook, around 5 to 6 mm, with the same rounds. It turns into a cute desk decoration.
Is it safe for small children?
For a child, embroider the eyes with black yarn instead of using beads, and skip the bell. Keyring hardware is also a small part, so it’s best as a decoration or ornament for little ones.
Hang It, Gift It, Jingle It
Fifteen short rounds two snowy garlands and a tiny star are all it takes. Keep one on your own keys tuck a few into holiday cards and hang the rest on the tree. By the time December is over, you’ll probably have a small forest of them.