
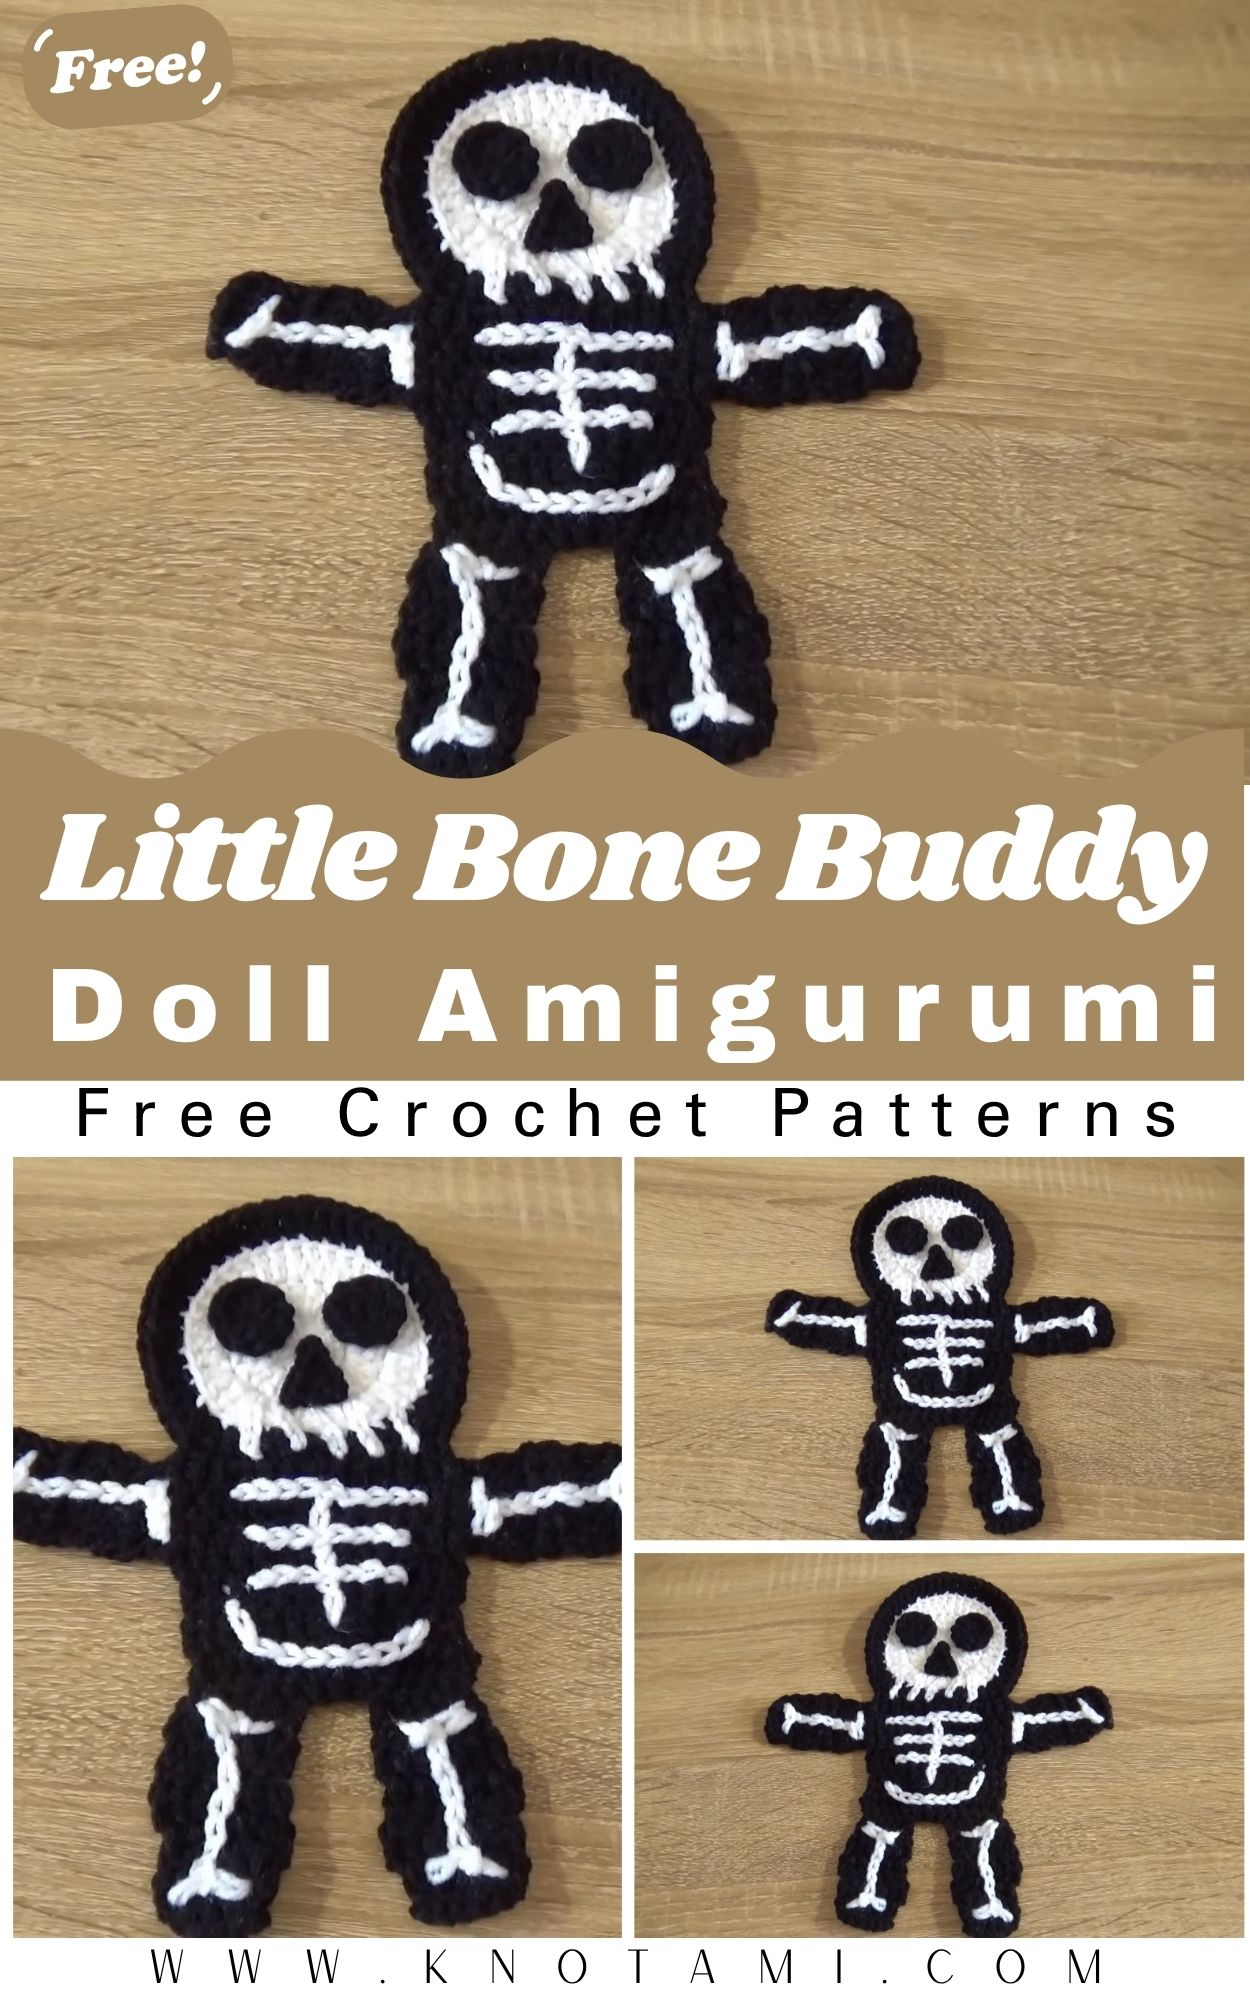
Meet the sweetest little skeleton on your hook, playful, not spooky. This design keeps everything soft and rounded, with a petite head, a slim, tidy body, and charming bone-style accents that give it a fun, cartoony vibe. Instead of chills, it brings smiles, thanks to its gentle expression and friendly shape that appeals to makers and giftees of all ages.
It’s an inviting make for confident beginners and a relaxing, quick-win for seasoned crocheters. Whip one up as a toy, a festive decoration, a shelf sitter, or turn it into a keychain or gift topper. Kids, teens, and handmade-gift lovers tend to adore this little buddy, cute, memorable, and just the right amount of quirky.
Materials Needed
Before you start, gather a few basic crochet supplies. Most of these are items you may already have in your crochet kit.
-
Yarn: Worsted or DK-weight yarn in white or off-white for the skeleton (small amounts). Optional accent colors for eyes or details
-
Crochet hook: Size 2.5–3.5 mm, depending on your yarn and tension
-
Stuffing: Polyester fiberfill
-
Safety eyes: Small size, or black embroidery thread for stitched eyes
-
Tapestry needle: For sewing parts together and weaving ends
-
Scissors
-
Stitch markers: Helpful for counting rounds
-
Optional items: Keyring, ribbon, mini bow, or colored embroidery thread for extra personality
For this project, a smooth yarn works best because it helps the bone details stand out clearly. Cotton yarn gives crisp stitch definition, while acrylic creates a softer, more plush look. If you want a cozy feel, you can even use a slightly fuzzy yarn, though details may look more subtle.
Classic white or cream is the most popular color choice, but light gray, beige, or even pastel skeletons can look surprisingly cute. You can also add tiny pops of color for the eyes, cheeks, or accessories to personalize your Bone Buddy.
Level of Difficulty
This Crochet Little Bone Buddy Skeleton Doll Amigurumi is generally beginner-friendly to easy-intermediate. The stitches themselves are simple, but the project includes multiple small parts, which is great practice for shaping and assembly.
You’ll use basic crochet techniques such as single crochet, increases, decreases, working in continuous rounds, and sewing pieces together. Some small details require patience, but nothing is overly complex or intimidating.
If you’re still new to amigurumi, take your time and enjoy the process. Even if your tension isn’t perfect, the skeleton design is forgiving and still looks charming when finished. Each project helps build confidence and skill.
Step-by-Step Overview
1. Starting the Head
The project usually begins with the head, worked on in continuous rounds. You’ll start with a magic ring and gradually increase to form a smooth, round shape. This part sets the tone for the entire doll, so keeping even tension here really helps.
At this stage, it’s a good idea to pause occasionally and check that your stitches look even. If the head curves slightly, that’s normal and will smooth out with stuffing.
2. Shaping the Body
The body is worked similarly but kept narrower and elongated. This gives the skeleton its classic slim look. Increases and decreases are spaced carefully to keep the shape neat and balanced.
Stuff the body gradually as you go. Adding small amounts of stuffing at a time prevents lumps and makes it easier to adjust the shape.
3. Making the Arms and Legs
The arms and legs are usually crocheted as thin tubes. These pieces are quick to make but require attention to the stitch count so both sides match. Keeping the limbs slightly firm helps them hold their shape nicely.
If your limbs curl a bit, that’s normal. Gentle stretching and careful stuffing can fix most shape issues.
4. Adding Bone Details
This is where the skeleton personality really comes to life. Bone-like shapes or simple stitched details are added to suggest ribs, joints, or skull features. These details are usually minimal but very effective.
Take your time here. Small, neat stitches make a big difference in how polished the final doll looks.
5. Assembling and Joining
Once all parts are complete, they’re sewn together. Start by positioning the limbs with pins or stitch markers before sewing them in place. This helps ensure symmetry.
Sew slowly and check alignment as you go. A little patience during assembly results in a much more professional-looking amigurumi.
6. Facial Details and Finishing Touches
The final step is adding eyes, facial expressions, and any optional decorations. Whether you use safety eyes or embroidered features, keep the expression soft and friendly to match the “Bone Buddy” theme.
After weaving in all ends, give the doll a gentle squeeze and final shape adjustment.
Special Features of This Pattern
This pattern stands out for several reasons:
-
Clear, step-by-step construction that’s easy to follow
-
Simple skeleton design that looks detailed without being complicated
-
Minimal sewing compared to more complex dolls
-
Small size makes it quick to finish
-
Playful style that feels cute, not scary
The tutorial’s clear demonstration and close-up views make it easier to understand shaping and assembly, even for beginners.
Tips for Best Results
A few small tips can make your project more enjoyable and your results more polished:
-
Use stitch markers to track rounds accurately
-
Keep tension firm so stuffing doesn’t show through
-
Stuff gradually in small amounts
-
Match limb sizes before sewing them on
-
Check symmetry frequently during assembly
-
Adjust the hook size if the stitches look too loose
-
Take short breaks to avoid hand strain
-
Weave in ends securely for durability
Each of these steps helps ensure your Bone Buddy looks neat and lasts well over time.
How to Use or Gift Your Crochet Little Bone Buddy Skeleton Doll Amigurumi
This little skeleton doll is surprisingly versatile. It works beautifully as Halloween decor, a shelf ornament, or a desk buddy that adds personality to your space. You can also turn it into a keychain or bag charm by attaching a small ring.
As a gift, it’s perfect for Halloween baskets, handmade swaps, or friends who love quirky, creative items. Pair it with a small gift bag or themed tag to make it feel extra special.
Customization Ideas
One of the best parts of this project is how easy it is to customize. You can change the yarn color to create pastel skeletons, spooky black-and-white versions, or even glow-in-the-dark designs.
Yarn choice also affects the final look. Cotton gives crisp details, acrylic adds softness, and velvet yarn creates a plush, modern feel. Changing the hook size allows you to scale the doll larger or smaller.
You can add bows, tiny hats, scarves, embroidered hearts, or seasonal accessories to give each Bone Buddy its own personality. This makes the pattern great for creating small collections.
Conclusion
The Crochet Little Bone Buddy Skeleton Doll Amigurumi is a joyful mix of playful design and simple construction. It’s the kind of project that feels relaxing to make and satisfying to finish, whether you’re crocheting for yourself or someone else.