
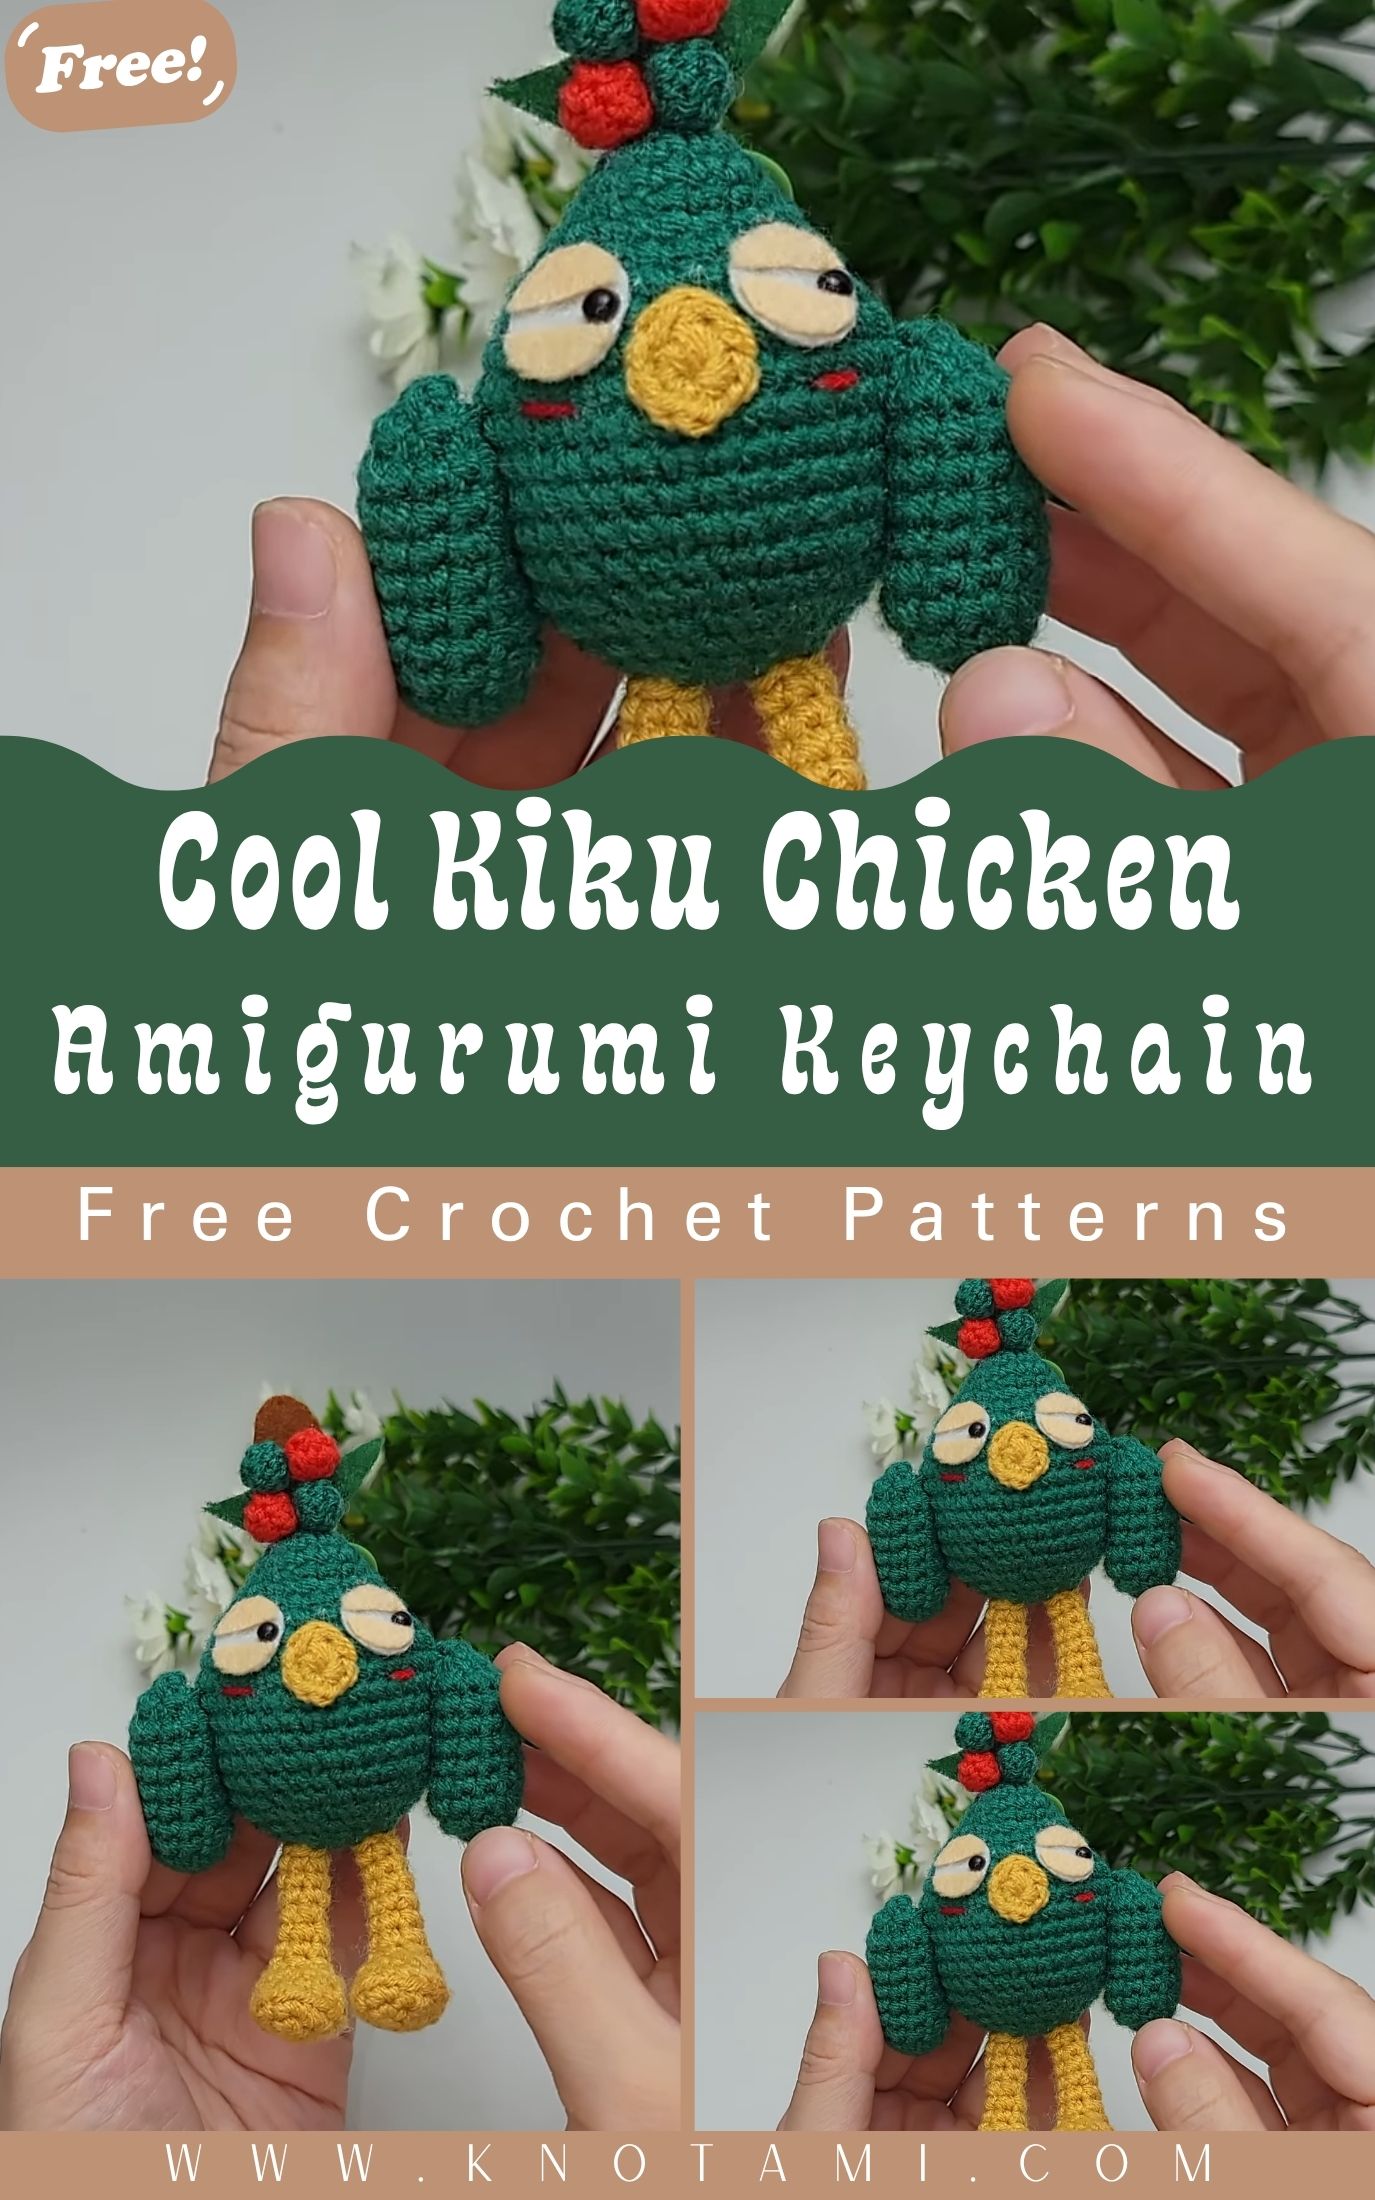
If you love small, adorable crochet projects that instantly brighten your mood, the Crochet Cool Kiku Chicken Keychain is just what you need! This cheerful little chicken combines the cuteness of amigurumi with the practicality of a keychain, making it both fun to craft and perfect to carry around.
The crochet chicken keychain has become a favorite among crafters because it’s small, quick to make, and full of personality. Whether you’re creating it as a gift, selling it at a local craft fair, or just adding it to your own collection, this mini chicken will definitely earn a place in your heart.
Materials & Tools
Before you start gather your crochet essentials. Don’t worry this project doesn’t need much!
-
Yarn: Use cotton or acrylic yarn, preferably DK or sport weight (No. 3). Cotton yarn gives a clean stitch definition, while acrylic makes your chicken soft and squishy.
-
Crochet Hook: Recommended size 2.5 mm to 3.0 mm depending on your yarn. A smaller hook keeps stitches tight so the stuffing doesn’t show through.
-
Fiberfill Stuffing: Helps shape your mini chicken into a soft plump ball. A little goes a long way!
-
Yarn Needle: For sewing in ends neatly and adding small details like the comb or beak.
-
Scissors: A must for trimming excess yarn after finishing.
-
Stitch Markers: These help you track the beginning of each round especially for beginners working in continuous spirals.
-
Optional Accessories: Add 6 mm safety eyes for a polished look and a keychain ring or lobster clasp to turn your project into a keychain or bag charm.
Tip: You can also use small embroidery thread to stitch facial features instead of plastic eyes if you prefer a softer baby-safe design.
Step-by-Step Instructions
Let’s make your Crochet Cool Kiku Chicken Keychain step by step! These easy instructions will help you bring your adorable chick to life.
1. Start with the Body
Begin with a magic ring and crochet 6 single crochets (SC) inside. Tighten the ring and mark your first stitch. This forms the base of your chicken.
2. Increase the Rounds
In the next few rounds, increase evenly (for example, 12, 18, 24 stitches) to create a round shape. The body should look like a small ball.
3. Build the Shape
Once you reach the desired width, continue crocheting a few rounds without increasing. This will give your chicken some height and volume.
4. Add the Details
Use a small amount of orange or yellow yarn to crochet or embroider a tiny beak, and red yarn for the comb on top. For wings, crochet two mini ovals and attach them symmetrically.
5. Stuff and Close
Lightly stuff the chicken with fiberfill just enough to make it firm but still squeezable. Continue decreasing stitches until you close the opening. Use your yarn needle to weave in the tail securely.
6. Attach the Keychain
Insert a small keyring or lobster clasp through the top of your chicken’s head (or a loop you’ve crocheted earlier). Make sure it’s tight enough to stay in place.
7. Add Expressions
Finally use safety eyes or black yarn to embroider cute eyes. You can even add blush or felt cheeks for a kawaii-style chicken!
Congratulations your mini chicken keychain crochet project is done!
Special Features & Pro Tips
The Cool Kiku Chicken Keychain isn’t just adorable it’s also clever in design and quick to finish. Here’s why this pattern stands out:
-
Beginner-Friendly: Uses basic stitches like single crochet (SC), increase, and decrease perfect for beginners.
-
Quick to Make: Takes just about 1–2 hours to complete, making it a great last-minute handmade gift.
-
Customizable: Change the yarn color to create different chicken personalities white for classic yellow for cheerful, or pink for a cute pastel version.
-
No-Sew Option: If you prefer you can crochet the wings directly onto the body to avoid extra sewing.
-
Pro Tip: Keep your stitches tight and consistent to avoid gaps. If using safety eyes, attach them before stuffing the body.
-
Creative Additions: Add tiny hats, scarves, or bows to give your Kiku chicken a seasonal or festive touch.
These small touches make your chicken even more unique and loveable perfect for gift sets, market stalls or personal collections!
Uses & Creative Ideas
The finished Crochet Cool Kiku Chicken Keychain is not only cute it’s versatile too! Here are some creative ideas for using or gifting it:
-
Cute Keychain: Attach it to your keys purse or backpack for a daily dose of cuteness.
-
Handmade Gift: Surprise your friends or family with a mini chicken that symbolizes happiness and care.
-
Home Décor: Display it on shelves in a crochet basket, or as part of your handmade décor corner.
-
Craft Fair Item: These tiny chickens are perfect for selling at markets quick to make, affordable and always in demand.
-
Custom Variations: Create themed chickens Christmas (red and green) Easter (pastel colors), or even school mascots.
There’s endless room for creativity with this project and every version feels like a cheerful little friend ready to brighten someone’s day.
Conclusion
Crocheting your own Cool Kiku Chicken Keychain is more than just making a cute toy it’s about finding joy in every stitch. This project is small enough to finish in one sitting yet full of character and charm.
Whether you’re a crochet beginner or an experienced crafter, this easy amigurumi pattern brings relaxation creativity, and satisfaction all in one. So grab your yarn, put on your favorite playlist, and bring your Cool Kiku Chicken to life today!
Remember, every handmade creation tells a story and this tiny chicken might just become your next favorite chapter.