
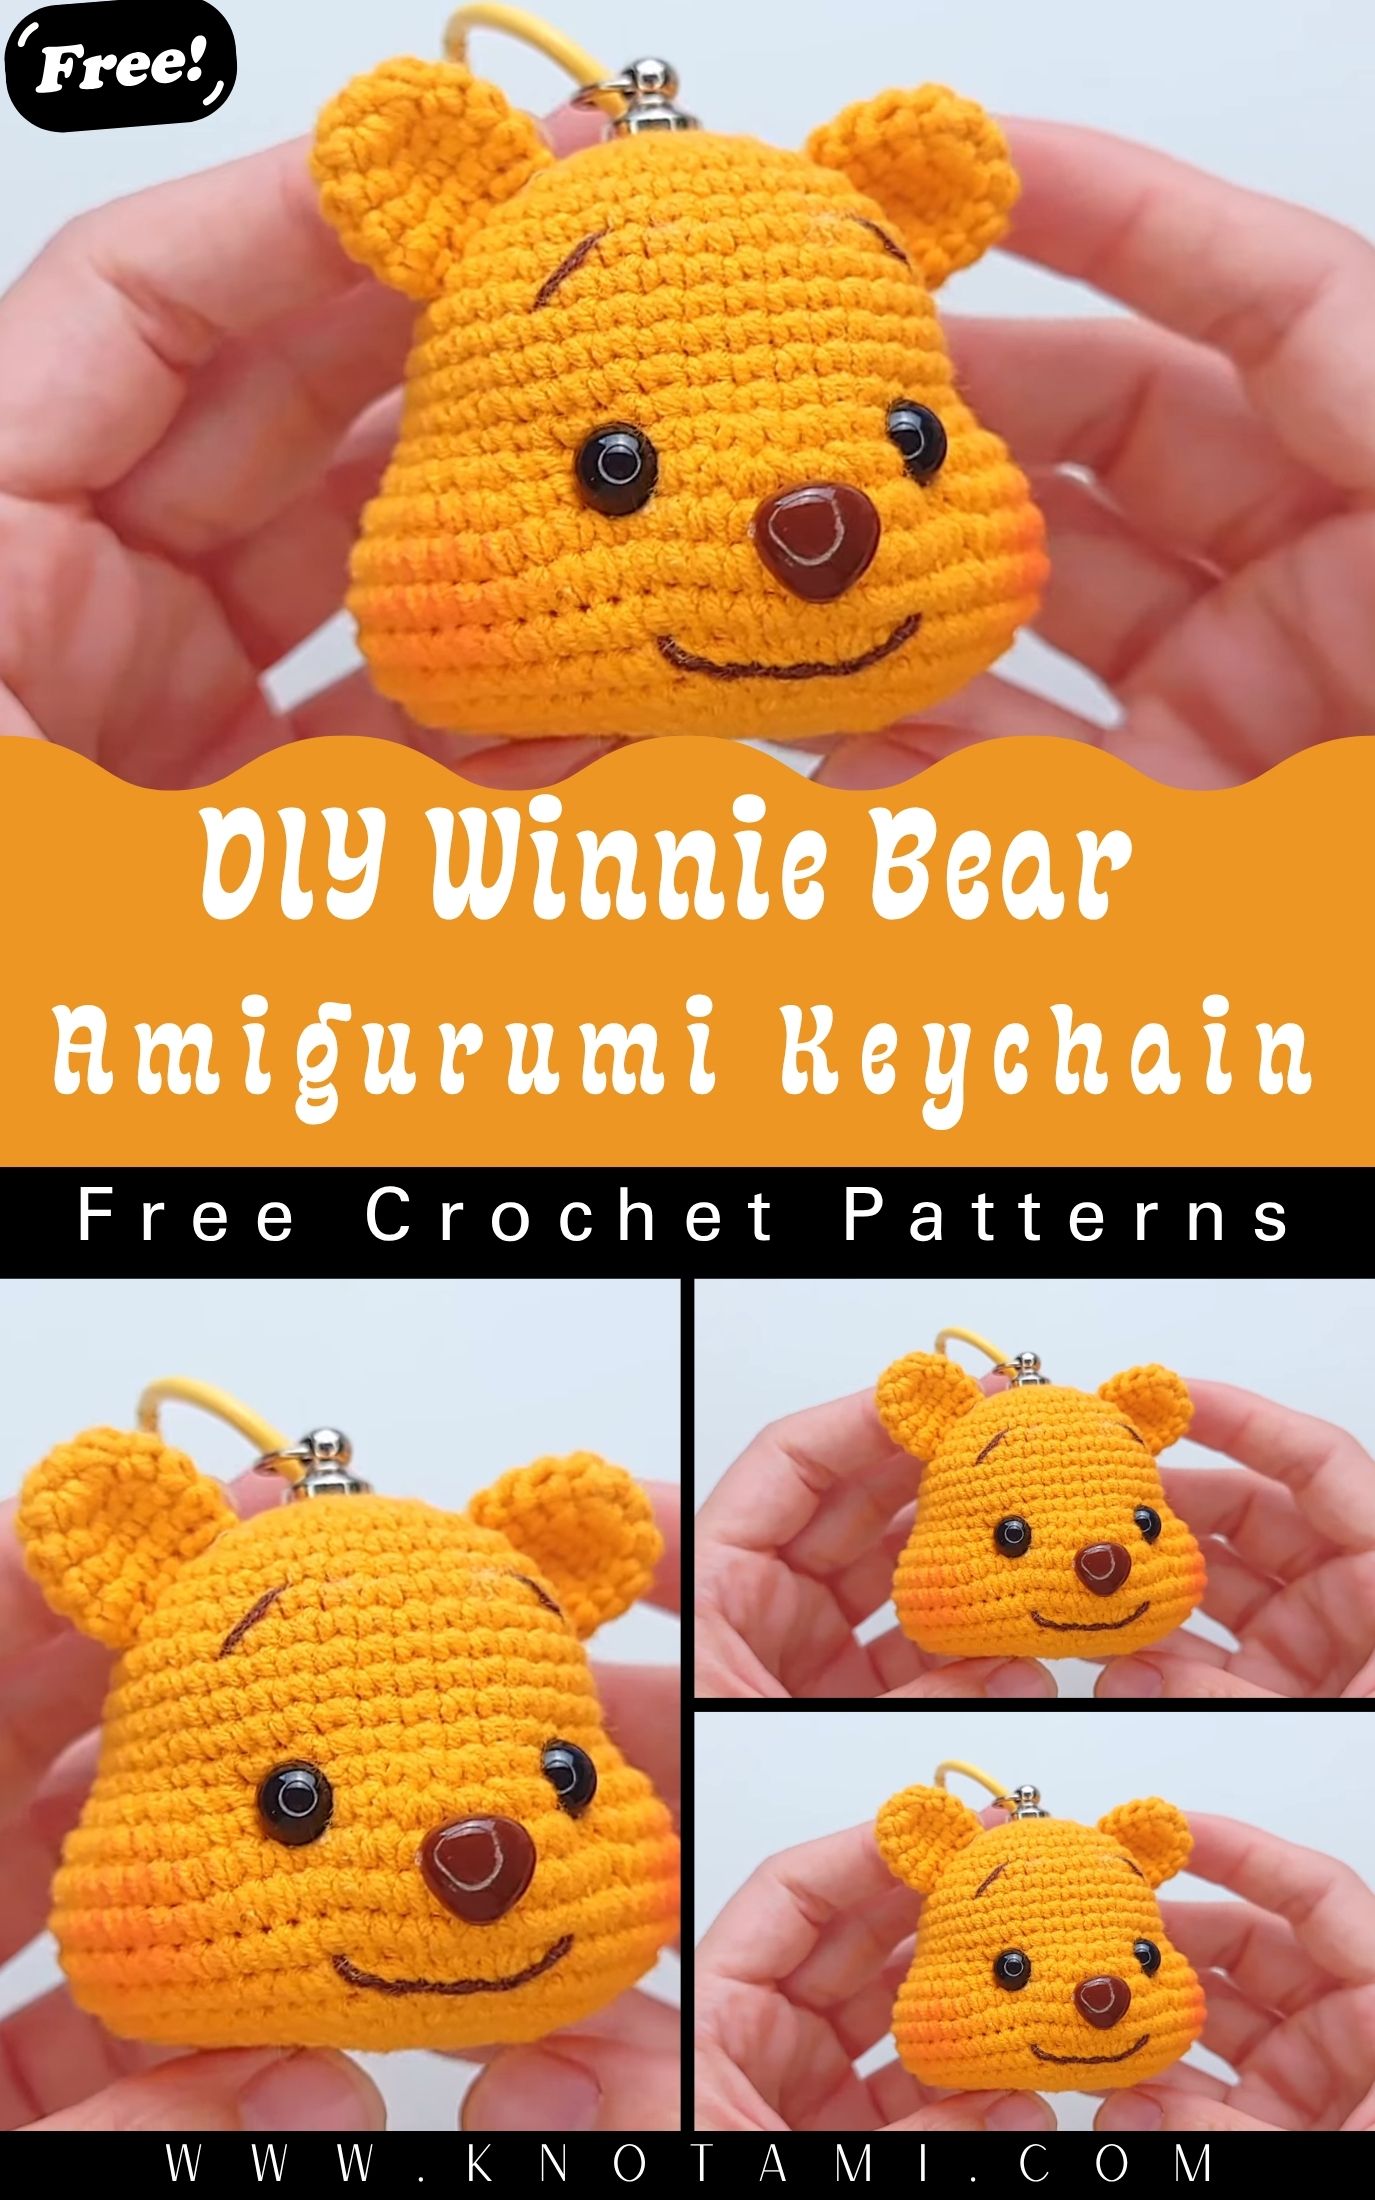
Create something irresistibly cute with this Winnie Bear Keychain Head Amigurumi. This easy beginner-friendly crochet pattern is perfect for making adorable keychains, bag charms, or sweet handmade gifts. Quick to make and guaranteed to bring smiles.
If you love quick and heartwarming crochet projects, this Fantastic Winnie Bear Keychain Head Amigurumi is exactly what you need. This beginner-friendly pattern lets you create an adorable bear head that you can turn into a keychain, bag charm, or backpack accessory. With its round face, fluffy ears, and sweet expression, it’s a fun and rewarding project that even new crocheters can enjoy.
Materials You’ll Need
Gathering the right supplies ensures a polished result. Here’s your complete shopping list:
Yarn Choices
- Main body (bear head and ears): Golden yellow or soft light brown worsted-weight or DK cotton yarn. Brands like YarnArt Jeans, Paintbox Yarns Cotton DK, or any similar 4-ply cotton work beautifully and provide excellent stitch definition.
- Snout: A slightly lighter beige or the same golden shade for subtle contrast.
- Nose and mouth: Black or dark brown embroidery floss (DMC or similar).
- Optional red shirt detail: Bright red yarn to mimic Pooh’s iconic top.
Hook and Tools
- Crochet hook: 3.0 mm or 3.5 mm (use whatever matches your tension—tighter crocheters may prefer 3.5 mm).
- Fiberfill stuffing: A small handful of polyester filling.
- Safety eyes: 8–10 mm black eyes (or embroider them if making for young children).
- Yarn needle for sewing parts and weaving ends.
- Stitch markers to track round beginnings.
- Small scissors.
- Keychain hardware: A metal ring with a lobster clasp or a split ring.
- Optional: Cotton swab and pink blush powder for rosy cheeks.
The total cost for one keychain is usually under $3–5 if you already own basic tools, making it budget-friendly for batch making.
Essential Stitches and Abbreviations
This pattern relies on fundamental amigurumi techniques:
- MR: Magic Ring
- sc: Single Crochet
- inc: Increase (2 sc in the same stitch)
- dec: Decrease (invisible decrease recommended—sc two stitches together through front loops)
- sl st: Slip Stitch
- ch: Chain
- FO: Fasten Off
All rounds are continuous spirals unless noted. Use a stitch marker at the start of each round and move it up as you work.
Detailed Step-by-Step Instructions
Head Round 1: Make 6 sc in a magic ring. Pull tight. (6 sts) Round 2: Increase in every stitch around. (12 sts) Round 3: (1 sc, inc) × 6. (18 sts) Round 4: (2 sc, inc) × 6. (24 sts) Round 5: (3 sc, inc) × 6. (30 sts) Rounds 6–9: Work 30 sc for four full rounds. This creates the chubby cheek area. Round 10: (3 sc, dec) × 6. (24 sts) Round 11: (2 sc, dec) × 6. (18 sts)
At this stage, insert safety eyes between Rounds 7 and 8, approximately 6–7 stitches apart, centered on the face. Begin stuffing the head firmly but gently, shaping it into a perfect sphere as you go.
Round 12: (1 sc, dec) × 6. (12 sts) Round 13: Decrease 6 times. (6 sts)
Fasten off, leaving a long tail. Thread the tail through a yarn needle and weave through the front loops of the remaining 6 stitches. Pull tight to close, then weave in the end securely on the wrong side.
Ears (Make 2) Round 1: 6 sc in MR. (6) Round 2: Inc in each stitch. (12) Round 3: (1 sc, inc) × 6. (18) Rounds 4–5: 18 sc.
Fasten off, leaving a long tail for sewing. Flatten each ear into a semi-circle shape. Position them on the top sides of the head, roughly aligned with the eyes, and sew securely using whip stitches or mattress stitch for a clean join.
Snout Round 1: 6 sc in MR. (6) Round 2: (1 sc, inc) × 3. (9) Round 3: 9 sc.
Leave a long tail. Sew the snout centrally below the eyes. Using black embroidery thread, create a small vertical nose line in the center of the snout, then add a smiling mouth curve beneath it. Keep stitches small and even for a neat expression.
Final Assembly and Finishing Touches
Attach the keychain hardware at the very top of the head. You can either sew a small loop of yarn directly or crochet a short chain (8–10 stitches) and attach the ring for extra durability.
For classic Pooh charm, crochet a tiny red shirt panel: Chain 12, work a few rows of single crochet, then wrap and sew it around the lower part of the head like a collar.
Add blush to the cheeks with a light touch of makeup or colored pencil for extra cuteness. Trim any stray yarn ends and give the piece a gentle roll between your palms to even out the shape.
Helpful Tips for Success
Maintain consistent tension throughout—too tight and the piece will be stiff; too loose and stuffing will show. Count stitches at the end of every round to avoid unevenness. When stuffing, add small bits gradually and use the back of your hook or a chopstick to push filling into the sides for a beautifully round head.
Place safety eyes before the head is fully closed so you can adjust positioning easily. If using embroidered eyes instead, do them after stuffing but before final closure for better control.
Common Mistakes and Fixes
- Uneven head shape: Missed increases or decreases—always count!
- Eyes misplaced: Insert before Round 12 so adjustments remain possible.
- Lumpy stuffing: Work in small tufts and smooth from the outside.
- Visible joins: Weave tails through multiple stitches in different directions on the inside.
Customization Ideas to Make It Your Own
This pattern is wonderfully versatile. Create a girl bear with a pink bow, or a classic brown teddy with darker snout. Add miniature accessories like a tiny honey pot charm (crocheted separately) or a scarf. Scale it up using bulky yarn and a 5 mm hook for a larger bag charm, or go tiny with thread and a 1.5 mm hook for earrings. Rainbow versions, pastel palettes, or even Halloween costumes (tiny witch hat!) expand the possibilities endlessly.
Many crafters turn these into necklace pendants, zipper pulls, or baby mobile decorations. The small size also makes them excellent party favors or teacher appreciation gifts.
Finished Size and Color Recommendations
Using DK cotton and a 3.5 mm hook yields a 2–2.5 inch head—ideal for keychains. Popular combos include:
- Classic Pooh: Warm golden yellow with red accents.
- Honey Bear: Creamy light brown and beige snout.
- Pastel Dream: Baby blue, lavender, or mint green for modern appeal.
Frequently Asked Questions
Is this truly beginner-friendly?
Absolutely. Only basic stitches are used.
How long does one take?
1–3 hours for most people.
Can I sell finished items?
Yes, with credit to the pattern source when listing online.
No safety eyes available?
Embroider them for a softer, child-safe look.
Pattern too small?
Double the yarn weight and hook size proportionally.
Conclusion
Creating your own Winnie Bear Keychain Head Amigurumi is more than just a craft project—it’s a joyful journey that results in a tiny handmade companion full of personality. The quick work-up time, minimal materials, and endless customization options make it a go-to pattern for crocheters of all levels.
Whether you’re unwinding after a busy day, preparing thoughtful gifts, or building inventory for your small business, this project never disappoints. The finished keychain becomes a daily reminder of creativity, warmth, and the simple pleasure of handmade items.