
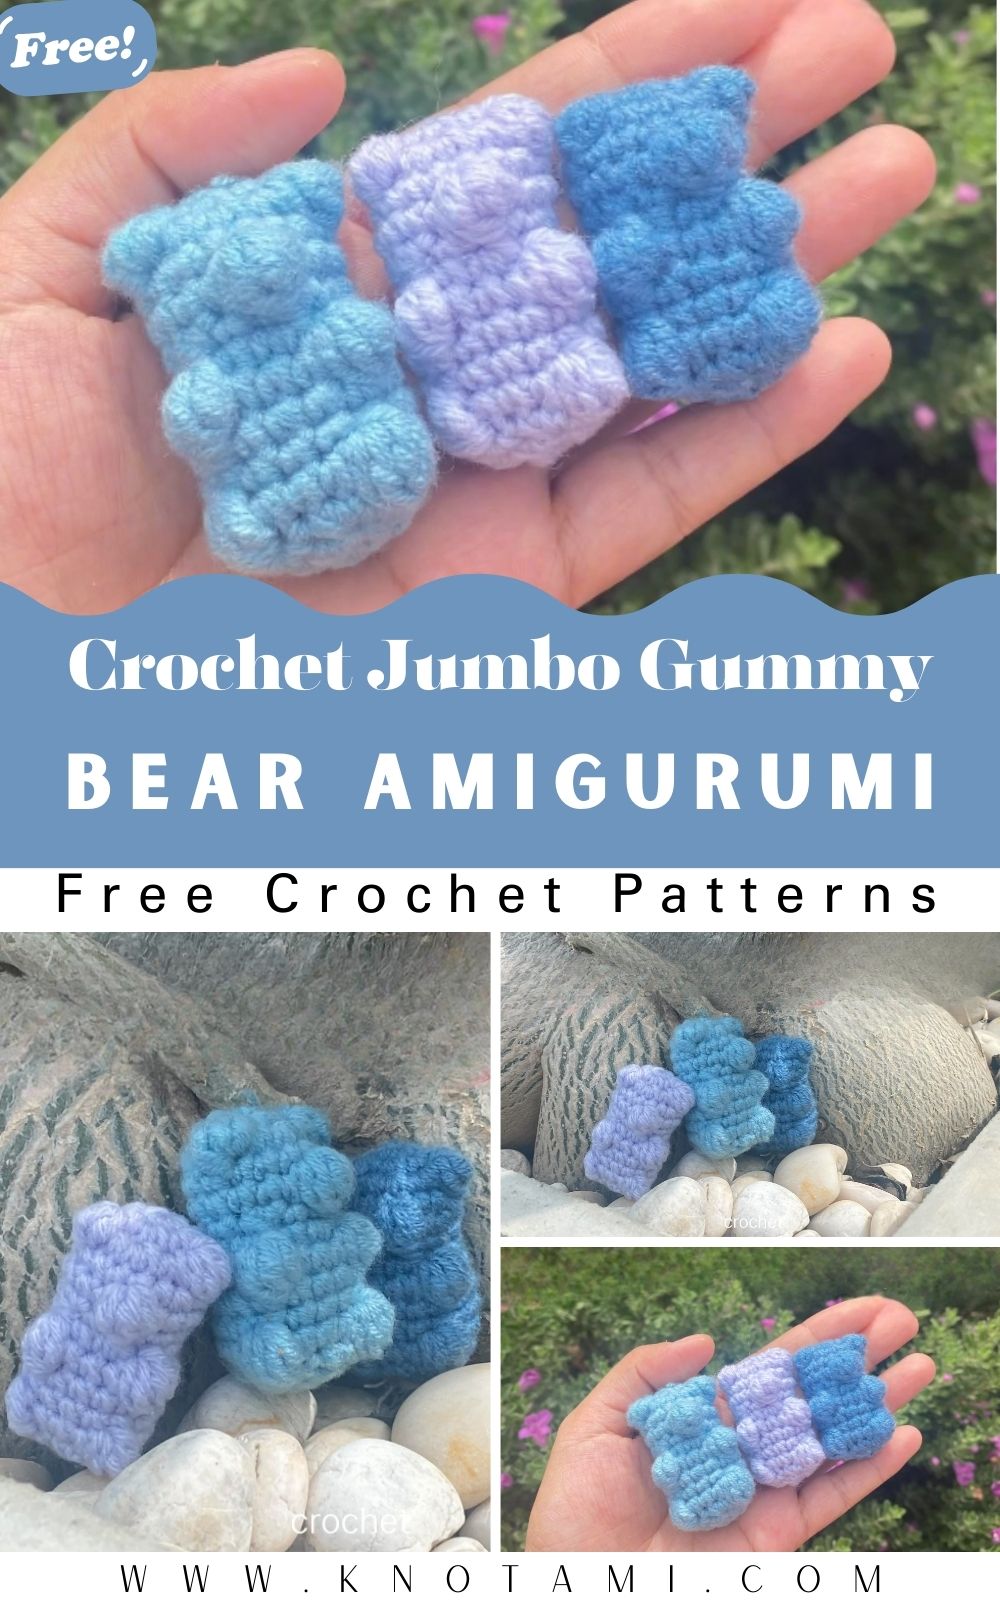
Welcome to the colorful and cozy world of oversized crafting! If you love sweet treats and soft textures, then making a Crochet Jumbo Gummy Bear Amigurumi is the perfect next project for you. These giant bears are not just adorable to look at, but they also serve as the ultimate cuddle companions. Because we are using chunky yarn, you will see your bear grow quickly right before your eyes. This makes the process incredibly satisfying for both beginners and seasoned crafters.
Furthermore, this Crochet Jumbo Gummy Bear Amigurumi is designed to mimic the iconic look of the classic candy we all know and love. By using vibrant colors and a glossy plush yarn, you can achieve that “candy-like” sheen while keeping it soft and squishy. Consequently, you will find that this project is a great way to add a pop of fun to any room. Whether you are making it for yourself or as a special gift, this guide will walk you through every loop and stitch with ease.
To help you visualize each step, you can follow along with the embedded video above. Watching the video while reading the guide is very helpful because it shows the exact hand movements needed for the stitches. Since this is a larger project, seeing the scale of the bear in real-time will give you a better sense of how your Crochet Jumbo Gummy Bear Amigurumi should look as it comes together. Additionally, you can pause or rewind the video whenever you need to double-check your progress.
Skill Level / Level of Difficulty
The difficulty level for this project is Easy to Intermediate. While the stitches themselves are basic, working with jumbo chenille or velvet yarn requires a bit of patience. However, because the stitches are large, they are actually quite easy to see once you get the hang of it. Therefore, even if you are relatively new to the craft, you can successfully finish this Crochet Jumbo Gummy Bear Amigurumi by following the instructions carefully.
Tutor’s Suggestions
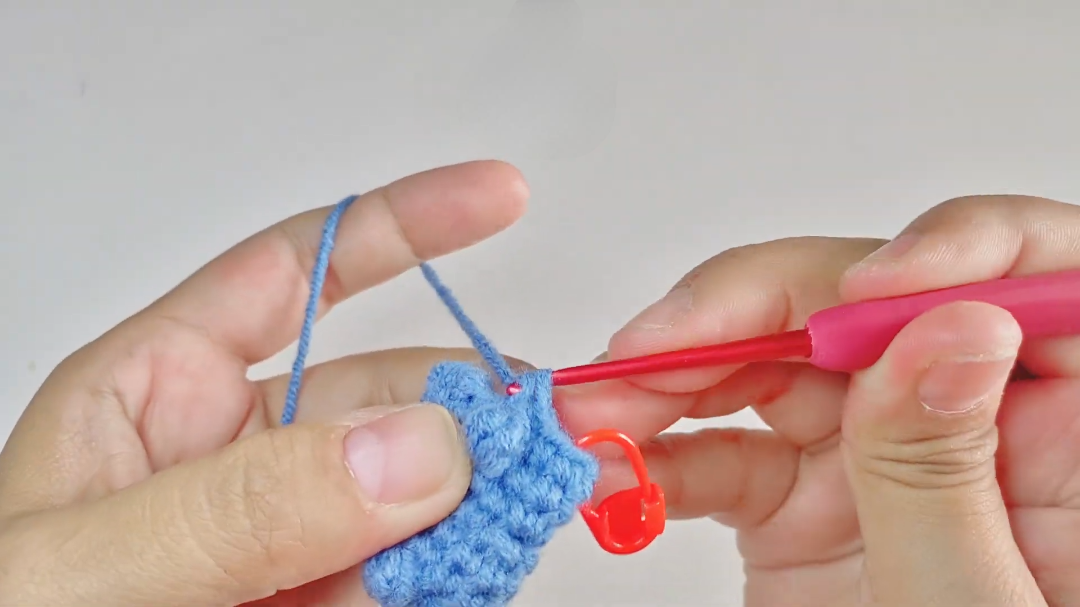
I highly suggest that you use a stitch marker at the beginning of every round. When you work with plush yarn, it can sometimes be difficult to find the exact first stitch of a circle. Moreover, make sure you don’t pull your yarn too tight because it can make the “gummy” look appear stiff instead of squishy. I also recommend using a high-quality polyester fiberfill to ensure your Crochet Jumbo Gummy Bear Amigurumi maintains its shape over time. Finally, try experimenting with different neon colors to make a whole rainbow of bears!
Material Needed
-
Super Bulky (Level 6 or 7) Chenille or Velvet Yarn in your choice of “gummy” color
-
8mm or 10mm Crochet Hook (depending on your yarn weight)
-
Two large black safety eyes (18mm to 24mm)
-
A small amount of black yarn for the nose
-
Large blunt yarn needle
-
Stitch markers and scissors
-
Plenty of high-quality stuffing
Step by Step Guide:
The Head and Body:
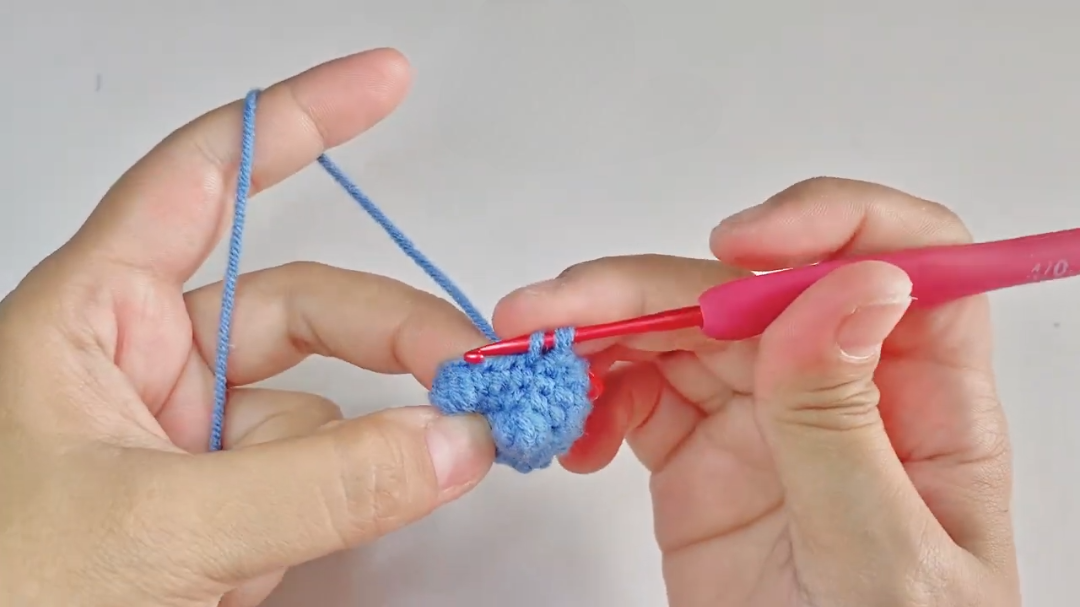
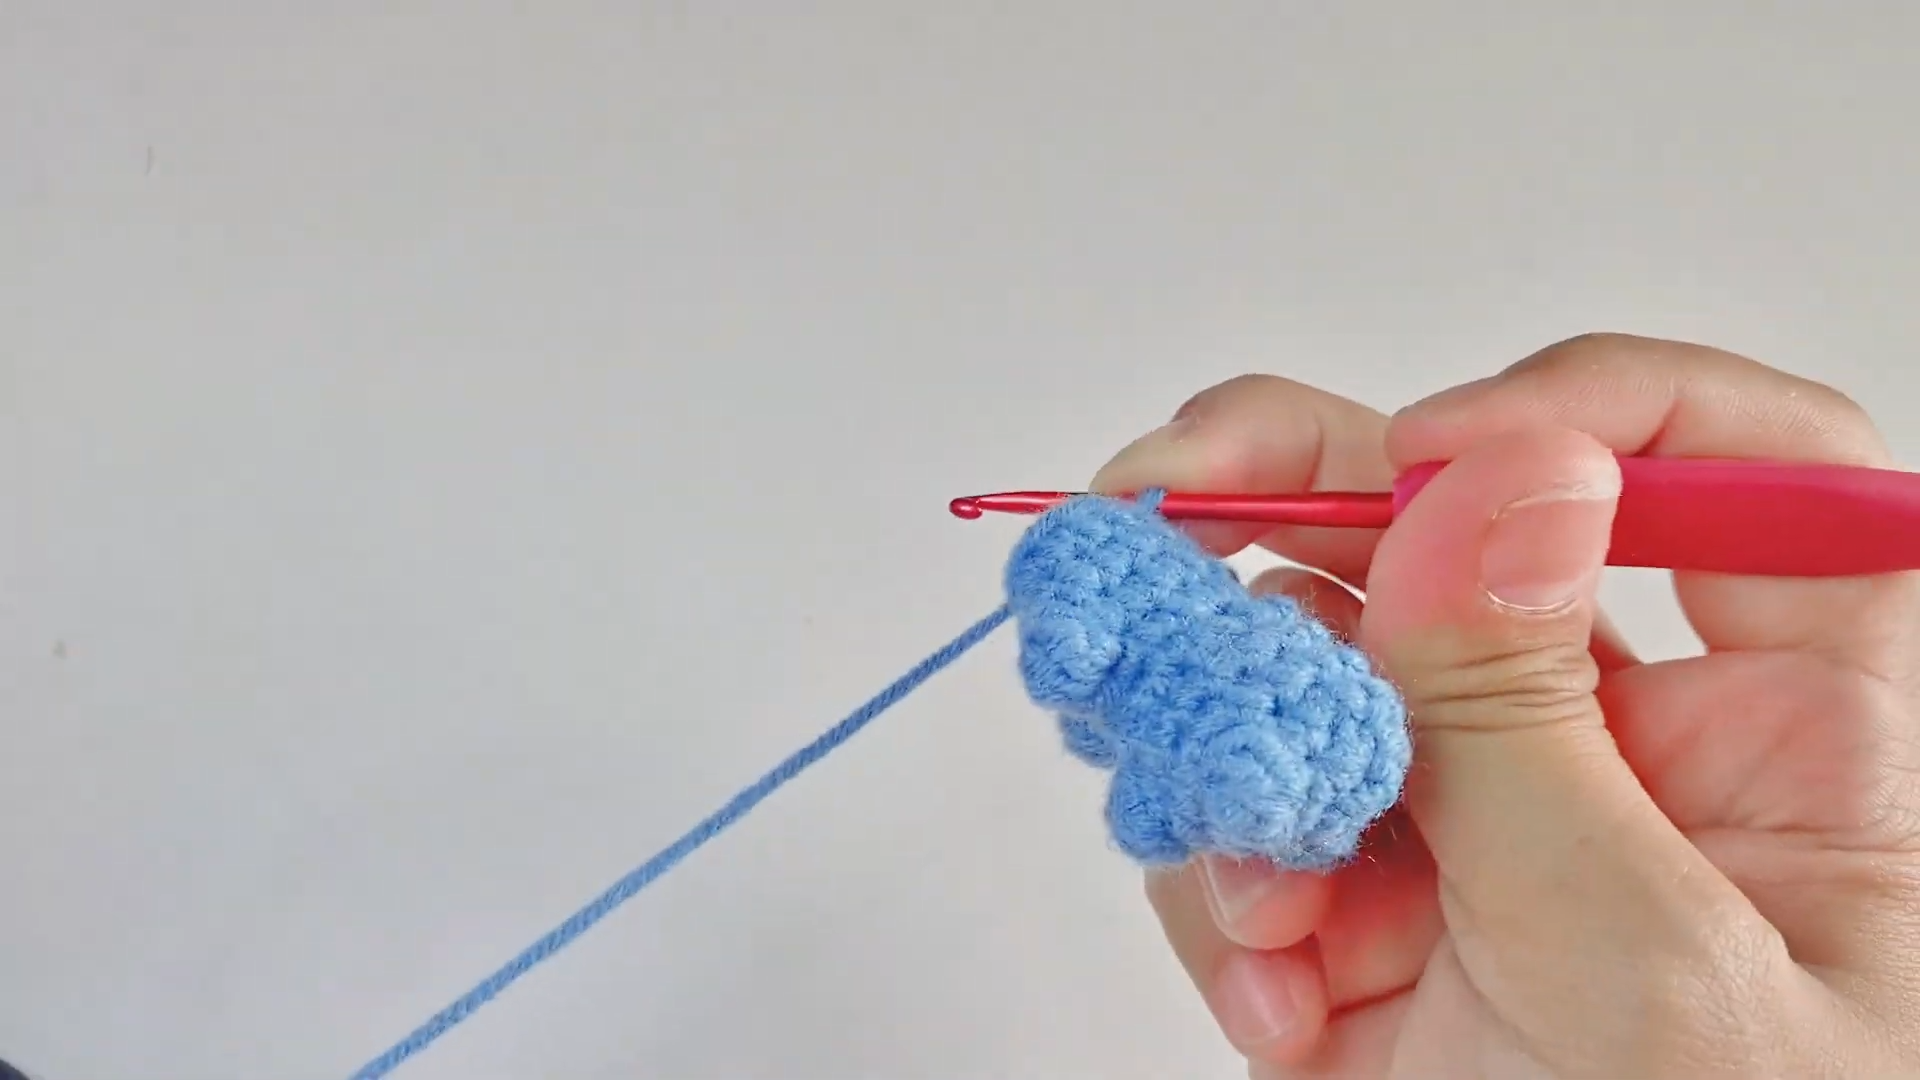
To begin your Crochet Jumbo Gummy Bear Amigurumi, start by creating a magic ring. Work 6 single crochets into the ring. In the next round, you should increase by one stitch until you have 12 stitches. Continue increasing systematically until the head reaches the desired width. Afterward, work several rounds of even single crochets to build the height of the head. Once the head is formed, you will begin the body by continuing the stitches downward.
The Ears:
For the iconic gummy bear look, the ears must be rounded. Create two small circles and sew them to the top of the head. Because the yarn is so thick, you only need a few rounds to achieve the perfect size. Make sure they are spaced evenly so your bear looks symmetrical.
The Limbs:
Next, you will create four identical “stumps” for the arms and legs. Start with a magic ring and work in a spiral. These should be short and chunky to match the “gummy” aesthetic. When you are ready, stuff them firmly before sewing them to the body. This ensures your Crochet Jumbo Gummy Bear Amigurumi can sit upright without falling over.
Assembly:
Insert the safety eyes between the rounds of the head before you close the body. Use your black yarn to embroider a simple “Y” shape for the nose and mouth. Finally, stuff the body completely and use your yarn needle to weave the end shut. Now, your giant bear is ready for cuddles!
Where We Can Use It
This oversized plushie is incredibly versatile. Firstly, it makes a fantastic decorative piece for a nursery or a bedroom. Because of its size, it can even serve as a small floor pillow for children while they read. Additionally, a Crochet Jumbo Gummy Bear Amigurumi is a show-stopping gift for birthdays, holidays, or baby showers. Since it looks like a giant piece of candy, it also works perfectly as a fun prop for themed parties or photo shoots.
Tips and Tricks
If you find that your stuffing is showing through the stitches, try using a slightly smaller hook. This creates a tighter fabric which is essential for amigurumi. Furthermore, when working with velvet yarn, the ends can sometimes shed. To prevent this, you can lightly singe the tip of the yarn with a lighter to seal the fibers. Another great tip is to use a scrap piece of contrasting yarn as a running stitch marker so you never lose your place in the rounds.
Common Mistakes
One frequent error is forgetting to stuff the limbs before sewing them on. If you wait until the end, it becomes much harder to get the stuffing into the small spaces. Another mistake is placing the eyes too high on the head. For a “cute” look, it is better to place the eyes lower and wider apart. Lastly, many people forget to secure their magic ring tightly. In a Crochet Jumbo Gummy Bear Amigurumi, a loose center can lead to a hole where stuffing might leak out later.
FAQs
Q: What is the best yarn for a gummy bear look?
A: You should use chenille, blanket, or velvet yarn. These materials have a slight sheen that mimics the surface of a real gummy bear.
Q: How big will the bear be?
A: Depending on your yarn and hook size, this bear usually stands between 15 to 20 inches tall.
Q: Can I wash my jumbo bear?
A: Yes, but you should hand-wash it in cold water and let it air dry to keep the yarn soft.
Q: Do I need to be an expert to do this?
A: Not at all! If you know how to do a single crochet and an increase, you can make this bear.
Q: How many skeins of yarn will I need?
A: Usually, two large skeins of super bulky yarn are enough to finish one Crochet Jumbo Gummy Bear Amigurumi.
Conclusion
In conclusion, creating a Crochet Jumbo Gummy Bear Amigurumi is a joyful project that results in a truly impressive finished product. By following this guide and using the video for reference, you can navigate the steps with confidence. Remember to keep your stitches consistent and have fun with your color choices. Once you finish your first bear, you will likely want to make a whole collection of them. Thank you for following along, and happy crocheting!