
There’s something truly magical about watching a simple strand of yarn transform into a little creature full of personality. The rhythmic loop of the hook, the soft texture of the yarn, and the slow unfolding of a handmade design create a sense of calm that few other crafts can match. Crochet connects heart and hand, turning imagination into something tangible a small, cozy world stitched one loop at a time.
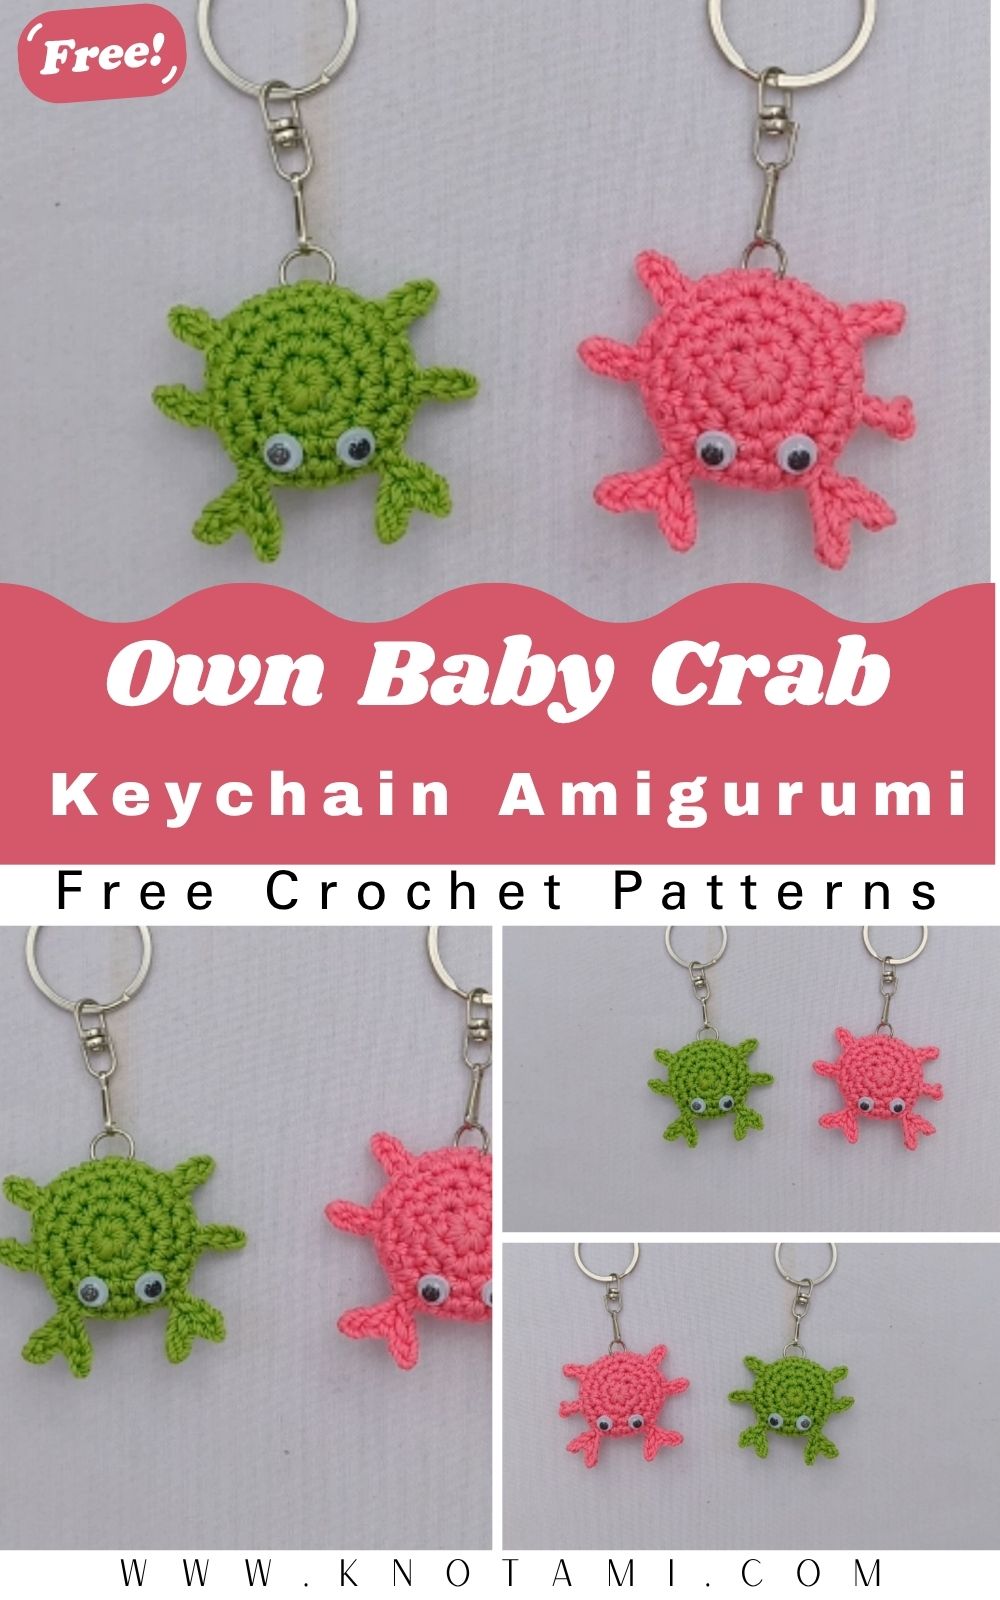
Among the many treasures in the crochet universe, the Crochet Own Baby Crab Keychain stands out as a symbol of joy and creativity. With its rounded shell, tiny claws, and cheerful expression, this mini sea creature captures the playful spirit of ocean life in the cutest way possible. Whether you hang it on your keys, backpack, or car mirror, this little crab adds a splash of handmade happiness wherever it goes.
This project is perfect for both beginners discovering amigurumi and advanced crocheters looking for a quick, satisfying make. It’s compact, colorful, and easy to customize. You’ll enjoy working through each part from shaping the body to attaching those tiny legs while learning helpful techniques that can apply to countless future projects.
Crocheting the baby crab is more than just following a pattern it’s an experience in mindfulness. The steady rhythm of each round feels meditative, while the final result brings a sense of accomplishment that only handmade art can deliver. Whether you’re crafting for relaxation, decoration, or gifting, this baby crab keychain is a delightful way to express creativity with every stitch.
Materials & Tools
Before diving into the fun, gather your supplies. You won’t need much, but having the right materials ensures neat, professional results.
Materials List:
-
Yarn: Cotton or acrylic yarn, weight #2 or #3 (sport or light worsted). Choose soft, non-fuzzy yarns for clarity in stitches.
-
Hook: 2.0 mm–2.5 mm crochet hook (adjust based on yarn thickness).
-
Stuffing: Polyester fiberfill or soft cotton stuffing.
-
Safety Eyes: 6–8 mm black plastic safety eyes.
-
Tapestry Needle: For sewing and weaving ends.
-
Scissors: Sharp craft scissors for trimming yarn.
-
Stitch Markers: To mark the start of each round.
Color Tips:
For a cheerful ocean-themed look, go with bright coral, sunset orange, or soft pink yarn for the crab body. A pale cream or sand-colored yarn works great for contrast details. For a fantasy twist, try pastel blues, lavenders, or even rainbow blends.
Yarn Advice:
Smooth-textured yarns (cotton or cotton blends) help your stitches stand out crisply. Avoid very fluffy or textured yarns they can hide stitch definition, making shaping harder for small amigurumi.
Step-by-Step Crochet Instructions
Follow these steps to bring your little crab to life! This section is written in plain English so both beginners and experienced crocheters can enjoy the process.
1. Making the Head
Start with a magic ring and crochet six single crochets (sc) inside. Pull tight to close the circle.
Continue increasing evenly in the next few rounds usually up to 24 stitches. This creates the round shape of the crab’s head and upper shell.
Stuff lightly as you go; too much stuffing early can distort the shape. Keep the tension even for a smooth dome.
Pro Tip: If your magic ring keeps loosening, wrap it twice around your fingers before starting to secure it firmly.
2. Forming the Neck and Upper Body
Once the head is formed, crochet one or two rounds without increasing. This narrows the shape slightly to transition into the body.
Use gentle tension; this section helps the crab look proportionate.
Add a bit more stuffing firm enough to hold its form but soft to touch.
Expert Note: Lightly massage the fiberfill between your fingers before inserting to keep it evenly distributed.
3. Building the Main Body
Continue working in the round to form the body.
Increase your stitches gradually until you have a slightly oval or spherical shape, depending on how plump you want your crab to be. After reaching the widest point, start decreasing symmetrically to close the body.
Before sealing completely, add the remaining stuffing. Adjust the filling by pinching and shaping the body from all sides for perfect balance.
Tip: Always check that both sides of your crab are even before closing. Small asymmetries become noticeable once the limbs are attached.
4. Shaping and Attaching the Base
The underside (base) can be created using flat rounds simply crochet a disc that fits snugly against the crab body. Sew or crochet it closed securely.
For a cuter design, you can slightly puff the base, adding dimension to the crab’s belly. Use whip stitches with a tapestry needle to attach the base seamlessly.
Pro Tip: Match your sewing yarn color to your base color this hides any visible seams beautifully.
5. Creating the Legs and Claws
Now for the fun part the crab’s signature features!
Each claw and leg is made separately with a small chain followed by single crochets back along it. For claws, crochet a small ball shape at the end of the chain to mimic a pincered look.
Attach two larger claws to the front and four to six smaller legs on each side. Use pins to position them before sewing so they sit symmetrically.
Expert Tip: Slightly angle the claws upward to give your crab a lively, waving pose!
6. Assembly and Positioning
Once all parts are crocheted and stuffed, sew them onto the body carefully.
Attach the eyes evenly spaced on the upper shell, either by using safety eyes or by embroidering cute black circles for a softer baby-toy look.
Use a tapestry needle to weave in all loose ends securely. If you’re making a keychain, attach a metal ring to the top center using sturdy yarn loops.
Tip: Add a tiny smile with embroidery thread to give your crab extra personality.
7. Adding Final Touches and Accessories
This is where your crab comes alive! Add tiny accessories like:
-
A mini bowtie or flower on its head
-
Sparkly beads or sequins for a festive look
-
Tiny blush spots using soft pink yarn or fabric paint
Every detail makes your crab more unique and full of charm.
Customization Ideas
Want to make your crab one-of-a-kind? Try these creative twists:
-
Color Variations: Experiment with bright tropical shades aqua, mint, peach, or coral. For a fantasy theme, try galaxy purple with glitter yarn.
-
Yarn Types: Use velvet yarn for a soft, squishy look or metallic threads for a shimmery sea-creature finish.
-
Themed Versions:
-
Holiday Crab: Red and green with a Santa hat.
-
Beach Crab: Sandy beige with a seashell accessory.
-
Rainbow Crab: Multi-colored yarn for cheerful vibes.
-
-
Add-Ons: A mini scarf, hat, or even sunglasses can turn your plushie into a little character!
Customization is the heart of crochet let your imagination lead the way.
Advanced Tips & Troubleshooting
Here are expert techniques to help you perfect your amigurumi skills:
-
Invisible Decrease: Insert the hook under the front loops of two stitches, yarn over, and pull through both hides decrease gaps.
-
Even Stitch Tension: Relax your hands and maintain consistent movement. Switching tension mid-project changes shape.
-
Prevent Round Twists: Use stitch markers to identify your first stitch in every round.
-
Fix Uneven Shapes: Add or remove a round where needed before assembly minor adjustments make major differences.
-
Balanced Stuffing: Fill slowly and evenly. Overstuffing causes bumps; under-stuffing leads to saggy shapes.
-
Seamless Joining: Use invisible whip stitch or mattress stitch for clean, professional finishes.
-
Eye Placement Precision: Pin both eyes before attaching symmetry enhances cuteness.
-
Pattern Reading: Learn common abbreviations like sc (single crochet), inc (increase), dec (decrease), sl st (slip stitch).
-
Color Changes: Carry yarn neatly inside the body to avoid visible lines.
-
Finishing Touch: Use a fabric brush to gently fluff the surface for a soft, polished look.
Care Instructions
To keep your crochet baby crab looking brand new:
-
Hand wash gently using mild detergent.
-
Rinse thoroughly and squeeze out water gently don’t twist or wring.
-
Air dry flat on a towel away from direct sunlight.
-
Avoid high heat or machine drying, as it may deform the shape.
-
For long-term storage, keep in a sealed box with a small lavender pouch to prevent moisture and odor.
These care habits help your handmade plush stay fresh, vibrant, and cuddly for years.
Display & Gift Ideas
Your adorable crab keychain isn’t just a toy it’s a versatile piece of handmade art!
Here are creative ways to display or gift it:
-
Home Décor: Hang on wall hooks, in glass jars, or on beach-themed shelves.
-
Kid’s Room: Perfect bedside companion or bag charm.
-
Office Desk Buddy: Brighten your workspace with a splash of sea energy.
-
Holiday Ornament: Add a loop of metallic thread for a cute Christmas tree charm.
-
Gifts: Wrap it in a kraft box with a handwritten tag saying, “Made with Love and a Little Ocean Magic.”
The charm of this project lies in its versatility every setting feels happier with this smiling crab around.
Benefits of Crocheting a Baby Crab Keychain
Crafting this crab isn’t just fun it’s good for the soul! Here’s why:
-
Relaxation & Mindfulness: Repetitive motions soothe your mind, promoting calm and focus.
-
Stress Relief: The rhythmic stitching lowers anxiety and enhances emotional well-being.
-
Sense of Accomplishment: Finishing a cute piece gives instant confidence and happiness.
-
Eco-Friendly Gifting: Handmade items reduce waste and promote sustainable creativity.
-
Emotional Connection: Giving something made by hand builds heartfelt bonds.
-
Skill Building: You’ll learn shaping, color blending, and assembly great for advancing your crochet journey.
Each finished crab becomes a reminder of creativity, patience, and personal joy.
Photography & Social Media Tips
If you want to share your adorable creation online (and you should!), here are ways to make it shine:
-
Natural Light: Photograph near a window for soft, even lighting.
-
Clean Backgrounds: Use white, beige, or pale blue for ocean vibes.
-
Props: Add seashells, sand, or small yarn balls for a storybook effect.
-
Angles: Capture top-down and close-up shots of stitches to showcase texture.
-
Editing: Adjust brightness and contrast slightly keep it realistic.
A well-shot photo can inspire others and show off your artistry beautifully.
Conclusion
Creating the Crochet Own Baby Crab Keychain is more than crafting a toy it’s crafting joy itself. From the first loop to the final stitch, you’re breathing life into a little sea creature that carries your creativity wherever it goes.
Each crab tells a story of patience, imagination, and the magic that happens when yarn meets love. Whether you make it for yourself, for a friend, or for a little one who adores ocean life, this tiny handmade crab will always remind you that beauty begins in the hands of the maker.
So pick up your yarn, let your hook dance, and make your own ocean friend one cheerful stitch at a time.