
Making tiny crochet projects is a great way to learn fast and feel proud. This easy crochet bunny keychain is small, cute, and quick to finish. If you want an Easter amigurumi pattern, this guide will help you start today.
This creative project’s crochet bunny is perfect for a quick project that still looks special. In this beginner amigurumi tutorial, you will learn the basic flow from shaping the head to adding ears and a keyring. The finished handmade Easter keychain is light to carry and fun to gift. If you are searching for a crochet bunny for beginners, you can follow these simple steps and make your own in one sitting.
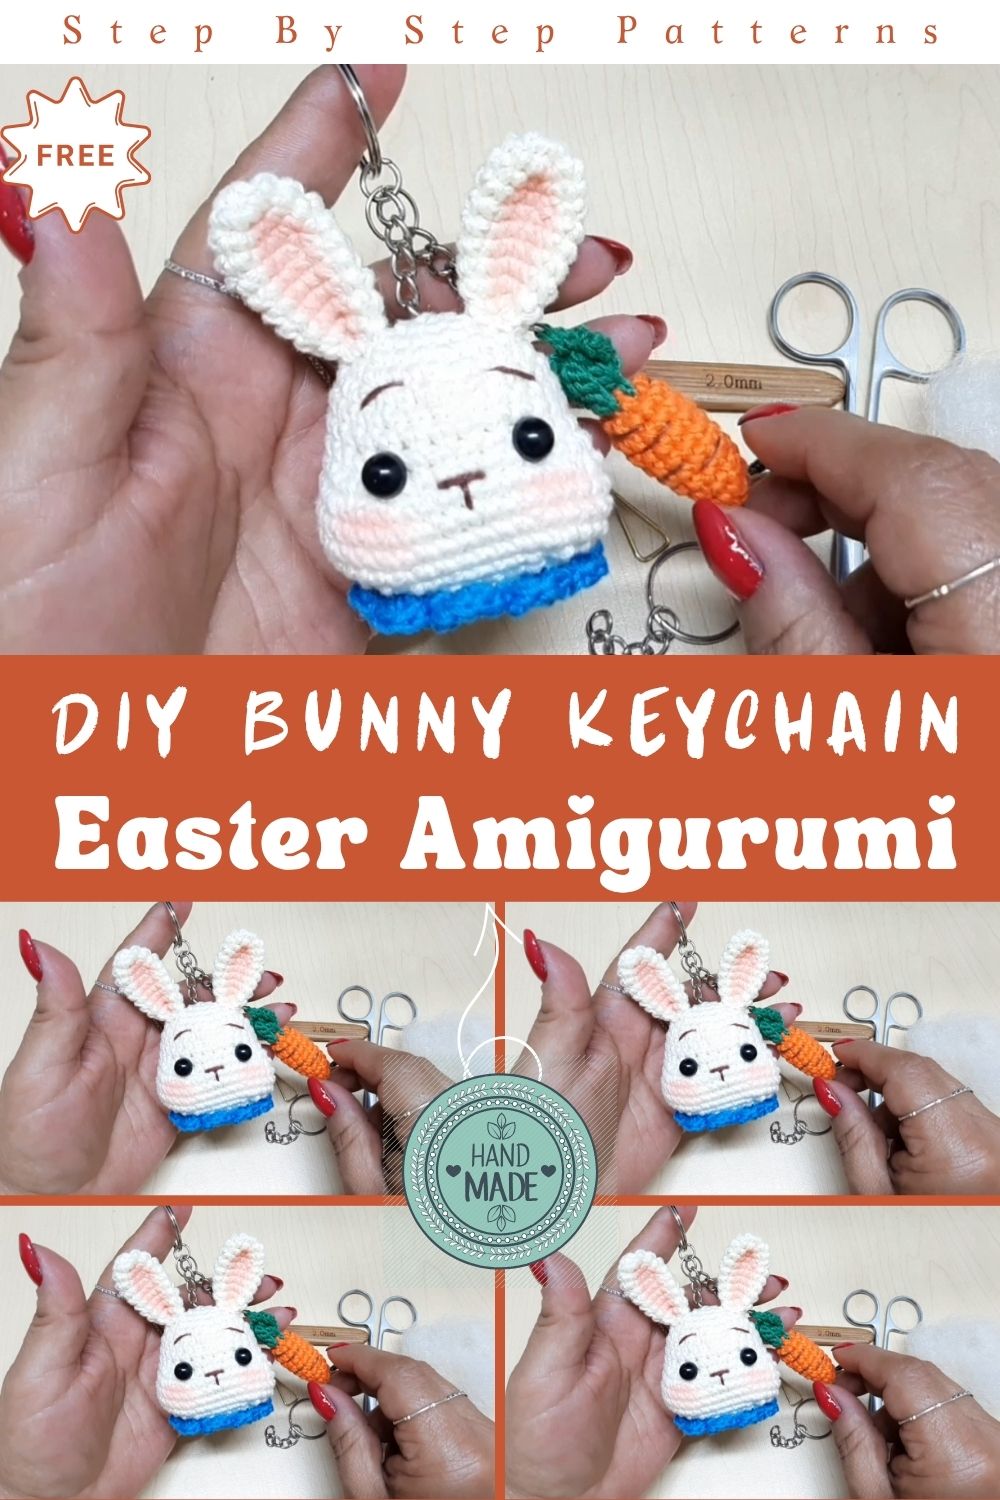
DIY Crochet Bunny Keychain Easter Amigurumi for Starter-level Guide
What Is Easter Amigurumi?
Easter amigurumi is a style of crocheted stuffed toys made for spring themes. Think bunnies, chicks, eggs, and pastel colors. These projects are usually small, so they are less scary for starters. Also, they are perfect for decor, baskets, and quick gifts.
For this project, we are making a crochet bunny keychain Easter amigurumi that you can attach to keys, backpacks, or a purse.
Why This Crochet Bunny Keychain Is Great for Beginners
A bunny keychain is a smart first amigurumi because it is:
- Cute: The long ears and tiny face look sweet, even with simple stitches.
- Small: You do not need much yarn or time.
- Practical: You can actually use it every day.
- Gift-worthy: It fits perfectly in Easter baskets, party favors, or little thank-you gifts.
Because the shape is simple, a crochet bunny keychain Easter amigurumi lets you practice the basics without doing a big, complicated toy.
Materials Needed
Here is a simple checklist before you start:
- Yarn (cotton or acrylic; spring colors work great)
- Crochet hook (match your yarn; often 2.5–4.0 mm for keychain size)
- Stuffing (fiberfill)
- Safety eyes (small size) or black thread/yarn for embroidered eyes
- Keychain ring or lobster clasp
- Yarn needle (for sewing and weaving ends)
- Scissors
- Stitch marker (optional but helpful)
- Basic accessories (optional): blush/pink thread, small bow, mini ribbon, tiny bell
Tip: Cotton yarn is a good choice for keychains because it holds its shape well and withstands daily use.
Step-by-Step Guide to Make a Crochet Bunny Keychain
This is an original, beginner-friendly overview of the usual process. It is not copied from the video. The exact stitch counts can vary, but the steps stay very similar for most small amigurumi keychains.
Step 1 – Create the Base Shape
Start by crocheting a small round piece for the bunny’s head (or head-and-body in one piece). Most starters use:
- a magic ring (or a chain-2 start),
- single crochet in the round,
- a few increase rounds to grow the circle.
Then you crochet a few even rounds to build height. Keep the stitches tight because tight stitches make your keychain look neat and help hide the stuffing.
Step 2 – Build the Bunny Face
Before closing the head, plan the face placement. You can:
- insert safety eyes between two rounds, or
- stitch simple eyes with black yarn.
Next, lightly stuff the head. Then decrease the rounds to close the shape. If you want a “chubby” bunny look, add a touch more stuffing. If you want a flatter keychain style, stuff less.
For a cute finish, stitch a tiny nose and a short mouth line.
Step 3 – Make the Long Ears
Crochet two long ears separately. Beginner-friendly ears are usually made by:
- chaining a short length,
- working back along the chain,
- shaping the ear with small increases or a rounded end,
- then closing or leave it slightly flat.
Make both ears the same size, then sew them onto the top of the head. Also, try folding the ear base slightly before sewing if you like a more “real bunny” look.
Step 4 – Add Small Details
This is where your crochet bunny keychain Easter amigurumi becomes personal. You can add:
- blush cheeks (a tiny bit of pink thread),
- a mini bow under the chin,
- a small tail puff at the back,
- a scarf in pastel yarn.
Keep details simple if you are new. One small bow can make a big difference.
Step 5 – Attach the Keychain Ring
You have a few easy options:
- Crochet a small strap/loop at the top of the head, then slide the keyring on.
- Sew a strong yarn loop and knot it firmly, then attach the ring.
- Add a jump ring through a stitched loop for extra strength.
Because keychains get pulled often, double-knot and weave in ends well.
Step 6 – Final Shaping and Finishing
Now do a quick “quality check”:
- Press the head gently to shape it round and smooth.
- Check that both ears sit evenly.
- Tug lightly on the keychain ring to confirm it is secure.
- Trim any fuzzy ends and weave in remaining yarn tails.
Your crochet bunny keychain Easter amigurumi is now ready to use or gift.
Tips for Starter-Level Crochet Learners
These small tips can save a lot of time and frustration:
- Use a stitch marker so you do not lose track of rounds.
- Count your stitches at the end of each round to keep the shape even.
- Choose a smooth, light-colored yarn for your first bunny so you can see stitches.
- Stuff slowly in small pieces to avoid lumps.
- If gaps appear, switch to a slightly smaller hook.
Also, take a quick pause after each part: head, ears, and finish. Small breaks help you spot mistakes early.
Common Mistakes to Avoid
Beginners often run into the same issues. Here’s how to avoid them:
- Loose stitches showing stuffing: Use a smaller hook and keep tension steady.
- Crooked face: Mark eye spots with pins or scrap yarn before sewing or inserting eyes.
- Ears not matching: Count rows and compare ear length before attaching.
- Keyring coming loose: Use strong yarn, double-knot, and stitch through multiple points.
- Overstuffing: Too much stuffing can stretch stitches and change the shape.
If something looks off, don’t panic. Unpick a few stitches and redo that part. It’s normal when learning.
Why Handmade Bunny Keychains Are So Popular
Handmade bunny keychains are loved for many reasons:
- Emotional value: People can feel the care you put into it.
- Seasonal charm: Bunnies are a perfect symbol of Easter and spring.
- Easy gifting: They are small, affordable, and adorable.
- Decor and style: They look cute on bags, pencil cases, and car mirrors.
- Collectible fun: Once you make one, you may want a whole set in different colors.
Also, a crochet bunny keychain Easter amigurumi is a great craft-fair item because it’s quick to make and easy to display.
Conclusion
A bunny keychain is one of the sweetest starter projects you can crochet. This crochet bunny keychain Easter amigurumi keeps things simple while still looking special and handmade. With basic supplies, a little patience, and neat finishing, you can create a cute keepsake or a thoughtful Easter gift. Start with one bunny, then try different colors and tiny accessories as you grow your skills.
FAQs
Is this bunny keychain good for beginners?
Yes. It is small, uses basic stitches, and finishes quickly, which makes it ideal for starter-level learners.
What yarn is best for amigurumi keychains?
Cotton yarn is great because it holds shape and stays neat. Worsted-weight or DK-weight yarn also works well for beginners.
Can I make this without safety eyes?
Yes. You can embroider the eyes with black yarn or thread. This is also safer if the keychain is for kids.
How long does it take to complete?
Many beginners finish one in about 1–3 hours, depending on sewing time and details.
Is this a good Easter gift idea?
Absolutely. A handmade Easter keychain is cute, practical, and easy to add to baskets, cards, or small gift bags.