Free Crochet Bunny Box Amigurumi Pattern
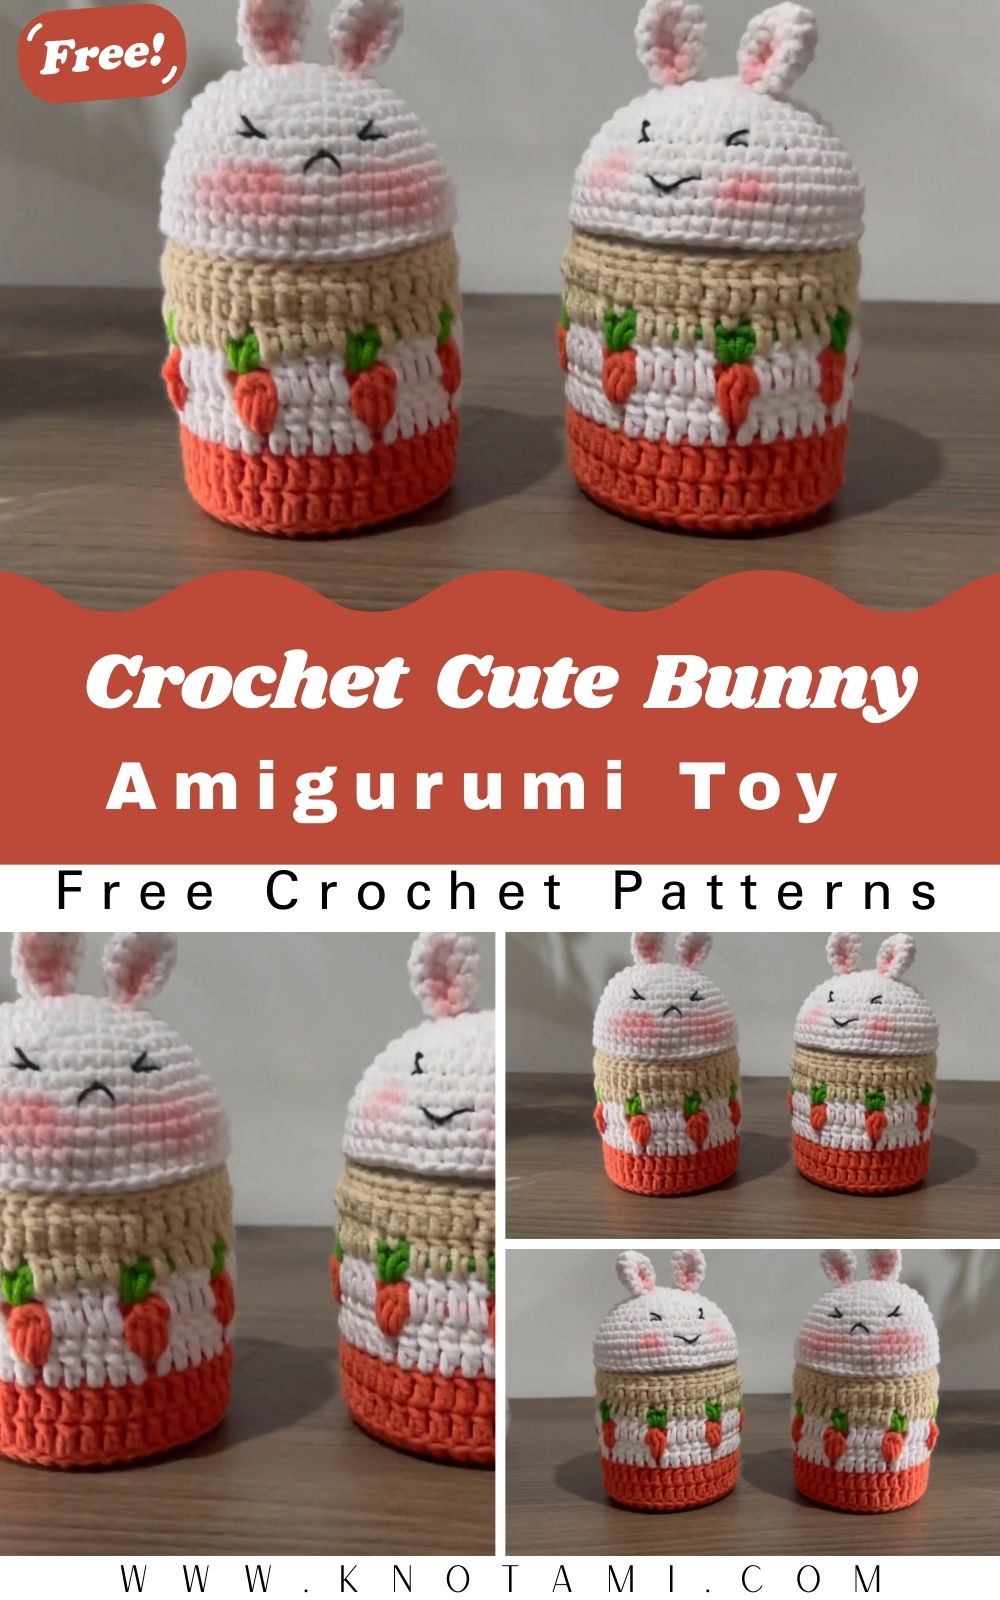
This crochet bunny box amigurumi pattern gives a recycled box a sweet makeover. A soft crochet cover wraps around the container, a row of little carrots circles the sides, and a plush bunny head sits on the lid. The result is cute home decor that still works as storage.
The pattern uses basic stitches and a container you already have, so an old box gets a useful second life. Use it to tidy a desk, hold hair clips or jewellery, or give it to a friend who loves handmade decor.
Materials
- A recycled container with a lid: This gives the finished piece its shape and structure.
- Yarn: A firm, tightly plied cotton or cotton-blend yarn in your base color, plus white, orange, and green. Soft plush or chenille yarn tends to stretch, so cotton is the better choice here.
- Black thread or yarn: For embroidering the eyes and nose.
- Crochet hook: About one size smaller than your yarn label recommends. Tighter stitches close gaps and help the cover fit snugly.
- Fiberfill stuffing: For padding the bunny head on the lid.
- Glue: For securing the bunny head to the lid.
- Tools: Stitch markers, a yarn needle, and scissors.
Abbreviations (US Terms)
- ch – chain
- sc – single crochet
- dc – double crochet
- inc – increase (2 stitches in the same stitch)
- BLO – back loop only
- sl st – slip stitch
- st(s) – stitch(es)
Choosing the Right Box or Jar
Because the crochet cover is shaped around your container, the box you pick decides the final size. A round container is the easiest match, since the base is worked as a circle. Make sure it has a lid for the bunny head, and measure the base diameter and the height before you start so you know when to stop increasing and how tall to make the sides.
Before You Start
Keep a stitch marker in the first stitch of every round. The side rounds have no shaping, so it’s easy to lose your place and drift off count.
Crochet a little tighter than usual. A snug fabric covers the container neatly without gaps, and it holds the carrot details in place.
How to Crochet the Bunny Box
Crochet the Base and Sides
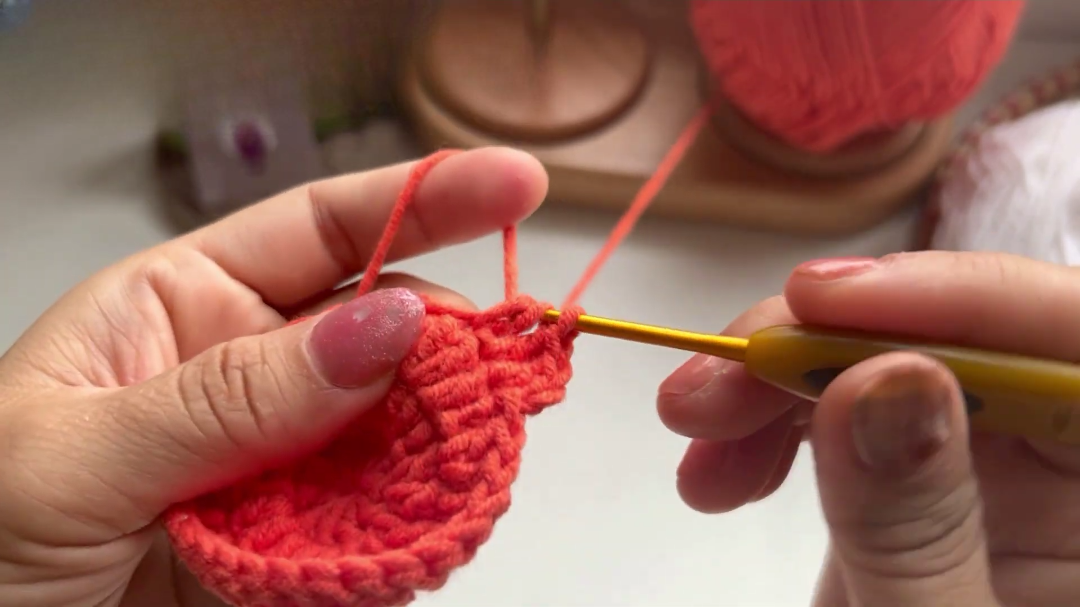
- Round 1: Make a magic ring with your base color. Chain 2 (this does not count as a stitch) and work 10 dc into the ring. (10 sts)
- Round 2: Work 2 dc in each stitch around. (20 sts)
- Round 3: *1 dc, inc* around. (30 sts)
- Following rounds: Keep increasing evenly until the circle matches the base of your container. Lay the piece flat as you go. If it cups like a bowl, you need more increases; if the edge ruffles, use fewer on the next round.
- Turning round: Work one round of dc in the back loop only. This creates a sharp edge that lets the crochet turn upward and hug the sides of the box.
- Sides: Work several rounds of regular dc with no increases until you reach the middle section, where the carrot pattern begins.
Add the Carrot Row
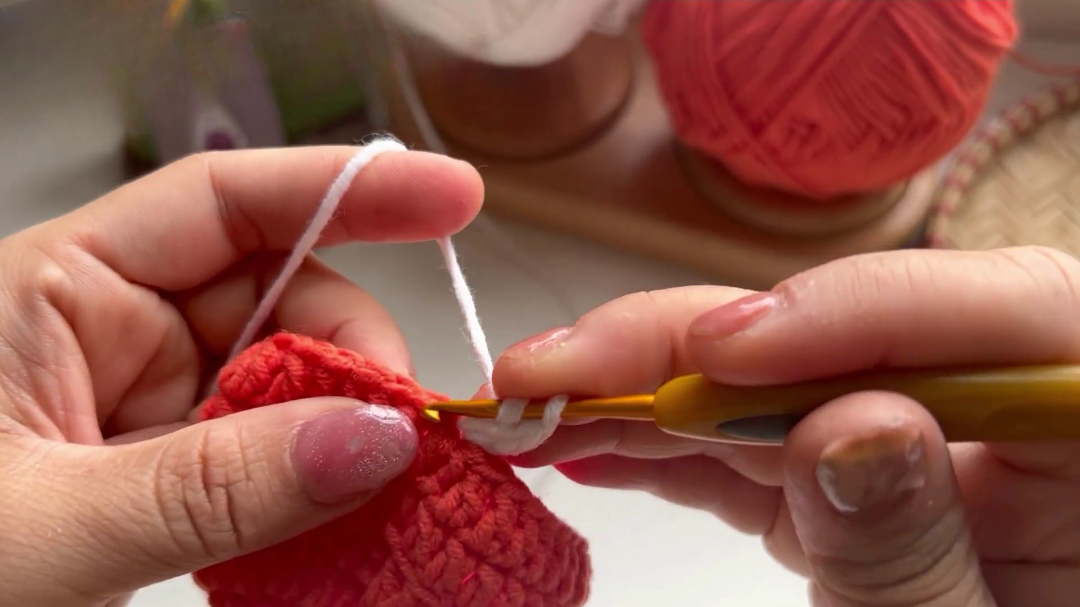
- White round: Switch to white yarn and work one round of dc.
- Carrots: Switch to orange yarn. Work 4-dc clusters (bobble-like stitches) separated by chains to form the carrot shapes.
- Carrot tops: Switch to green yarn. Work small chain loops and single crochets into the tops of the orange clusters to look like leafy carrot tops.
- Finish the sides: Switch back to white and work rounds of dc or sc until the full height of the container is covered.
Step 3: Crochet the Bunny Head Lid
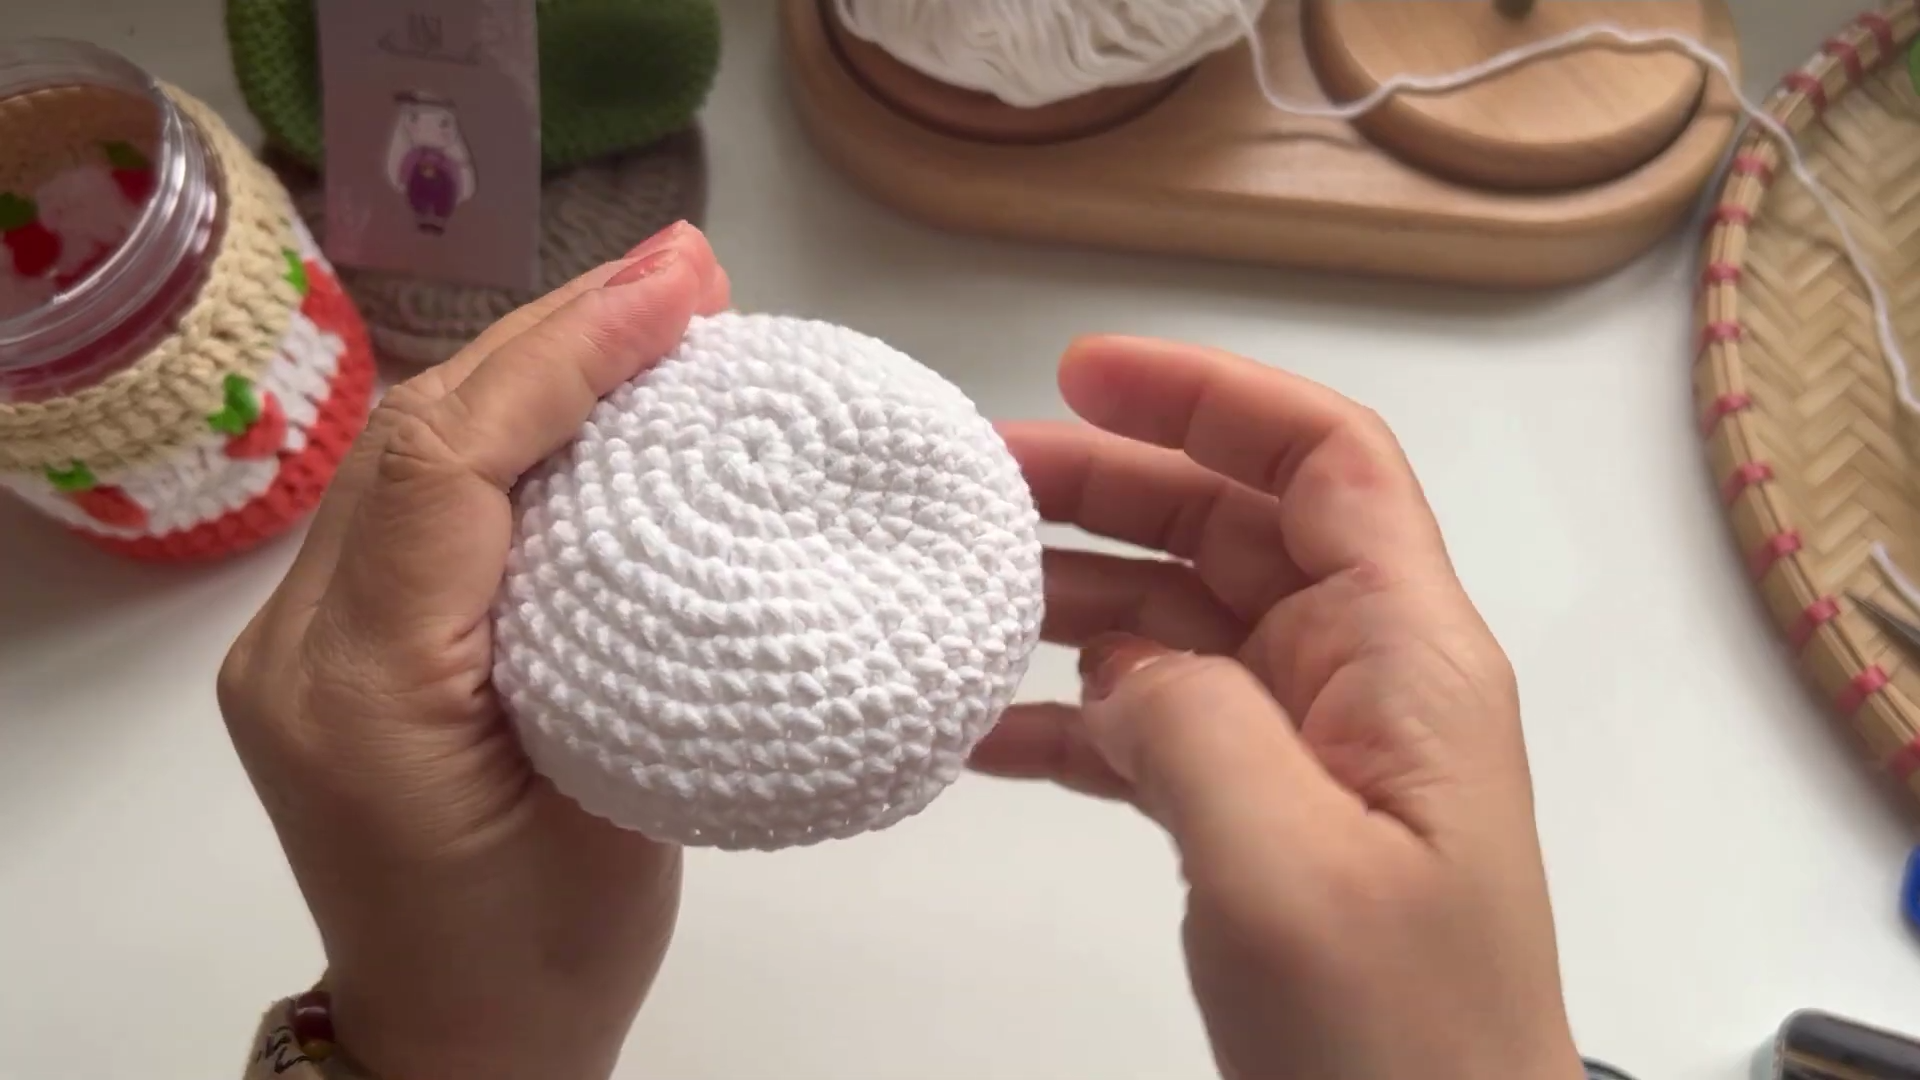
- Dome: With white yarn, work 8 sc in a magic ring. Increase evenly each round, going from 8 to 16, 24, 32, and 40 stitches, until the piece fits the top of your lid.
- Side walls: Work a few rounds without increasing to form a cap that fits over the lid.
- Stuff and attach: Place fiberfill between the crochet cap and the lid to give the bunny head a soft, plush feel, then glue the cap down securely.
Step 4: Make the Ears and Face
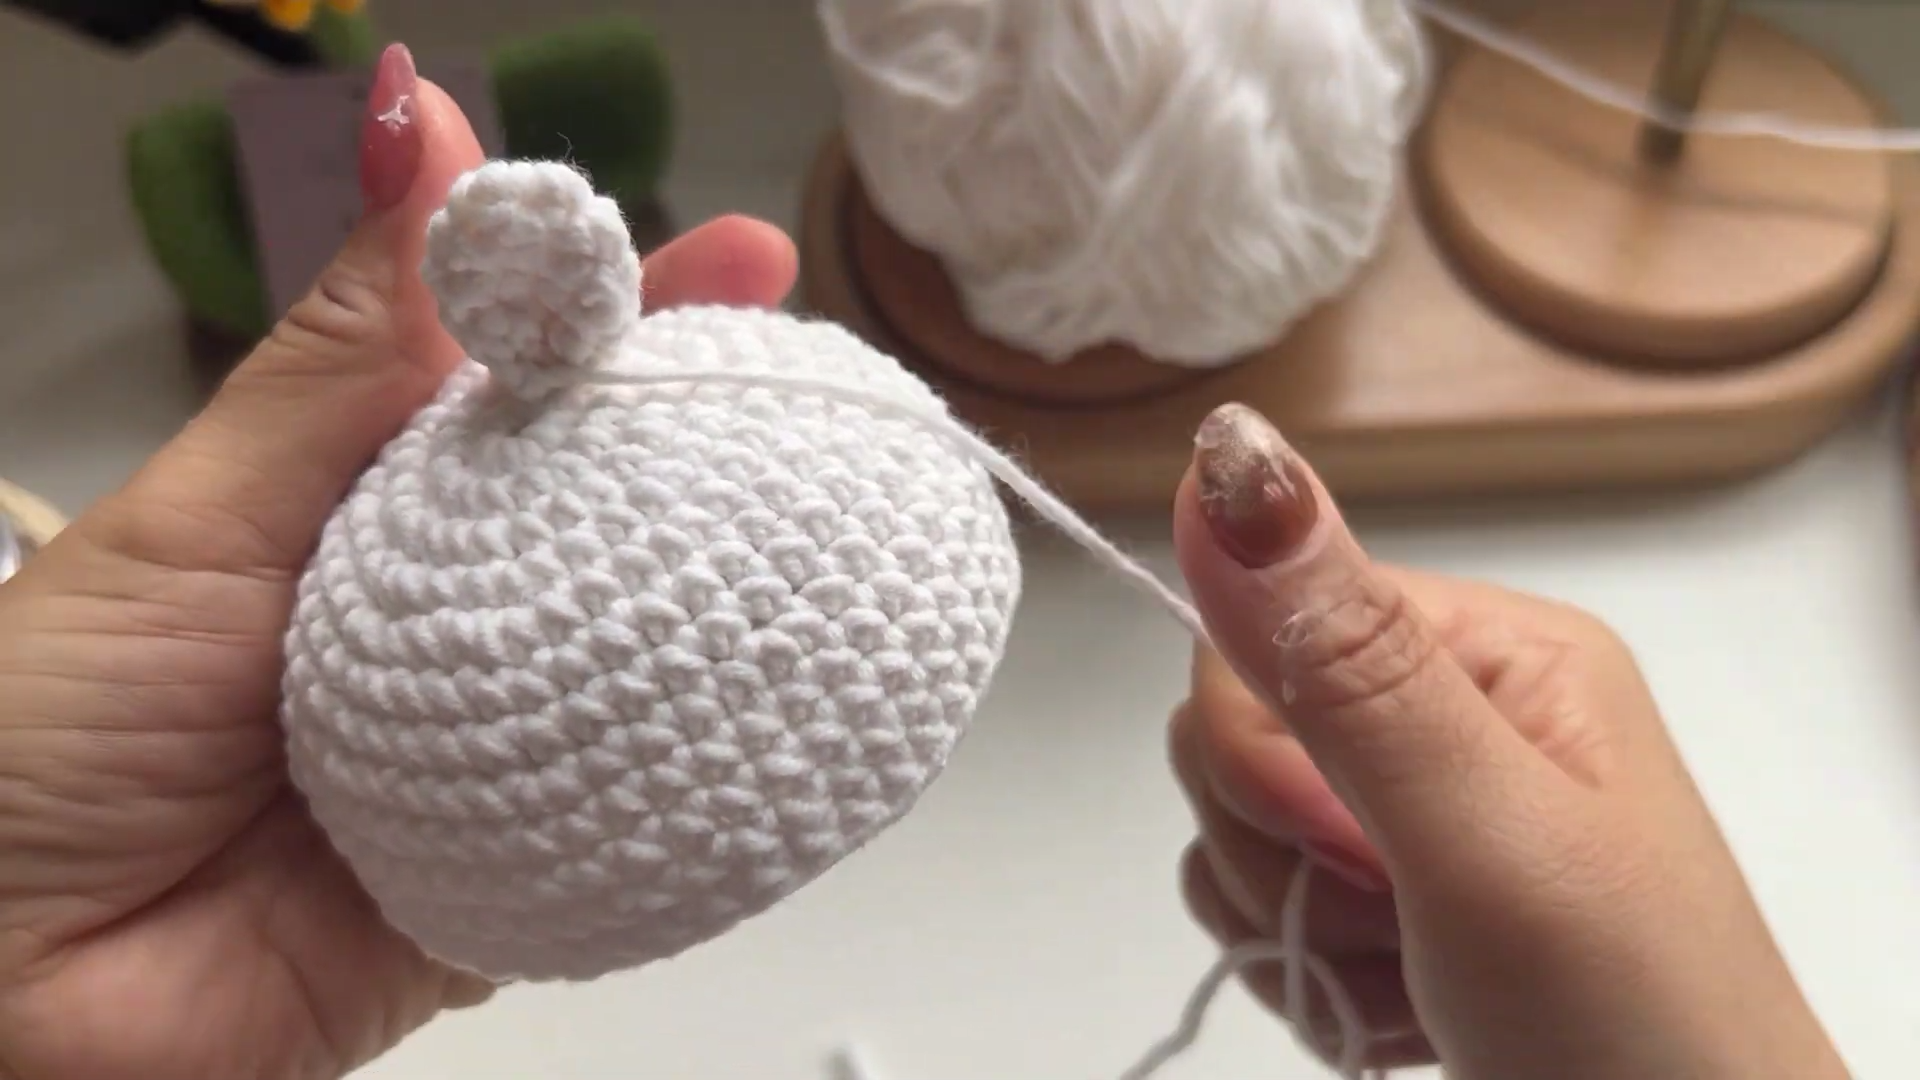
- Ears (make 2): Work 5 sc in a magic ring, then increase to 10 sc. Work several rounds evenly to make a long oval. Flatten each ear and sew it to the top of the head.
- Face: With black thread, embroider “V” shapes for sleepy closed eyes and a small “Y” shape for the nose.
Tip: Before embroidering, mark the center of the face with a scrap of contrast thread and count stitches out from it on each side. Even a one-stitch difference can make the face look lopsided.
Video Tutorial
Common Mistakes to Avoid
- Uneven base increases: Irregular increase spacing makes the base wobble. Spread increases evenly rather than adding random extra stitches.
- Loose side rounds: Working the sides looser than the base makes the cover flare outward instead of hugging the container.
- Skipping stitch markers: Long plain rounds make it easy to gain or lose a stitch without noticing.
- Rushing the face: Embroidering without checking placement often leaves the face off-center, and it’s hard to fix afterward.
Color and Gift Ideas
Changing the base color is the easiest way to make each box look different without changing the construction. Pastel pink, gray, and cream all work well for shelf or nursery decor.
For a gift set, pair a bunny box with a smaller one made on a smaller container, perfect for cotton balls or hair ties. Add a crochet bunny keychain for a matching bunny-themed bundle. If you enjoy covering everyday containers, the crochet sloth planter pattern is another fun project to try.
Care Instructions
Because the cover is fitted around a box and the lid is glued, don’t machine wash or soak it. Spot clean gently with a barely damp cloth, let it air dry, and dust it occasionally with a soft brush.
Frequently Asked Questions
What kind of box works best?
A round container with a lid is the easiest fit, since the base is crocheted as a circle. Measure it first so you know how wide to make the base and how tall to make the sides.
What yarn should I use if I don’t have cotton?
A tightly plied acrylic yarn can work as a substitute. Avoid very soft, stretchy yarns, which won’t hold a snug fit around the container.
How do I keep the bunny head from shifting on the lid?
Glue the crochet cap down securely after stuffing it. Adding the stuffing evenly also helps the head sit level.
What can I store in the bunny box?
It’s a handy home for small items like hair clips, jewelry, trinkets, cotton balls, or desk supplies.
Final Notes
This crochet bunny box amigurumi turns an ordinary container into cute, useful decor. Work the base and sides to fit your box, add the carrot row, and finish with the plush bunny head on the lid. Happy crocheting!