Cozy Crochet Sloth Planter Pattern for Plant Lovers
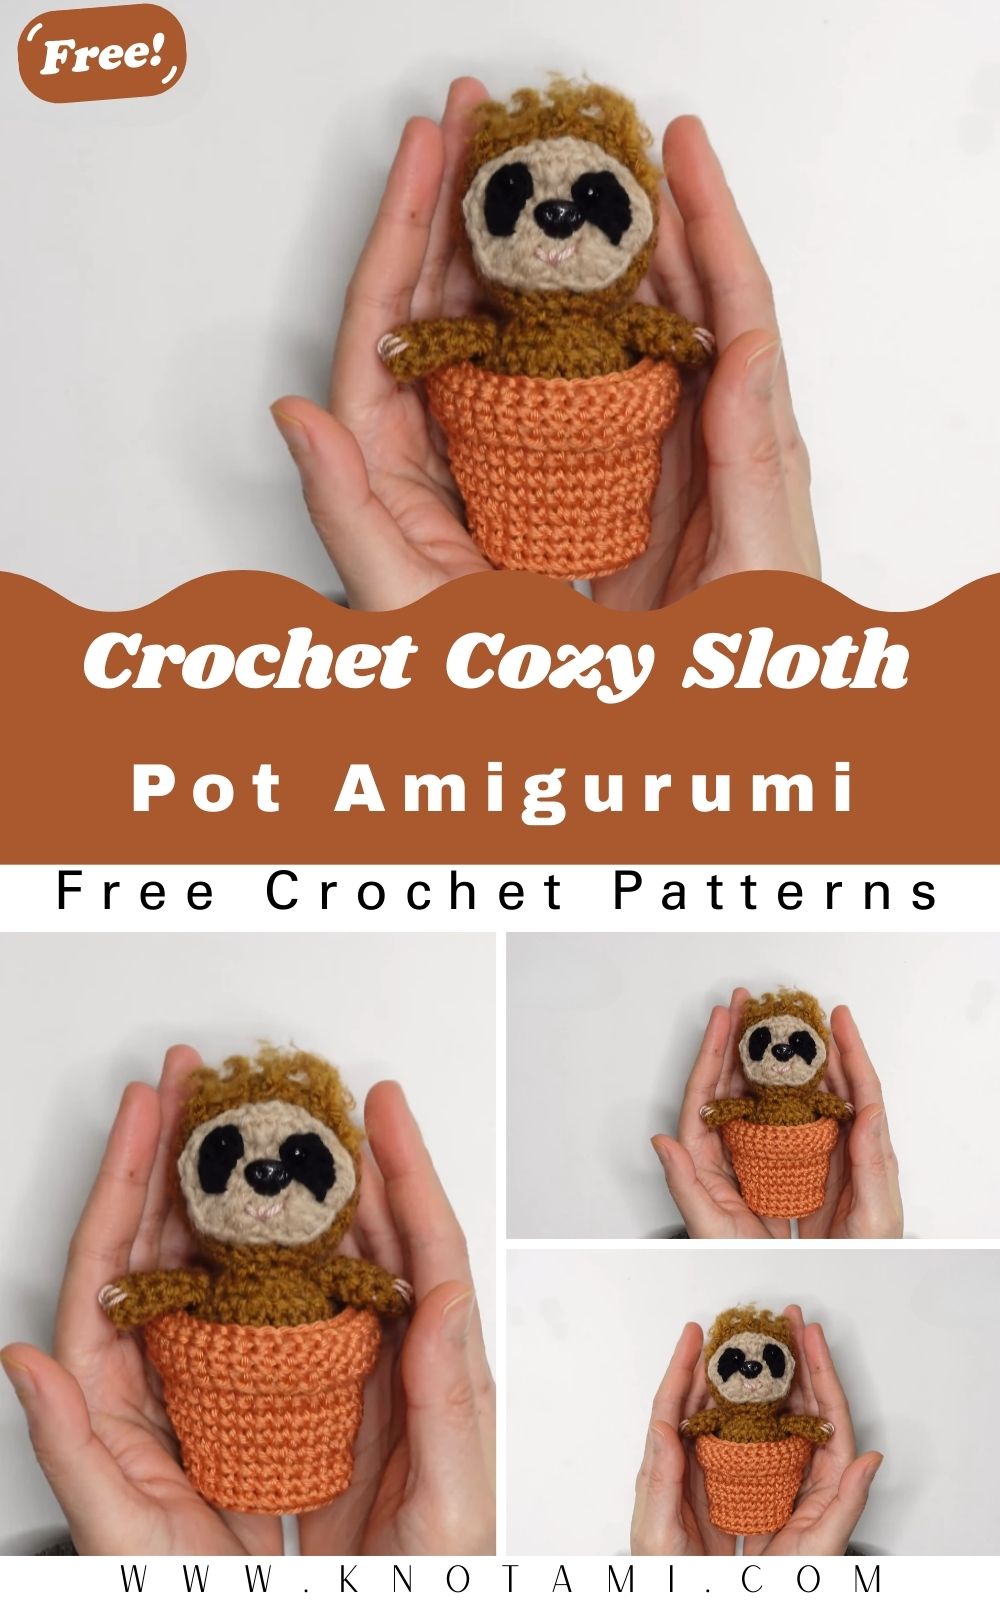
Soft brown yarn curls into a snug little pouch and this cozy crochet sloth planter pattern for plant lovers turns that pouch into a sleepy-faced friend for your favorite succulent. Two draping arms and a stitched smile finish the look.
A good planter cover has one job: hold a pot without sagging stretching or looking sloppy after a week. This sloth gets its charm from a proper fit, because the pouch is shaped around your real pot rather than a guessed size. It stays snug long after the yarn settles, and the arms hang naturally over the rim instead of sticking out stiffly.
Pattern Overview
- Construction: Worked in continuous spiral rounds. The pouch is shaped to fit a small nursery pot and left open and unstuffed.
- Sloth details: A lightly stuffed head with a cream face and dark eye patches, arms that drape over the rim, and short legs near the base
- Skill level: Advanced beginner
- Time: About 3 to 4 hours in total. Plan 1.5 to 2 hours for the pouch, 1 to 1.5 hours for the head and limbs, and 30 to 40 minutes for assembly.
Materials
- Yarn: Worsted weight (#4) in light brown, dark brown and cream. The pouch is worked with the yarn held double for structure.
- Hooks: 5.5 or 6 mm for the double-stranded pouch, and 4.0 mm for the small single-strand face pieces
- Stuffing: A small amount of fiberfill for the head and arms only
- Eyes: 6–8 mm safety eyes, or black embroidery thread
- Notions: Stitch markers, yarn needle, scissors, pins
- Pot: A plastic nursery pot about 2.5 to 3 inches across. Measure yours before you start.
Abbreviations
- MR – magic ring
- ch – chain
- sc – single crochet
- dc – double crochet
- sl st – slip stitch
- inc – increase (2 sts in the same stitch)
- dec – invisible decrease
- FO – fasten off
Before You Start
Measure your pot’s bottom, top and height first. A pouch made purely from a stitch chart rarely fits a real pot on the first try. Wrap a scrap of yarn around the widest part of the pot, mark it, and use it to check the pouch as it grows.
Keep your single crochet snug so the fabric holds its shape, and use invisible decreases. A firm pouch shows every gap along the rim.
Step-by-Step Sloth Planter Pattern
Step 1: Start the Pouch Base
With light brown held double and the larger hook:
- Rnd 1: 6 sc in MR (6). Place a marker in the first stitch of every round from here on.
- Rnd 2: inc in each st (12)
- Rnd 3: (sc, inc) around (18)
- Rnd 4: (sc 2, inc) around (24)
- Continue adding 6 stitches per round, with one more sc between increases each time, until the flat base matches the bottom of your pot.

Step 2: Build the Pouch Walls and Rim
Once the base matches the pot, stop increasing. Work sc in each stitch, round after round, until the pouch reaches the height of the pot. Press a finger against the wall now and then. It should resist without stretching thin.
Tip: Slide the actual pot inside every 4 to 5 rounds instead of waiting until the end. Catching a tight or loose fit early saves unraveling a nearly finished pouch.
For a clean rim, work one more round of sc, then sl st into the next stitch and fasten off. Weave in the end.
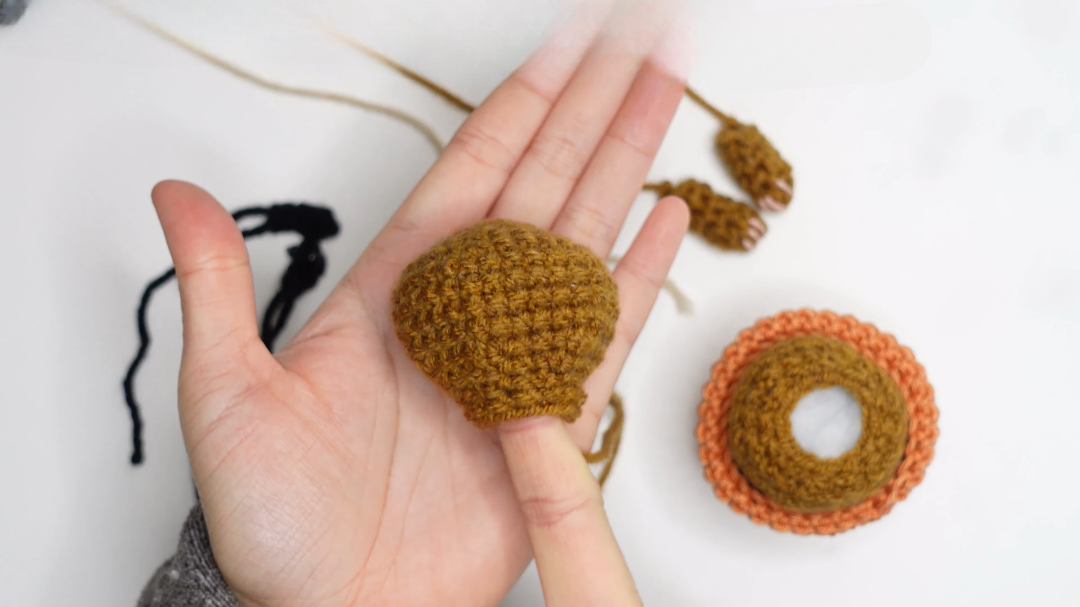
Step 3: Make the Face Patch
With cream yarn and the 4.0 mm hook, make a magic ring, ch 1 and work 12 sc into it. Pull it tight.
In Round 2, shape the circle into an oval by working the increases at the two ends. Use a sc increase and then dc increases on each end, with plain sc along the sides, for a total of 24 stitches. Follow the video for the exact order of stitches. Fasten off with a long tail for sewing.
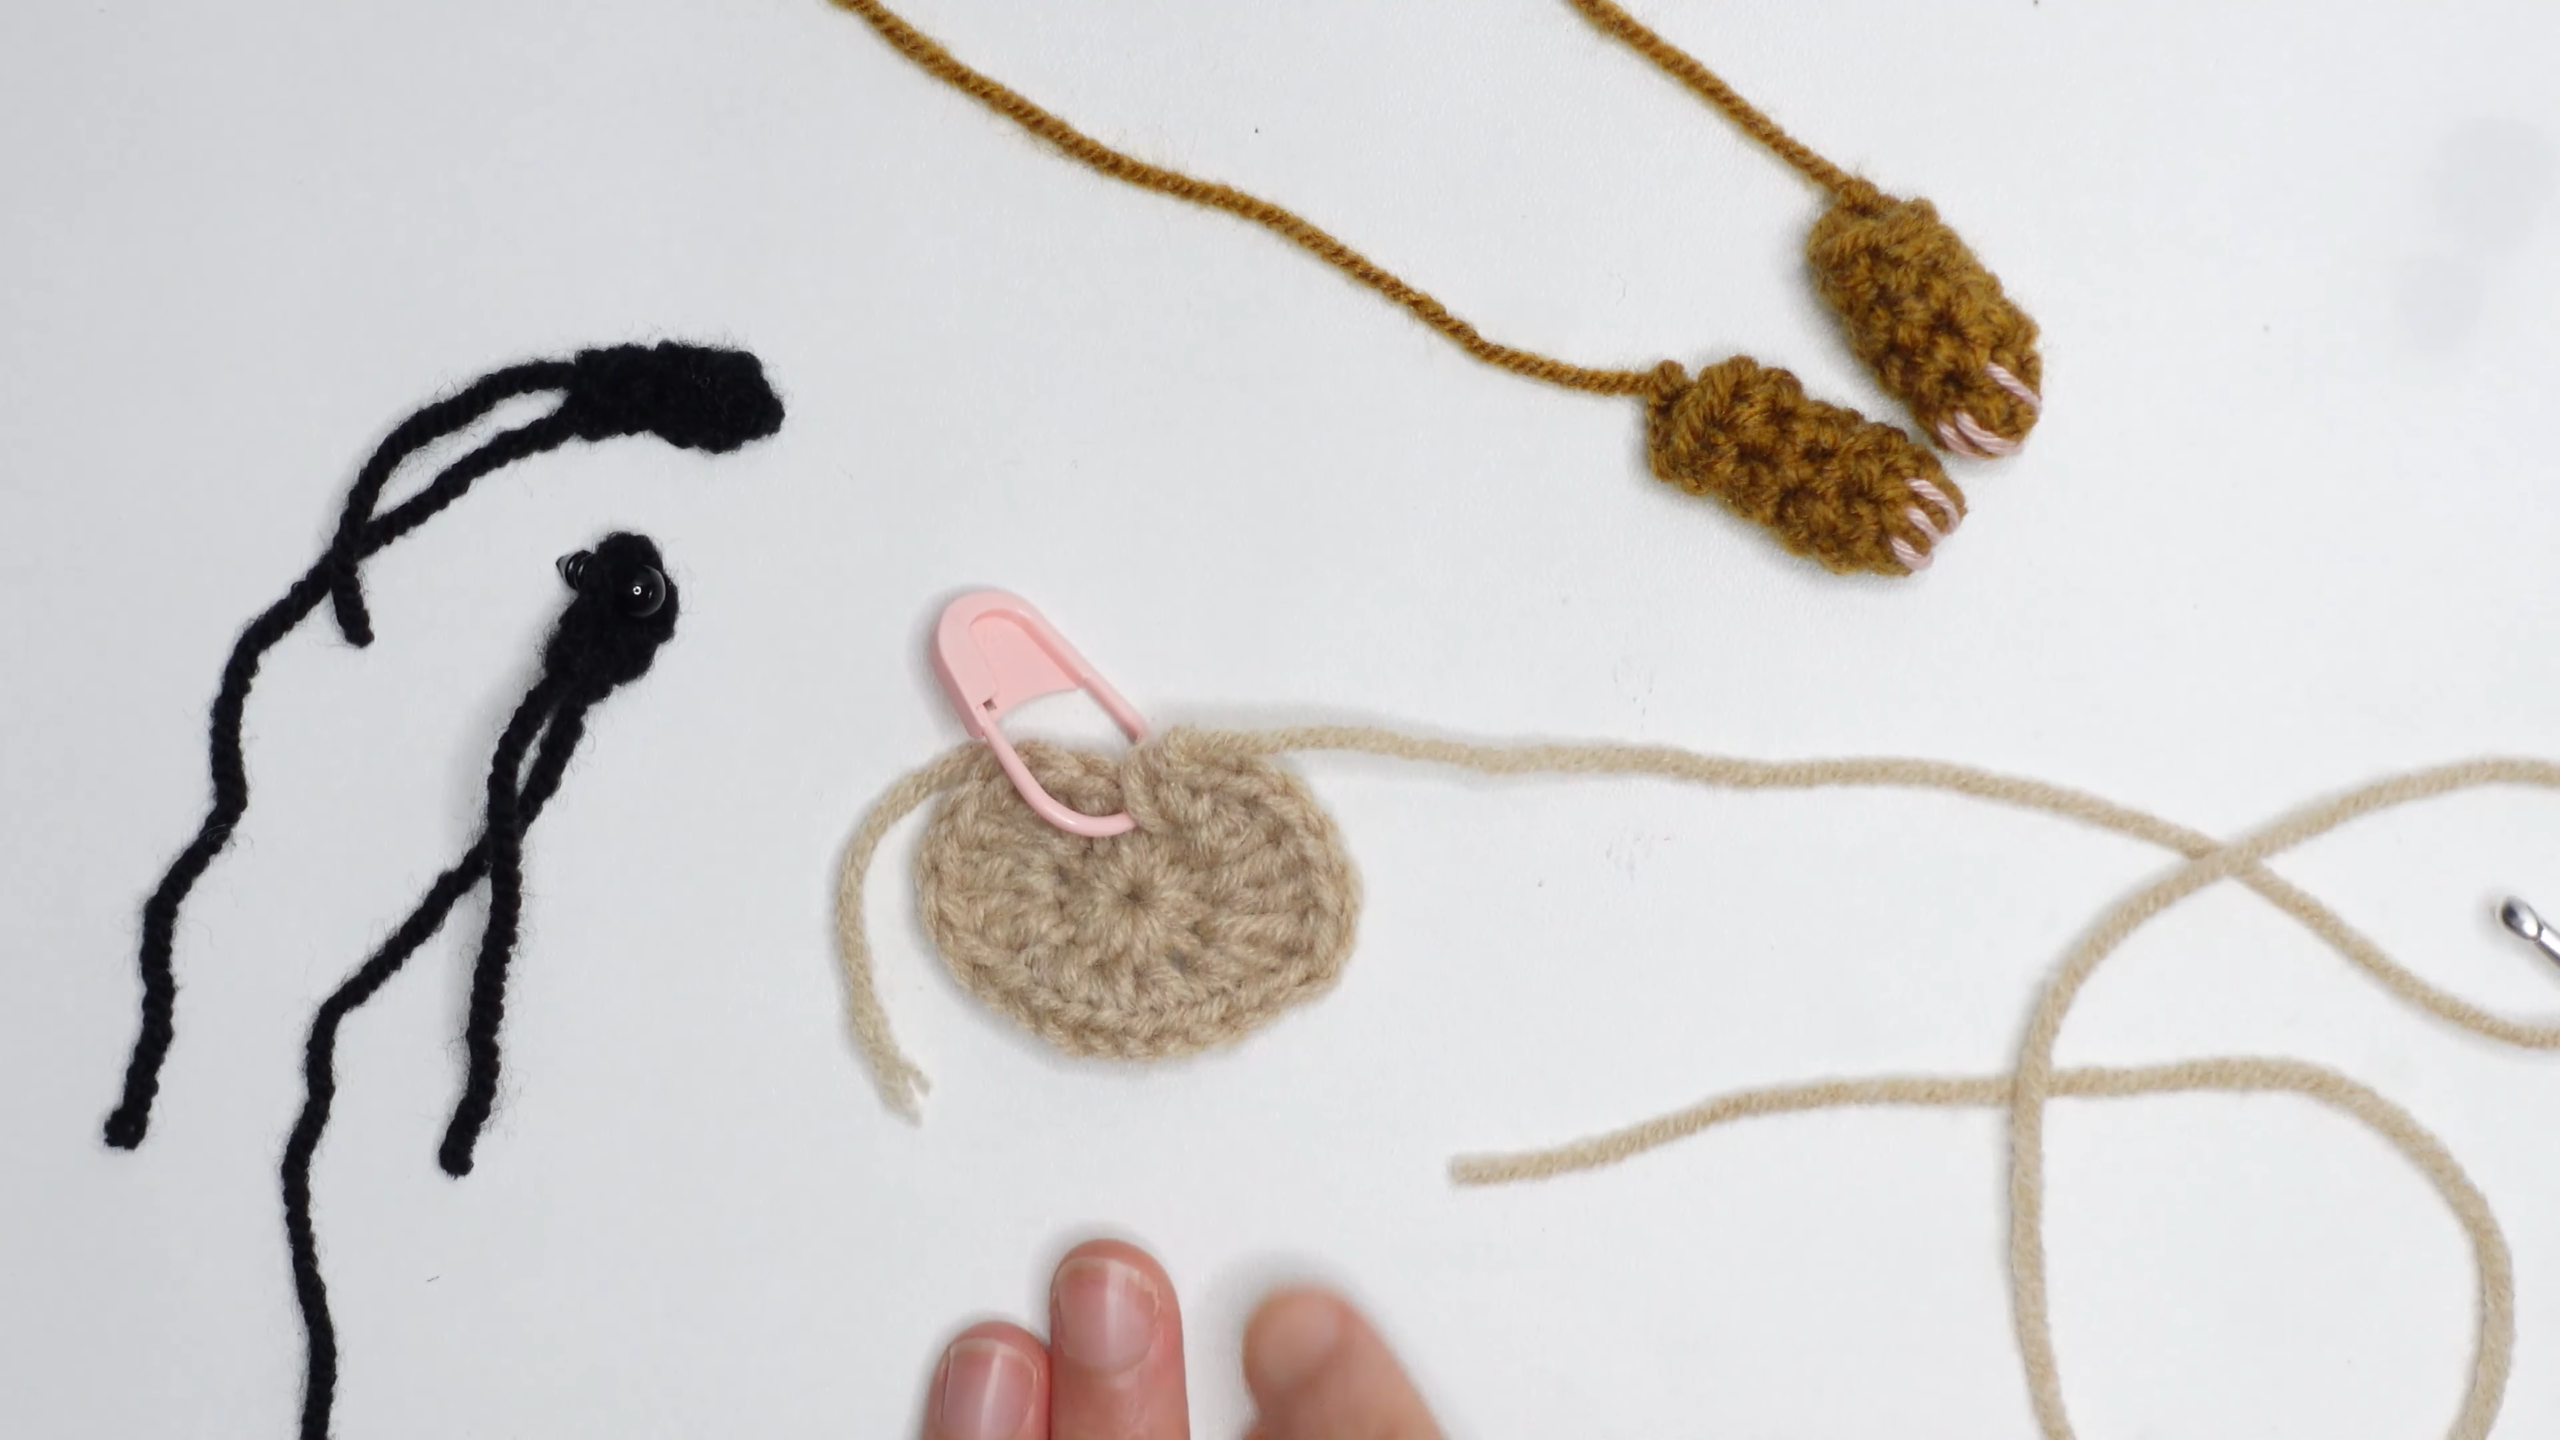
Step 4: Make the Eye Patches (make 2)
With dark brown and the 4.0 mm hook, make a slip knot and ch 4. Sc in the 2nd ch from the hook, then sl st in each of the next 2 ch. Ch 1 and cut the yarn, leaving a short tail for sewing. These little teardrop shapes give the sloth its classic sleepy markings.
Step 5: Make the Head
With light brown, start with a magic ring and 6 sc, then increase in standard amigurumi rounds until the head is in proportion with the pouch. Follow the video for the exact size used. Work a few even rounds.
Before closing, sew the face patch to the front of the head and the eye patches onto the face, slanting slightly down at the outer corners. If you’re using safety eyes, push them through each eye patch and the face into the head now, the same number of stitches from the center on each side, and fasten the backs. Stuff lightly, then decrease and close.
Embroider a small curved mouth below the eyes with dark thread. If you’re not using safety eyes, embroider the eyes on the patches instead.
Step 6: Make the Arms and Legs
The arms give the sloth its hugging look.
- Arms (make 2): Make a magic ring, ch 1 and work 6 sc into it, pulling it closed. Work sc in each stitch for five rounds in total to form a small tube. Stuff lightly and fasten off with a long tail.
- Legs (make 2): Make them the same way, but a round or two shorter.
- Claws: With cream yarn, stitch three short straight stitches at the tip of each arm and leg, and secure them well so they stay put with handling.

Step 7: Assemble the Sloth
- Slide the pot into the pouch to check the fit once more.
- Pin the head to the front rim of the pouch, centered, so the face looks straight ahead. Sew it on securely.
- Sew an arm on each side of the head, letting them drape down over the rim and rest against the pouch rather than sticking out.
- Sew the legs lower on the front of the pouch, near the base, angled slightly outward so they hang naturally.
- Weave in all ends, especially at the arm and leg joins, since those get the most handling.
Common Mistakes
- Guessing the pot size instead of measuring it first
- Working the pouch too loosely, so it sags once soil and water add weight
- Adding safety eyes after the head is closed
- Placing the eyes by eye instead of counting rounds and stitches, which leaves the face crooked
Troubleshooting
- The pouch flares outward: An extra increase round was worked past the base. Unravel back to where the base meets the walls.
- The pouch sags: Your tension is too loose. Redo it with a smaller hook or tighter stitches.
- The base domes up: The base is smaller than the pot bottom. Add another increase round.
- The face looks crooked: Count rounds from the top of the head and stitches from the center front, so both eyes match on both counts.
- The rim looks uneven: Add one more even round before fastening off.
Sizing for Other Pots
For a bigger pot, keep adding 6 stitches per round on the base until it matches, then work more wall rounds to reach the taller height. For a smaller pot, stop increasing sooner and work fewer wall rounds. With bulky yarn and a larger hook, the pouch will need fewer rounds, so keep measuring instead of counting rounds.
Color and Plant Ideas
- Classic sloth: Light and dark brown with a cream face
- Koala-style: Gray tones with the same construction
- Modern pouch: Sage, terracotta or blush for the pouch, with a traditional sloth face
- Best plants: Small succulents, air plants and trailing pothos cuttings suit this size without adding too much weight
Turn It Into a Hanging Planter
Sloths love to hang around, so a hanging version feels right at home. Here’s how to add simple straps without changing the pouch.
- Make three straps: With the yarn held double, crochet three chains of equal length, around 12 to 18 inches each, depending on where you’ll hang it.
- Space them evenly: Count the stitches around the rim, divide by three, and sew one strap at each point. Keep the front strap behind the sloth’s head so the face stays visible.
- Join at the top: Gather all three straps and tie them through a small wooden or metal ring.
- Keep it light: Use a plastic nursery pot and a small plant, because a heavy ceramic pot will stretch the straps over time.
- Watch the watering: Water the plant in the sink and let it drain fully before putting it back, so the yarn stays dry.
Looking for more plant-friendly makes? The mini cactus amigurumi never needs watering at all. For more useful animal designs, try the lion glasses holder or the sheep glasses holder, or add the crochet giraffe amigurumi to your shelf.
Care and Gifting
Keep the plant in its original plastic nursery pot inside the pouch, so soil never touches the yarn. Spot clean any splashes with a damp cloth instead of soaking the pouch, and let it dry fully before putting the pot back. When gifting, add a small tag explaining that the sloth prefers a liner pot. A group of two or three sloth planters at different heights also looks lovely on a windowsill, with their arms resting against each other’s pots.
FAQs
Can I use a different yarn weight?
Yes. Bulky yarn with a larger hook works well, but you’ll need fewer rounds to reach the same size, so measure as you go.
Does the pouch need a liner?
Yes, a liner or the plant’s plastic pot keeps moisture away from the yarn and keeps the pouch clean longer.
What if my pot has sloped sides?
Slightly tapered pots still work. Test the fit often while you work the walls, so the taper doesn’t leave a gap at the rim.
Can I skip the safety eyes?
Yes. Embroidered eyes look just as sweet and are safer around small children and pets.
Slow Living, One Succulent at a Time
Measure the pot, keep the pouch snug, and let those arms drape, and your sloth will hold its plant happily for years. It’s a small reminder on the windowsill to slow down, water the plants, and enjoy the quiet. Once one sloth moves in, a second usually isn’t far behind.