
If you have been searching for a way to upgrade your wardrobe with handmade pieces, then you are in the right place. Crocheting your own clothes is a wonderful way to express your personal style while ensuring a perfect fit every time. This specific design is highly fashionable this season, and because it uses an openwork stitch, it works up much faster than a solid fabric.
In addition to being stylish, this project is ideal for those who want to practice their tension and shaping. Therefore, you will find that the construction is straightforward, starting from the waist and moving down to the hem. Whether you are living in a busy city like Lahore or anywhere else in the world, this crochet simple ladies skirt is a versatile staple that transitions perfectly between seasons. Consequently, by the time you finish this guide, you will have a beautiful, professional-looking garment that you can wear with pride or even sell in your digital marketplace.

Before we dive into the written instructions, please take a moment to watch the embed video located at the top of this page. This visual walkthrough is essential because it demonstrates the exact hand movements and stitch placements discussed in the transcript. Seeing the texture of the “denim color” yarn and the way the waistband stretches will give you a much better understanding of the project’s scale. Furthermore, the video shows how to integrate recycled buttons, which is a fantastic way to make your crochet simple ladies skirt more eco-friendly and unique.
Skill Level: Beginner to Intermediate
This project is classified as Beginner-Friendly. Although it looks intricate, the primary stitches are single crochet and double crochet. If you can count your rows and maintain consistent tension, you will succeed. However, because there is some minor increasing to create the flare of the skirt, having a little bit of experience with basic garment shaping will be helpful.
Tutor’s Suggestions
My biggest piece of advice for this crochet simple ladies skirt is to focus on your yarn choice. I recommend using a yarn that has good “memory,” meaning it doesn’t stay stretched out after you wear it. If you use a very loose or cheap thread, use a hook that is one size smaller than what the label suggests. This technique ensures your stitches are tight and the skirt maintains its shape over time. Additionally, always count your stitches at the end of every row for the waistband. It is very easy to accidentally lose a stitch at the turns, which can make your waistband look uneven. Finally, don’t be afraid to recycle buttons from old clothes to give your skirt a vintage, high-fashion flair.
Materials Needed and Step-by-Step Guide
Required Materials
To begin your crochet simple ladies skirt, you will need the following items:
-
4 skeins of medium-weight yarn (denim or silver colors look great).
-
A crochet hook (size 4mm or 5mm depending on your yarn).
-
7 recycled or new buttons.
-
A measuring tape.
-
Scissors and a tapestry needle for weaving in ends.
-
Stitch markers to keep track of buttonholes.
Step 1: The Waistband
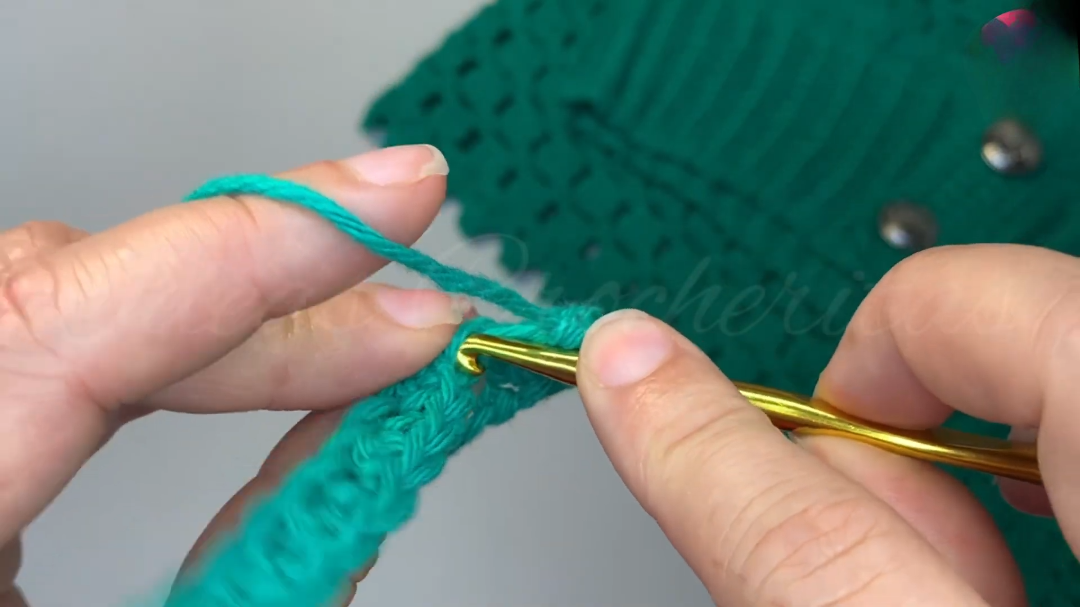
First, you must create the foundation of your crochet simple ladies skirt. Start by making a slip knot and chaining 20 stitches, which should equal about 10 centimeters in width. If you prefer a thinner waistband, you can decrease this number. Next, work in rows of single crochet. To get that beautiful ribbed effect, work only in the front loops or back loops as demonstrated in the embed video. Continue this until the waistband measures about 65 centimeters or slightly less than your actual waist measurement. Because crochet fabric stretches, making it 5 centimeters smaller ensures a snug fit.
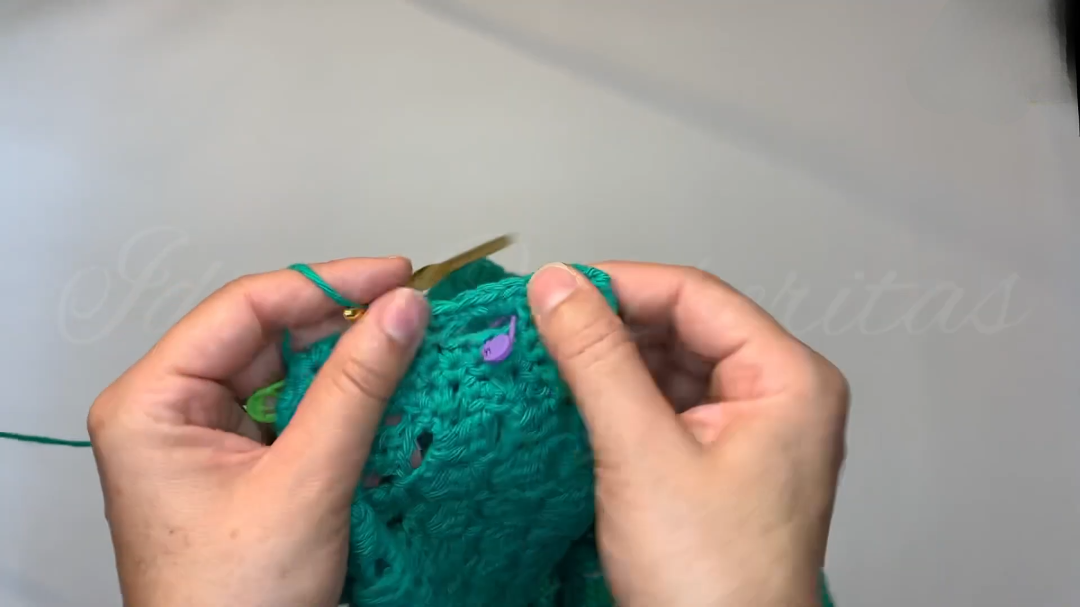
Step 2: Transitioning to the Body
Once the waistband is long enough, do not cut the yarn. Instead, turn your work and begin crocheting along the long edge of the waistband. This is where we start the downward fabric. For the first row, use single crochet to create a clean edge. On the second row, we begin the increases. A good rule of thumb for a crochet simple ladies skirt is to place an increase every four stitches. This creates a gentle flare that allows the skirt to sit comfortably over the hips without being too tight.
Step 3: The Main Pattern Stitch
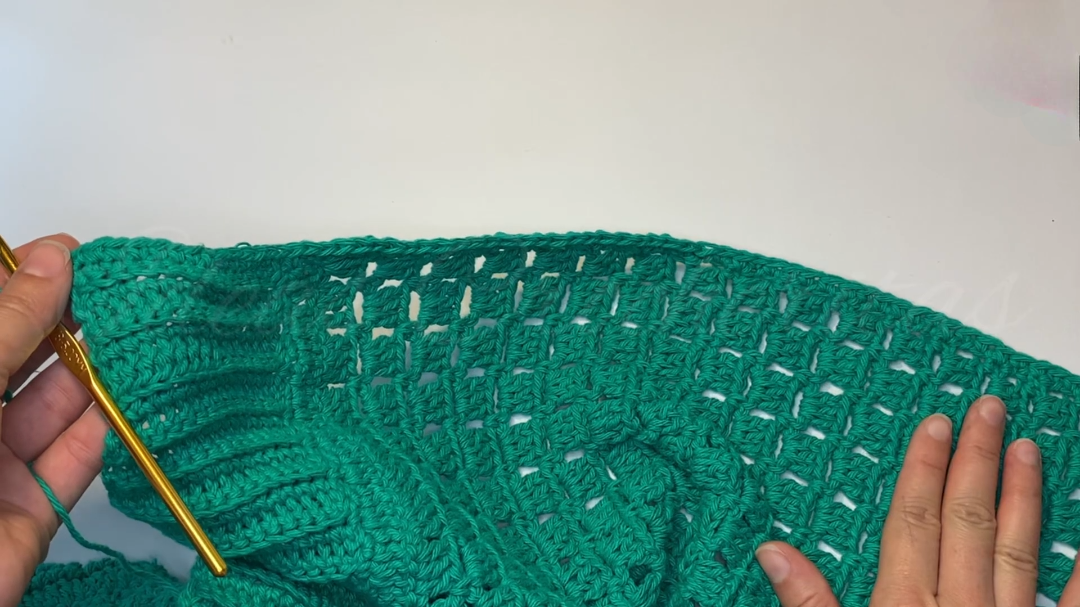
Now, we move into the “openwork” section. This is what makes the skirt fashionable and breathable. Chain 3 (this counts as your first double crochet), then work two more double crochets in the next stitches. Chain 1, skip one stitch below, and work 3 more double crochets. This “3-DC, Chain 1” pattern is the core of your crochet simple ladies skirt. Repeat this for about 18 rows or until the skirt reaches your desired length. Most people find that 40 to 50 centimeters is a perfect length for a casual summer skirt.
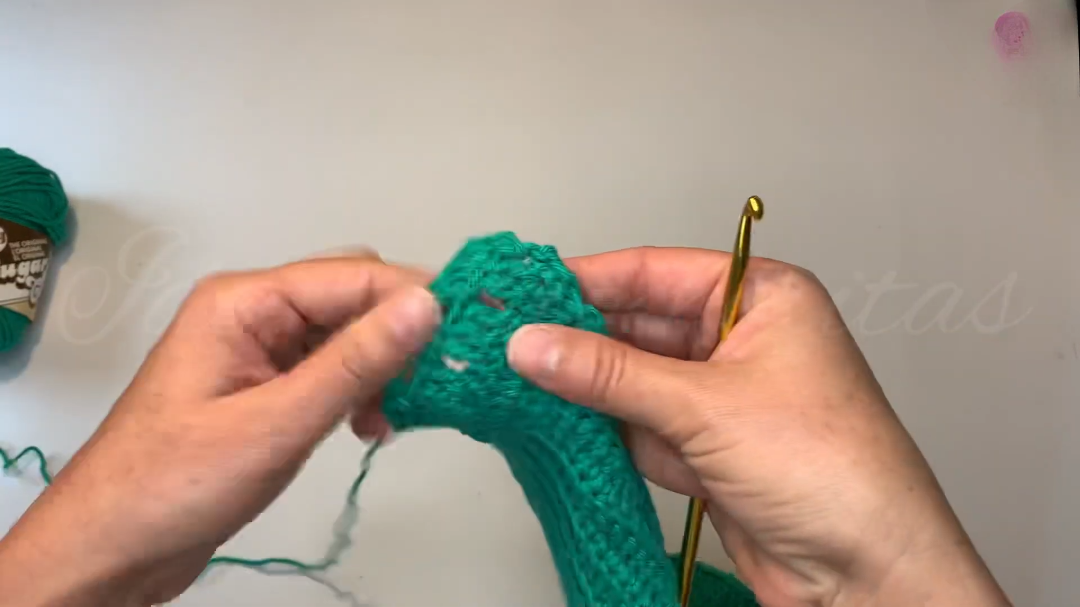
Step 4: Creating the Buttonholes
After completing the length, you need to finish the vertical edges where the buttons will go. Work five or six rows of single crochet on both sides of the front opening. On one side, you must create the holes. Space your buttons about every 10 stitches. To make a hole, simply chain 3 and skip 3 stitches in your row, then continue with single crochet. Always test your button through the hole to ensure it fits tightly, as the yarn will loosen with use.
Where Can You Use This Skirt?
You can use this crochet simple ladies skirt in a variety of settings because it is so versatile. For a casual day out, pair it with a simple white t-shirt and sandals. If you are heading to the beach, it serves as a perfect, stylish cover-up over a swimsuit. Because of the openwork stitch, it is very breathable, making it ideal for hot climates like Pakistan or summer in Canada. Furthermore, if you wear a solid-colored slip or dress underneath, you can even wear it to a semi-formal brunch or a garden party. It truly is a “multi-use” garment that adds a touch of handmade elegance to any outfit.
Tips and Tricks for Success
-
Tension is Key: Try to keep your stitches at a medium level of tightness. If they are too loose, the skirt will grow throughout the day.
-
Measurement Check: Constantly wrap the waistband around your waist as you work. It should feel slightly tight but comfortable.
-
Steam Blocking: Once you finish, use a garment steamer to lightly block the skirt. This relaxes the fibers and makes the lace pattern look much more professional.
-
Color Choice: Variegated yarn can look beautiful, but solid colors like denim or cream really show off the texture of the stitches.
-
Button Placement: Mark your button positions with safety pins before sewing them on to ensure they align perfectly with the buttonholes.
Common Mistakes to Avoid
One common mistake when making a crochet simple ladies skirt is forgetting to count the turning chains. If you miss these, the edges of your skirt will start to pull inward, creating a triangle shape instead of a rectangle. Another error is making the buttonholes too large. Remember that crochet expands, so a hole that looks a bit small at first is usually perfect after the button has been pushed through a few times. Lastly, do not skip the increase row after the waistband. If you don’t increase, the skirt will be too tight around the hips and will not hang properly.
Frequently Asked Questions (FAQs)
Q1: How many skeins of yarn do I really need?
For a small to medium crochet simple ladies skirt, 4 skeins are usually enough. However, if you want a longer maxi-style skirt, you should purchase at least 6 skeins to be safe.
Q2: Can I use cotton yarn instead of acrylic?
Yes, cotton is actually excellent for skirts because it is breathable and has less “fuzz” than acrylic. However, cotton does not stretch as much, so make sure your measurements are exact.
Q3: How do I wash my handmade skirt?
You should always hand wash your crochet items in cold water with a gentle detergent. Lay the skirt flat on a towel to dry so it does not stretch out of shape while wet.
Q4: Is this pattern adjustable for plus sizes?
Absolutely. The beauty of this crochet simple ladies skirt is that the waistband is worked in rows. Simply continue making rows until the band fits around your waist, then follow the increase rules for the body.
Q5: What if I don’t want buttons?
If you prefer a solid skirt, you can slip stitch the two front edges together. However, the buttons add a fashionable detail that makes the garment look more like high-end boutique clothing.
Conclusion
In conclusion, creating a crochet simple ladies skirt is a rewarding project that combines utility with high fashion. This skirt is not just a piece of clothing; it is a testament to your skill and creativity. Whether you are making this for yourself or as a gift for a friend, the result is a timeless piece that will never go out of style.
Moreover, this project teaches you the fundamentals of garment construction which you can apply to sweaters or dresses in the future. As you continue your crochet journey, remember that every stitch is a learning opportunity. Therefore, take your time, enjoy the process, and soon you will be wearing a custom-made skirt that fits you perfectly. We hope you found this tutorial helpful and easy to follow. Don’t forget to subscribe for more crochet ideas and share your finished projects with our community. Happy crocheting and blessings to all your future handmade endeavors!