
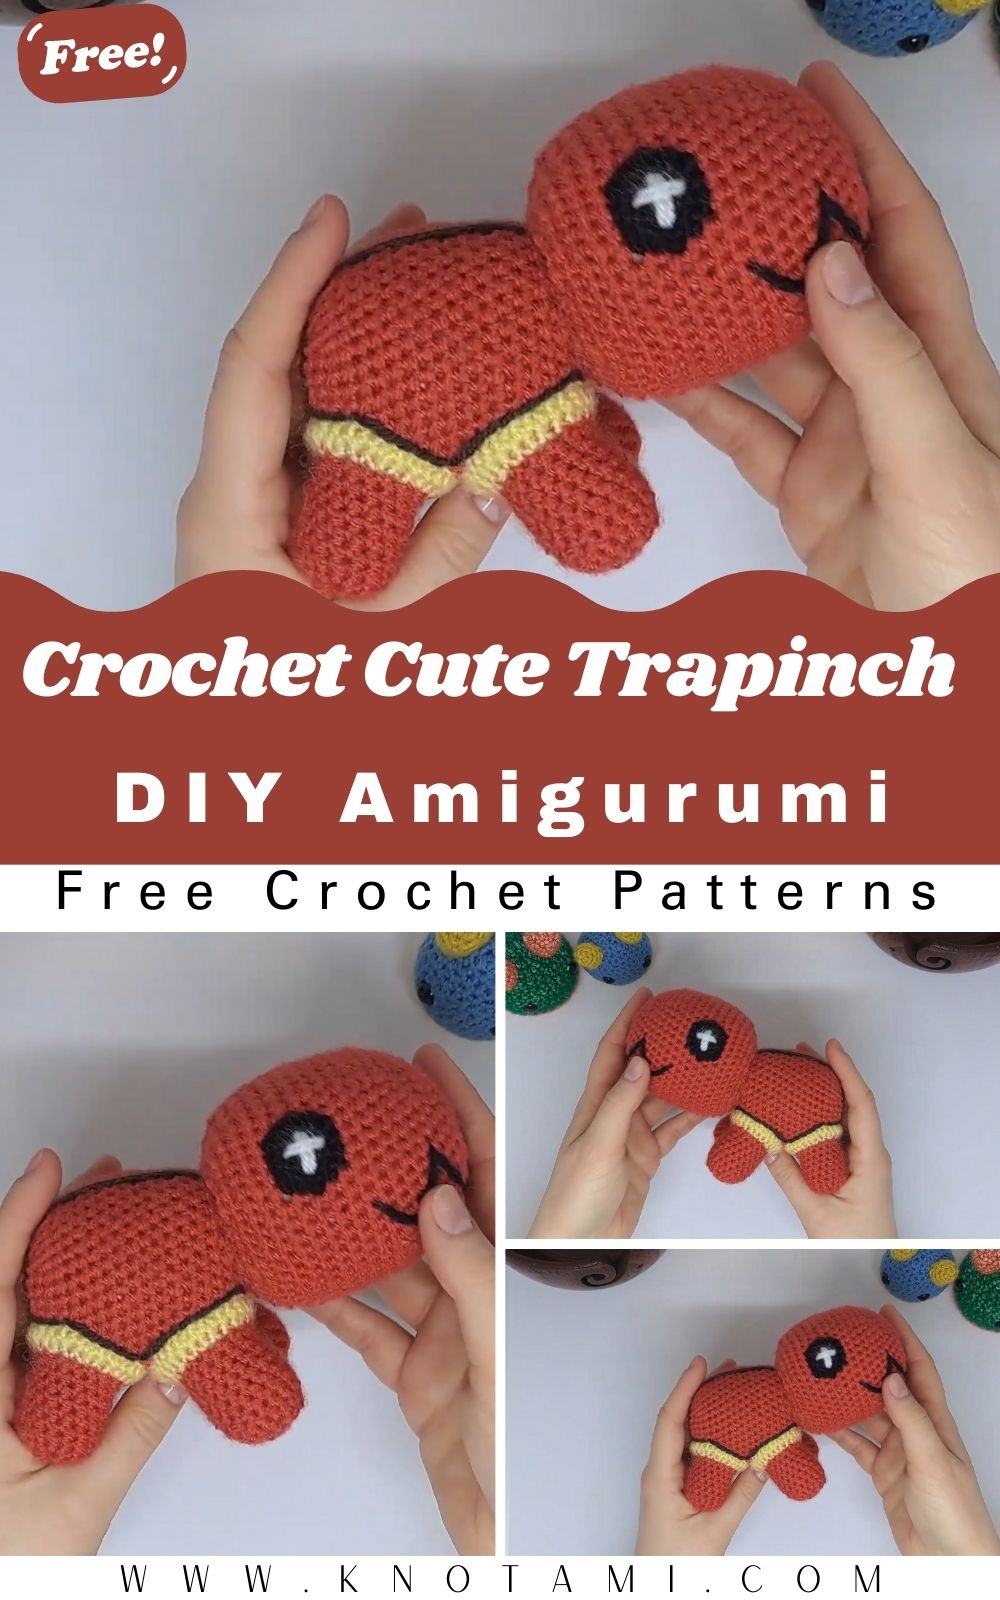
If you are a fan of the Ground type Pokémon from the Hoenn region, you are going to love this project because today we are making a crochet cute Trapinch amigurumi. This little guy is known for his large jaws and orange shell, and creating him in yarn form makes him absolutely adorable and perfect for any collection. Whether you are a seasoned crafter or just starting your journey, this project is designed to be accessible while still looking professional and high quality.
Because this crochet cute Trapinch amigurumi is so compact and sturdy, it makes for a fantastic gift for friends or a charming addition to your own desk. Throughout this guide, you will find that we focus on simple shapes that come together to create a character with tons of personality. You do not need to worry about complex stitches or difficult color changes because we will keep things straightforward. So, grab your burnt orange yarn and let us dive into this delightful Pokémon crochet adventure together.
Before you start working through the written instructions, it is highly recommended that you watch the embedded video provided above. This visual aid will show you exactly how to handle the yarn and where to place your stitches for the best results.
After watching the video, you will have a much clearer understanding of the proportions needed for your crochet cute Trapinch amigurumi. Seeing the assembly process in real time is incredibly helpful, especially when it comes to positioning the large head onto the body. The video acts as a perfect companion to the detailed steps listed below, ensuring that your finished Pokémon looks exactly like the one in the tutorial.
Skill Level and Level of Difficulty
This project is officially classified as Beginner Friendly. Even though the finished product looks detailed, it only utilizes three fundamental stitches: the single crochet, the increase, and the decrease. If you have mastered these basics, you can easily complete this crochet cute Trapinch amigurumi. The most challenging part is simply the assembly and embroidery, which just requires a bit of patience and a steady hand.
Tutor’s Suggestions
To get the most out of this pattern, I suggest that you maintain a consistent tension throughout your work. If your stitches are too loose, the stuffing might peek through, which can take away from the professional look of your crochet cute Trapinch amigurumi. Additionally, I recommend using high quality acrylic or cotton yarn to ensure your Pokémon is durable and holds its shape over time. Furthermore, do not rush the embroidery details on the mouth and eyes, as these features are what truly give the character its “cute” expression.
Materials Needed and Step by Step Guide
Materials You Will Need:
-
Yarn: Burnt orange (primary color), dark brown, pale yellow, white, and black.
-
Crochet Hook: 4 mm size.
-
Stuffing: High quality polyester fiberfill.
-
Tools: Yarn needle, scissors, and optional stitch markers.
-
Optional: Large pins for positioning the head and legs.
Step 1: The Head
To start your crochet cute Trapinch amigurumi, you must begin with the head. Create a magic ring and place 8 single crochet stitches inside it. In the following rounds, you will gradually increase until the head reaches the desired width. Once you have reached the maximum size, continue with straight rounds of single crochet to create the length of the head. Before finishing, make sure you leave a very long tail for sewing. Fill the head with stuffing, but keep it slightly squishy so it is not too heavy for the body to support.
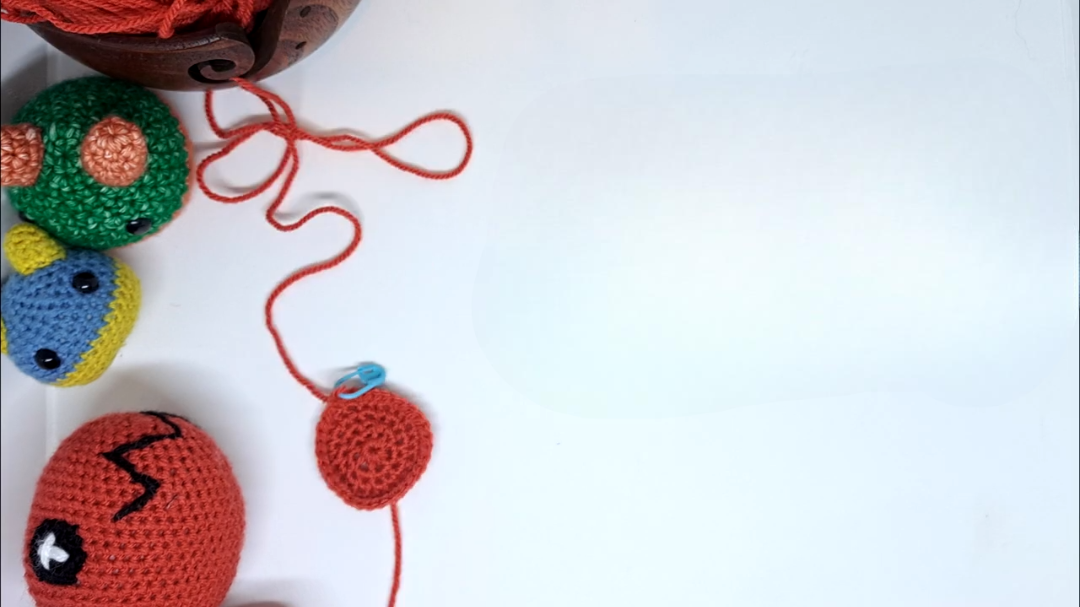
Step 2: The Body
For the body of your crochet cute Trapinch amigurumi, you will once again start with a magic ring of 8 stitches. Increase your stitches systematically to create a rounded shape that is slightly smaller than the head. This creates the perfect balance for a “chibi” style look. Finish the body with a “fasten off” technique that creates a clean edge. Ensure the body is stuffed firmly so that it can act as a stable base for the large head.
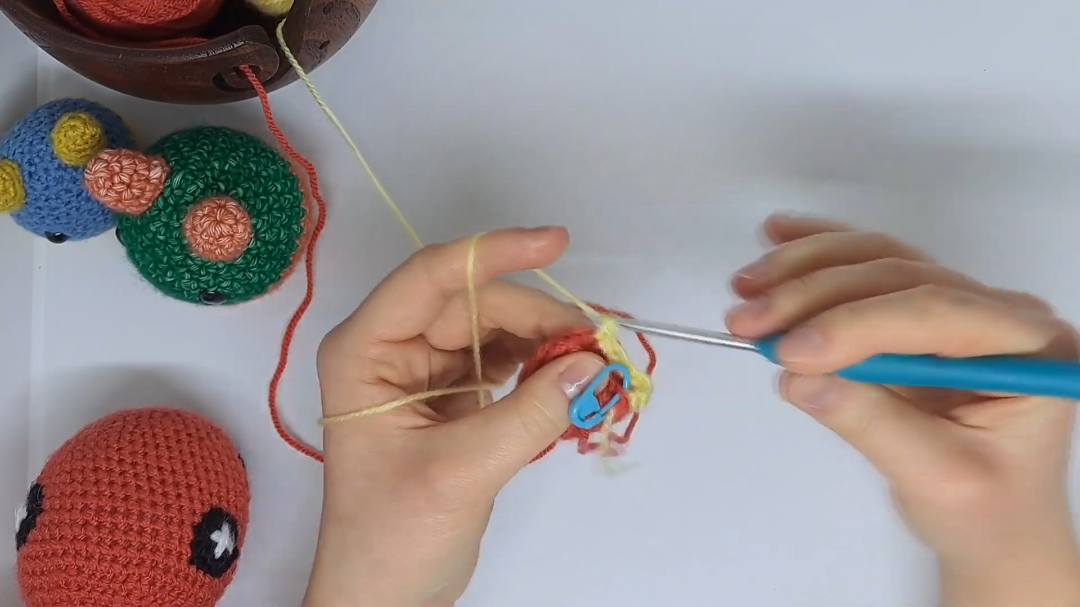
Step 3: Crafting the Legs

You will need to make four identical legs for your Pokémon. Start with the orange yarn in a magic ring and work several rounds. Towards the end of each leg, switch your yarn color to pale yellow to create the signature “toes” of the character. Consequently, having all four legs the same size will ensure your crochet cute Trapinch amigurumi stands up straight without wobbling.
Step 4: The Eyes and Embroidery
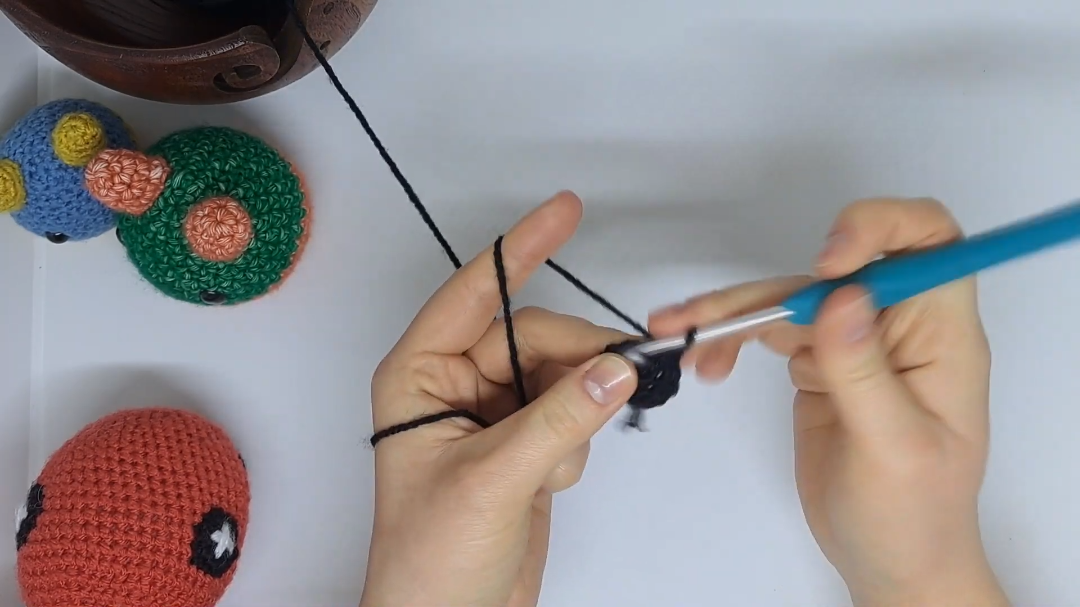
The eyes are simple black circles made from a magic ring and one round of increases. After sewing them onto the head, use white yarn to embroider a small cross or “sparkle” in each eye. Finally, use the black yarn to create the zigzag mouth. This step is crucial because the mouth defines the personality of your crochet cute Trapinch amigurumi.
Where Can You Use It?
Once you have finished your project, there are so many ways to enjoy it. This crochet cute Trapinch amigurumi is the perfect size for a keychain if you use a smaller hook, or it can sit perfectly on a bookshelf as a decorative piece. Many crafters like to use these as “desk buddies” to keep them company while they work. Additionally, since it is so sturdy, it can be a great toy for children, provided you have secured all the parts tightly and avoided using small plastic safety eyes.
Tips and Tricks
One great tip is to use the “invisible decrease” method when shaping the head and body. This technique makes the decreases much less noticeable, resulting in a smoother surface for your crochet cute Trapinch amigurumi. Another trick is to use pins to hold all the parts in place before you start sewing. This allows you to check the symmetry and ensure the Pokémon can stand on its own. If the head seems too heavy, try moving the front legs slightly forward to provide better counter balance.
Common Mistakes to Avoid
A frequent mistake beginners make is overstuffing the head while understuffing the body. This will lead to a top heavy toy that constantly falls over. Instead, ensure the body is firm and the head is medium firm. Furthermore, be careful not to pull your embroidery thread too tight when making the mouth. If you pull too hard, it will distort the shape of the face and make your crochet cute Trapinch amigurumi look squeezed.
Frequently Asked Questions (FAQs)
Q1: Can I use a different size hook for this pattern?
Yes, you can certainly change the hook size. However, remember that a larger hook will result in a bigger plushie, while a smaller hook will make a tiny version. Just ensure your yarn weight matches the hook.
Q2: How long does it take to finish this project?
Typically, an intermediate crafter can finish this in about 3 to 4 hours. Beginners might take a bit longer, especially during the assembly phase.
Q3: What is the best yarn for amigurumi?
Cotton yarn is often preferred because it provides great stitch definition, but acrylic yarn is softer and more affordable.
Q4: Do I have to use a magic ring?
While a magic ring is best for avoiding a hole in the center, you can also chain 2 and work your stitches into the first chain if you find the magic ring too difficult.
Q5: How do I clean my crochet Pokémon?
If you used acrylic or cotton yarn, you can usually spot clean it with a damp cloth and mild soap. Avoid putting it in a washing machine as it might lose its shape.
Conclusion and Final Thoughts
Creating a crochet cute Trapinch amigurumi is a rewarding experience that combines the joy of Pokémon with the art of crochet. Remember that practice makes perfect, so do not be discouraged if your first attempt isn’t flawless. Each stitch you make is a step toward becoming a better artist. Enjoy your new little friend and keep exploring the endless possibilities of amigurumi. Happy crocheting to you and your fellow crafters!