Crochet Christmas Candy Pouch Pattern Treats
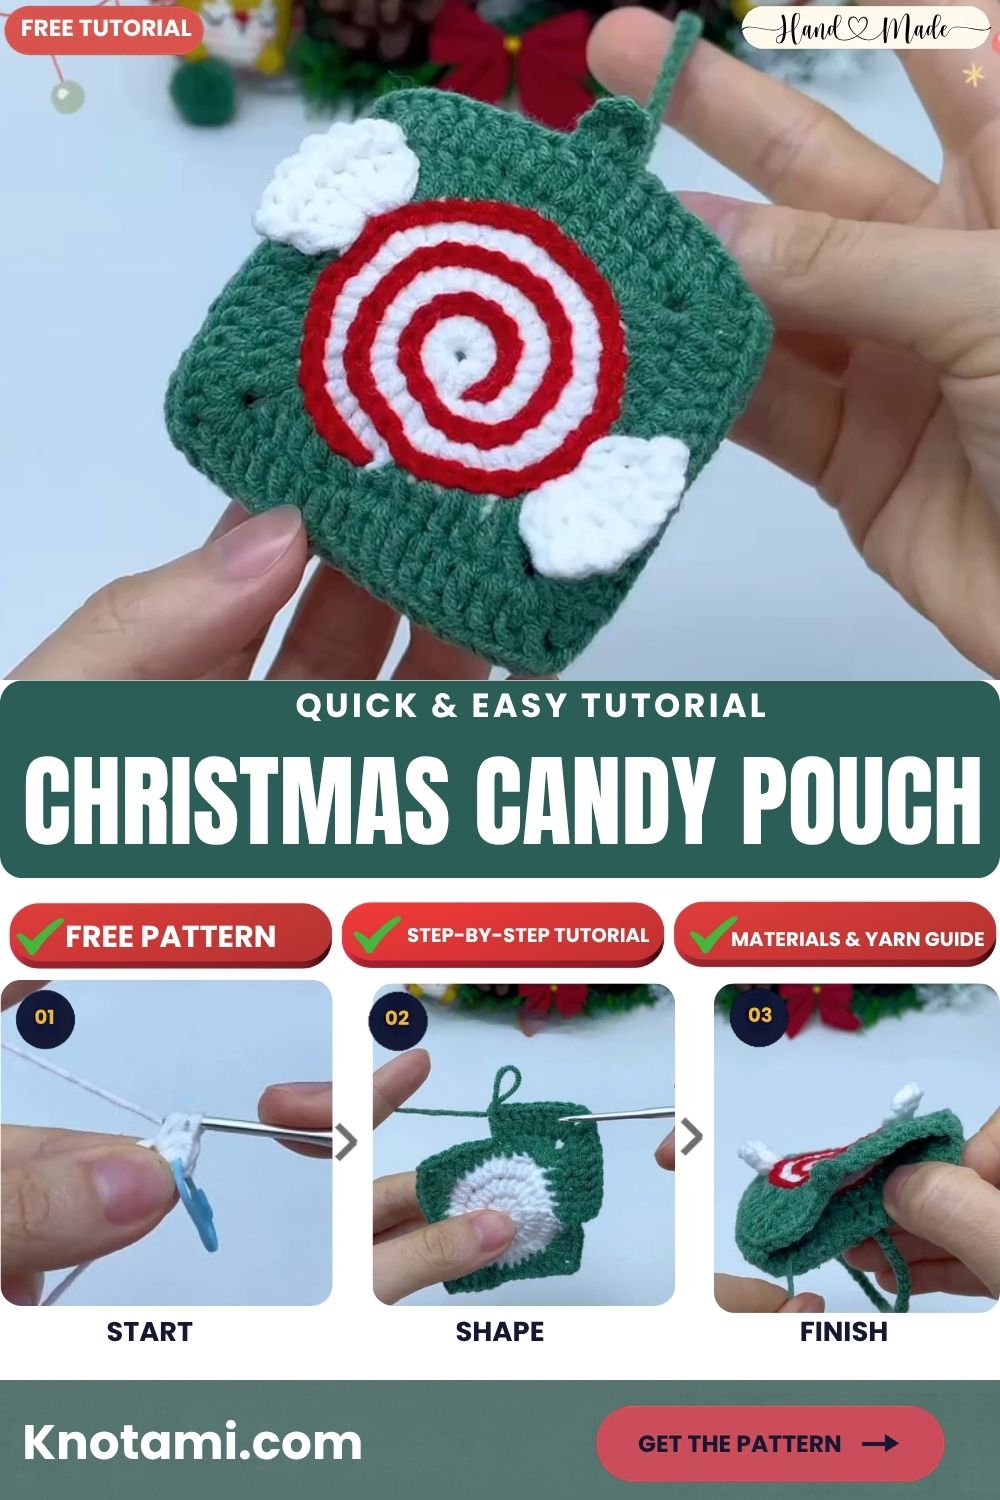
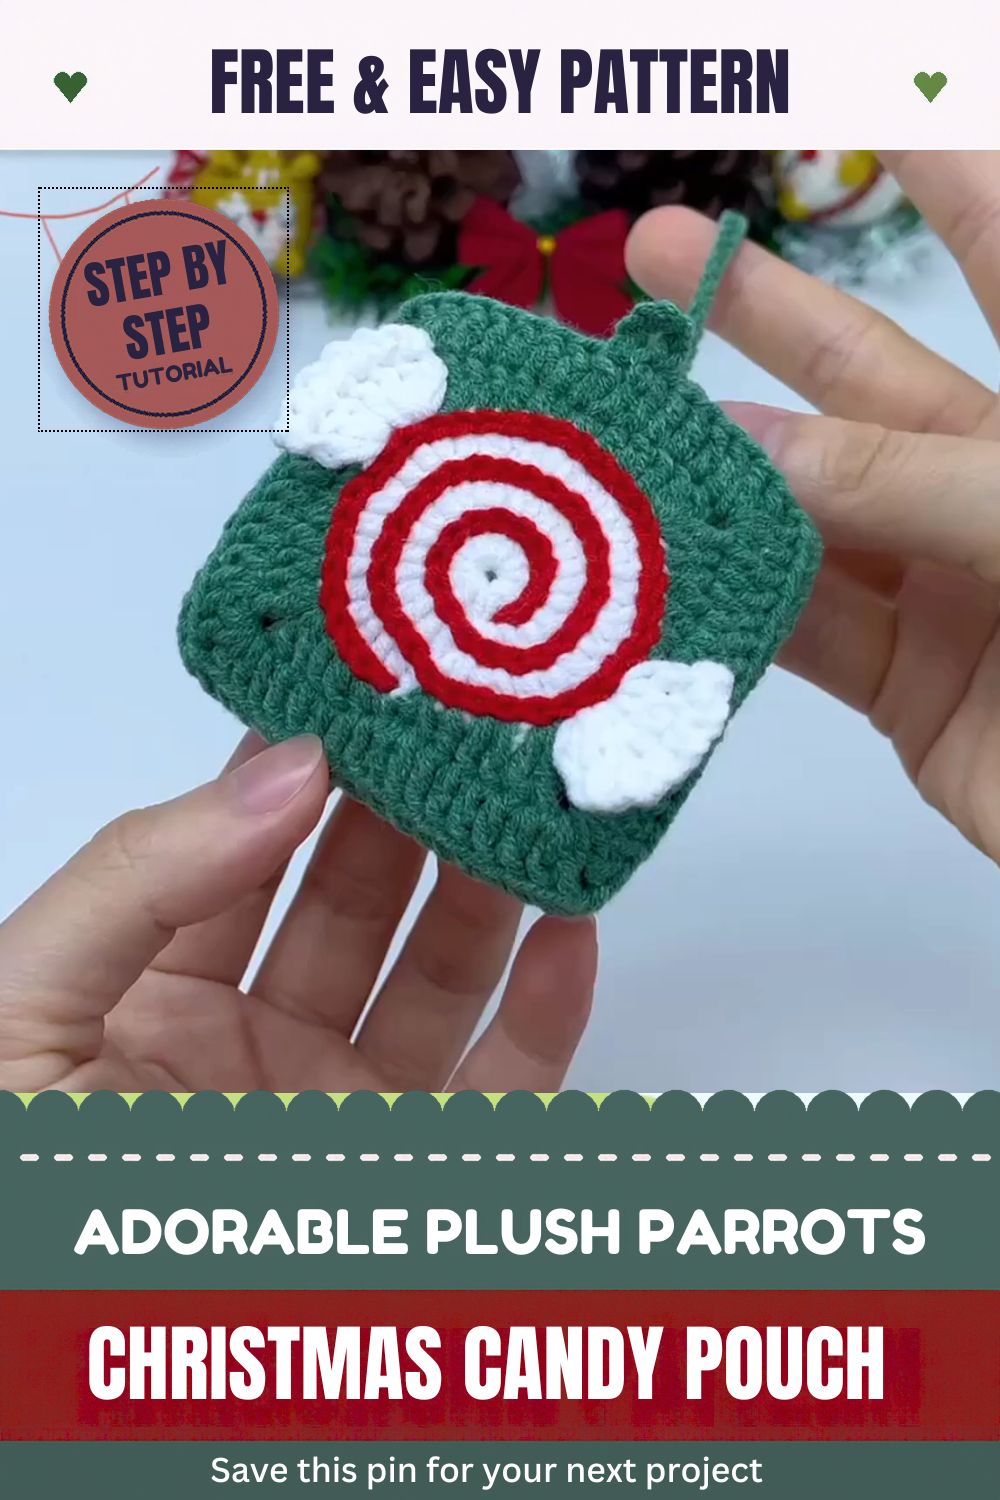
A white circle, a green square, and a red spiral come together in the Crochet Christmas Candy Pouch Pattern for Holiday Treats, a small peppermint-style gift bag that holds a handful of sweets. Because it has a long green strap, you can also carry it over your shoulder or hang it from the tree.
Each pouch starts with a front panel shaped like a wrapped peppermint candy. First, you surface crochet a red swirl over the white center. Then you add white wrapper ends, join the two panels, and finish with the strap. When it’s done, you have a sweet crochet gift pouch for teachers, kids, or a holiday gift swap.
The Crochet Christmas Candy Pouch at a Glance
The front panel shows a round white candy set inside a green square. Two white wrapper ends sit on opposite sides of the candy, while a red spiral runs from the center out to the edge.
The finished pouch measures about 4.5 inches square, so it fits a few small treats. It also suits a confident beginner who already knows how to work in rounds and make a slip stitch.
Materials
- DK or light worsted cotton yarn: about 15 yards of white, 70 yards of green, and 5 yards of red
- 3.5 mm (E) crochet hook
- Stitch marker
- Yarn needle
- Scissors
Not sure whether your yarn counts as DK or light worsted? Check the Craft Yarn Council’s yarn weight chart before you buy.
Abbreviations (US Terms)
- ch – chain
- sc – single crochet
- hdc – half double crochet
- dc – double crochet
- tr – treble crochet
- inc – increase (2 sc in one stitch)
- sl st – slip stitch
How to Crochet the Christmas Candy Pouch
Step 1: Start the White Center
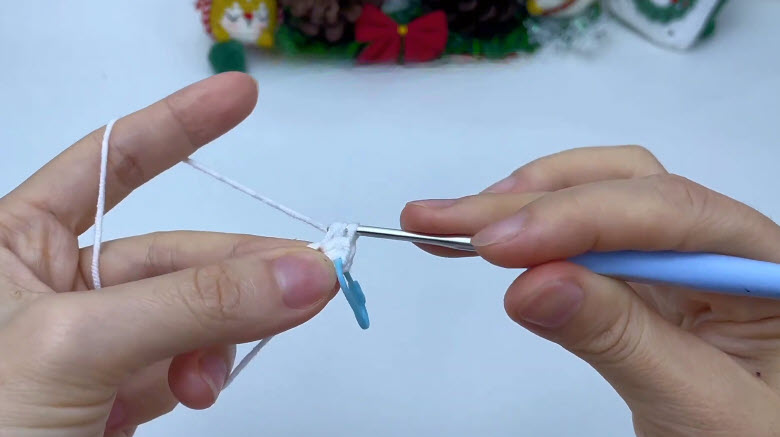
Begin with white yarn and make a magic ring.
- Rnd 1: Ch 1, 6 sc in the ring. Sl st to join. (6 sts)
- Rnd 2: Ch 1, inc in each st around. Sl st to join. (12 sts)
Because the first rounds are so small, place a stitch marker in the first stitch of each round so you don’t lose your starting point. Then pull the tail snug until no hole shows in the middle.
Step 2: Finish the White Circle
Next, keep increasing six times in every round.
- Rnd 3: Ch 1, (sc, inc) around. Sl st to join. (18 sts)
- Rnd 4: Ch 1, (2 sc, inc) around. Sl st to join. (24 sts)
- Rnd 5: Ch 1, (3 sc, inc) around. Sl st to join. (30 sts)
- Rnd 6: Ch 1, (4 sc, inc) around. Sl st to join. (36 sts)
When you finish Rnd 6, the circle should lie flat on the table. If it ripples, look for extra increases; if it cups, you have probably missed one. Count all 36 stitches before you fasten off the white.
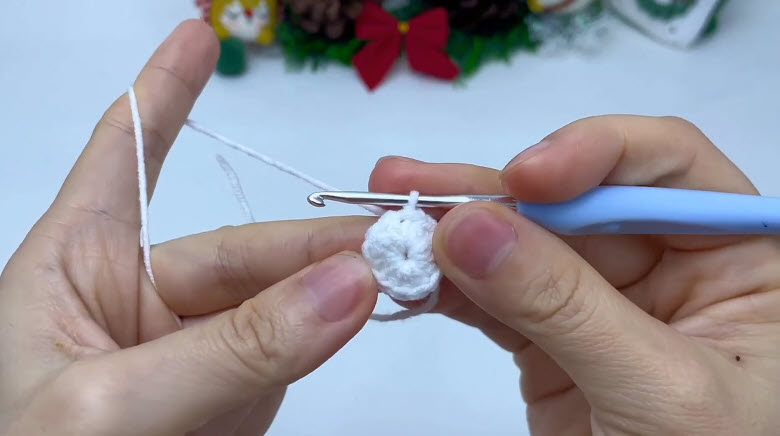
Step 3: Add the Green Square Border
Now join green in any stitch. The next round turns the circle into a square.
- Rnd 7: Ch 1. *Sc in next st, hdc in next 2 sts, dc in next st, (2 tr, ch 2, 2 tr) in next st, dc in next st, hdc in next 2 sts, sc in next st. Repeat from * 3 more times. Sl st to join. (48 sts, 4 corner spaces)
Keep the join at the back so it stays hidden.
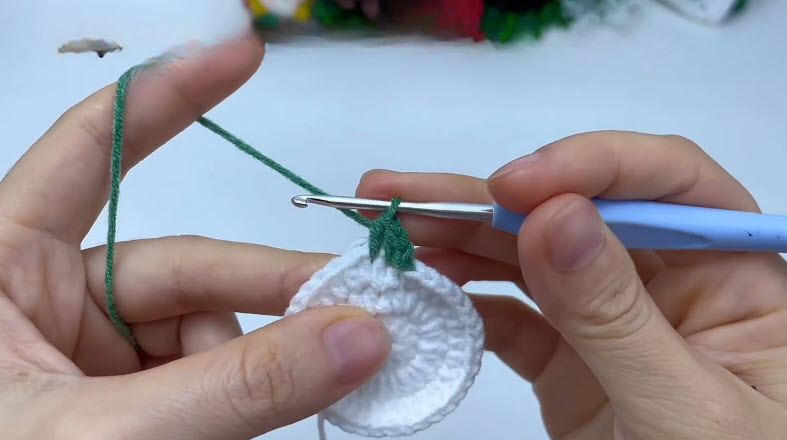
After that, work two more rounds to widen the border.
- Rnd 8: Ch 3 (counts as dc). Dc in each st, and work (2 dc, ch 2, 2 dc) in each corner space. Sl st to join. (64 sts)
- Rnd 9: Repeat Rnd 8. (80 sts, 20 per side)
Stitch check: count 20 stitches on every side. The white circle should also stay centered, with a small hole at each corner where the ch-2 space sits.
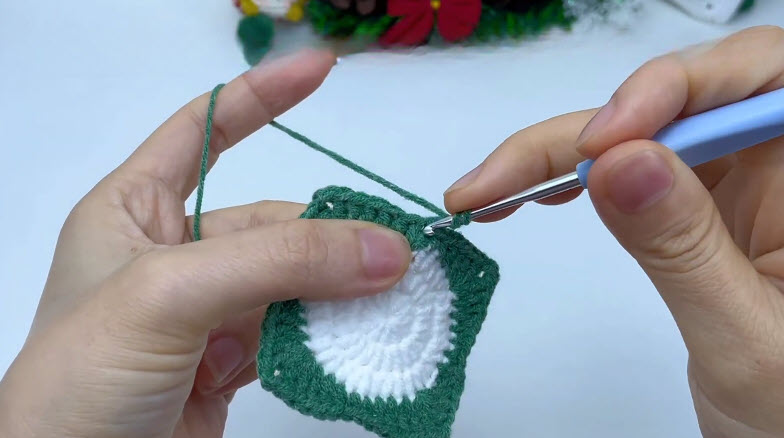
Step 4: Work the Extra Green Rows
The extra rows give the pouch its depth, so work them back and forth along one side of the square. That side then becomes the top edge.
- Row 10: Ch 3, turn. Dc in each st along the top edge. (20 sts)
- Rows 11–12: Ch 3, turn. Dc in each st across. (20 sts)
Keep the edges straight, because they need to line up with the back panel later. Measure now: check the size of the panel before you fasten off, since the back panel has to match it.
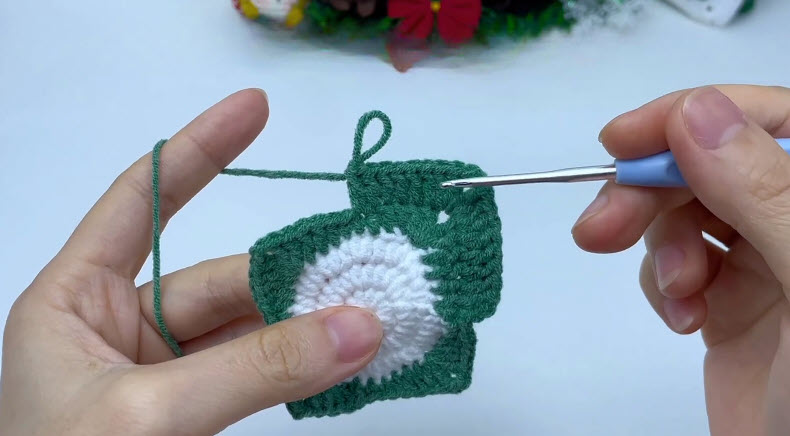
Step 5: Make the White Wrapper Ends
Next, crochet two small white fans for the wrapper ends.
- Row 1: Magic ring, ch 3 (counts as dc), 6 dc in the ring. Pull the ring closed. (7 sts)
- Row 2: Ch 3, turn. Dc in the same st, then 2 dc in each st across. (14 sts)
Leave a long tail on each fan for sewing. Before you sew, pin both fans so they sit in a straight line on opposite sides of the white circle. Then stitch the narrow end of each fan in place.
Step 6: Surface Crochet the Red Swirl
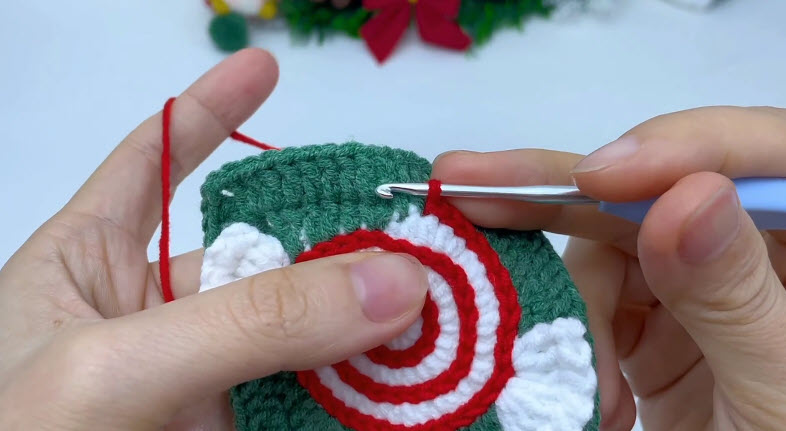
Now hold the red yarn behind the work. Insert the hook at the very center of the white circle, pull up a loop, and then slip stitch across the surface in a slow spiral.
Keep your tension loose, since tight slip stitches pull on the white fabric and make it pucker. Also, leave about one round of white between each red loop; you should need roughly three full turns to reach the edge.
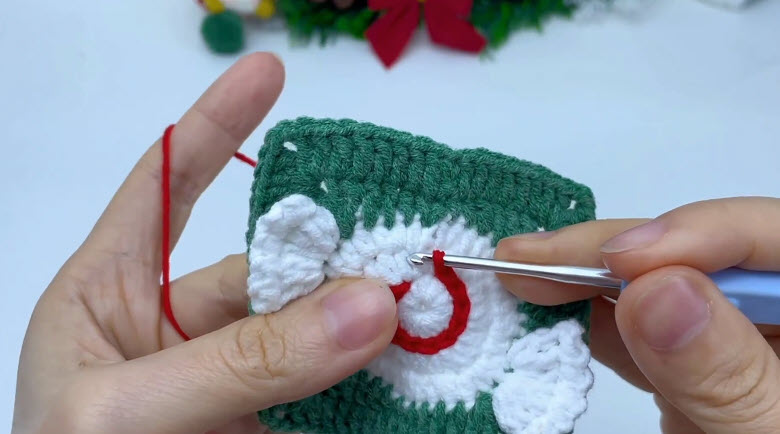
Once the spiral reaches the outer white edge, stop the red there and pull the tail to the back. At that point, the peppermint candy shape is easy to see.
Step 7: Join the Front and Back Panels
For the back panel, work Rnds 1–9 and Rows 10–12 in green only, so it matches the front in size.
Then hold both panels with wrong sides together. Sc through both layers down one side, across the bottom, and up the other side, working 3 sc in each bottom corner. Leave the top edge open, though, so the pouch can hold treats.
Step 8: Add the Strap and Finish
Finally, make the strap with green yarn: ch 100, then sl st in the back bump of each chain. The strap should come out about 20 inches long.
Sew one end of the strap inside each top corner of the pouch. After that, weave in every tail on the inside and trim close, so no ends poke through the white.
Common Mistakes on a Crochet Christmas Candy Pouch
- Cupped center: the red swirl was worked too tightly, so go up to a 4 mm hook for the surface crochet.
- Crooked square: one side has more stitches than the others. To catch it early, count 20 stitches per side after Rnd 9.
- Gaps at the wrapper ends: the sewing stitches are too far apart. Instead, use small stitches placed close together.
- Uneven spiral: the red lines drift closer together as you go. To keep them even, mark a few pencil dots on the white as a guide.
Gift Ideas for Your Christmas Candy Pouch
A finished pouch holds more than candy. For example, any of these small fillers will fit:
- Wrapped peppermints or chocolate coins
- A gift card, folded once
- Lip balm and a tiny note
- A small ornament for a gift exchange
For a matching set, make three pouches and swap the red for pink, blue, or gold. Then tie them to a gift bag handle or hang them on the tree. You can also pair them with a crochet Christmas tree keychain or a Santa Claus keychain doll for a full holiday gift bundle.
If the pouches are going to young kids, skip hard candies, because they can be a choking risk for small children.
Bonus: Caring for Your Crochet Candy Pouch
Cotton handles gentle washing well, so a quick hand wash is usually enough when the pouch gets sticky. First, empty out any candy, and then wash it in cool water with a little mild soap.
Afterward, press the water out with a towel instead of wringing it, since twisting can pull the square out of shape. Finally, lay the pouch flat, straighten the corners, and let it air dry. Because red yarn can sometimes bleed onto white, test a small hidden spot first before you soak the whole pouch.
Crochet Christmas Candy Pouch FAQs
Can I skip the surface crochet?
Yes. You can embroider the red swirl with a yarn needle instead. It takes longer, but it also gives you more control over the spacing.
What yarn works best?
Cotton or a cotton blend works best because it holds the square shape and shows the red stripes clearly.
Can I make the pouch bigger?
Yes. Repeat Rnd 8 for each extra green round, since every new round adds 4 dc per side. Then work Rows 10–12 and the back panel with the same new stitch count. You can also switch to a thicker yarn and go up a hook size to match.
Is the pattern good for beginners?
It suits a confident beginner. As long as you can work in rounds and make a slip stitch, you already have the skills you need.
Ready to Fill Your First Pouch?
Make one pouch first, and jot down any changes while you work. That way, every pouch after it will match. Once the set is done, a crochet Christmas snowman makes a cheerful partner on the same holiday shelf, and the Seasonal Crochet collection has plenty more festive patterns to try next.