

In the embedded video above, you can see the visual flow of how the pieces come together. Watching the video while following this guide ensures that you grasp the shaping of the head and the placement of the hair. It serves as a perfect companion to the written instructions, helping you visualize the transition from the legs to the torso. By observing the techniques used in the footage, you can better understand how to achieve that signature “lifeless” stare that makes Michael Myers so recognizable.
Skill Level: Intermediate
This Crochet Michael Myers Doll Horror Amigurumi is rated at an intermediate skill level. While the basic shapes are simple, the color changes and the detail work on the mask require a steady hand. You should be comfortable with the magic ring, single crochet, increases, and invisible decreases. If you have mastered these basics, you are ready to tackle this slasher icon.
Tutor’s Suggestions
Before you begin, I highly recommend choosing a yarn with a matte finish to give the coveralls a realistic look. When working on the mask, keep your tension tight so that the stuffing does not peek through the white yarn. Additionally, using a smaller hook than what the yarn label suggests will result in a firmer, more professional-looking doll. Always use a stitch marker because working in continuous rounds can get confusing without one.
Materials Needed
To create your Crochet Michael Myers Doll Horror Amigurumi, gather the following supplies:
-
Worsted weight yarn in White (for the mask)
-
Worsted weight yarn in Navy Blue or Dark Grey (for the coveralls)
-
Worsted weight yarn in Brown or Black (for the hair)
-
A small amount of Black embroidery thread (for eyes and mask details)
-
3.25mm or 3.5mm crochet hook
-
Polyester fiberfill stuffing
-
Yarn needle and scissors
-
Safety eyes (optional, if you prefer them over embroidery)
Step-by-Step Guide
The Head and Mask
Start by using the white yarn to create the mask. Begin with a magic ring and work six single crochets into it. In the next round, increase by one stitch to reach twelve. You will continue to increase until the circle is the desired width for the head. Afterwards, work several rounds of even single crochet to create the height. This pale white face is the most crucial part of your Crochet Michael Myers Doll Horror Amigurumi, so take your time. Once you reach the base of the head, start your invisible decreases and stuff the head firmly before closing.
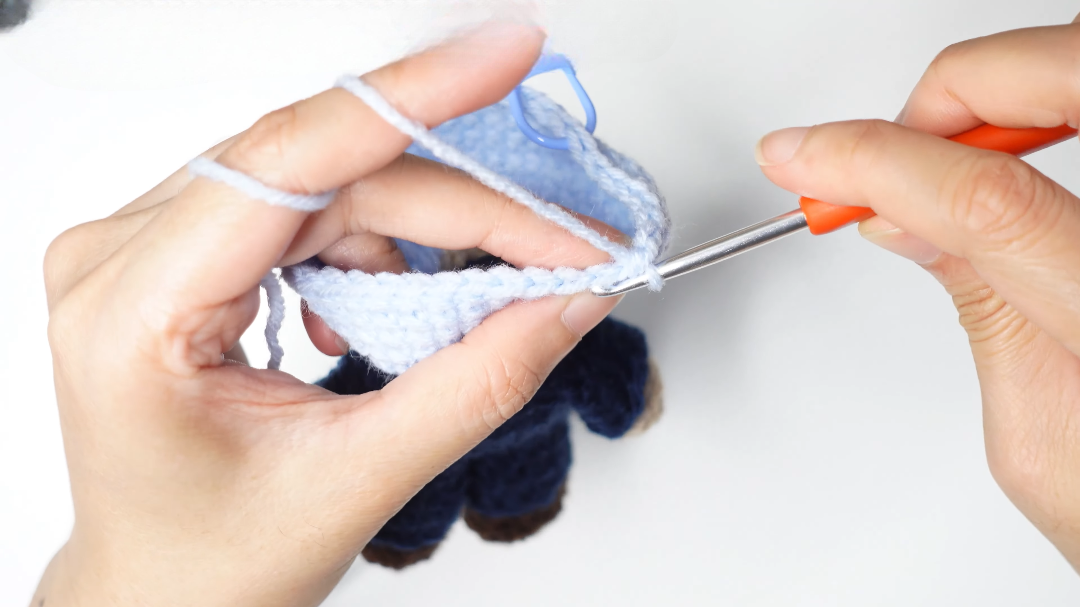
The Body and Coveralls
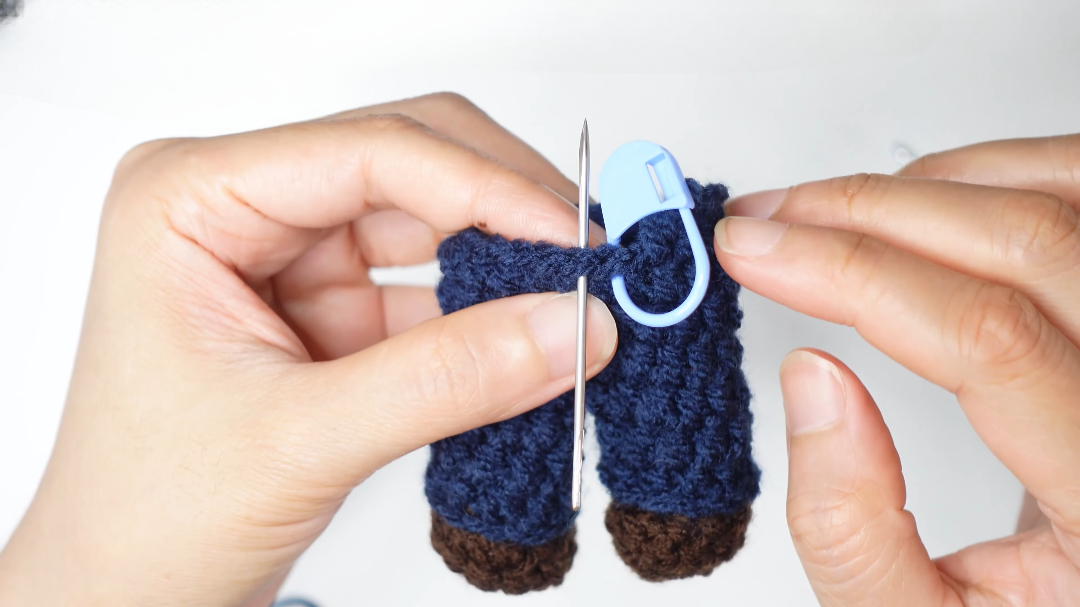
Switch to your navy blue or dark grey yarn to begin the body. You will start from the bottom, creating two separate legs and then joining them to form the torso. As you move upward, make sure to keep your stitches consistent. The transition from the legs to the body should be seamless to mimic the look of a jumpsuit. As you reach the neck area, you will eventually join the body to the head you created earlier. Ensure you add enough stuffing to the neck so the head doesn’t flop over.
Arms and Knife Accessory
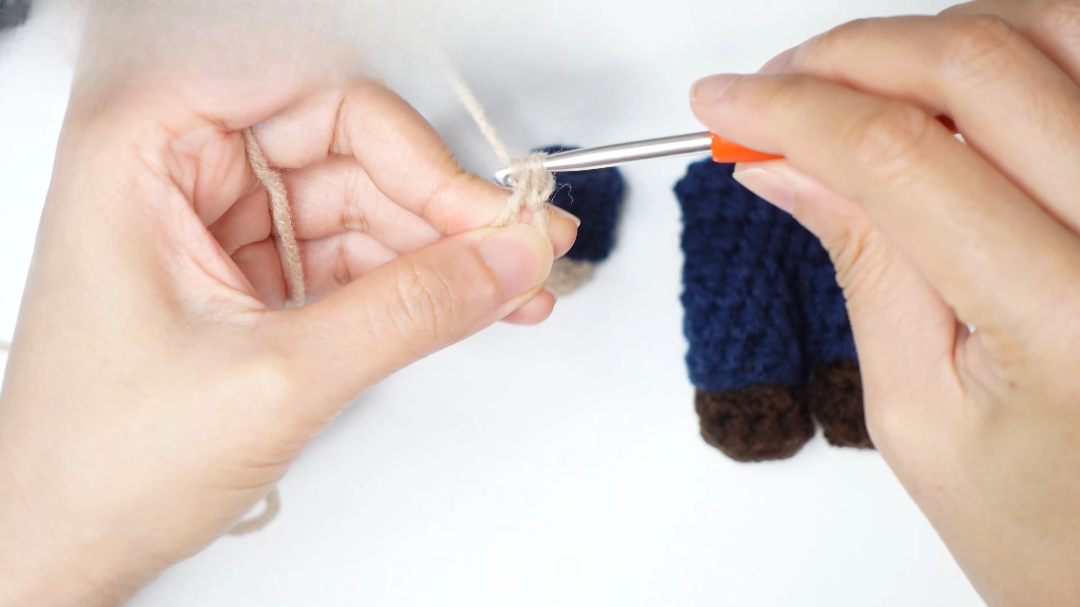
The arms are simple tubes worked in the same color as the coveralls. You can leave the hands white to represent the mask or use a flesh tone if you want to show skin. For the finishing touch, you can crochet a tiny grey and black knife. This accessory really completes the Crochet Michael Myers Doll Horror Amigurumi look. Securely sew the arms to the sides of the body, making sure they are symmetrical.
Where to Use Your Doll
You can use your completed Crochet Michael Myers Doll Horror Amigurumi in various ways. It makes an excellent centerpiece for a Halloween-themed shelf or a desk accessory for a horror movie fan. Because of its compact size, you can even turn it into a bag charm or a hanging ornament for a “spooky tree.” Many crafters also sell these at horror conventions or craft fairs, as there is a huge market for handmade movie memorabilia.
Tips and Tricks
One great tip for a better finish is to use the “yarn under” technique instead of “yarn over.” This creates a “V” shape stitch that is more aligned and tighter, which is perfect for amigurumi. When adding the hair, use a “loop stitch” or simply attach strands of brown yarn and brush them out with a wire pet brush. This gives Michael that messy, unkempt hair look from the films. Furthermore, adding a little bit of grey eyeshadow around the eyes of the mask can add depth and a more haunting appearance.
Common Mistakes
A frequent mistake is not stuffing the doll enough, which leads to a wrinkly appearance over time. Conversely, overstuffing can stretch the stitches and show the white fluff inside. Another error is placing the eyes too high. For a true Crochet Michael Myers Doll Horror Amigurumi, the eyes should be positioned near the middle of the head to give him that signature forehead. Lastly, forgetting to secure the yarn ends inside the body can cause the doll to unravel with handling.
Frequently Asked Questions
1. How long does it take to finish the doll?
Usually, an experienced crafter can finish this doll in about 4 to 6 hours. However, if you are a beginner, it might take a couple of days.
2. Can I use different yarn weights?
Yes, you can use bulky yarn to make a giant version, but remember to increase your hook size accordingly to maintain the stitch density.
3. Is this safe for small children?
If you use safety eyes, they can be a choking hazard. For children, it is better to embroider the eyes using black yarn or thread.
4. How do I clean my amigurumi?
It is best to spot clean with a damp cloth. If you must wash it, place it in a mesh bag and use a delicate cycle with cold water, then air dry.
5. Can I sell the dolls I make from this guide?
Most designers allow you to sell finished products, but it is always polite to credit the tutorial or the video that helped you.
Conclusion
In conclusion, crafting a Crochet Michael Myers Doll Horror Amigurumi is an enjoyable way to celebrate your love for horror cinema. By following the steps outlined and utilizing the video as a visual aid, you can create a high-quality plushy that looks professional. Remember to focus on the details of the mask and the tension of your stitches to get the best result. This project is not only a great way to improve your crochet skills but also a fun way to bring a touch of the macabre into your crafting repertoire. Happy haunting and happy hooking!