

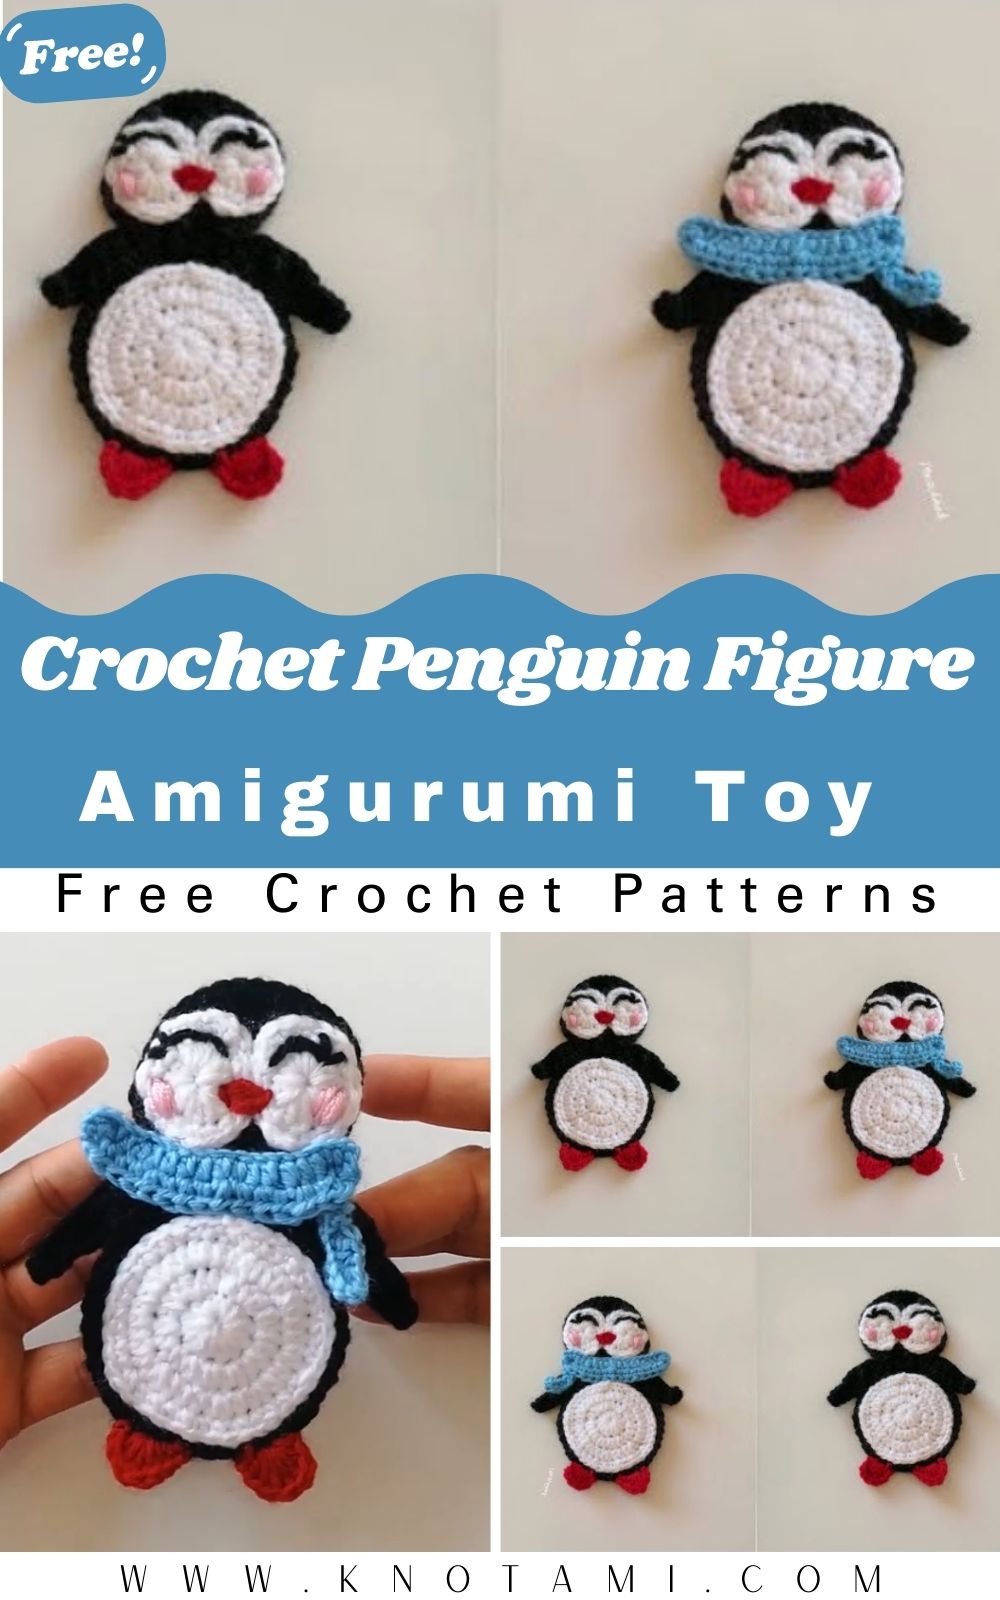
If you love making cute crochet animals, this Crochet Penguin Amigurumi Pattern is the perfect project to add to your collection. With its round body, tiny wings, bright orange feet, and sweet smiling face, this little penguin is guaranteed to bring a smile to anyone who sees it. Whether you’re crocheting for your child, decorating your home, creating holiday ornaments, or making handmade gifts, this adorable penguin is a fun project that you’ll enjoy from start to finish.
One of the best things about this crochAet penguin is its simple design. Most of the body is made using basic amigurumi techniques, making it suitable for beginners while still being enjoyable for experienced crocheters. The body is worked in continuous rounds, while the wings, feet, beak, and optional scarf are crocheted separately before being assembled into a charming little penguin.
Whether you’re new to crochet or already enjoy making amigurumi animals, this Crochet Penguin Amigurumi Pattern is a relaxing project that can usually be completed in just a few hours.
Skill Level
Difficulty: Easy
This pattern is suitable for beginners who know a few basic crochet stitches.
You’ll need to know:
- Magic Ring (MR)
- Chain Stitch (ch)
- Single Crochet (sc)
- Increase (inc)
- Invisible Decrease (dec)
- Slip Stitch (sl st)
- Fasten Off (FO)
No advanced crochet techniques are required.
Project Information
| Project Details | Information |
|---|---|
| Project Type | Penguin Amigurumi |
| Skill Level | Easy |
| Finished Size | 15–18 cm (6–7 inches) |
| Time Required | 3–5 Hours |
| Yarn Weight | DK or Worsted Cotton |
| Hook Size | 2.5 mm – 4 mm |
| Crochet Terms | US Terms |
Materials You’ll Need
Before starting your Crochet Penguin Amigurumi Pattern, gather all your supplies.
Yarn Colors
Use soft cotton or acrylic yarn.
Recommended colors:
- Black (Head, Body, Wings)
- White (Face and Belly)
- Orange or Red (Beak and Feet)
- Sky Blue (Scarf)
- Pink (Blush or Accessories)
- Gray (Optional)
- Yellow (Optional Decoration)
Cotton yarn is recommended because it gives the penguin a firm shape and beautiful stitch definition.
Crochet Hook
Choose a hook size that matches your yarn.
Recommended sizes:
- 2.5 mm
- 3.0 mm
- 3.5 mm
- 4.0 mm
A smaller hook creates tighter stitches that keep the stuffing hidden.
Additional Supplies
You’ll also need:
- Polyester Fiberfill
- Yarn Needle
- Stitch Marker
- Sharp Scissors
- Safety Eyes (6–10 mm)
- Black Embroidery Thread
- Pink Blush Powder (Optional)
- Measuring Tape
Crochet Abbreviations
| Abbreviation | Meaning |
|---|---|
| MR | Magic Ring |
| ch | Chain |
| sc | Single Crochet |
| inc | Increase |
| dec | Invisible Decrease |
| sl st | Slip Stitch |
| FO | Fasten Off |
| st | Stitch |
| R | Round |
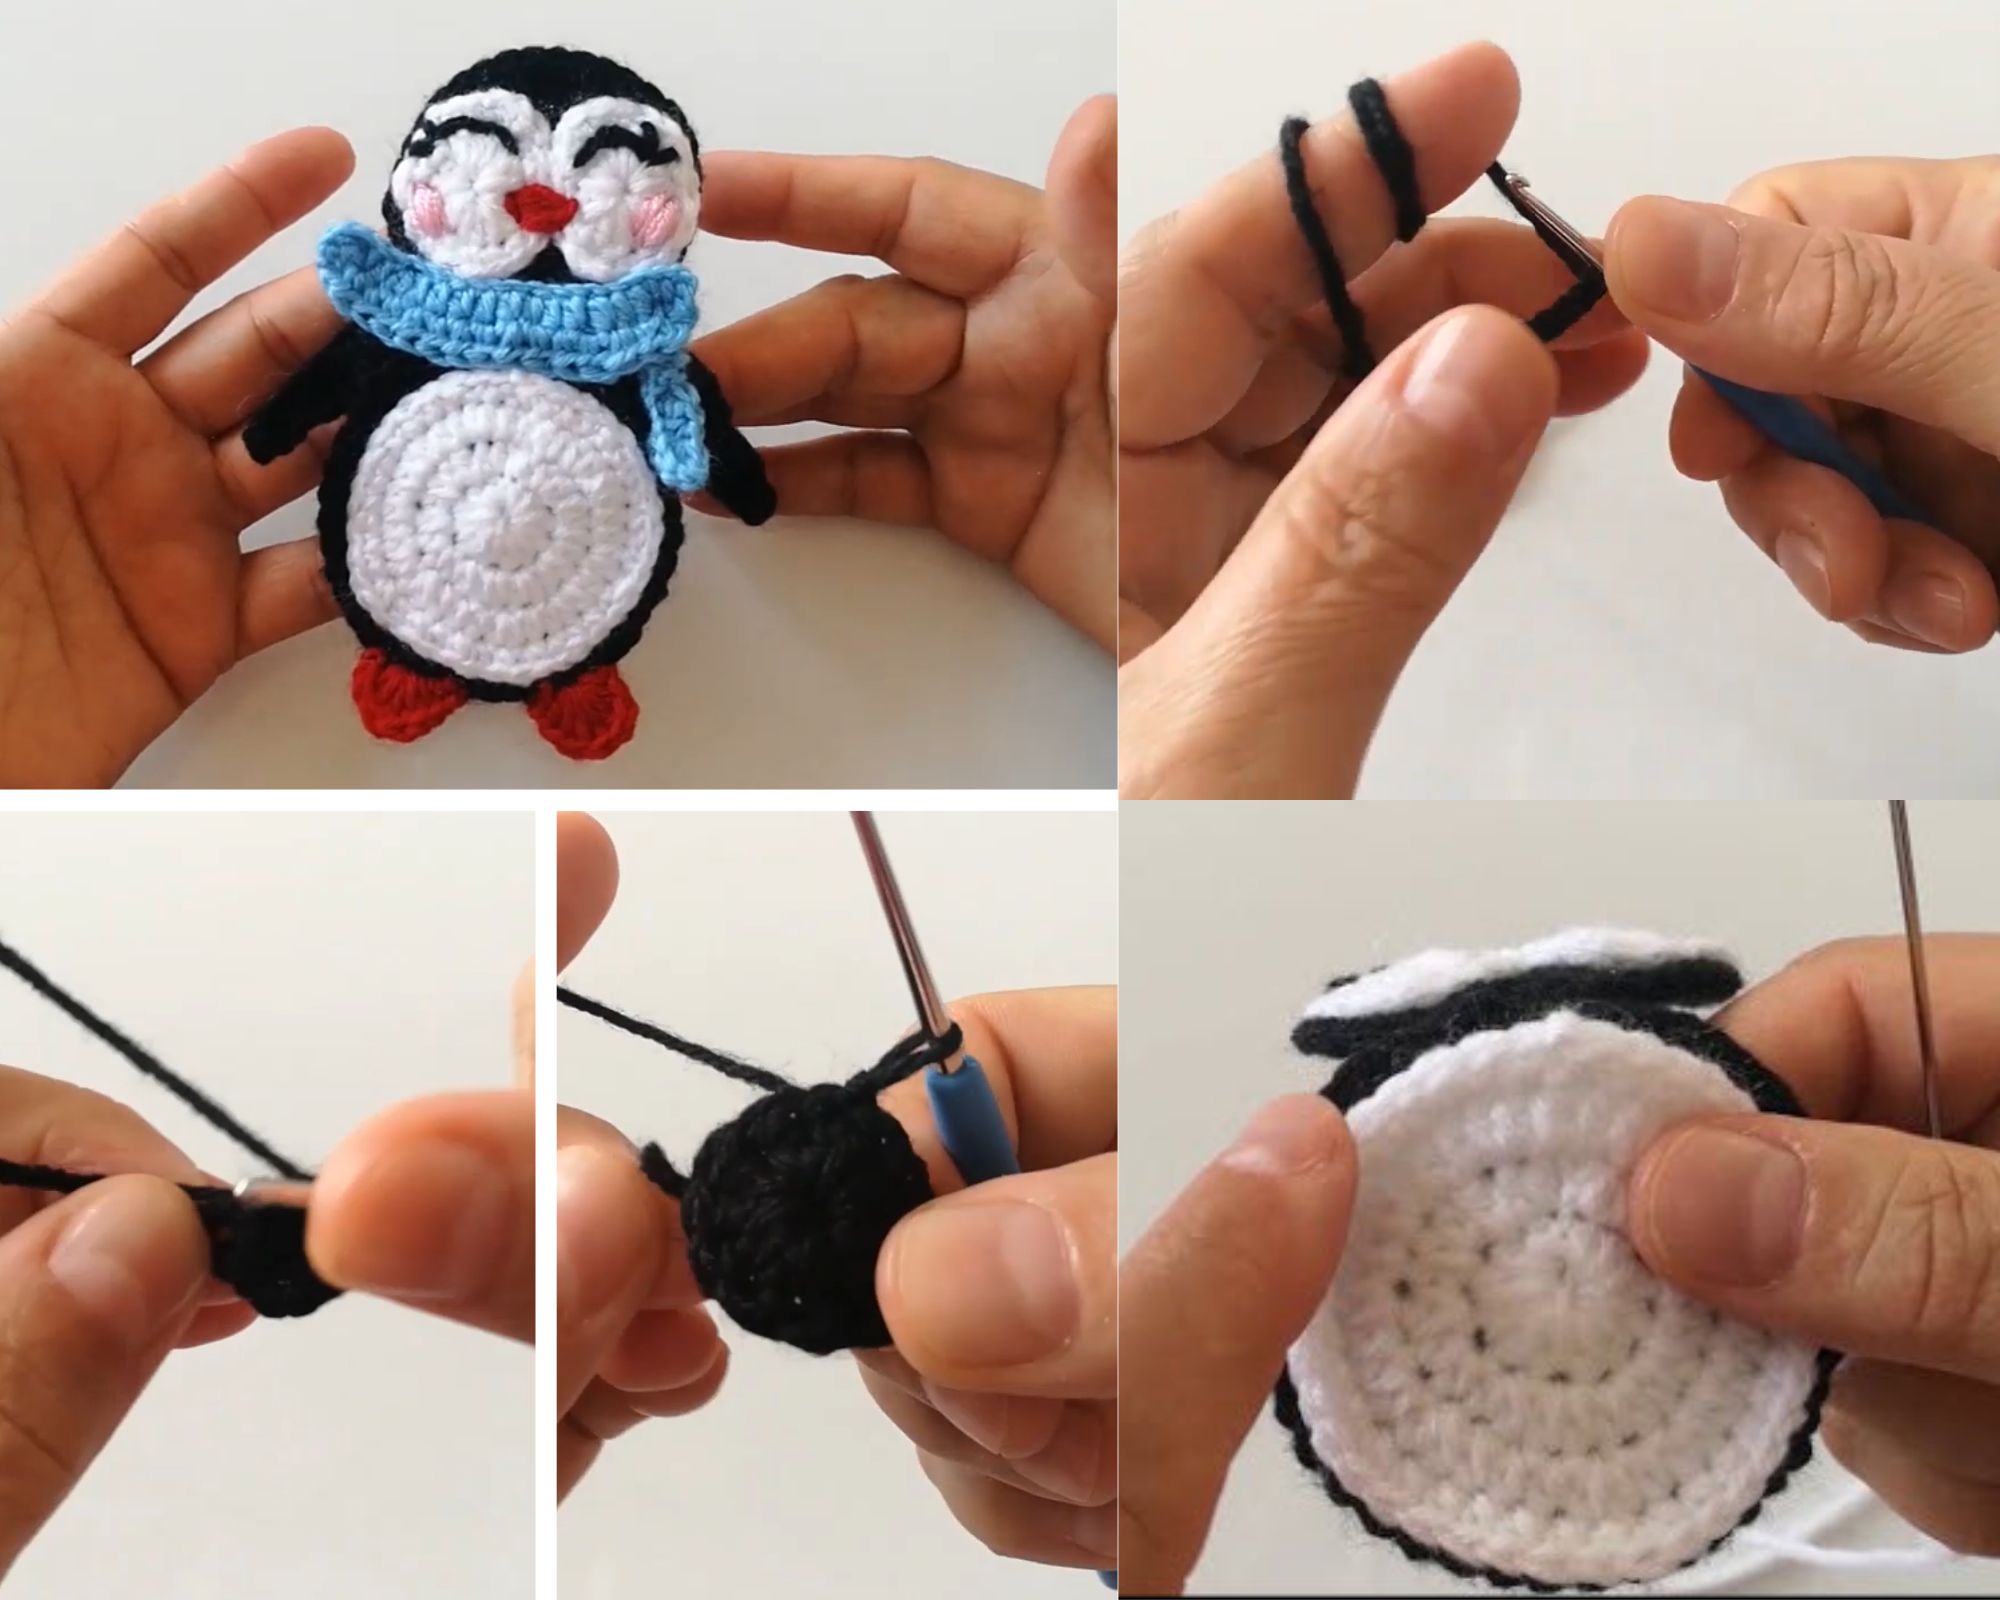
Step-by-Step Crochet Penguin Amigurumi Pattern
Now that you have all your materials ready, it’s time to crochet your adorable penguin. This project is made in separate pieces, including the head, body, wings, beak, feet, and an optional scarf. Once every piece is complete, they are sewn together to create a soft and lovable penguin.
Work slowly, count your stitches at the end of every round, and keep your tension even for the best results.
Step 1 – Crochet the Penguin Head
The head is the most expressive part of the penguin and gives it its cute personality.
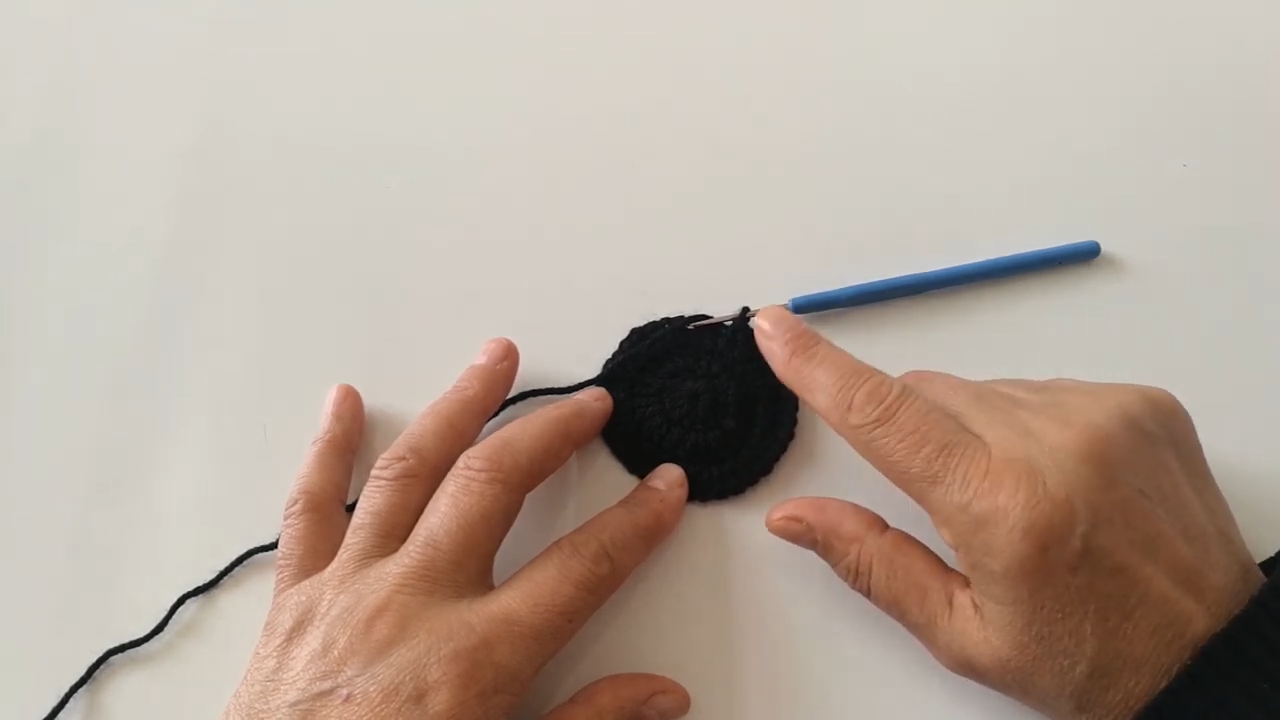
Using black yarn, begin with a Magic Ring (MR) and crochet 6 single crochet (SC) stitches into the ring.
Increase evenly over the next several rounds until you reach approximately 30–36 stitches.
Once you’ve reached the desired size, crochet several rounds without increasing to create a smooth, round shape.
Before closing the head, insert the 6–8 mm safety eyes between rounds 10 and 12, leaving about five stitches between them.
Embroider the sleepy eyebrows and add small pink cheeks using embroidery thread or fabric blush to give your penguin a friendly expression.
Stuff the head firmly with polyester fiberfill before completing the final decrease rounds.
Fasten off, leaving a long yarn tail for sewing.
Step 2 – Crochet the Body
The body has a soft oval shape that gives the penguin its classic appearance.
Start with another Magic Ring using black yarn.
Increase gradually until you have approximately 24–30 stitches.
Crochet evenly for several rounds before beginning the decrease section.
Before closing, crochet or sew the white belly panel onto the front of the body.
Fill the body with polyester fiberfill until it feels soft but firm enough to stand upright.
Complete the decrease rounds and fasten off.
Step 3 – Make the White Face Panel
The white face is one of the cutest parts of this Crochet Penguin Amigurumi Pattern.
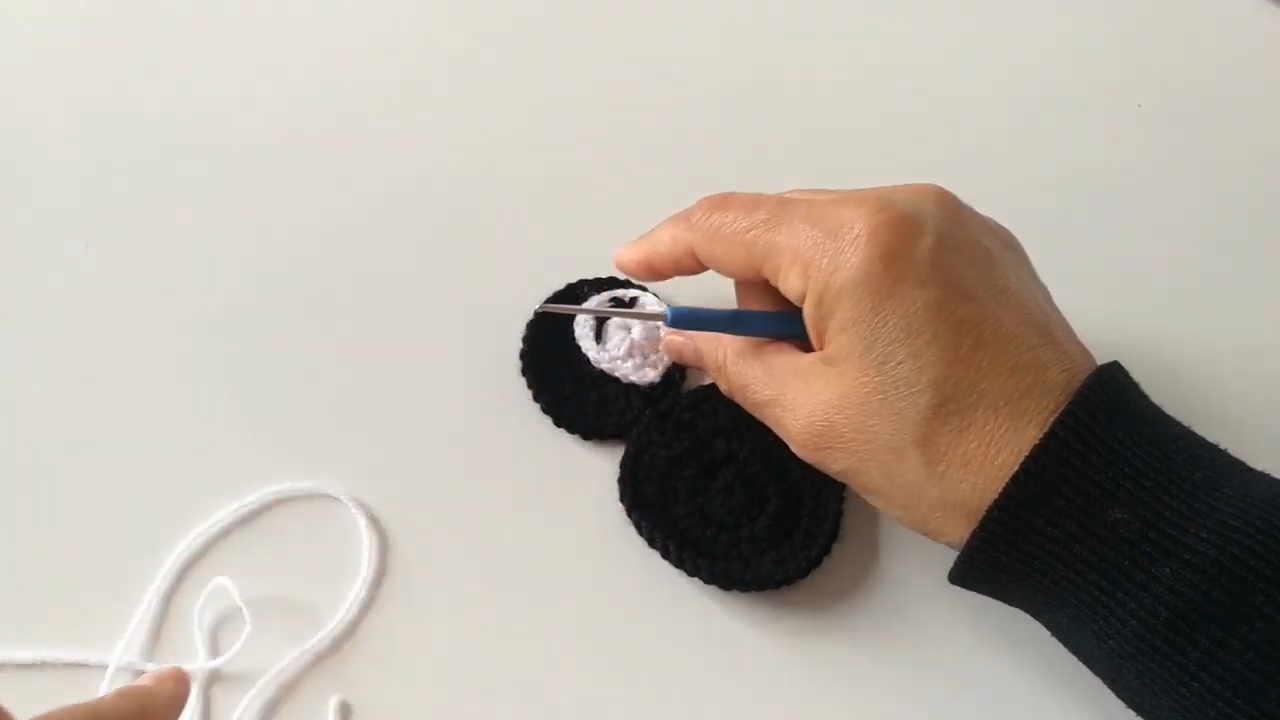
Using white yarn, crochet a small oval or rounded piece that fits neatly on the front of the head.
Sew it carefully beneath the eyes.
The white face creates a beautiful contrast against the black body and gives the penguin its classic look.
Step 4 – Crochet the Wings
The wings are small, flat pieces that are quick to make.
Using black yarn:
- Begin with a Magic Ring.
- Crochet six single crochet stitches.
- Increase slightly during the second round.
- Crochet straight for several rounds to create a small teardrop shape.
Make two identical wings.
Leave long yarn tails for sewing.
Attach one wing to each side of the body.
Position them slightly forward if you’d like your penguin to look like it’s giving a hug.
Step 5 – Crochet the Beak
The tiny orange beak brings your penguin to life.
Using orange or bright red yarn:
Start with a Magic Ring containing four or five stitches.
Crochet a few increase rounds before shaping it into a small triangle or cone.
Fasten off and sew the beak directly below the eyes.
Take your time with the placement, as it greatly affects the penguin’s facial expression.
Step 6 – Crochet the Feet
The bright orange feet complete the penguin’s adorable appearance.
Using orange yarn:
Create two small oval pieces.
Lightly flatten them before attaching them underneath the body.
Position both feet evenly so the penguin balances properly while sitting.
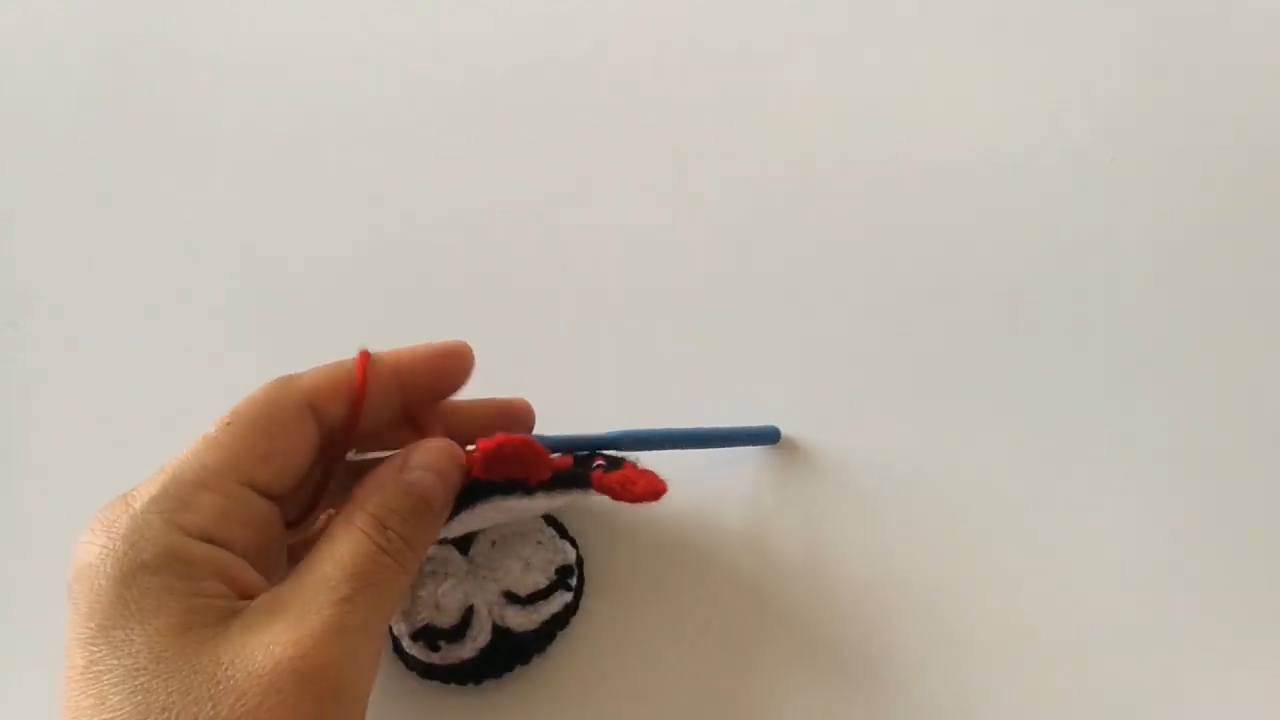
Step 7 – Crochet the Scarf (Optional)
The blue scarf shown in the picture adds warmth and personality.
Using light blue yarn:
Chain approximately 45–60 stitches, depending on the size of your penguin.
Work one row of single crochet across the chain.
Fasten off and gently wrap the scarf around the penguin’s neck.
Leave the ends hanging naturally or tie a small knot for a winter look.
You can make scarves in many different colors:
- Sky Blue
- Red
- Green
- White
- Pink
- Purple
- Rainbow
This simple accessory instantly transforms your Crochet Penguin Amigurumi into a festive decoration.
Step 8 – Assemble Your Penguin
Now comes the most enjoyable part of the project.
Begin by sewing the head securely onto the body.
Next, attach the white face panel if you haven’t already.
Sew the beak just below the eyes.
Attach the wings evenly to both sides of the body.
Finally, sew the feet underneath the body so your penguin sits upright.
Hide all loose yarn ends inside the toy.
Gently shape the stuffing with your hands until the penguin looks smooth and round.
Your adorable Crochet Penguin Amigurumi is now finished.
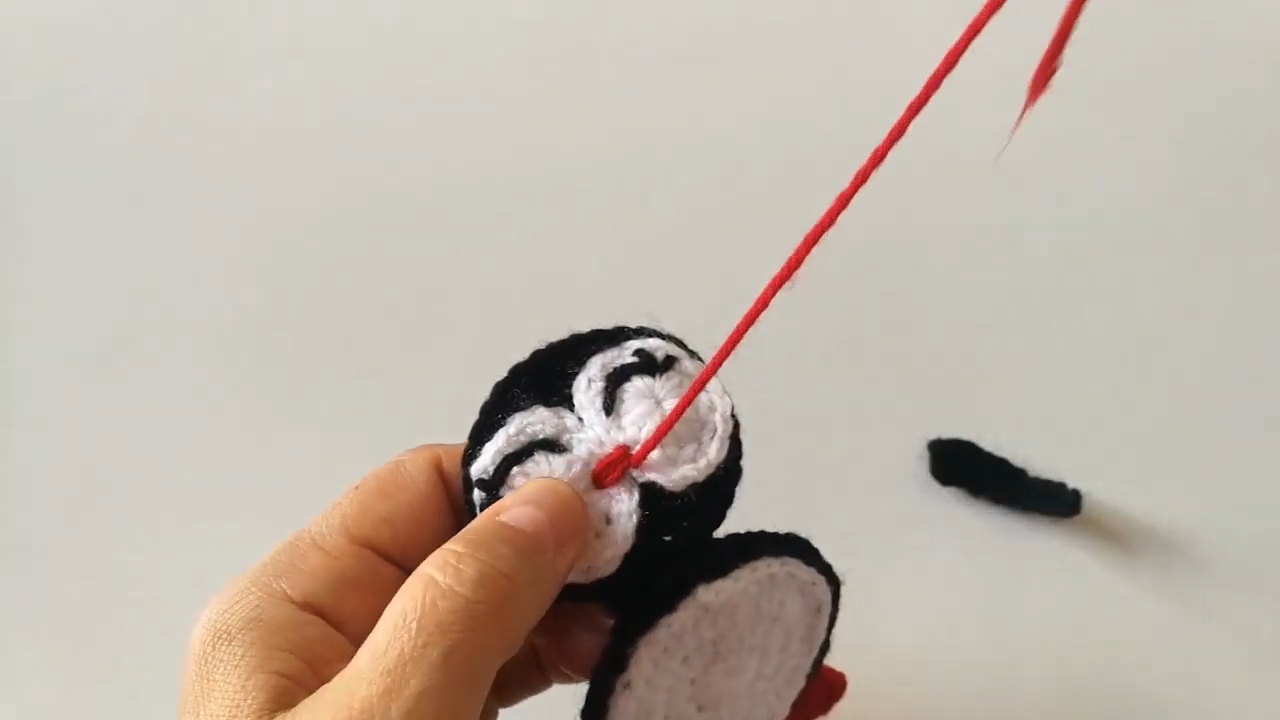
If you prefer learning by watching, this pattern also includes a complete video tutorial. The video walks you through every step of creating the Crochet Penguin Amigurumi Pattern, including crocheting the head, body, wings, feet, beak, and optional scarf before assembling everything together.
Watching the tutorial makes it much easier to understand shaping techniques, stitch placement, and assembly. You can pause, rewind, and crochet at your own pace while following along.
Common Mistakes to Avoid
Even beginner-friendly projects have a few challenges.
Loose Crochet Stitches
Loose stitches allow stuffing to show through.
Choose a slightly smaller crochet hook if necessary.
Uneven Stuffing
Overstuffing stretches the fabric.
Understuffing causes the penguin to collapse.
Aim for a soft but firm shape.
Incorrect Eye Placement
Place the safety eyes before closing the head.
Always check symmetry before securing them.
Uneven Wings
Measure both wings before sewing.
Even a small difference is noticeable.
Forgetting Stitch Counts
Count your stitches after every round to maintain the correct shape.
Helpful Crochet Tips
- Use a stitch marker for every round.
- Keep your crochet tension consistent.
- Stuff the head slightly firmer than the body.
- Pin pieces before sewing permanently.
- Hide all yarn ends neatly inside the toy.
- Take your time assembling for the cutest result.
Creative Ways to Use Your Crochet Penguin
This little penguin can be used in many ways.
- Nursery decoration
- Christmas ornament
- Handmade gift
- Baby shower gift
- Children’s toy
- Desk decoration
- Shelf decoration
- Backpack charm
- Keychain (mini version)
- Craft fair product
- Holiday decoration
- Winter home décor
Because penguins are loved during the winter season, they’re especially popular for Christmas markets and handmade gift shops.
Frequently Asked Questions
Is this Crochet Penguin Amigurumi Pattern suitable for beginners?
Yes. This project only uses basic crochet stitches and is an excellent introduction to amigurumi.
Which yarn is best?
Cotton yarn provides the cleanest stitches and helps the penguin maintain its shape.
How long does it take?
Most crocheters complete one penguin in 3–5 hours.
Can I make it bigger?
Yes. Use thicker yarn and a larger crochet hook to create a larger penguin.
Is it washable?
Yes. Hand washing with mild detergent is recommended.
Final Thoughts
The Crochet Penguin Amigurumi Pattern is a fun and rewarding crochet project that combines simple techniques with an irresistibly cute design. Its round body, tiny wings, colorful feet, and cheerful face make it a wonderful project for beginners and experienced crocheters alike.
Whether you’re making it as a holiday decoration, a handmade gift, or a soft toy for a child, this little penguin is sure to bring smiles. Try experimenting with different scarf colors, hats, and accessories to create a whole family of unique penguins. Once you’ve finished your first one, you’ll likely want to make many more to share with friends and loved ones.