
Creating handmade clothes for little ones is one of the most rewarding experiences for any maker. Whether you are preparing for a new arrival in your own family or searching for the ultimate DIY baby shower gift, these crochet shorts are the perfect solution. Consequently, you will find that this design is not only stylish but also incredibly practical for everyday wear.
Moreover, this specific crochet unisex baby pattern focuses on comfort and flexibility. We use a special ribbing technique for the waistband to ensure it stays snug yet gentle on a baby’s delicate skin. Because this project is gender-neutral, you can play with various yarn colors to match any nursery theme. Therefore, let us gather our hooks and yarn as we dive into this comprehensive guide that will help you master the art of baby garment construction today.

If you have just finished watching the embedded video above, you likely noticed how quickly these shorts come together. The visual guide is an excellent way to see the texture of the stitches in real-time. However, to ensure your project turns out perfectly, it is essential to follow the written steps closely. This written guide provides the specific stitch counts and technical details that complement the video. As a result, you will have a sturdy and professional-looking finished product.
Skill Level: Beginner to Intermediate
This crochet unisex baby pattern is rated as Easy. If you know how to do a chain, single crochet, and double crochet, you are ready to begin. Specifically, the waistband uses “ribbing” which is a great skill for beginners to practice. While the construction involves a few steps like connecting the legs, the process remains straightforward and logical throughout.
Tutor’s Suggestions
To get the best results with this crochet unisex baby pattern, I highly suggest choosing a soft cotton or bamboo blend yarn. Since babies have sensitive skin, natural fibers are usually the best choice. Additionally, always make sure to check your gauge before starting. If your stitches are too tight, the shorts might be stiff; if they are too loose, they may lose their shape. Furthermore, using a stitch marker is vital when you start the round sections to avoid losing your place.
Materials Needed & Step by Step Guide
Materials
-
Soft Baby Yarn (Category 3 or 4)
-
Crochet Hook (suggested 3.5mm or 4.0mm)
-
Tapestry needle for weaving in ends
-
Scissors
-
Measuring tape
-
Contrasting color yarn for the decorative edge
Step 1: Crafting the Waistband
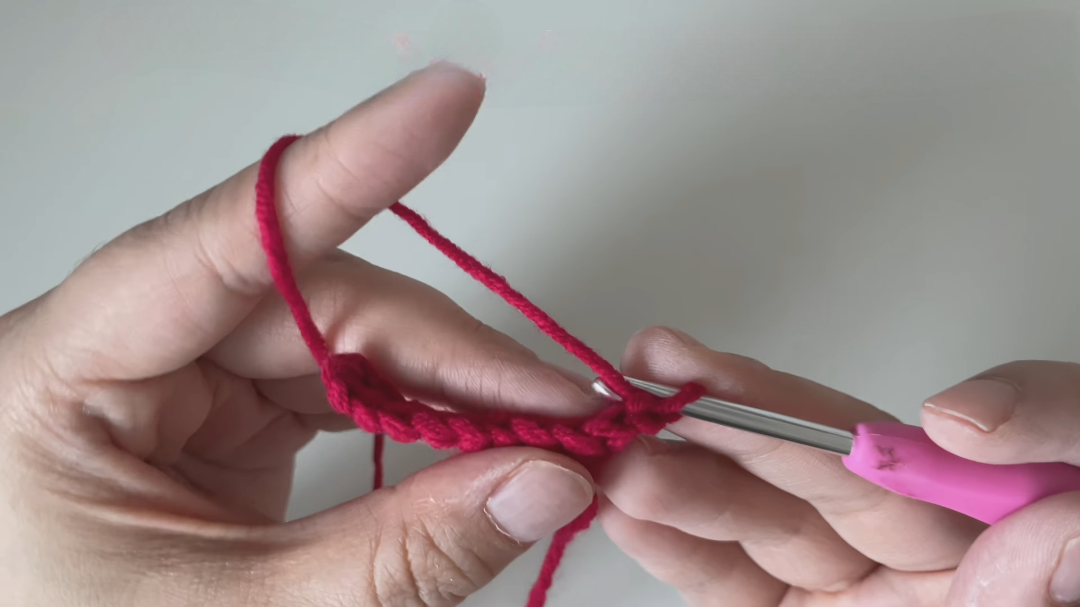
To start your crochet unisex baby pattern, create a slip knot and chain 9. Then, add 1 extra chain for the turning height. Beginning in the second chain from the hook, work a single crochet into each of the 9 chains. For the second row, we use the “back loop only” (BLO) technique. By doing this, you create a stretchy ribbing that looks like a knitted cuff. Continue this until the band reaches your desired length. Typically, you should aim for about 5cm less than the actual waist measurement to account for the natural stretch of the yarn.
Step 2: Joining the Band
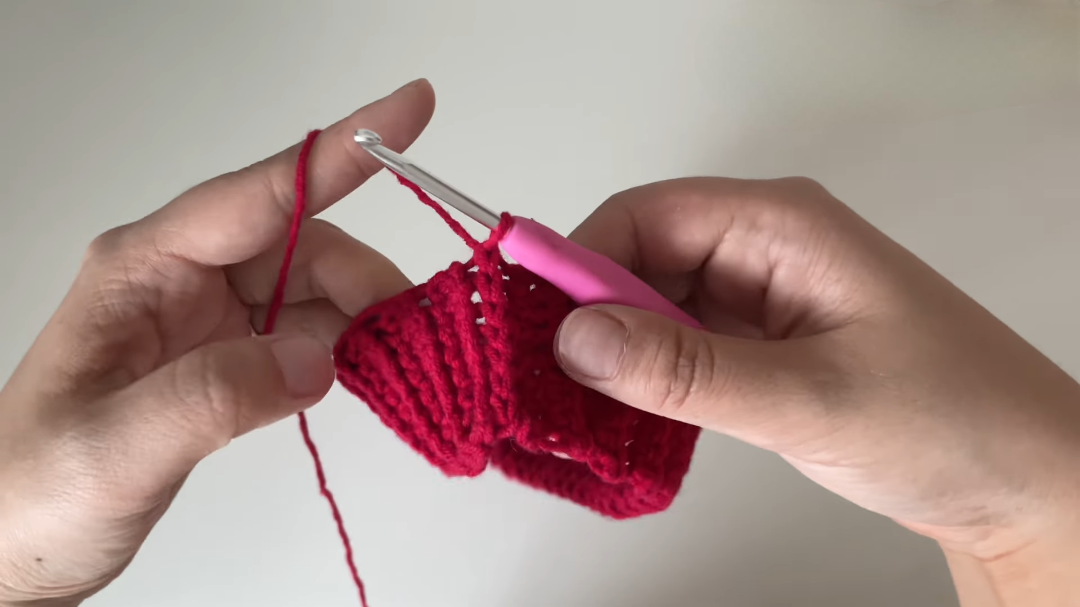
Once your ribbing is long enough, fold the piece in half. You will now join the ends using a slip stitch or a single crochet join. Make sure the seam is on the inside so that the outside remains smooth. After joining, flip the band right-side out. This creates a professional finish for your crochet unisex baby pattern.
Step 3: Picking Up Stitches
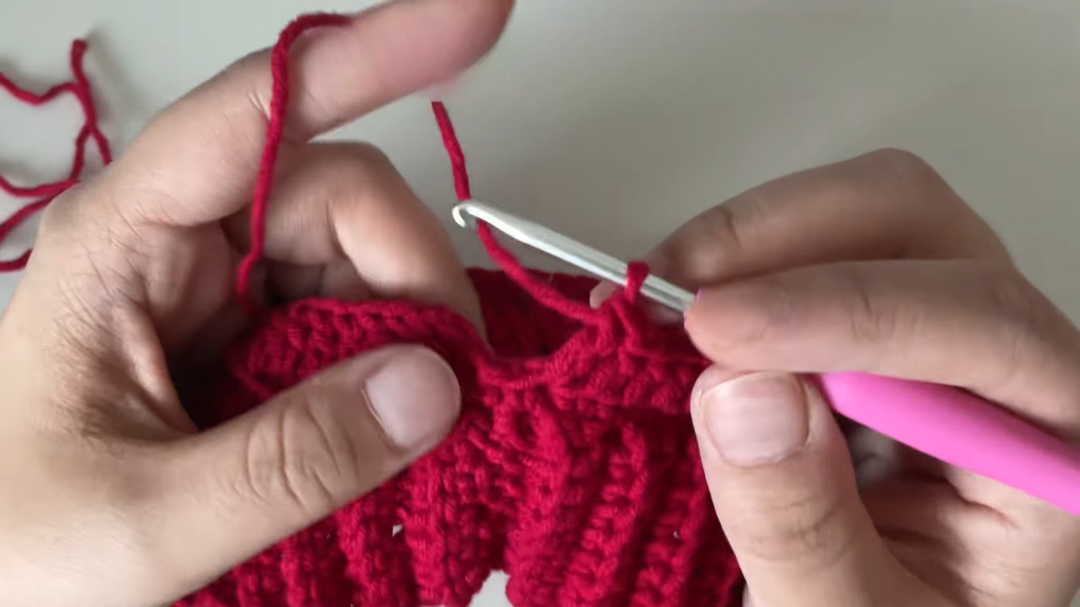
Now, we will work along the side of the waistband. Chain 1 and work single crochets evenly around the edge. A good rule of thumb is to place one stitch in every row of the ribbing. Ensure you have an even number of stitches at the end of this round. This foundation row is crucial because it connects the elastic-style waist to the main body of the shorts.
Step 4: The Body of the Shorts
Switch to double crochet (or half double crochet) for the body. Chain 3 (this counts as your first stitch) and work one double crochet in every stitch around. Depending on the size you are making, you may need to increase a few stitches in the first two rows to give the shorts a “bloomer” shape. Continue working in rounds until the body is long enough to reach the crotch area.
Step 5: Creating the Leg Holes
This is the most exciting part of the crochet unisex baby pattern. Find the exact center of your piece. Chain 10 and attach it to the opposite side of the shorts with a slip stitch. This chain creates the bridge between the legs. Now, you will have two separate circles. Start working your double crochets around one circle first to form the first leg. Repeat the same process for the second leg, ensuring they are the same length.
Step 6: Decorative Edging and Drawstring
Finally, take your contrasting white yarn. We will add a “shell” or “v-stitch” edge to the bottom of the legs for a cute finish. For the drawstring, use the “double chain” method. This involves using two strands of yarn or a specific looping technique to create a thick, sturdy cord. Thread this cord through the waistband ribbing using a tapestry needle.
Where to Use This Pattern
You can use this crochet unisex baby pattern for various occasions. It is a fantastic choice for summer outfits because the design allows for airflow. Additionally, these shorts work perfectly over a diaper for professional baby photography sessions. Because they are so durable, they also make excellent hand-me-downs for siblings. Whether for a playground date or a nap at home, these shorts provide the ultimate comfort.
Tips and Tricks
-
Keep it even: When picking up stitches on the waistband, try to stay consistent so the fabric doesn’t bunch up.
-
Softness check: Always feel the yarn against your neck to ensure it isn’t scratchy before you start.
-
Color Play: Use variegated yarn to create a fun, multi-colored look without having to change balls of yarn frequently.
-
Tension: If you find the legs are too tight, try using a slightly larger hook for that section.
Common Mistakes to Avoid
One common mistake is forgetting to count your stitches after the waistband join. If you have an uneven number, the leg division will be off-center. Another error is making the drawstring too short. Always leave at least 10cm of extra length on each side so you can tie a secure bow. Lastly, avoid using bulky buttons or zippers on baby items, as these can be uncomfortable or even a choking hazard. Stick to the soft yarn drawstring as suggested in this crochet unisex baby pattern.
FAQs
Q1: Can I make this for a newborn?
Yes, simply reduce the initial waistband length and the number of rows in the body.
Q2: What yarn weight is best for this crochet unisex baby pattern?
A light worsted or “double knitting” (DK) weight yarn is ideal for a balance of warmth and breathability.
Q3: How do I wash these handmade shorts?
It is best to hand wash them in cool water and lay them flat to dry to prevent stretching.
Q4: Is the drawstring safe for babies?
Yes, as long as it is woven securely into the waistband and not left long enough to become a tangle hazard.
Q5: Can I add pockets to this design?
Absolutely! You can crochet two small squares and sew them onto the back for an adorable detail.
Conclusion
In conclusion, mastering this crochet unisex baby pattern is a wonderful way to expand your crafting skills while creating something truly useful. By following the steps from the stretchy waistband to the delicate edging, you have produced a garment that is both beautiful and functional. Because you chose to make this yourself, the quality is far superior to store-bought alternatives.
Furthermore, remember that every stitch you make carries the care and love you put into your work. As you continue to practice, you might even feel inspired to create matching hats or sweaters. Therefore, do not hesitate to experiment with different textures and colors in the future. We hope this guide has been helpful and that you feel confident in your ability to create wonderful handmade clothing. Happy crocheting, and enjoy the process of bringing your creative visions to life!