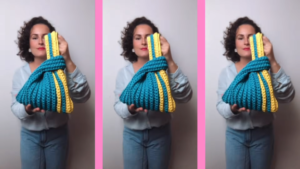
Free Crochet Fanny Pack Crossbody Bag With Flowers
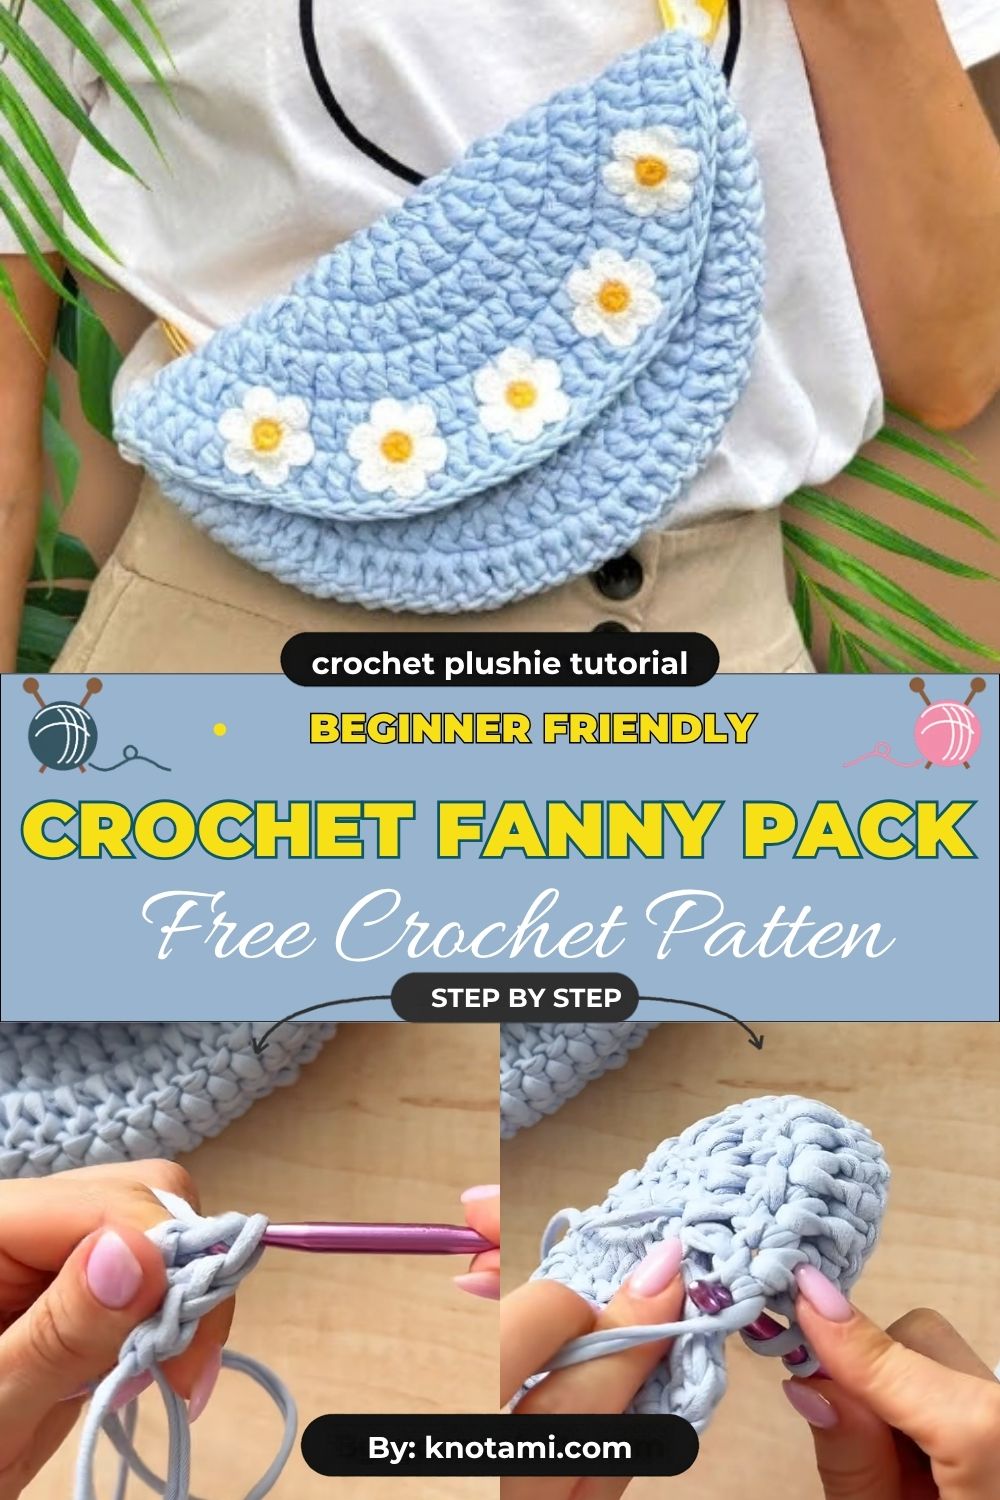
This crochet fanny pack crossbody bag with flowers might be the cheeriest accessory you make this year. It brings garden-party charm to everyday outfits, and it keeps your hands free. Plus, you can wear it at the waist or across your body, depending on your mood.
This free crochet pattern uses nothing fancier than single crochet. First, you’ll make an oval base. Next, you’ll work the walls in rounds, and then you’ll add a rounded flap and a sturdy strap. Finally, you’ll decorate everything with handmade flowers. Because the project works up quickly, it makes a great weekend make.
The flowers steal the show, so choose colors you love. Since every part uses basic stitches, you can finish this crochet fanny pack crossbody bag with flowers even if you’re still learning.
Skill Level for This Crochet Fanny Pack Crossbody Bag With Flowers
This pattern suits beginners and confident beginners. If you can chain, single crochet, and work in a spiral, you already have the skills you need. Then the flowers use a magic ring and double crochet, which most people pick up after a little practice. In other words, it’s a nice step up when you’ve finished a few coasters or scarves and now want something wearable. Also, if the magic ring is new to you, our magic ring tutorial walks you through it.
Materials You’ll Need
First, pick your yarn for this crochet fanny pack crossbody bag with flowers. Cotton works best for bags because it’s sturdy and barely stretches. However, make sure you choose worsted weight (size 4). If you’re unsure what that means, the Craft Yarn Council’s yarn weight guide explains each category.
Next, gather your colors. You’ll need about 150 g of a main color, such as cream, sage green, or denim blue. In addition, you’ll need small amounts of pink, lavender, peach, or white for the petals. Finally, keep a scrap of yellow for the flower centers and a scrap of green for the leaves.
For tools, use a 3.5 mm (E-4) or 4 mm (G-6) hook. Because tighter stitches keep the fabric firm, go one size smaller than the yarn label suggests. Also, grab a yarn needle, scissors, stitch markers (a safety pin works too), and a measuring tape.
Then add the extras. You’ll need one large button (about 1 inch) for the flap. Meanwhile, swivel clasps or D-rings are optional if you want a detachable strap. Similarly, a keychain ring, a small charm, or a fabric lining are nice optional touches. This bag needs no stuffing, though.
Crochet Techniques Used
First, you’ll use a magic ring for the flower centers and petals. Then single crochet (sc) builds the bag, flap, and strap, while double crochet (dc) shapes the petals. Also, a simple increase (2 sc in one stitch) forms the oval base, and a decrease (sc2tog) rounds off the flap. Finally, you’ll sew the pieces together to attach the strap, flowers, leaves, and button.
Crochet Fanny Pack Crossbody Bag With Flowers: Step-by-Step Pattern
Abbreviations (US terms): ch = chain, sc = single crochet, dc = double crochet, sl st = slip stitch, inc = 2 sc in the same stitch, sc2tog = single crochet two together.
Keep in mind that your gauge changes the final size. For example, with a 4 mm hook and cotton yarn, the bag measures about 8 inches wide and 4.5 inches tall.
Part 1: The Oval Base
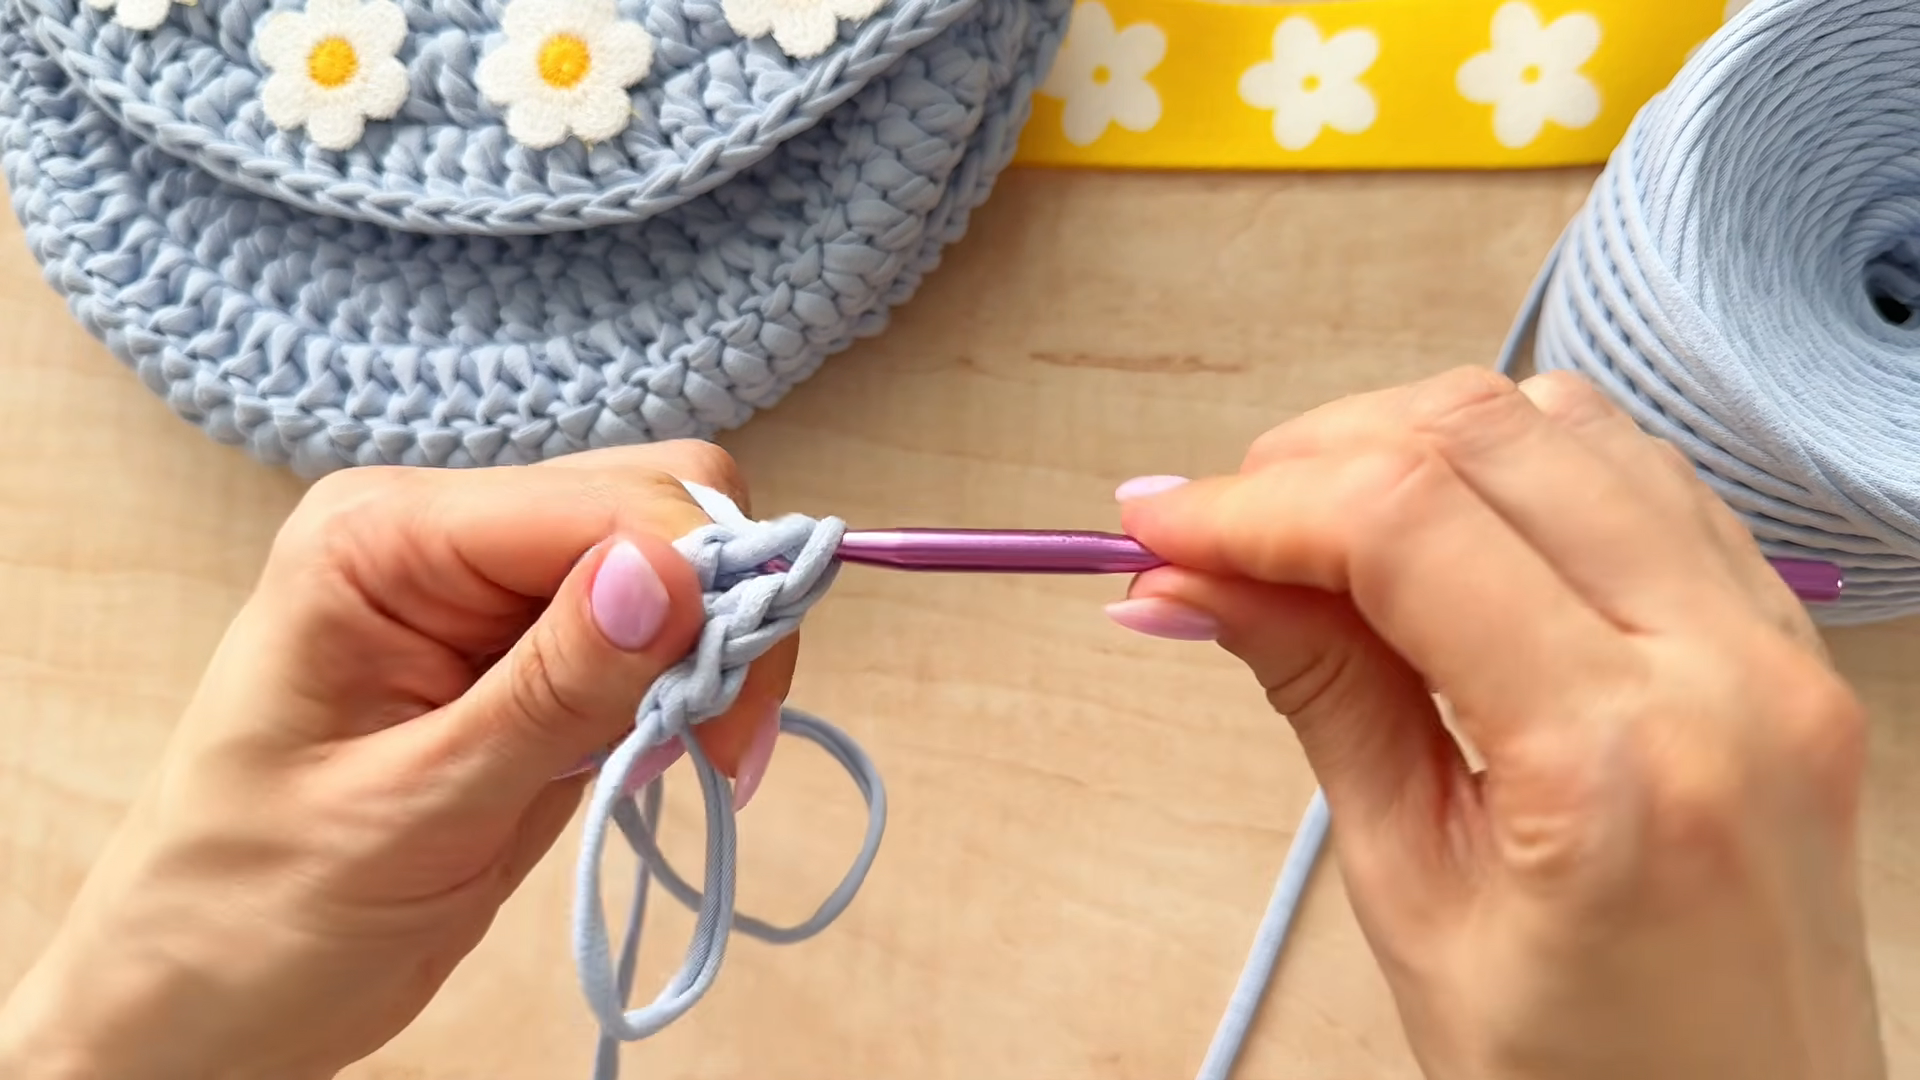
The bag begins as a flat oval, much like the bottom of a basket.
- First, ch 31.
- Round 1: Work 3 sc in the 2nd ch from the hook. Then sc in the next 28 chains and work 3 sc in the last chain. Next, turn and work along the other side of the chain, sc in the next 28 loops. After that, join with a sl st to the first sc. (62 sts)
- Round 2: Inc in each of the next 3 sts, then sc in the next 28 sts. Next, inc in each of the next 3 sts and sc in the next 28 sts. Finally, join. (68 sts)
Also, place a stitch marker in the first stitch of each round so you don’t lose your place.
Part 2: The Body of the Crochet Fanny Pack Crossbody Bag With Flowers
Now the bag grows upward.
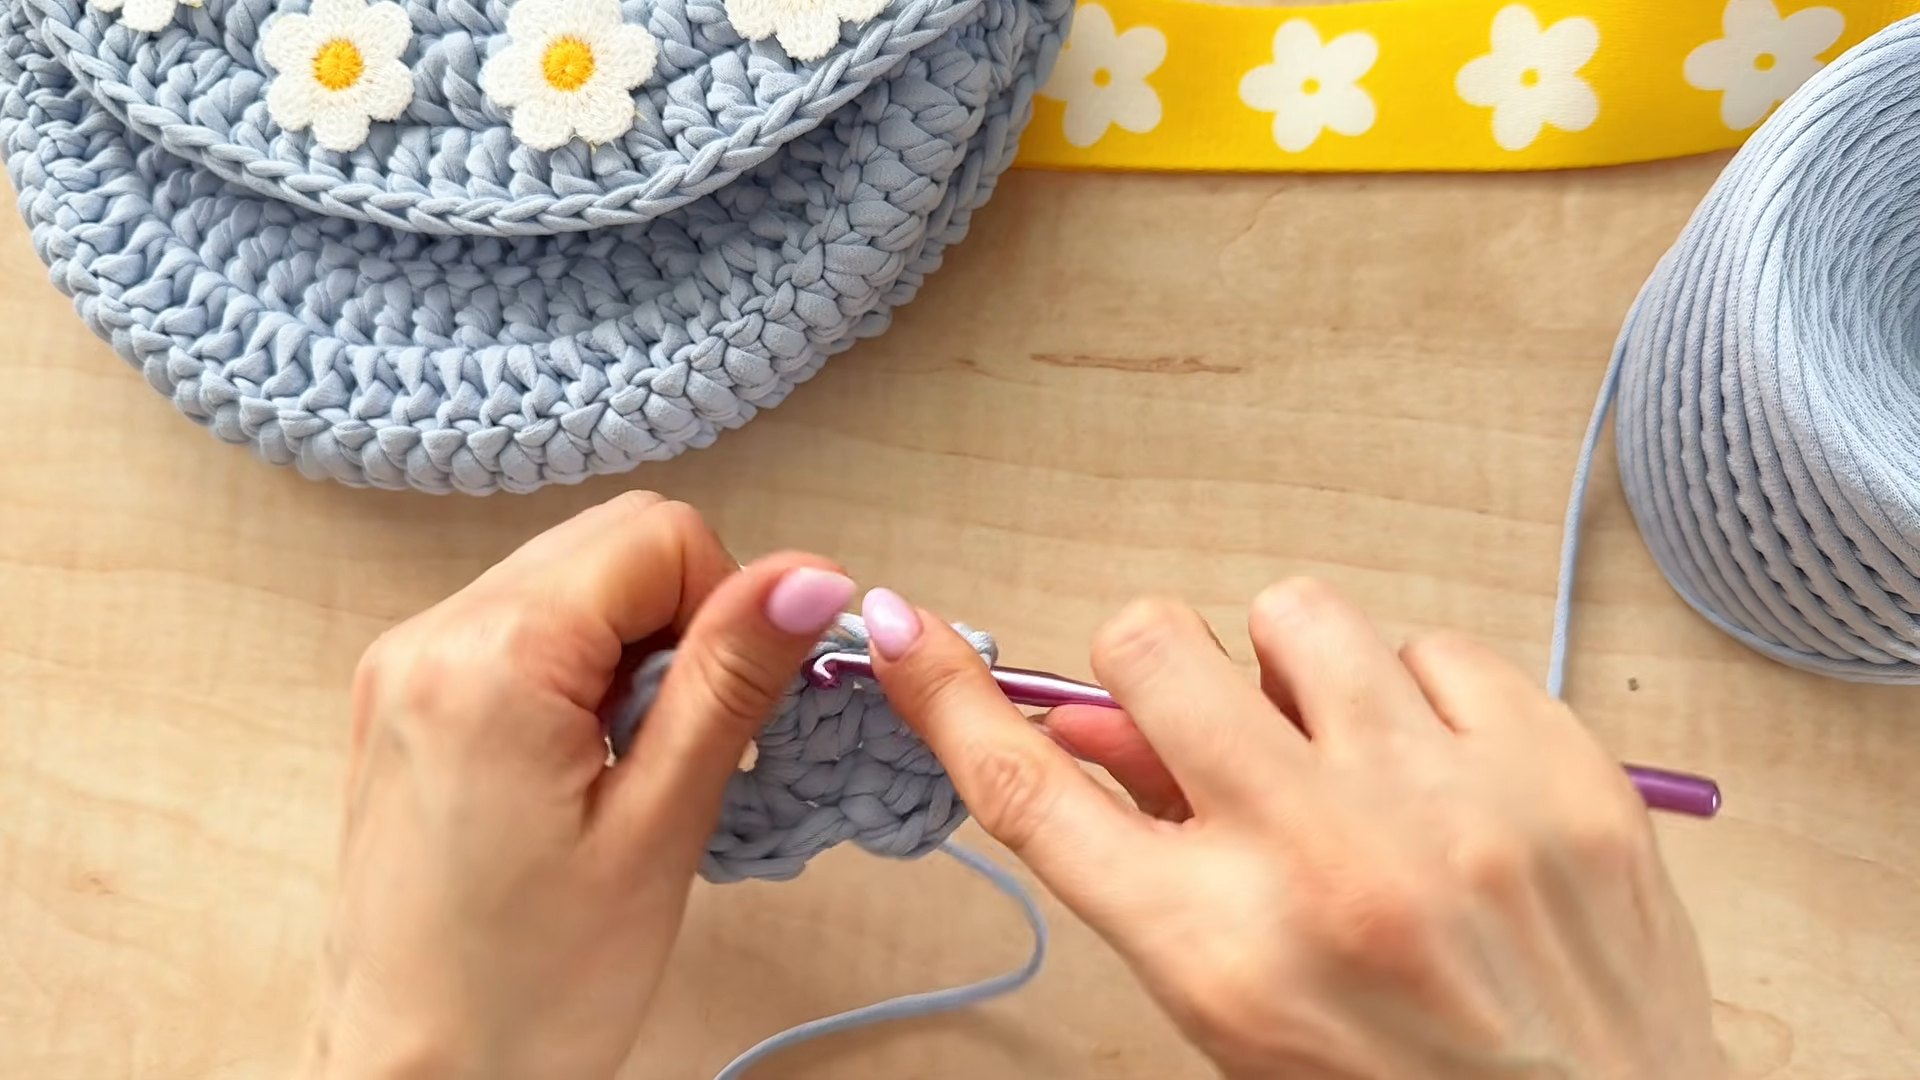
- Round 3: First, work in the back loops only and sc in each stitch around. (68 sts) As a result, you get a crisp edge between the base and the walls.
- Rounds 4–18: Next, sc in each stitch around in a spiral, without joining. (68 sts)
While you work, hold the piece against your hip. If you’d like it taller, add a few rounds. However, for a shallower pouch, stop at round 14. After your last round, sl st in the next stitch and fasten off.
Part 3: The Flap
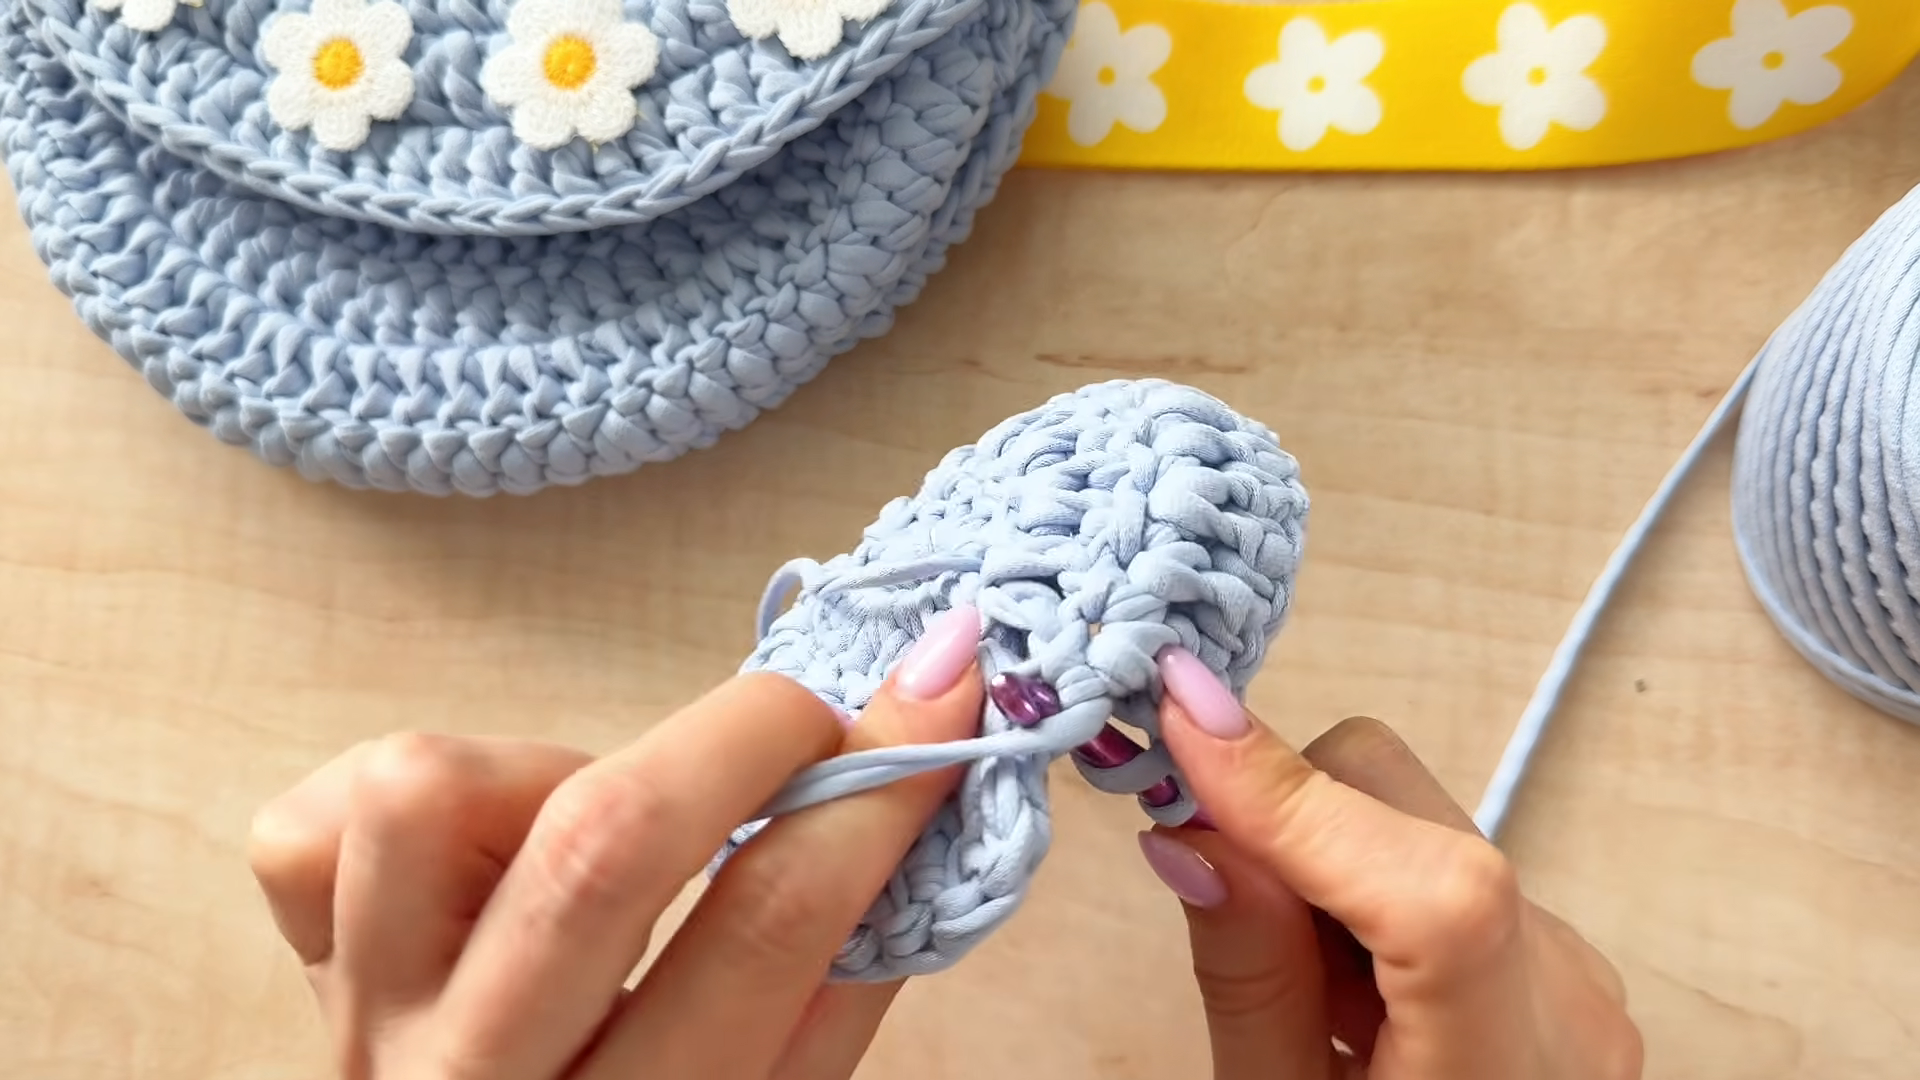
You’ll work the flap in rows along the back, so it folds neatly over the front.
- First, find the center of the back wall’s top edge. Then join yarn 15 stitches to the left of center.
- Row 1: Ch 1, then sc in the next 30 sts. Turn.
- Rows 2–10: Next, ch 1 and sc in each stitch across. Turn. (30 sts)
- Rows 11–15: Then ch 1, sc2tog, sc across to the last 2 sts, and sc2tog. Turn. (20 sts after row 15)
- Row 16: After that, ch 1 and sc2tog across. (10 sts)
- Button loop: Finally, ch 8 and sl st into the same stitch. Fasten off.
Once the flap is done, fold it over and mark where the button should sit. Then sew the button to the front.
Part 4: The Strap
A good crossbody strap should feel sturdy and comfortable on your shoulder.
- First, ch 180. This makes a strap of roughly 40 inches, but you can add or remove chains to fit your body.
- Row 1: Then sc in the 2nd chain from the hook and in each chain across. Turn. (179 sc)
- Rows 2–4: Next, ch 1 and sc in each stitch across. Turn.
- Finally, fasten off and leave a long tail for sewing.
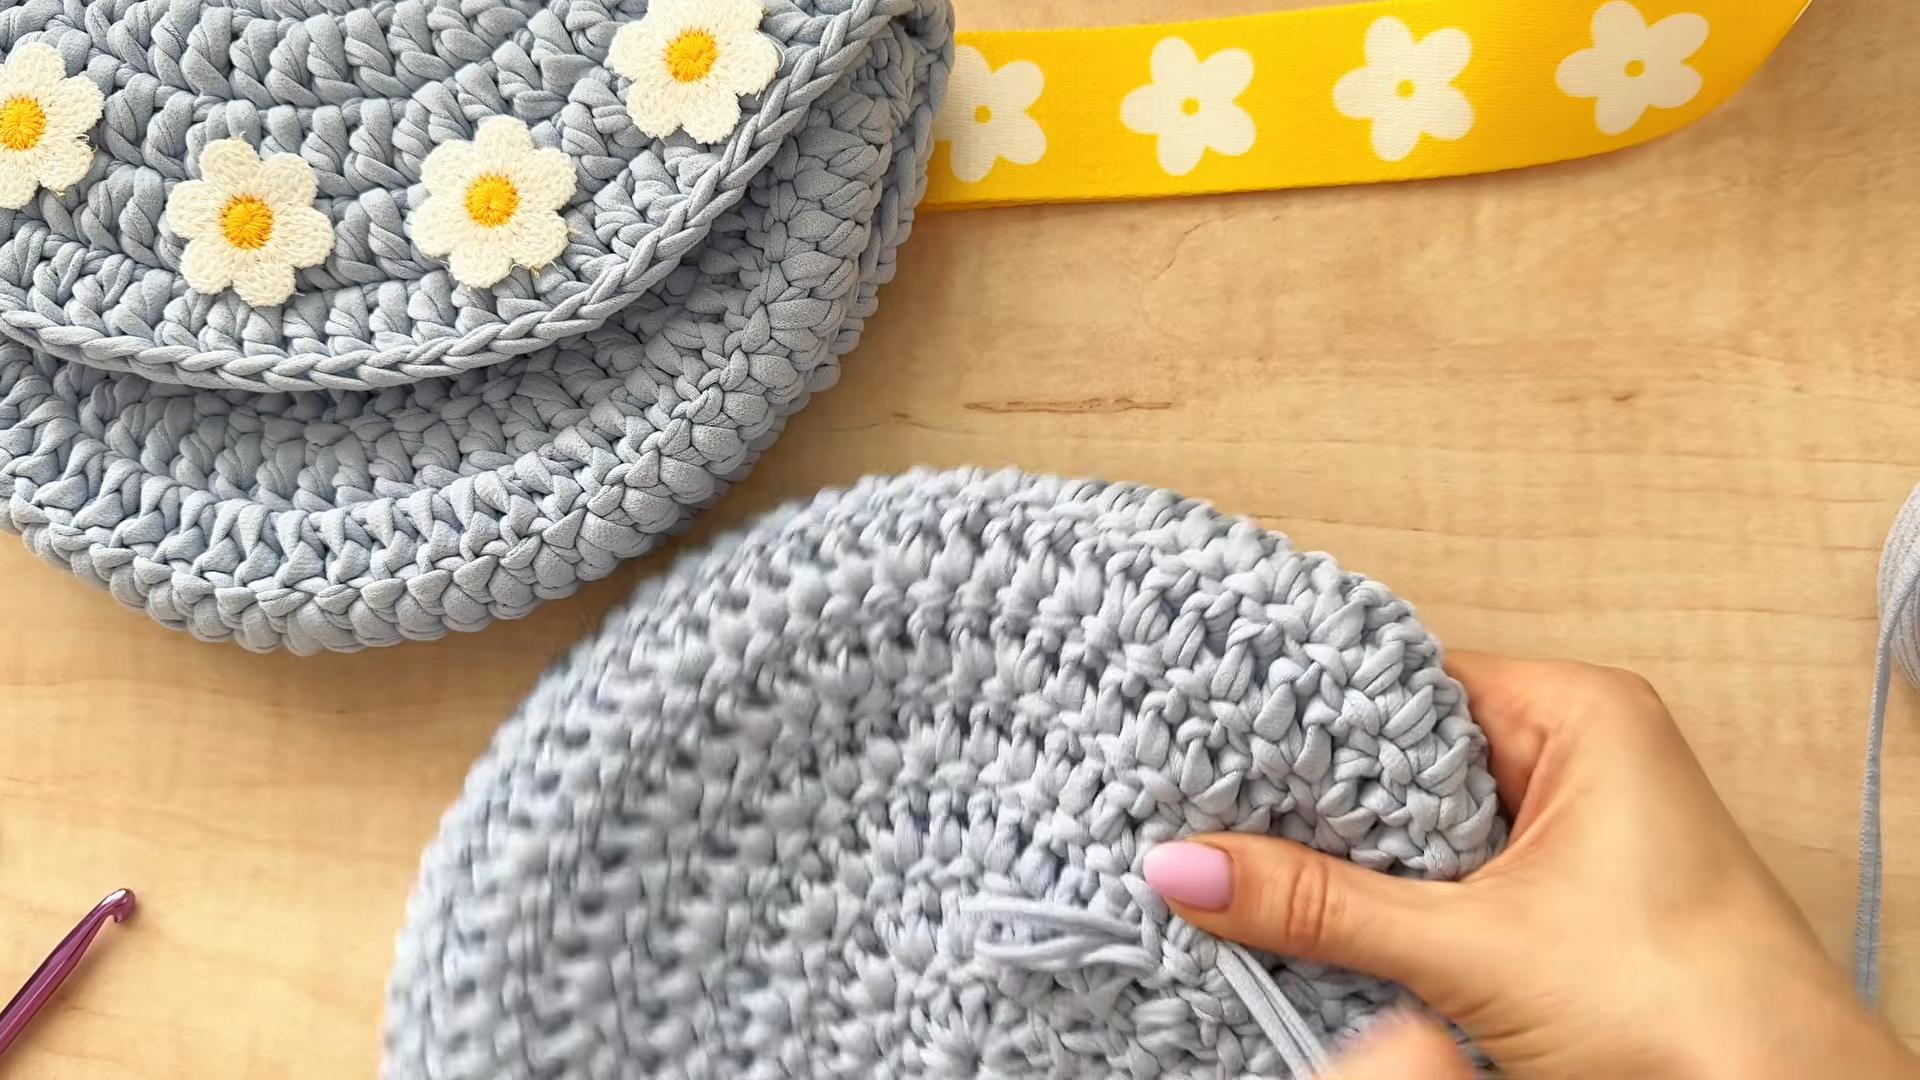
After that, sew each end of the strap to the sides, about 1 inch below the top edge. Instead of sewing the ends down, you can also sew small loops and clip the strap on with swivel clasps.
Part 5: The Flowers
This is the fun part. Make five to seven flowers in different colors and sizes.
Basic flower (5 petals):
- First, make a magic ring.
- Next, *ch 2, 3 dc in the ring, ch 2, sl st in the ring.* Then repeat from * to * 4 more times for 5 petals.
- Finally, pull the ring tight, fasten off, and leave a tail for sewing.
Flower center:
- First, make a magic ring.
- Then work 6 sc in the ring and join.
- Finally, pull tight and fasten off with a tail.
Leaves (make 4–6):
- First, ch 7.
- Next, sl st in the 2nd ch from the hook, sc in the next ch, dc in the next 2 chains, sc in the next ch, and sl st in the last ch.
- Finally, fasten off with a tail.

Part 6: Optional Face Details
Most people skip this step on a bag. Still, if you want a whimsical touch, embroider two tiny dot eyes and a small smile on the center of one flower with black yarn. As a result, anyone who looks closely gets a happy surprise.

How to Assemble Your Crochet Fanny Pack Crossbody Bag With Flowers
- First, sew a yellow center onto each flower.
- Next, pin the flowers to the front and the flap, then play with the layout.
- Then sew each flower down, stitching through the center and a couple of petals so it lies flat.
- After that, tuck leaves around the flowers and sew them in place.
- Also, attach the strap to the sides.
- Finally, sew the button onto the front.
Finishing Touches
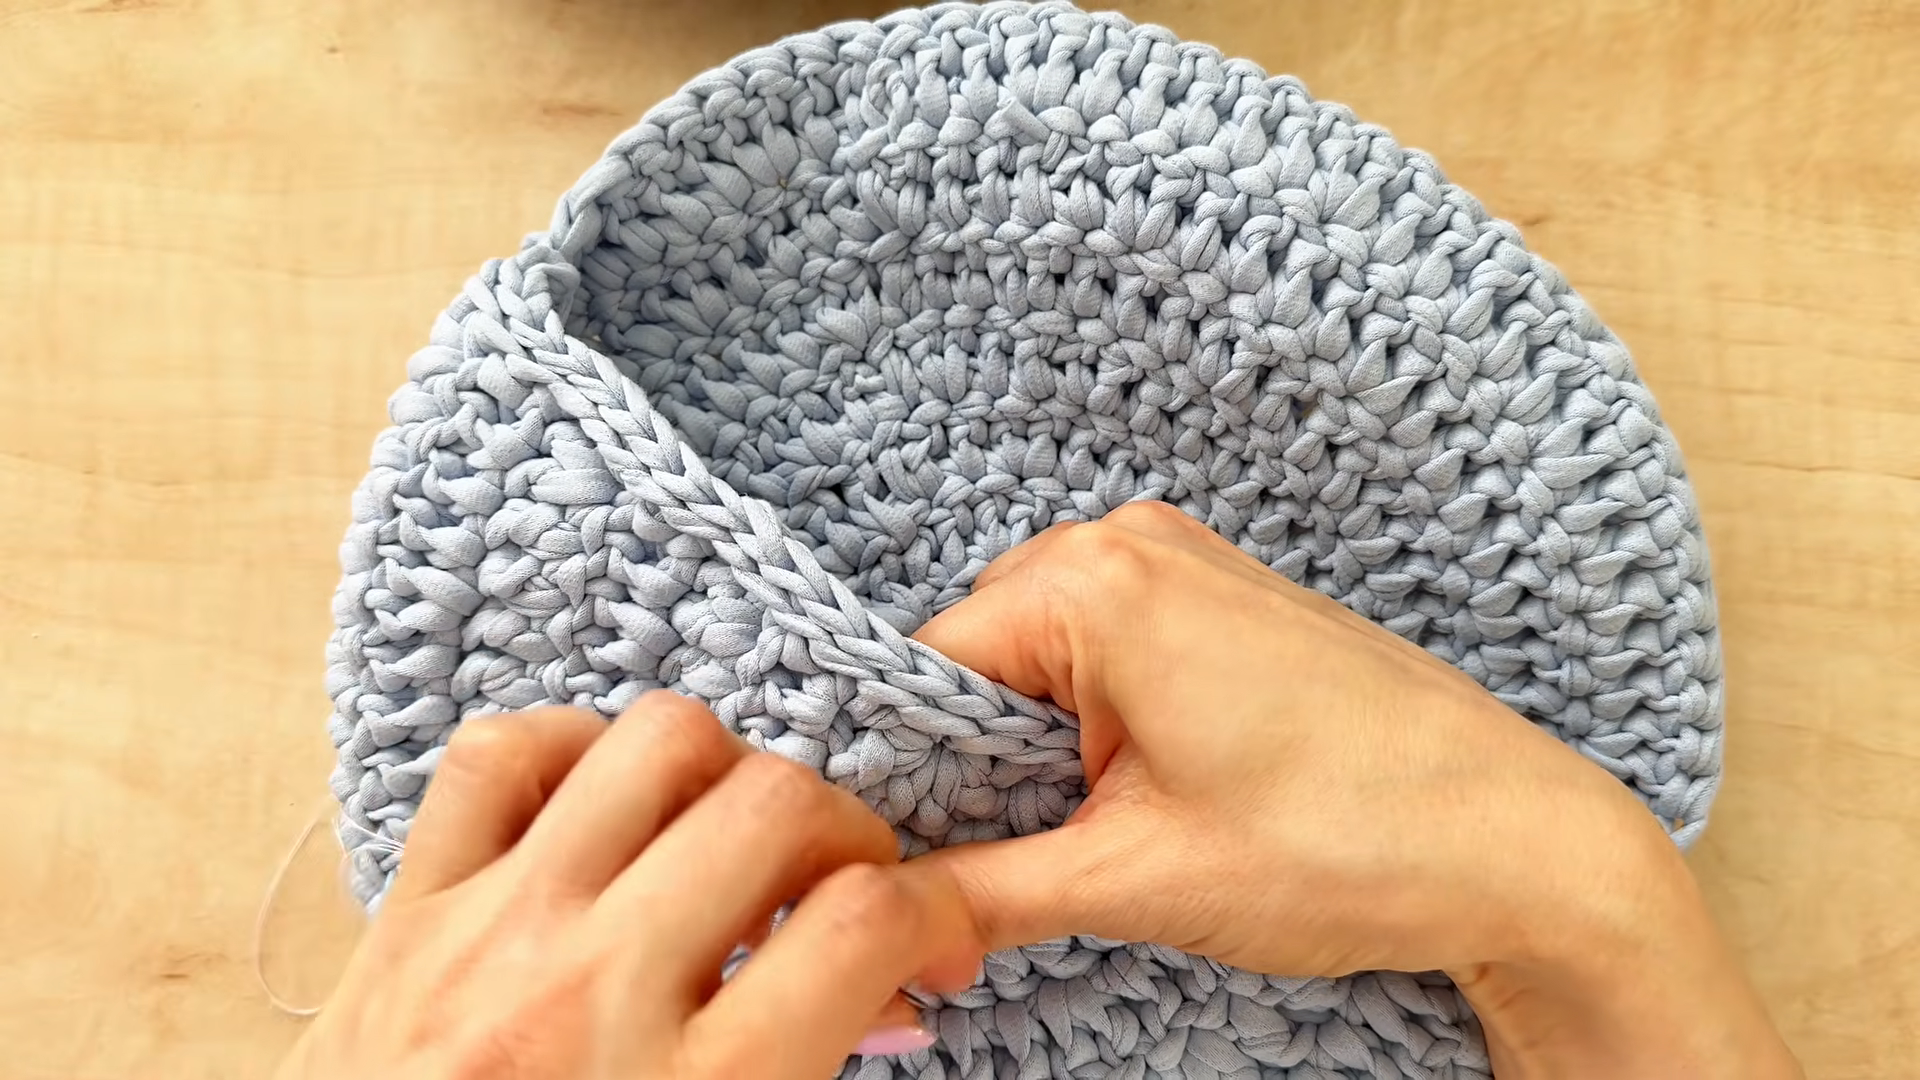
First, weave in every end of your Free Crochet Fanny Pack bag with flowers. Because bags get handled a lot, loose tails can unravel. Then steam or lightly block the piece to even out the stitches. Next, add a lining if you want more structure. Finally, clip a keychain ring or charm onto the strap for a personal touch.
Tips for Making a Crochet Fanny Pack Crossbody Bag With Flowers
Keep your stitches tight. Use a hook one size smaller than usual. Since tight stitches make a sturdy fabric, your crochet fanny pack crossbody bag with flowers holds its shape and your phone and keys stay put.
Use stitch markers. When you work in a spiral, it’s easy to lose track of where a round begins. To avoid that, put a marker in the first stitch of every round and move it up as you go.
Add structure without stuffing. The bag doesn’t need stuffing, but it does need to stand up. Cotton yarn, tight stitches, and an optional lining all help it stay firm. In addition, a piece of plastic canvas cut to fit the bottom adds even more support.
Check your size as you go. Hold the bag against your waist around the halfway point. Since adding or removing rounds is much easier now, you’ll avoid fixing the size later.
Design Ideas to Customize Your Bag
For a spring look, try soft pastels like pink, lilac, and mint. Alternatively, go bold with sunny yellow and orange on a navy base. Meanwhile, a cream bag with colorful flowers really pops.
In addition, you can add a crochet bee or butterfly near the flowers. Similarly, pearl beads make pretty flower centers. Also, a pom-pom or tassel on the strap adds fun, and a wooden toggle can replace the button.
If you’d like a smaller version, chain 21 instead of 31 and work fewer rounds. With DK yarn and a 3 mm hook, you’ll get a tiny pouch that’s perfect for lipstick and cards. Moreover, these mini bags make sweet handmade gifts. Finally, if you enjoy quick bag projects, you may like our free crochet bag patterns too.
Frequently Asked Questions
What is the best yarn for a crochet fanny pack crossbody bag with flowers?
Cotton is the top choice. It’s strong, holds its shape, and doesn’t stretch out the way acrylic can. Even so, a soft acrylic works if you keep your stitches tight and add a lining.
How do I make a crochet bag firm?
Use a smaller hook, keep your tension snug, and work the base edge in the back loops. In addition, you can add a fabric lining or a piece of plastic canvas in the bottom for extra support.
How long does this project take?
Most crocheters finish in about 6 to 8 hours. The base and body go quickly, while the flowers are relaxing little mini projects. As a result, you can easily split the work across a weekend. For more beginner-friendly ideas, browse our easy crochet projects for beginners.

Final Thoughts on This Crochet Fanny Pack Crossbody Bag With Flowers
You now have everything you need to make your own Free Crochet Fanny Pack crossbody bag with flowers. It’s a lovely beginner project that ends with something you’ll really use. So don’t worry if your first flowers look a little uneven. After all, that handmade charm is part of the fun. Also, if you’d like to learn more about the craft itself, this crochet overview on Wikipedia is a good place to start.