Charming Crochet Christmas Trees Amigurumi Pattern
Soft red ruffles a tall Santa hat and one wonderfully grumpy green face come together in this charming crochet Christmas tree amigurumi pattern. It’s a cheeky holiday make that mixes a mischievous Christmas character with the layered tiers of a decorated tree.
You’ll build a small tabletop character: a firm green head with a black embroidered scowl, a ruffled body in alternating red and white tiers, and a tall cone hat with a pom-pom on top. The stitches are simple, so the finished piece looks fancy without feeling fussy. Set it on a shelf, hang it from a branch, or clip it to a gift bag. Most makers finish it in two relaxed evenings.

Skill Level and Time
- Skill level: Beginner to upper beginner. Basic stitches, plus a little practice with color changes and ruffles.
- Time: About 5 to 6 hours in total: 20 minutes of prep, 4 to 5 hours of stitching, and 45 minutes for embroidery, stuffing and sewing
- Finished size: Roughly 9 inches (23 cm) tall, hat included
Materials
- Yarn: Worsted weight (medium #4) acrylic in red, white and lime green, plus a little black for the face
- Hook: 3.5 mm (E-4), smaller than the yarn label suggests, for tight stitches
- Safety eyes: One pair of 8 mm black eyes
- Stuffing: Polyester fiberfill
- Tools: Tapestry needle, sharp scissors, pins and a stitch marker
- Hanging option: A small keychain ring or a length of ribbon
Abbreviations (US Terms)
- MR – magic ring
- ch – chain
- sl st – slip stitch
- sc – single crochet
- hdc – half double crochet
- inc – 2 sc in one stitch
- dec – single crochet two together
- BLO / FLO – back loop only / front loop only
Work every piece in continuous spiral rounds unless a step says to join. To keep color changes neat, pull the new color through on the final yarn-over of the last stitch in the old color.
Watch the Video Tutorial
The ruffle tiers and the grumpy face are easiest to get right when you can see them worked. Follow along with the full video below.
Step-by-Step Pattern
Step 1: Head Crown and Sides (lime green)
Start with a magic ring and work in a spiral, marking the first stitch of every round.
- Round 1: 6 sc in MR (6)
- Round 2: inc in each stitch (12)
- Round 3: (sc, inc) x 6 (18)
- Round 4: (2 sc, inc) x 6 (24)
- Round 5: (3 sc, inc) x 6 (30)
- Round 6: (4 sc, inc) x 6 (36)
- Rounds 7–14: sc in each stitch (36)
These eight even rounds give the head its round, slightly wide cheeks.
Step 2: Eyes and Head Base (lime green)
Insert the safety eyes in the lower half of the head, as shown in the video, the same number of stitches from the center front on each side. Leave room above them for the eyebrows and the hat brim. Lock the washers from inside.
Then decrease the bottom of the head so it matches the 18-stitch neck of the body:
- Round 15: (4 sc, dec) x 6 (30)
- Round 16: (3 sc, dec) x 6 (24)
- Round 17: (2 sc, dec) x 6 (18)
Stuff the head firmly and leave the 18-stitch opening. Fasten off with a long tail.
Step 3: Body Neck and Core (red)
The body starts from a chain ring, not a magic ring, so the neck opening matches the head. Rounds 5, 7, 9 and 11 are worked in the back loops only. This leaves rings of free front loops on Rounds 4, 6, 8 and 10, where the ruffles will grow.
- Round 1: ch 18 and join with a sl st into the first chain without twisting. Sc in each chain (18)
- Round 2: sc in each stitch (18)
- Round 3: (2 sc, inc) x 6 (24)
- Round 4: sc in each stitch (24)
- Round 5 (BLO): (3 sc, inc) x 6 (30)
- Round 6: sc in each stitch (30)
- Round 7 (BLO): (4 sc, inc) x 6 (36)
- Round 8: sc in each stitch (36)
- Round 9 (BLO): (5 sc, inc) x 6 (42)
- Round 10: sc in each stitch (42)
- Round 11 (BLO): sc in each stitch (42). Sl st, fasten off and leave a long tail.
Each increase round followed by a plain round builds the tree’s slope.

Step 4: Ruffle Tiers (white and red)
Now the body starts to look like a tree. Each tier is worked into the free front loops of Rounds 4, 6, 8 and 10.
- Tier 1 (white), front loops of Round 4: join yarn, ch 1, then (hdc, 2 hdc) around. Sl st to join (36)
- Tier 2 (red), front loops of Round 6: join, ch 1, (hdc, 2 hdc) around. Sl st to join (45)
- Tier 3 (white), front loops of Round 8: join, ch 1, (hdc, 2 hdc) around. Sl st to join (54)
- Tier 4 (red), front loops of Round 10: join, ch 1, (hdc, 2 hdc) around. Sl st to join (63)
Weave in each end as you finish a tier.
Tip: Flip the body upside down while you work a tier. The free front loops then sit along the top edge, where they’re much easier to spot.

Step 5: Base Disc (red)
- Round 1: 6 sc in MR (6)
- Round 2: inc in each stitch (12)
- Round 3: (sc, inc) x 6 (18)
- Round 4: (2 sc, inc) x 6 (24)
- Round 5: (3 sc, inc) x 6 (30)
- Round 6: (4 sc, inc) x 6 (36)
- Round 7: (5 sc, inc) x 6 (42)
Fasten off and leave a long tail.
Step 6: Santa Hat (white brim, red cone)
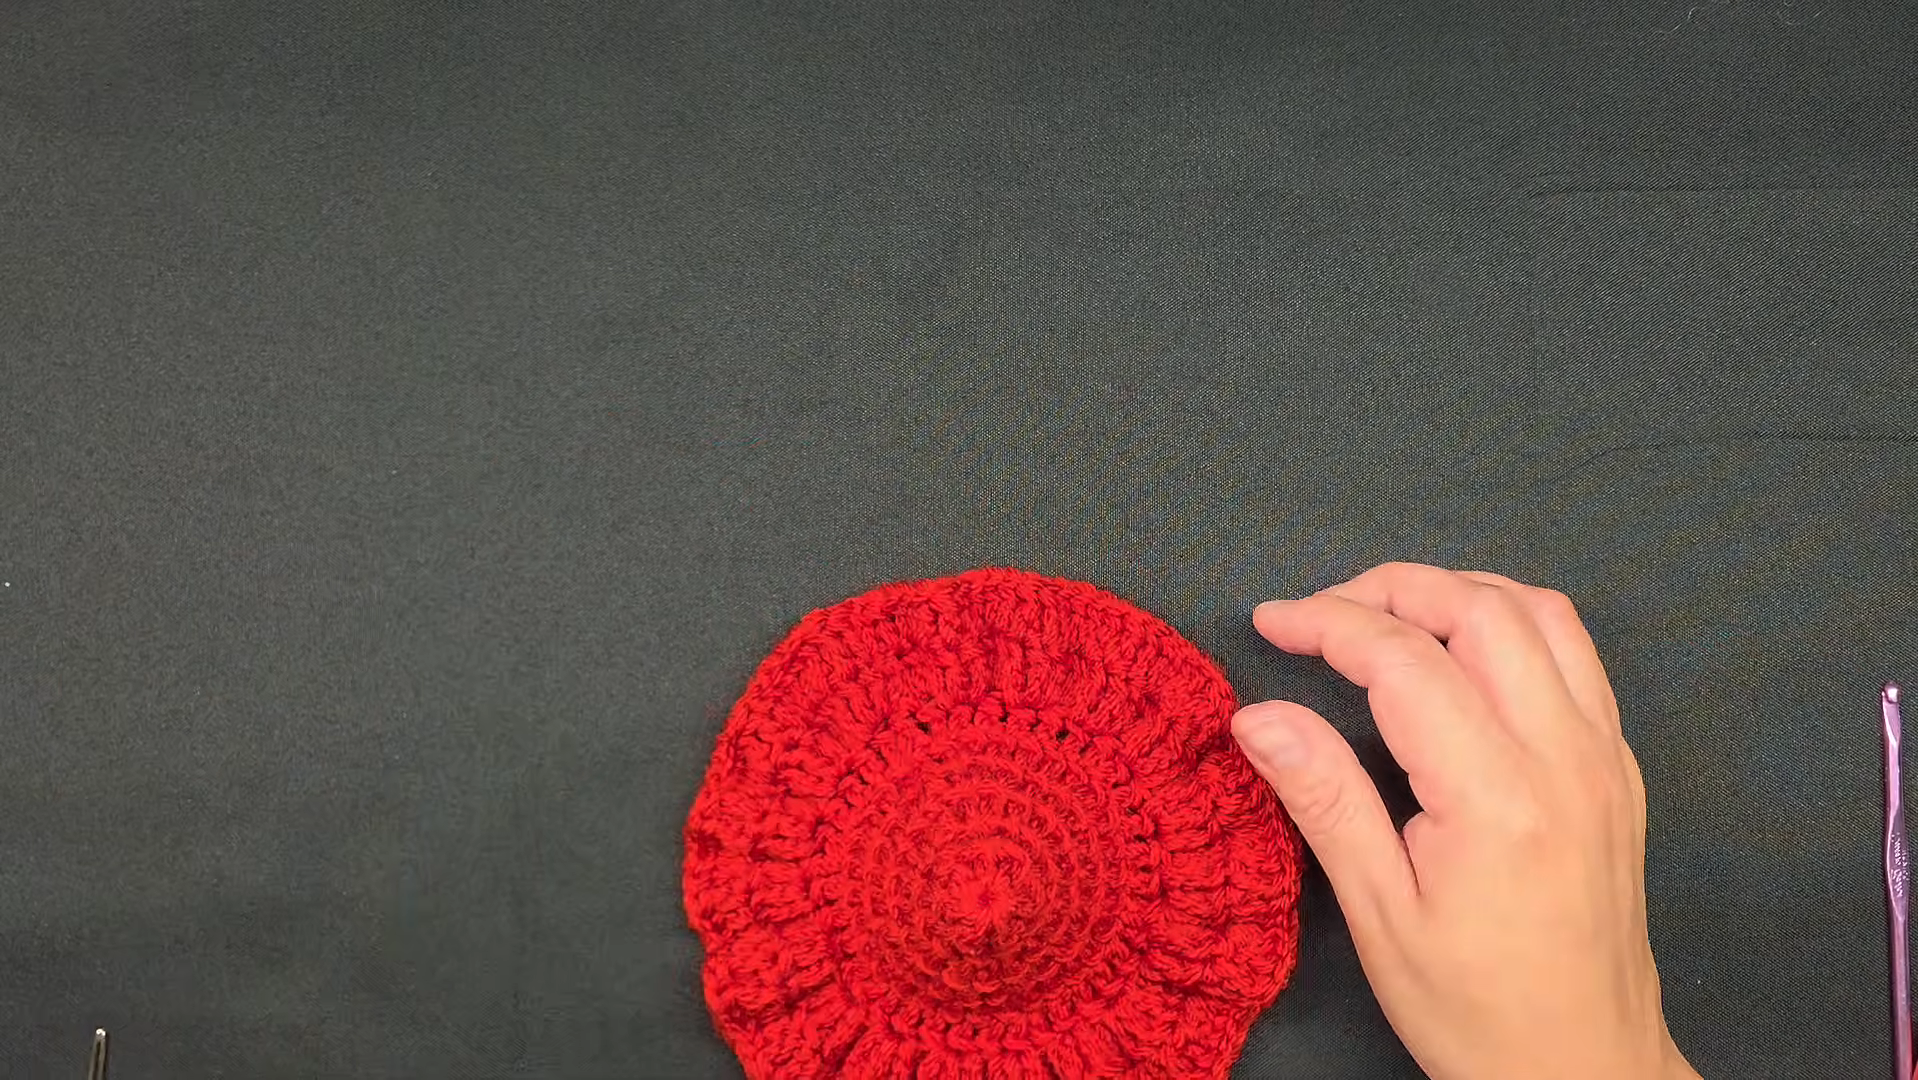
- Round 1: with white, ch 36 and join with a sl st without twisting. Sc in each chain (36)
- Round 2: sc in each stitch (36)
- Rounds 3–6: switch to red, sc in each stitch (36)
- Round 7: (4 sc, dec) x 6 (30)
- Rounds 8–10: sc in each stitch (30)
- Round 11: (3 sc, dec) x 6 (24)
- Rounds 12–14: sc in each stitch (24)
- Round 15: (2 sc, dec) x 6 (18)
- Rounds 16–18: sc in each stitch (18)
- Round 19: (sc, dec) x 6 (12)
- Rounds 20–22: sc in each stitch (12)
- Round 23: dec x 6 (6)
Fasten off and close the tip. For a more textured hat, you can swap some of the plain sc rounds for a textured stitch, as long as the stitch count stays the same.
Step 7: Pom-Pom and Hanging Loop
- Round 1: 6 sc in a white MR (6)
- Round 2: inc in each stitch (12)
- Round 3: (sc, inc) x 6 (18)
- Rounds 4–5: sc in each stitch (18)
- Round 6: (sc, dec) x 6 (12). Stuff lightly.
- Round 7: dec x 6 (6). Fasten off and close.
For the hanging loop, chain 12 in red, sl st into the first chain, and leave a tail for sewing. Add a keychain ring if you like.
Step 8: Facial Details
Thread black yarn onto a tapestry needle, and mark the eyebrow and mouth spots with pins first. Once the yarn is through, you can’t move a stitch without leaving a hole.
- Eyebrows: Stitch two short slanted lines above the eyes, each angled down toward the nose, for a grumpy look.
- Nose: Embroider a small triangle centered between the eyes, about 2 rounds below them, and fill it with tight satin stitches.
- Mouth: Stitch one long curve under the nose, then add a tiny upward flick at each end for a sly grin.
Step 9: Assembly
- Stuff the body firmly, then place the base disc over the open end and whip stitch it on around all 42 stitches.
- Line up the head’s 18-stitch opening with the body’s 18-stitch neck ring. Whip stitch all the way around, adding a little extra stuffing before the last few stitches.
- Pull the hat over the head so the white brim rests just above the eyebrows. Add a few tiny anchor stitches through the brim and the head.
- Sew the pom-pom to the hat tip, and attach the hanging loop beside it.
- Weave in every loose end, and gently tug the ruffles so each tier fans out evenly.

Helpful Beginner Tips
- Keep stitches tight: Go down a hook size from the yarn label, because fiberfill pokes through loose stitches quickly.
- Use a marker every round: Spiral rounds have no seam, so the marker is your only map.
- Stuff in small pieces: Push them into the corners first and keep adding until the piece feels firm but not stretched. Firm stuffing also helps the ruffled body stand without leaning.
- Count every round: A quick tally catches a missed increase before it spreads.
Customization Ideas
- Colors: Swap lime green for soft blue, or make the ruffles candy-cane pink and white. A gold and cream version looks lovely beside a winter centerpiece.
- Accessories: Add a tiny scarf, a mini bell on the pom-pom, embroidered snowflakes on the hat, or a little felt heart under the chin.
- Ornament size: Use sport weight yarn with a 2.5 mm hook and skip the last ruffle tier, then hang it right on the tree.
Expression Guide: From Grumpy to Gleeful
The face is where this character comes alive, and a few small changes in the embroidery completely change its mood. Try making a set with different expressions.
- Classic grump: Brows slanted down toward the nose, with a sly grin that curls up at the ends.
- Surprised: Brows arched high above the eyes and a small round “o” mouth.
- Sleepy: Skip the safety eyes and stitch two downward curves for closed eyes, with a tiny straight mouth.
- Sneaky: One brow raised and one lowered, plus a lopsided smirk on one side.
- Heart grown three sizes: Soft, level brows and a wide, happy smile, with a tiny red felt heart on the chest.
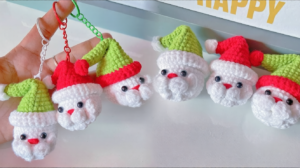
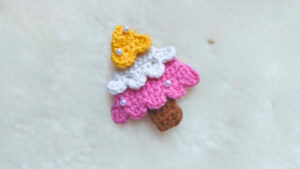
For more holiday characters, try the Grinch amigurumi and the Santa Claus keychain. If you love tree designs, the layered Christmas tree and the Christmas tree keychain make great companions.
Gift Wrapping and Display Ideas
Tuck the finished character into a small gift box with tissue paper, or clip it to the ribbon on a wrapped present so the gift doubles as decoration. On a mantel, line up three in different sizes. Hung from a window latch on a loop of twine, it will sway with every breeze.
FAQs
What is the best yarn for this pattern?
Smooth worsted weight acrylic or cotton is the easiest choice. It shows stitches clearly and holds its shape. Avoid fuzzy or loose yarns, which hide stitches and make counting harder.
How do I make the plush firm?
Use a smaller hook, stitch tightly, and stuff in small pieces until the fabric feels springy.
How long does the project take?
Most crocheters finish in two relaxed evenings, roughly 5 to 6 hours in total. Beginners may want a third session for the embroidery and sewing.
A Little Holiday Grump Worth Keeping
From round green cheeks to fluffy ruffled tiers, this cheeky character packs a lot of holiday personality into one small make. Take it one round at a time, keep your stitches snug, and enjoy watching the tree shape appear. Then try your own color combo and let the grumpiest decoration steal the show this Christmas.