Free Crochet Bunny Keychain Amigurumi Pattern
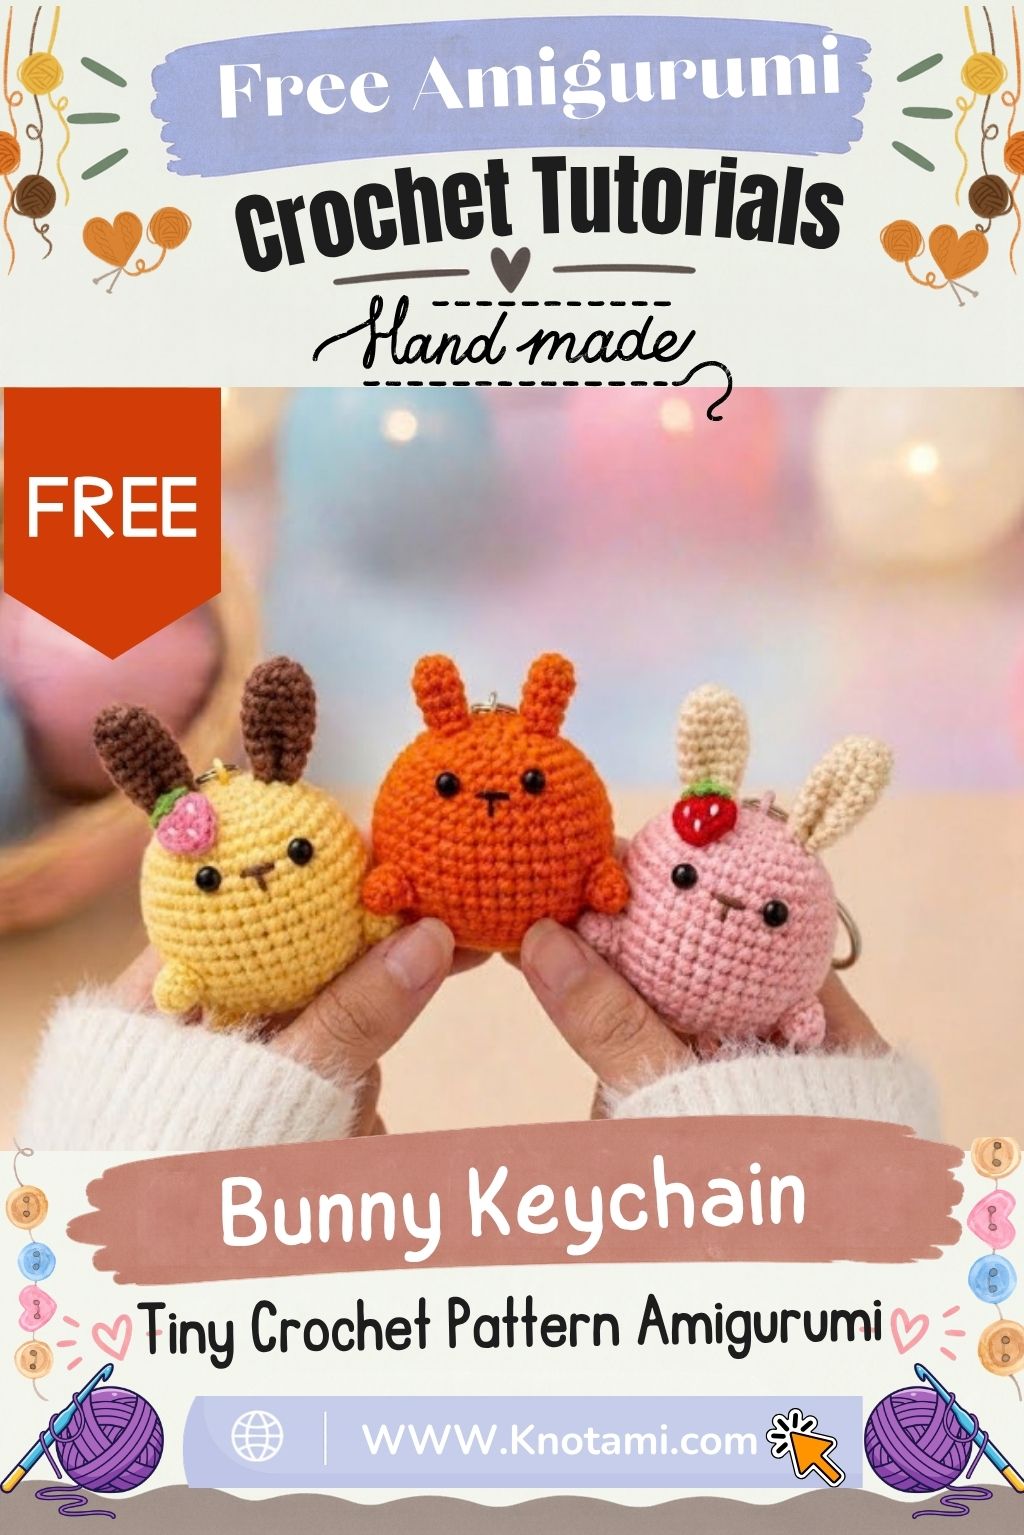
Tiny stitched ears rise above a stuffed round body in this free crochet bunny keychain amigurumi pattern for a playful gift. It’s small enough to clip onto a bag or keyring without adding any bulk.
The bunny is made from one round body piece plus small ears and limbs sewn on afterward. The eyes go in before stuffing, and a reinforced loop keeps it secure on your bag or keys. It’s a friendly project for makers who are still new to amigurumi shaping.

Pattern Overview
- Finished size: About 2.5 inches tall once stuffed and closed, small enough to clip onto a backpack zipper
- Color: The sample uses one solid color, but the same shaping works in any shade
- Time: About 75–90 minutes for a first attempt. Plan 5 minutes of prep, 45–60 minutes of stitching, and 15–20 minutes for stuffing and assembly.
Materials
- Worsted weight (US #4) yarn in your chosen color, roughly 30–40 yards
- A small scrap of contrast yarn or embroidery floss for the nose and mouth
- 3.5 mm (US E/4) crochet hook, or whatever size gives you a tight, gap-free fabric
- Two 6 mm safety eyes, or small black beads
- Polyester fiberfill
- Stitch marker and tapestry needle
- A keyring or swivel clasp
A firm, tightly plied cotton holds its shape well on something that gets handled often. Soft acrylic works too, but it may need slightly denser stuffing to stay round.
Abbreviations
- MR – magic ring
- sc – single crochet
- inc – increase (2 sc in the same stitch)
- dec – invisible decrease
- sl st – slip stitch
- st(s) – stitch(es)
Special Techniques
- Magic ring: Wrapping the yarn around your fingers instead of chaining and joining lets you pull the center completely closed, with no hole.
- Invisible decrease: Working through the front loops of two stitches together, instead of a standard sc2tog, keeps the decrease rounds smoother on such a small piece.
Watch the Video Tutorial
The video shows the exact stitch counts for the body, ears and limbs. Keep it open while you follow the steps below.
Step-by-Step Instructions
Step 1: Start With a Magic Ring
Wrap the yarn around your fingers to form a magic ring, and work 6 sc into it. Keep the tail out of the way, and pull the ring tight once the round is done.

Step 2: Build the Increase Rounds
Continue in a spiral, increasing evenly each round: 2 sc in every stitch on Round 2, then an increase in every other stitch on Round 3, and so on. Place a stitch marker in the first stitch of each round.
Tip: Count your stitches at the end of every round for the first several rounds. A missed increase is much easier to fix now than after the shape is closed.

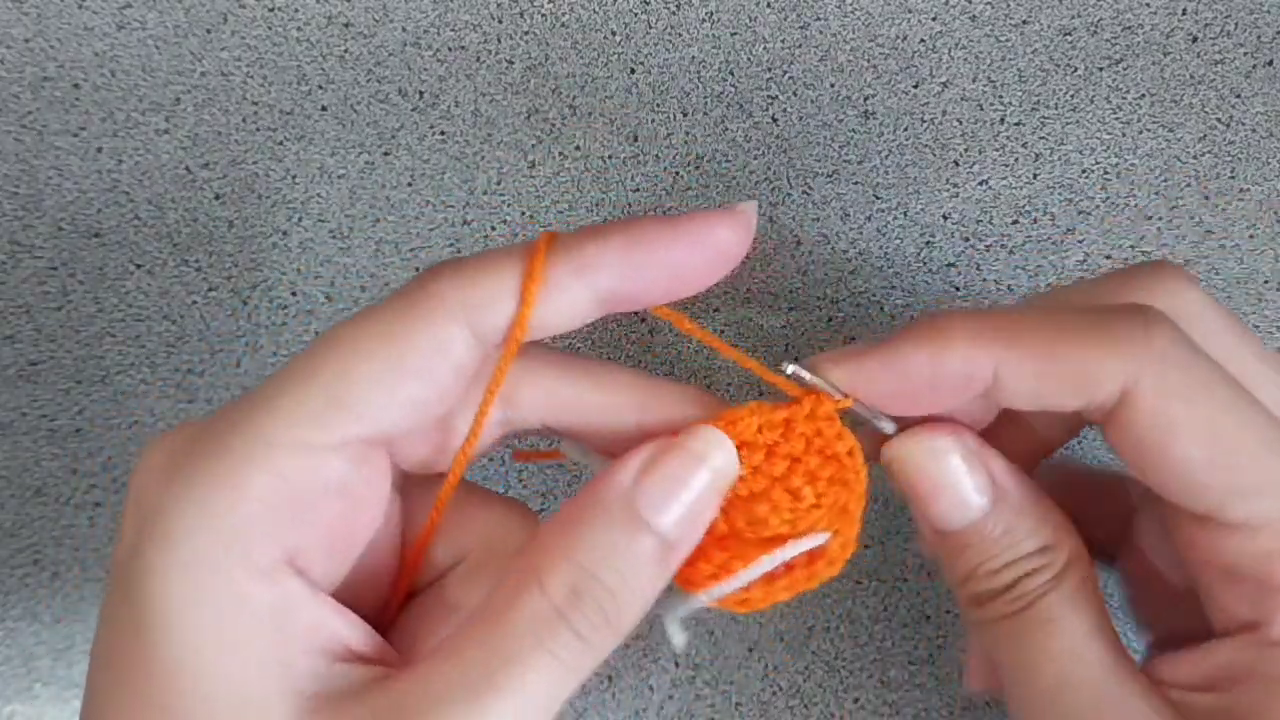
Step 3: Work the Even Rounds
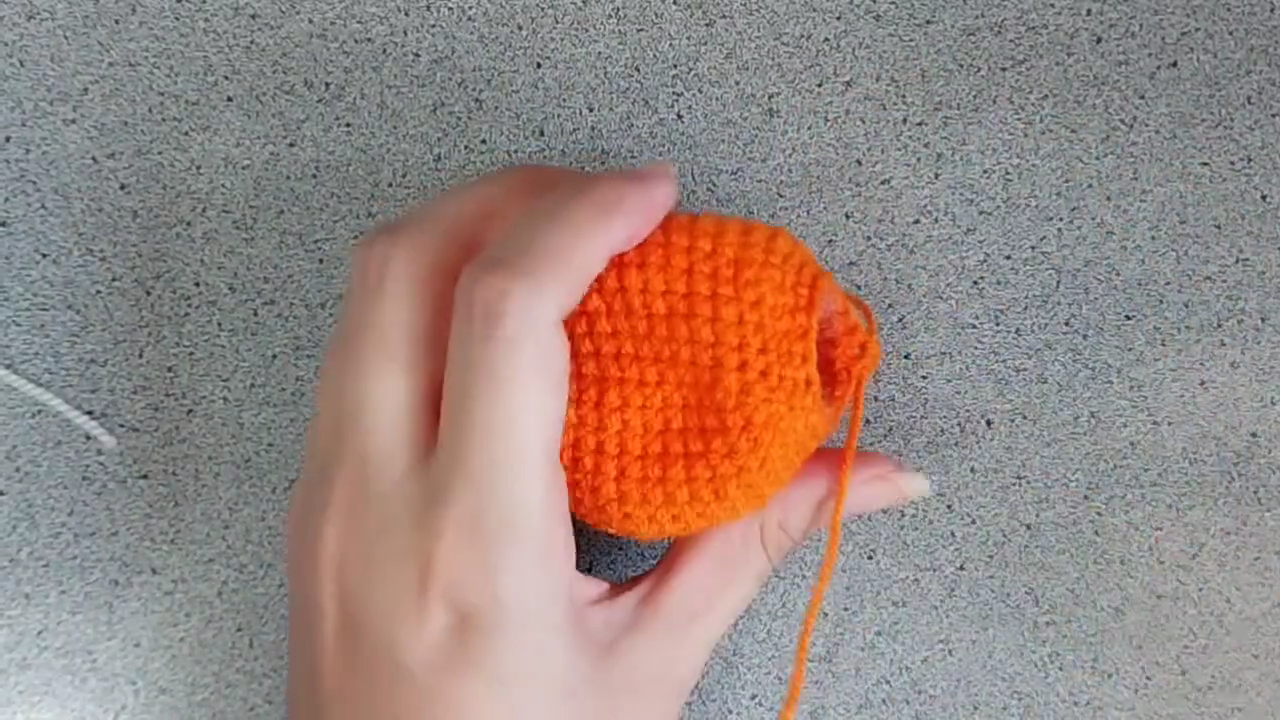
Once the body reaches its widest point, stop increasing and work straight rounds of sc. The piece will curve into a bowl and then rise into a dome. Keep going until it’s tall enough for the whole body.

Step 4: Add the Eyes, Stuff and Close
Push the safety eye posts through from the outside and lock the backs before adding stuffing, since placement is much harder to adjust once the piece is full. If you’re using beads, you can sew them on after closing.
Start decreasing evenly each round. Stuff firmly as the opening narrows, so the shape holds when you squeeze it gently. When only a small hole remains, weave the tail through the front loops of the last stitches, pull it closed, and hide the end inside.
Step 5: Make the Ears and Limbs
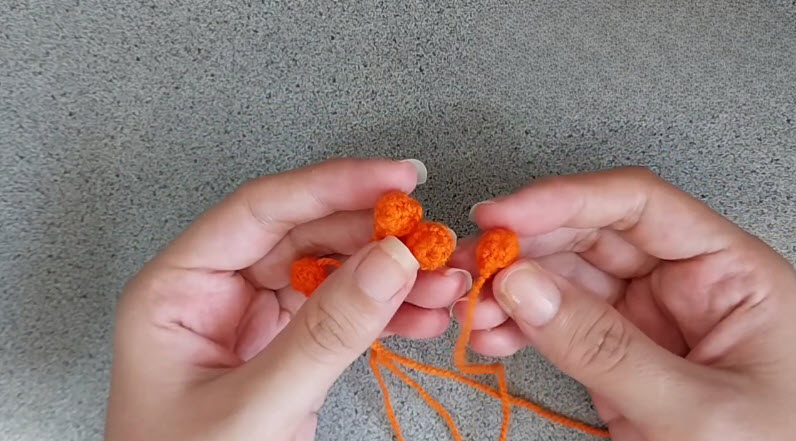
Crochet two small ears and four small limbs (two arms and two feet), using a few rounds of sc with light shaping to taper each one. Leave a long tail on each piece for sewing. Make matching pairs back to back, and hold them side by side before sewing to check they match.
If the small pieces feel fiddly, try making them before the body. Practicing the shaping on something small builds confidence.
Step 6: Assemble and Finish the Face
- Sew the ears to the top of the head, spaced evenly so the bunny doesn’t look lopsided.
- Attach the arms and feet around the lower body.
- Embroider a small nose and mouth below the eyes in contrast yarn or floss.
- For the keyring, pass doubled yarn through several stitches near the top of the head to form a sturdy loop, knot it inside, and attach the clasp.

Common Mistakes
- Losing the round marker: Spiral rounds have no visible seam, so move your marker every round.
- Loose tension on the increase rounds: This leaves small gaps where the stuffing shows through.
- A single-loop keyring: This is the spot most likely to tear with daily use. Always reinforce it.
Uses and Personalization Ideas
A bunny this size clips easily to a backpack zipper, hangs from a purse strap, or makes your keys easy to spot in a bag. It’s also a great stash-buster for leftover worsted yarn.
- Color swaps: Try pastel or two-tone yarn for a seasonal look.
- Floppy ears: Fold the ear tips down and tack them in place instead of leaving them upright.
- Accessories: Add a tiny bow, an embroidered belly patch or a bead necklace.
Choosing the Right Keychain Hardware
The right clip makes a big difference in how long your bunny lasts and where you can use it. Here’s a quick guide.
- Split ring: Best for car and house keys. It’s the most secure option but the fiddliest to open.
- Lobster clasp: Great for bag zippers and purse straps, because it clips on and off in seconds.
- Swivel clasp: Lets the bunny spin freely, so the yarn loop doesn’t twist and wear out.
- Phone strap cord: A short cord with a loop end turns the bunny into a phone or camera charm.
- Jump rings: Choose solid, thick jump rings, and open them sideways rather than pulling them apart, so they stay strong.
For more bunny patterns, try the sitting bunny keychain or the crochet bunny box. The chick keychain and the cat face keychain make fun matching charms.
FAQs
What yarn weight works best for a keychain this size?
Worsted weight (US #4) keeps the bunny firm enough to handle daily clipping without extra reinforcement.
Can I make the bunny without safety eyes?
Yes. Embroidered eyes are a good substitute and the safer choice for homes with small children, since safety eyes are a small-parts risk.
How much yarn does one bunny use?
Roughly 30–40 yards covers the body, ears and limbs, though it varies with your tension.
Your Pocket Bunny Is Ready to Hop
One round body, a few little limbs and a single evening are all it takes to turn a small ball of yarn into a bunny that’s sturdy enough to carry every day. Clip it on, hand one to a friend, and try the next one in a brand-new color.