Crochet Granny Square Shrug with Black Edging
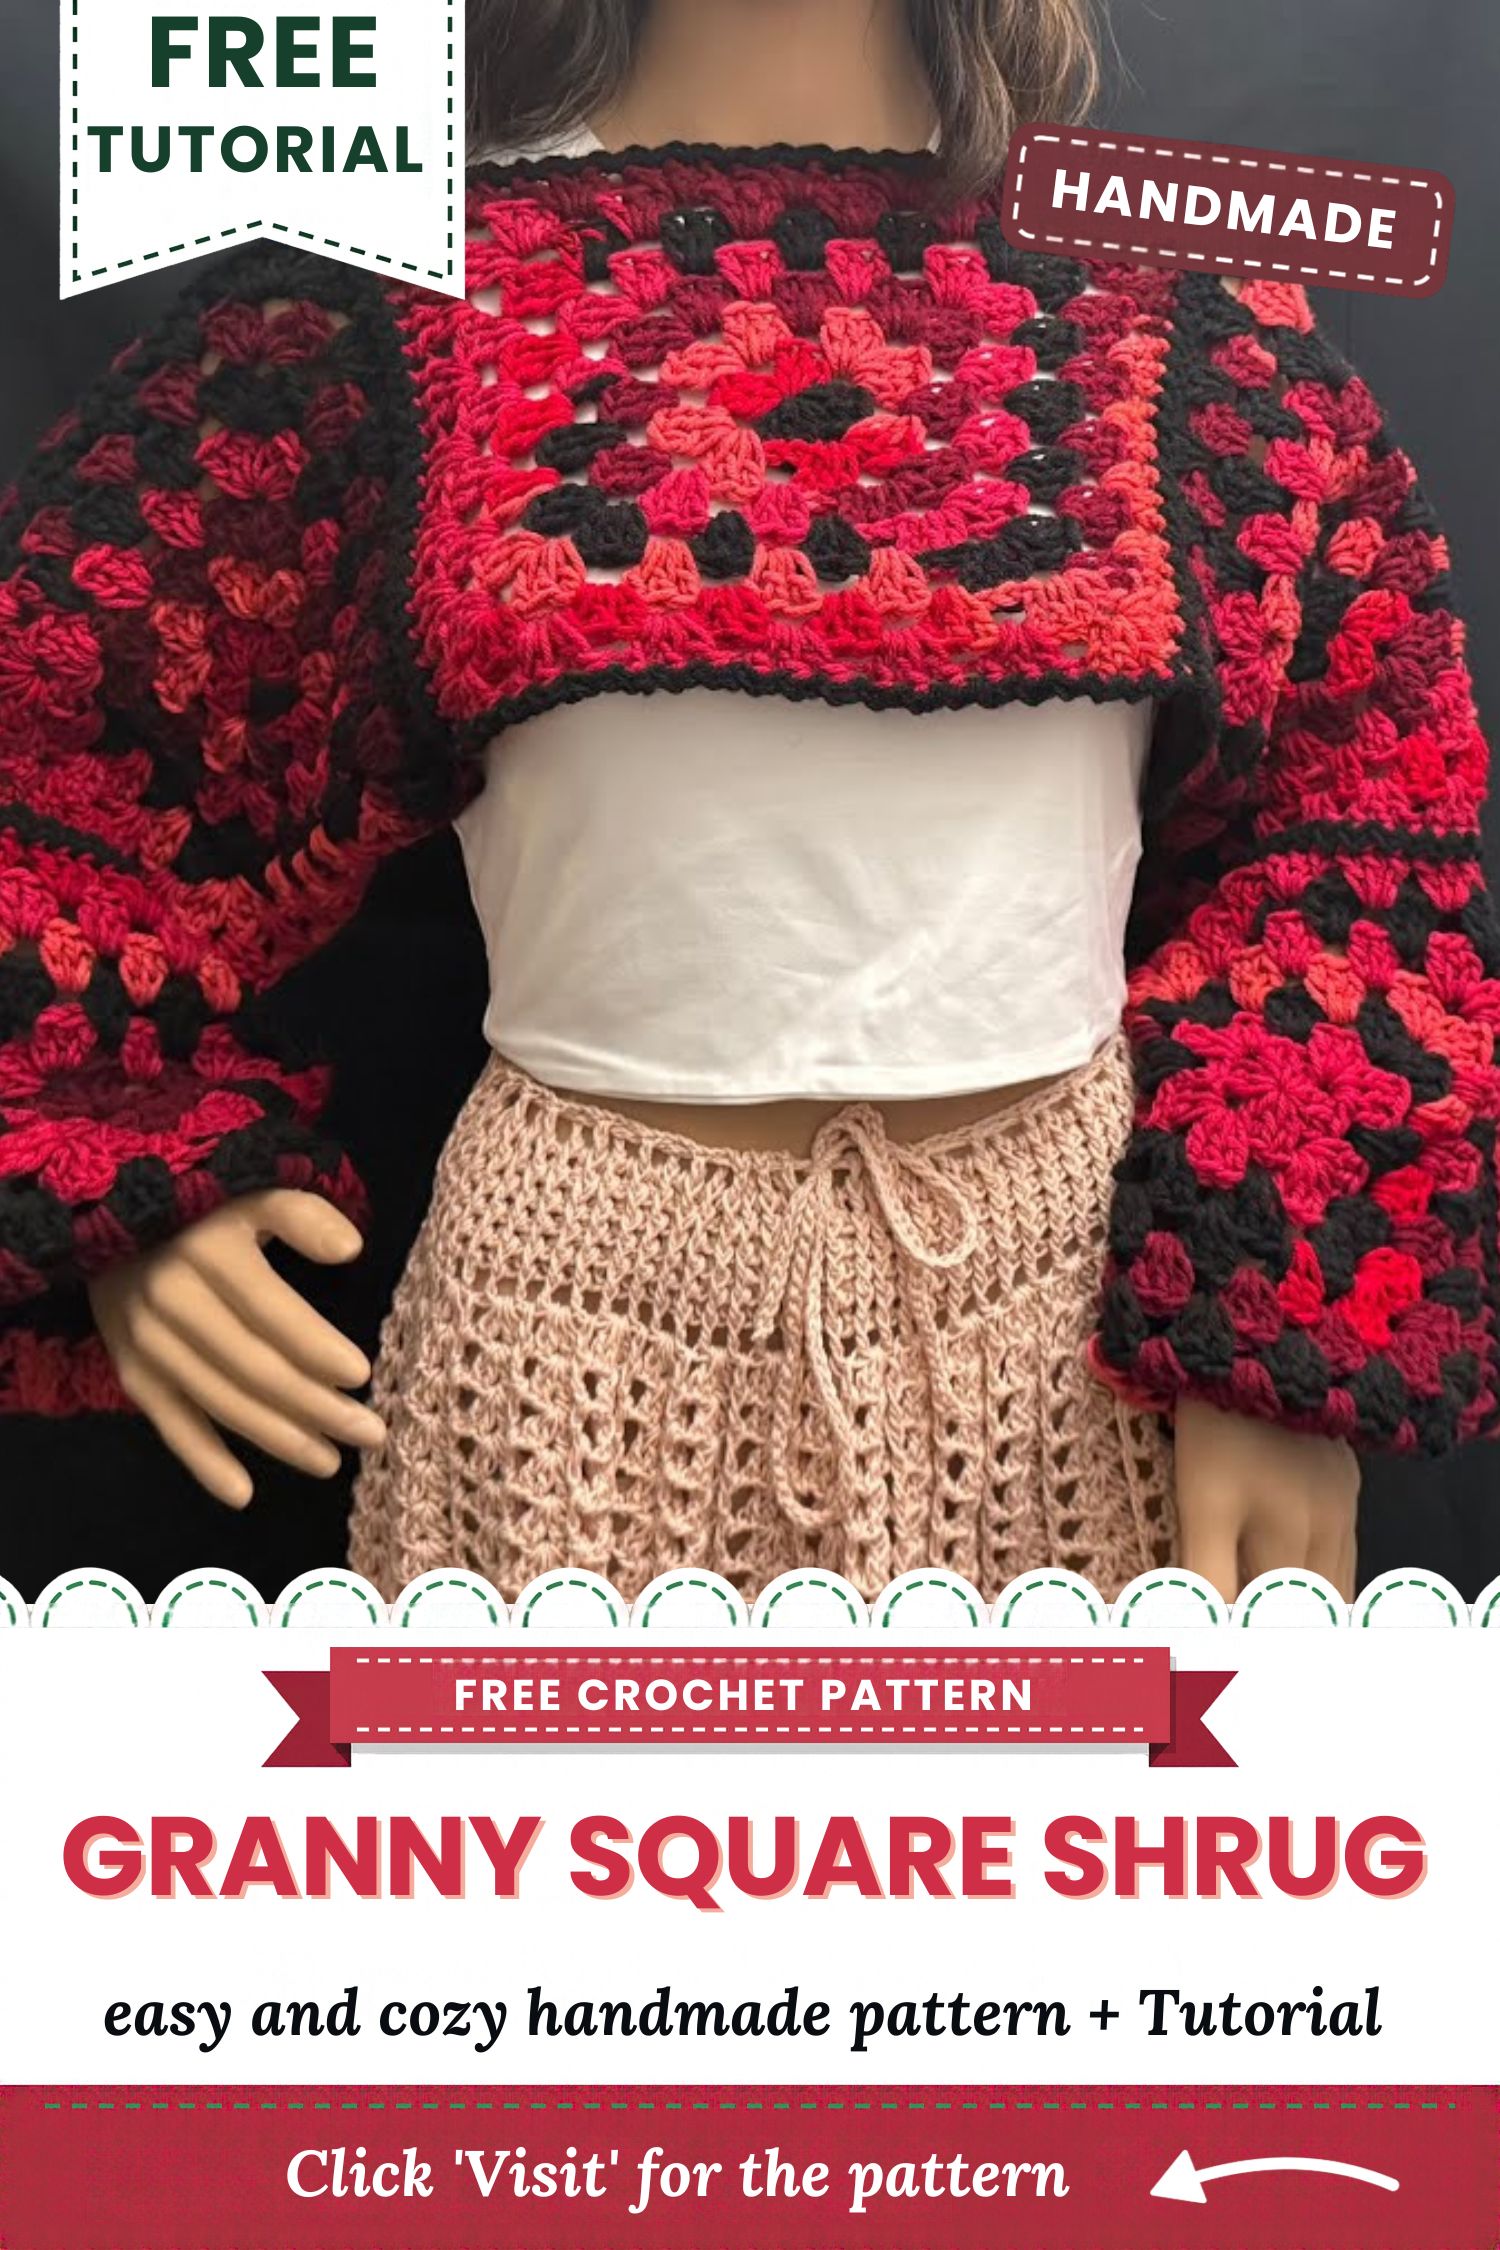
Looking for a crochet project that is colourful but still easy to wear? This crochet granny square shrug with black edging is a great pick. Red, coral, and black squares come together in a cropped shrug with soft, wide sleeves. Besides that, the black border frames every panel and gives the whole piece a clean, finished look. As a result, a plain white top instantly feels warmer and more stylish.
The best part is how simple the shape is. First, you make one long rectangle. Then you fold it and seam the sides to form the sleeves. Since there are no fixed stitch counts, you can pick any yarn weight and colours you like. In other words, your own measurements decide the fit. For this reason, the crochet granny square shrug suits confident beginners who already know the basic granny square.
Why You Will Love This Crochet Granny Square Shrug
First of all, this shrug looks fancy, yet the pattern is very easy. You do not need to shape armholes or work tricky increases. Instead, you make a simple rectangle and let the folding do the work.
Also, the shrug is light and easy to layer. It sits on the shoulders and covers the arms, so it works well in spring, autumn, and cool evenings. Moreover, the bold squares turn a basic outfit into something special. Finally, it makes a lovely handmade gift, because you can match the colours to the person who will wear it.
Materials for Your Crochet Granny Square Shrug
- Yarn: any weight you like, such as DK, worsted, or bulky, in the colours of your choice
- Crochet hook: a size that matches your yarn weight
- Tapestry needle for weaving in ends and seaming
- Scissors
- Stitch markers
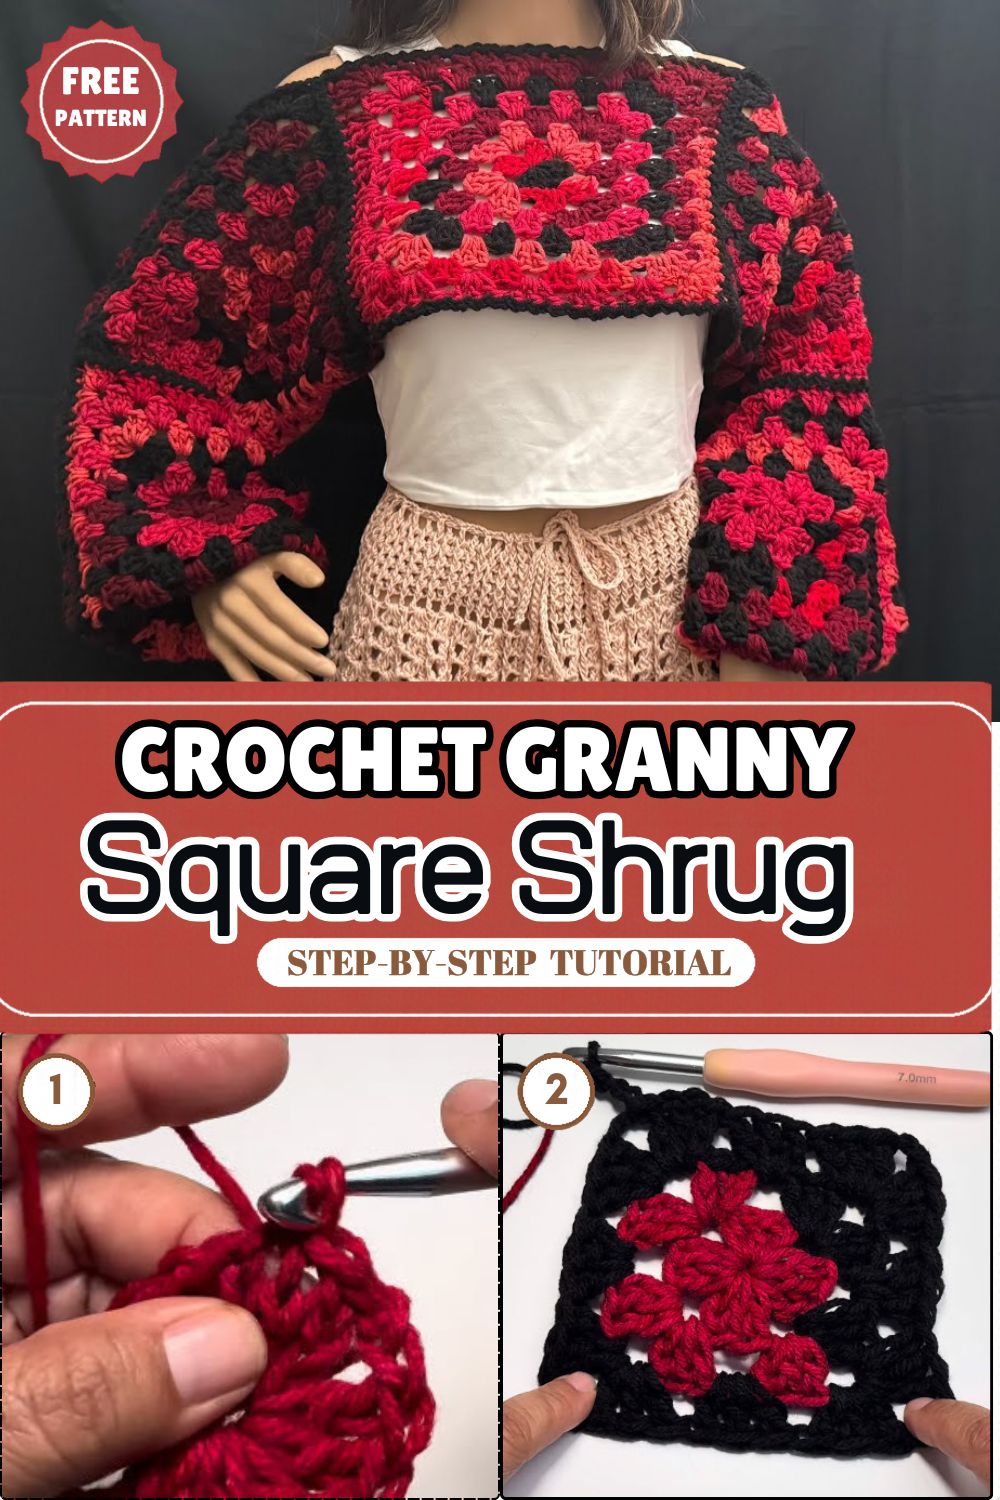
However, the source lists no yarn amounts and no hook size. The pin photos show red, coral, and black yarn, and the hook in the second step photo is labelled 7.0 mm. Therefore, treat that as a photo detail, not a pattern instruction. Also, buy extra black yarn, because the edging runs along the collar, edges, and openings.
How to Choose Yarn and Colours for a Granny Square Shrug
Yarn choice changes the look and feel of your shrug a lot. For example, a soft DK yarn gives a light, drapey shrug. On the other hand, a bulky yarn works up fast and feels warmer. If you want a shrug for daily wear, pick a soft yarn that does not itch, because the sleeves will touch your skin.
Next, think about colour. Red, coral, and black make a strong combination, so the shrug in the photos feels bold and warm. Still, you can try other mixes. Soft pastels look sweet, while earthy tones feel calm. In any case, keep one dark colour for the edging, since it ties all the squares together.
Skill Level for the Crochet Granny Square Shrug
The source does not label a level. Still, basic stitches and straight seaming point to a confident beginner project, as long as measuring and folding feel comfortable.
- Making a long foundation chain
- Working sc and dc in rows, or a simple textured stitch
- Keeping side edges straight while turning
- Folding a rectangle and seaming it with a needle or hook
- Working sc border rows around edges
Abbreviations Used in This Shrug Pattern
- ch: chain
- sc: single crochet
- dc: double crochet
- sl st: slip stitch
- st(s): stitch(es)
- Foundation chain: the starting chain that sets the panel’s size
- Panel: the large rectangle worked before folding
- Armhole: the open section left unseamed on each side
- Border row: an sc row worked along the collar, edges, or openings
- Edging: the black border rows that give the shrug its outline
Gauge and Size of the Granny Square Shrug
Gauge and finished measurements are not provided in the source. Because yarn, hook, and stitch choice change the size, a swatch is the safest guide for your crochet granny square shrug.
- First, work a small swatch in the stitch you plan to use.
- Next, measure how many stitches and rows fit into 4 in (10 cm).
- Finally, multiply by your own width and length measurements to find the foundation chain and row count.
How to Measure Yourself for a Crochet Shrug
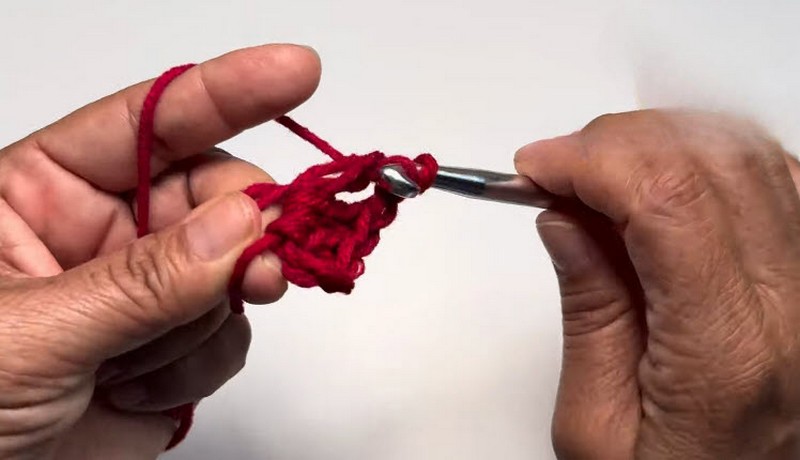
Since this pattern has no set size, taking your own measurements is the most important step. Grab a soft tape measure and note two numbers. First, measure from one wrist to the other with your arms stretched out to the sides. This gives you the full width of the rectangle. Second, measure from the back of your neck down to the length you like, usually around the waist for a cropped look.
After that, use your swatch numbers to turn these measurements into a foundation chain and a row count. As a tip, write the numbers down before you start, so you can check them again later. If you are between sizes, go a little bigger, because a loose shrug drapes better than a tight one.
Make the Rectangle Panel for Your Granny Square Shrug
- To begin, decide the width and length you need, adjusting for the shrug’s width or length.
- Then make a long foundation chain based on those measurements.
- After that, work basic stitches, such as dc or a textured stitch, in rows. Ch and turn at the end of each row as the stitch requires.
- Keep working until the rectangle reaches the dimensions you need, then fasten off.
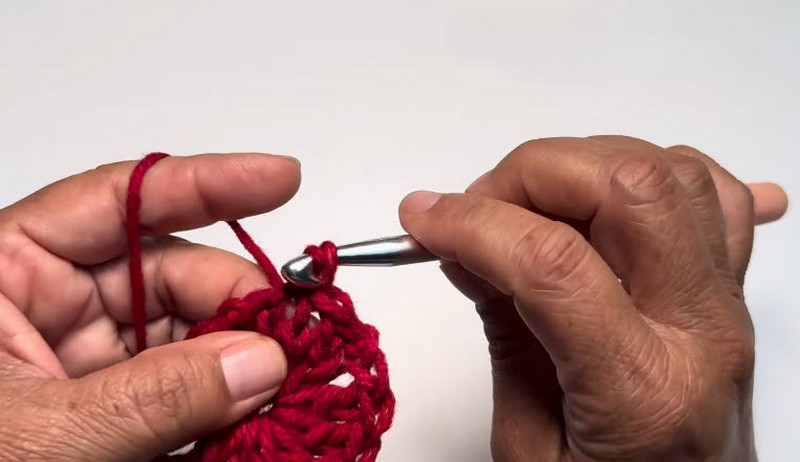
Measure now: lay the panel flat and check both directions against your body measurements before folding. In addition, count your rows once, so both halves of the panel match.
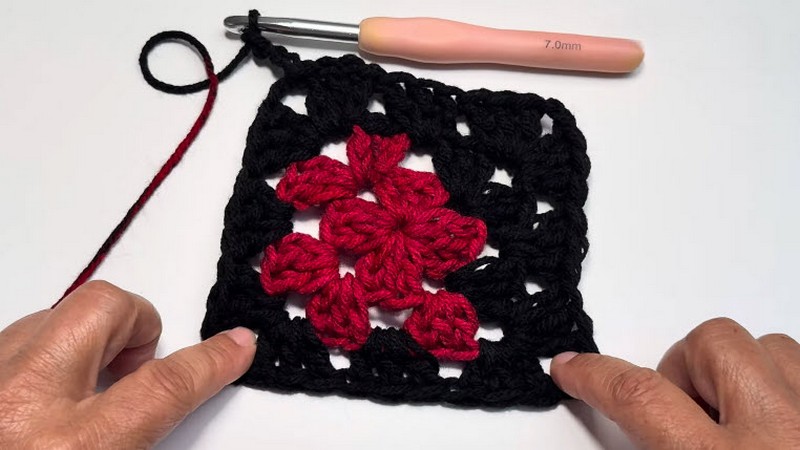
Fold and Seam the Crochet Granny Square Shrug
- First, fold the rectangle. For a cocoon or shrug style, leave a portion open on both sides for armholes.
- Next, seam the sides with a tapestry needle or crochet hook to form the sleeves and arm openings.
Before you sew, try the folded piece on. Slide your arms through the openings and check that they feel comfortable. If the openings feel tight, simply unpin the seam and move it. Because the shrug has no shaping, this quick test saves a lot of time later.
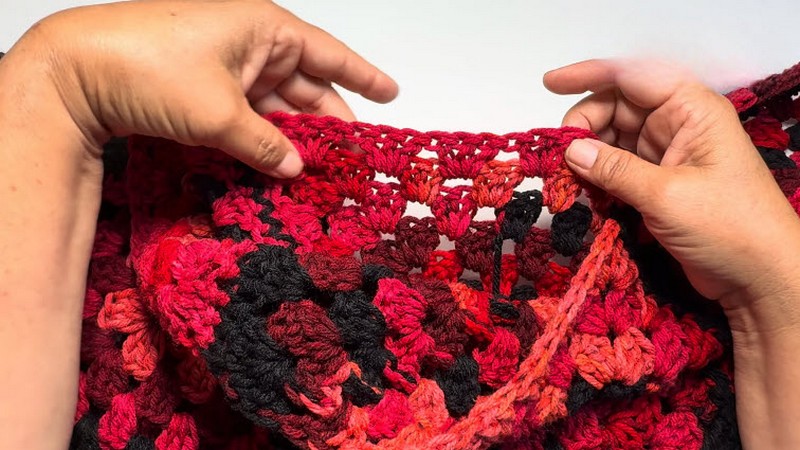
Add the Black Edging to Your Granny Square Shrug
- Work sc or border rows along the collar, edges, and openings.
- Keep the stitches even, so the border lies flat and does not ruffle.
- Lastly, weave in all yarn tails, then cut them.
The black edging does more than look neat. It also gives the shrug a firm outline, so the sleeves and collar hold their shape after many wears. For a thicker border, simply add one more row.
Pro-Tip: Mark both ends of each armhole opening with stitch markers before seaming. Equal openings keep the sleeves balanced.
Why it matters: a flat rectangle has no shaping, so every fit decision comes from the foundation chain and the seam position.
Helpful Tips for a Neat Crochet Granny Square Shrug
- Always swatch first, because yarn and hook size change the final fit.
- Keep your tension steady, so the panel stays straight at the sides.
- Use stitch markers often, since they make seaming much easier.
- Weave in ends as you go, so you do not face a huge pile at the end.
- Block the finished piece lightly, because blocking helps the squares sit flat.
Bonus: Easy Ways to Style Your Crochet Granny Square Shrug
Once the shrug is done, styling it is the fun part. For example, try these simple ideas:
- Pair it with a plain white tee and light denim so the red and coral colours stand out.
- Wear it over a simple black dress, since the black edging ties the whole look together.
- Layer it over a sleeveless top on cool evenings for extra warmth without bulk.
Also, wash the shrug gently by hand and dry it flat. In this way, the squares keep their shape and the colours stay bright.
Crochet Granny Square Shrug FAQs
Is this crochet granny square shrug good for beginners?
Yes, for confident beginners. The pattern uses basic stitches and simple seaming, so it feels easy once you know the granny square.
Which yarn works best?
Any yarn weight works. However, a soft DK or worsted yarn feels comfortable on the skin and drapes nicely.
How do I make the shrug bigger or smaller?
Change the length of the foundation chain and the number of rows. Because the pattern has no fixed counts, your swatch and body measurements guide the size.
Can I use different colours?
Of course. Just keep one dark shade for the edging, since it frames the squares and keeps the look neat.
Wear It and Love It
This crochet granny square shrug proves that a few basic stitches can create a bold, wearable piece. Because the shape is so simple, you can easily change the size, yarn, and colours to match your style. So, grab your hook, start the rectangle, and enjoy watching the squares turn into a cozy layer you will reach for again and again.