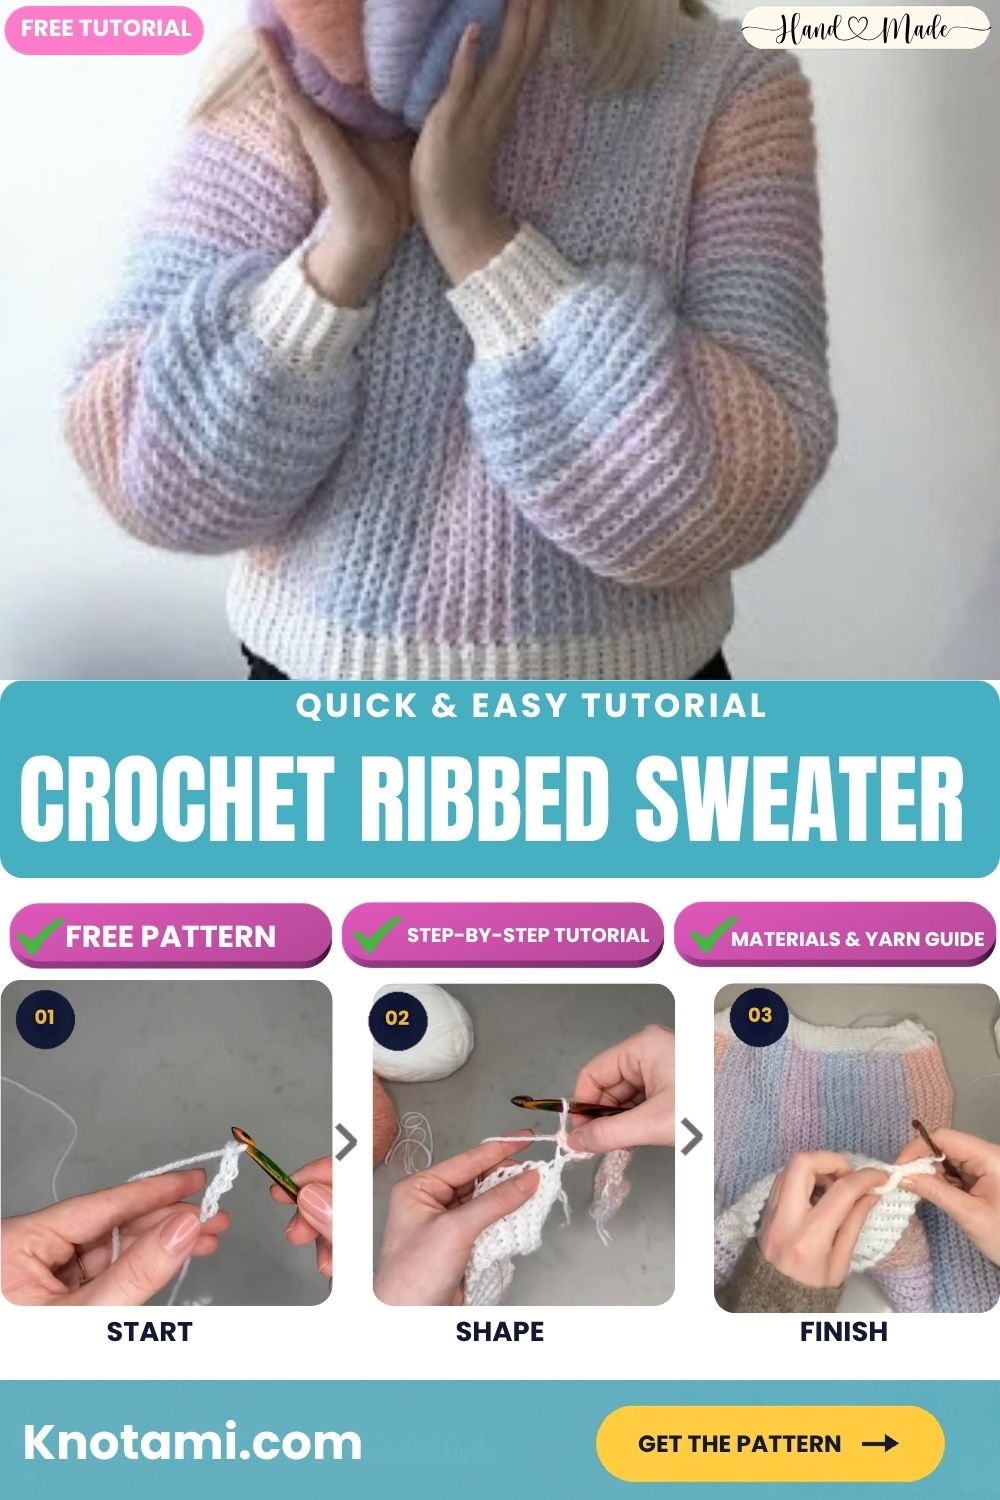
Easy Crochet Ribbed Sweater With Puff Sleeves
Peach, lilac, and powder-blue stripes drift across a soft ribbed body, each one framed by crisp white bands. The Easy Crochet Ribbed Sweater With Puff Sleeves looks far fancier than it really is. Every stage below lines up with an actual step photo, so you always know how your piece should look.
Everything starts with a slim white band worked sideways, and the striped panels grow straight off its long edge. A smooth white yarn travels with a fuzzy strand the whole way, which turns every color into a hazy pastel. Along the way, you’ll build bands, swap stripe shades, and shape a puff sleeve sweater from four flat pieces. It makes a lovely first crochet ribbed sweater, or simply a cozy striped pullover for cool evenings.
Pattern Overview
The fit is relaxed, and the roomy sleeves gather into neat white cuffs. You’ll make four flat pieces: a front, a back, and two sleeves. Each one begins as a narrow white band before a striped panel is worked along its edge.
All of the ribbing comes from one simple move, single crochet in the back loop only. The pattern is written in US crochet terms.
Two strands stay together from the first row to the last: a smooth white DK and a lace weight mohair-style yarn. Rather than covering the white, the fuzzy strand tints it, so the colors stay gentle. A 6 mm (J-10) hook handles the doubled yarn comfortably. Unsure how DK and lace weight compare?
Time Box
- Prep: winding yarn, swatching, and measuring, roughly 1 hour.
- Stitching: bands, body panels, and sleeves, around 18 to 22 hours.
- Finishing: seams, edging, and weaving in ends, close to 2 hours.
Ribbed rows are slow to grow, so spread each piece over a few sittings.
Before You Begin
Swatch With Both Strands
Holding two strands together shifts your gauge a lot. Make a small swatch with the white yarn and one fuzzy strand, then give it a light steam. You’re aiming for 14 sc and 16 rows to 4 inches.
Pick Your Size
Sizes run S (M, L, XL), with a finished bust of 38 (42, 46, 50) inches. Measure your bust first, then choose the size that gives about 4 to 6 inches of ease.
Plan on about 1,000 (1,150, 1,300, 1,450) yards of white yarn. For the fuzzy strand, you’ll want 2 (2, 3, 3) balls of peach plus 1 (2, 2, 2) each of lilac and blue, at roughly 230 yards per ball.
New to back loop work? The ridged fabric in our preppy pleated skirt pattern uses the same stitch, so it makes a handy warm-up.
How to Crochet the Ribbed Sweater
Work through the stages in order. Numbers for larger sizes sit in brackets.
Step 1: Chain and Start the White Band
- Make a slip knot and ch 11.
- Sc in the second ch from the hook and in each ch across, for 10 sts.
- Ch 1, turn, and sc in the BLO of each st across.
Early on, the band looks like a thin, slightly twisted strip. Give it a few rows. The ribs soon appear, and the strip settles flat.
A snug starting chain stops the band edge from flaring later.

Step 2: Build the Band to Length
Repeat the BLO row until you reach 76 (84, 92, 100) rows. Because the band grows sideways, its length becomes the width of the hem. Wrapping the working yarn over your index finger keeps tension steady.
Check the ridges at the halfway point. They should stand in neat, raised lines with no gaps between rows.
Measure now: the band should reach 19 (21, 23, 25) inches long and about 3 inches wide.
Pro tip: clip a marker into the first stitch of every row. Ribbing hides the edge stitch, and skipping it slowly narrows the band.
Step 3: Join the Striped Yarn
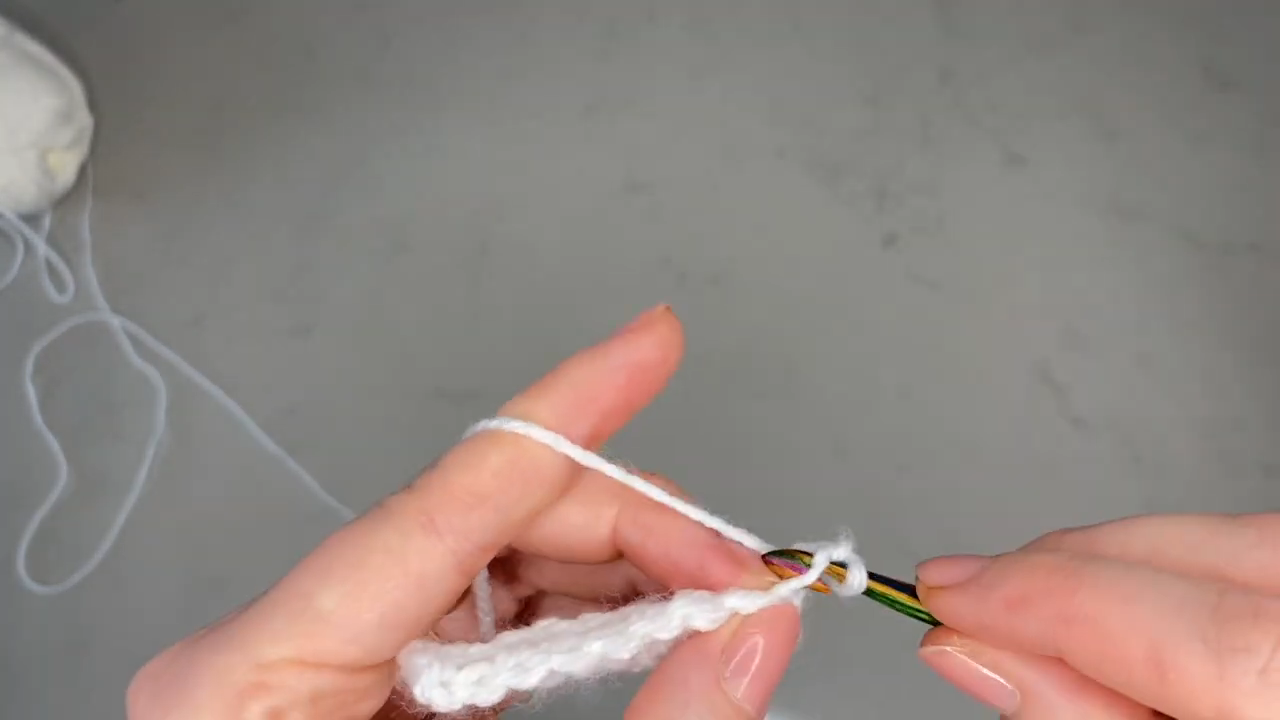
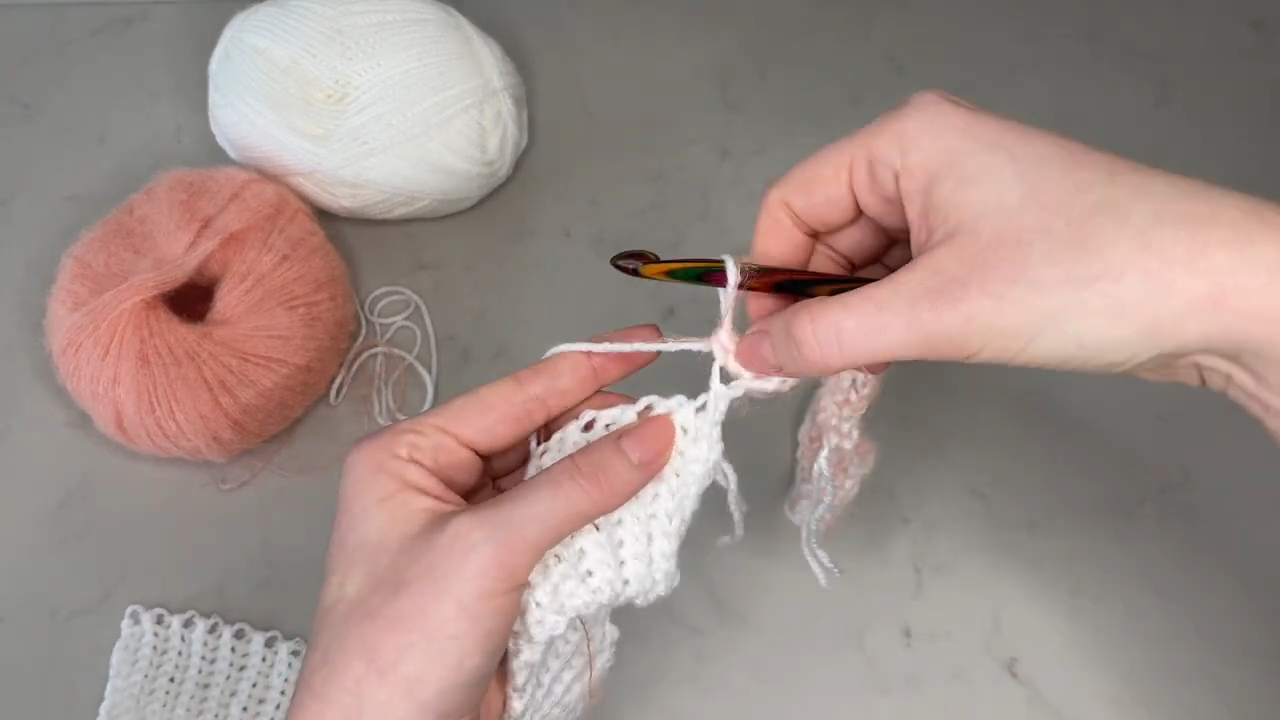
With the band finished, turn it so the long edge faces up. Hold the white yarn and the peach fuzzy strand together, and join both at the corner with a sl st.
Your hook goes into the row ends here, not the stitch tops. Work about 7 sc across every 8 row ends so the edge stays flat.
Stitch check: you should have 66 (74, 80, 88) sts before starting row two.
Step 4: Work the Striped Ribbed Panel
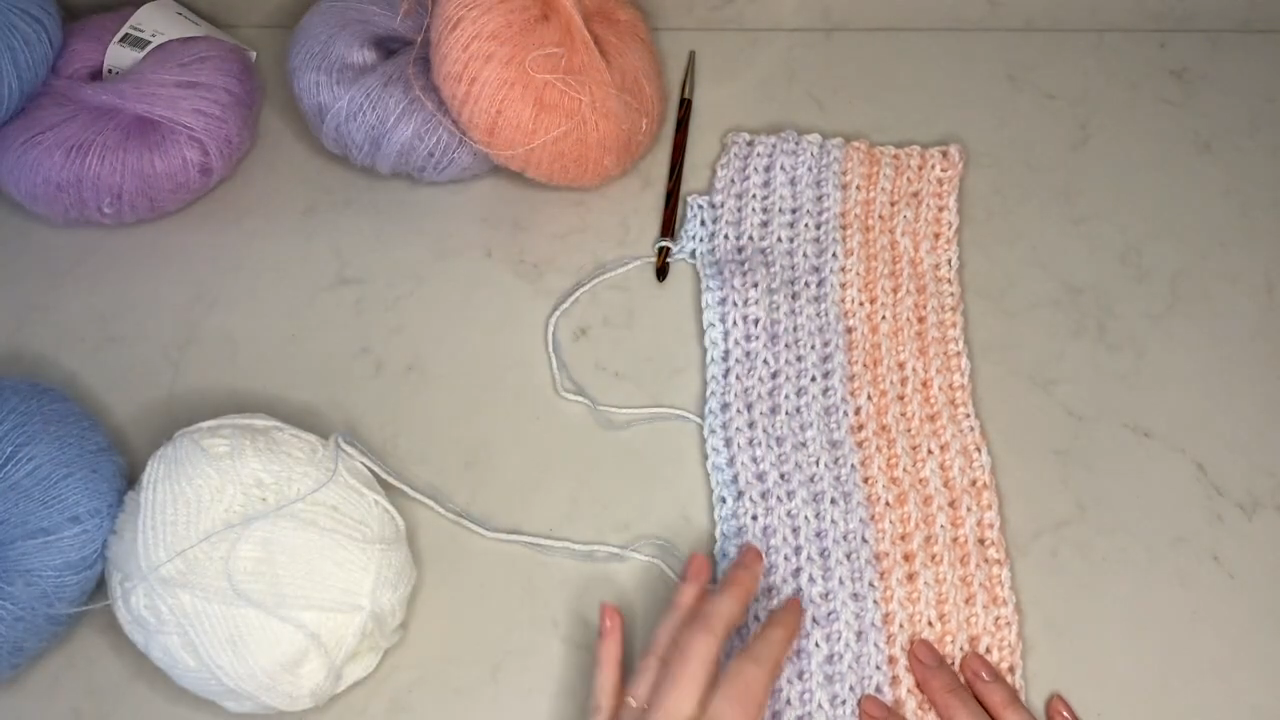
Ch 1, turn, and work sc BLO across every row. After 16 rows, cut the peach strand and pick up lilac with the white. Another 16 rows complete the second stripe.
At that point, lilac and peach sit side by side, with ribs running the full length. Each stripe should match the width of the one before it.
Switch to blue for 16 rows, then return to peach for 16 (18, 20, 22) rows. Your panel now holds 64 (66, 68, 70) rows above the band.
Fit check: the whole piece, band included, should measure about 19 (19.5, 20, 20.5) inches long.
Pro tip: keep the white strand running and swap only the fuzzy yarn at each stripe. You’ll have fewer ends, and the colors blend more softly.
Repeat Steps 1 to 4 for a matching back panel.
Step 5: Make the Puff Sleeves
For each cuff, ch 11 and work the same 10-st band for 28 (30, 32, 34) rows. Join the doubled yarn along the long edge and work 2 sc in every row end, for 56 (60, 64, 68) sts.
The jump from a narrow cuff to a wide sleeve is what creates the puff. Carry on with the same 16-row stripes until the sleeve reaches 14 (14.5, 15, 15.5) inches above the cuff.
Size up: hold both sleeves together before seaming. They should match row for row and stripe for stripe.
Step 6: Seam the Body and Sleeves
Lay the front and back flat with right sides facing. Join each shoulder with white yarn for 5 (5.5, 6, 6.5) inches, which leaves a neck opening of 9 (10, 11, 12) inches.
In the photo, a pink marker holds the top edge while the corner seam starts. Glance at the sleeve on the right, too. Its white cuff is already in place, and the wide striped section above it is the part that puffs.
Center each sleeve top on a shoulder seam and sl st it in place. Close each side and underarm seam in one continuous line, from hem to cuff.
Edge test: front and back stripes should meet evenly at the side seam. If one sits a row off, fix it before moving on.

Step 7: Firm Up the Sleeve Cuffs
Turn the sweater right side out. Join a single strand of white yarn at the underarm seam of one cuff, then work 1 sc in each row end around, for 28 (30, 32, 34) sc. Sl st to join.
Ch 1 and work one more round in sc BLO. Fasten off, then repeat on the second cuff.
A tidy cuff edge holds the gather in place, so the puff keeps its shape after washing.
Step 8: Edge the White Hem
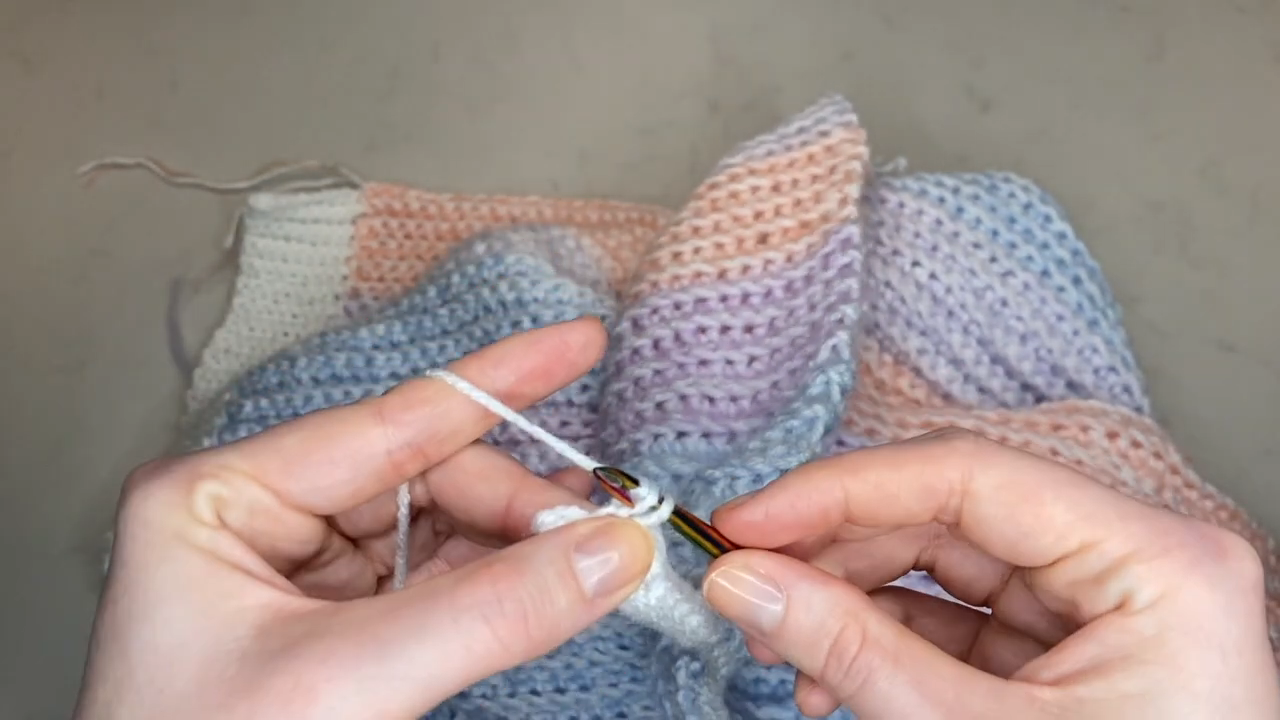
Join white yarn at one side seam along the bottom of the body. Work 7 sc across every 8 row ends all the way around, for 132 (148, 160, 176) sc, and sl st to join.
One round is enough. Fasten off once the hem lies flat and even.
Quick look: if the hem ripples, pull it out and work 6 sc across every 7 row ends instead.
Step 9: Work the Neck Band
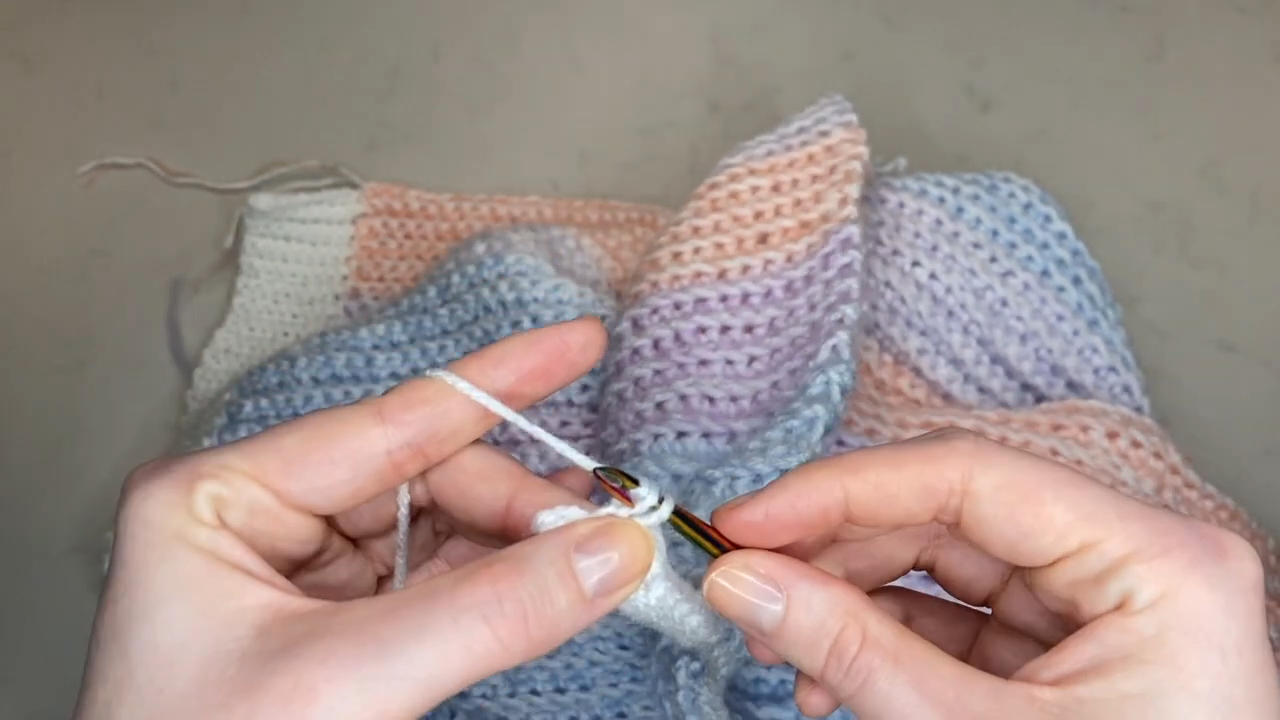
Join a single strand of white at one shoulder seam, where the join hides inside the seam line. Work 62 (70, 76, 84) sc evenly around the neck and sl st to join.
Ch 1 and add 2 rounds of sc BLO, joining each round with a sl st. Keep the stitches relaxed so the neck still slips over your head. Fasten off with a long tail.
Count again: every round should hold the same 62 (70, 76, 84) sts. Weave all ends along the ribs, where they disappear best.
Common Mistakes on a Ribbed Crochet Sweater
- Skipping edge stitches. The band narrows bit by bit, so count every few rows.
- Working both loops by habit. The ribs flatten in that spot, and the texture looks patchy.
- Pulling seams tight. A stiff side seam puckers instead of stretching. Keep joining stitches loose.
- Mixing uneven fuzzy strands. Some mohair-style yarns run thinner than others. Swatch each color before combining them.
Bonus: Fixing Flat or Floppy Puff Sleeves
A good puff depends on a clear size gap between the sleeve and the cuff. Too small a gap, and the sleeve hangs flat. Too big, and it droops over the wrist.
If the Sleeve Looks Flat
On the cuff pick-up row, work 3 sc in every row end instead of 2. Another option is making the cuff 2 rows shorter, so it gathers more fabric.
If the Sleeve Droops
Rework the pick-up row with 2 sc in most row ends, but only 1 sc in every third one. Try the sweater on again before weaving in any ends.
Washing a Crochet Ribbed Sweater
Read both yarn labels first, since the fuzzy strand may need gentler care. Hand wash in cool water with a mild wool wash.
Roll the sweater in a towel to press out water, then dry it flat. Never hang it wet, because ribbing stretches long under its own weight.
FAQs
What yarn works for a crochet ribbed sweater?
DK yarn paired with a lace weight mohair-style strand works beautifully. Together they give soft color and an airy, warm feel.
Can a beginner make a ribbed sweater?
Yes, as long as you know chain, single crochet, and slip stitch. Working in the back loop is the only extra skill.
Why does my ribbing lean or twist?
A missed first or last stitch usually causes it. A light steam also coaxes the ribs back into straight lines.
Can I skip the fuzzy strand?
Sure, use a single worsted weight yarn instead. The look turns crisper, so swatch again to match gauge.
Ready for Its First Outing
With the ends woven in, hover a steamer over the whole sweater. The ribs relax, and the sleeves round out into their soft, puffy shape.
Once you’ve worn it a few times, bolder stripes might tempt you next. Our oversized crochet sweater with bold stripes keeps the same easy rhythm, and the open front crochet cardigan pattern makes a cozy layer to go with it.