Crochet Christmas Tree Amigurumi Pattern Free Decor Idea
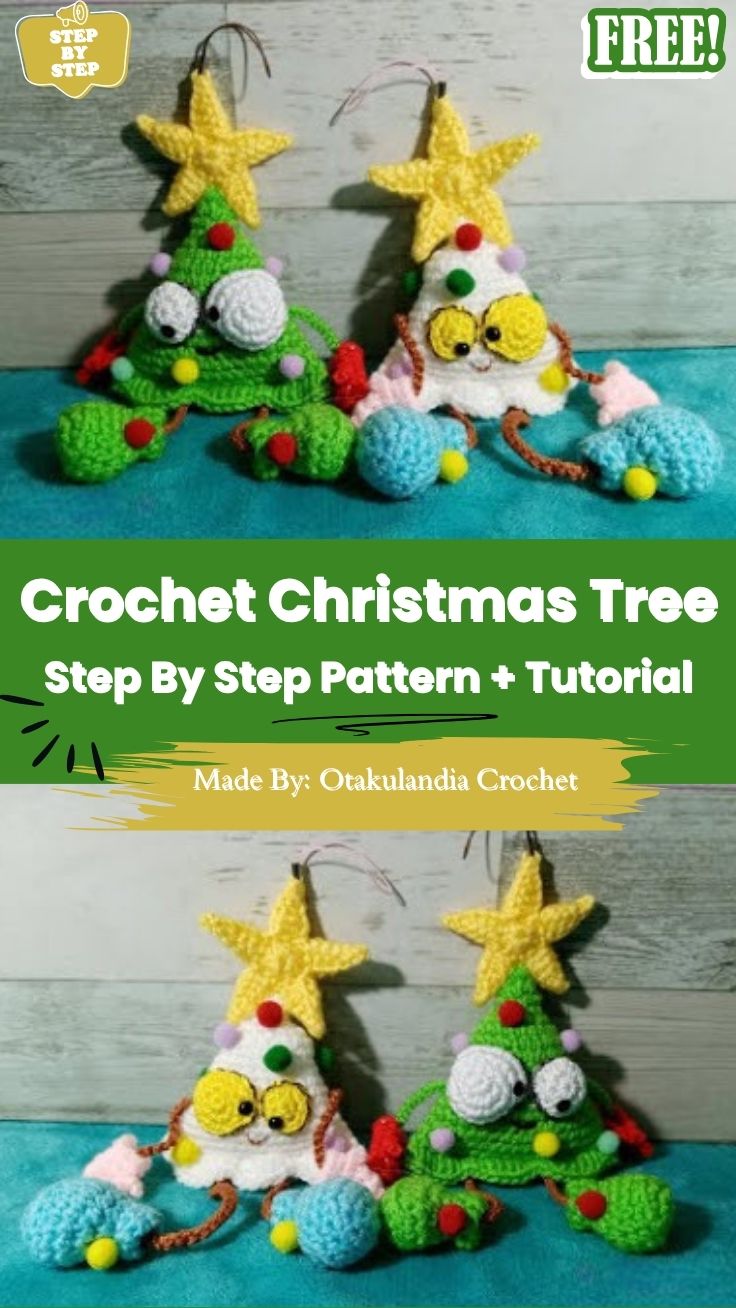
Complete with tiny arms, legs, and a little star on top, the Crochet Christmas Tree Amigurumi Pattern Free Decor Idea brings real personality to holiday decorating, perfect for sprucing up a home or gifting to a friend. Its festive charm makes it a joyful little project.
Crafting your own holiday decor lets you customise every detail while mastering the shapes and stitches behind a high-quality finished piece. Built with simple stitches like the magic circle and single crochet, the process stays smooth and enjoyable even for those still honing their skills. The Christmas tree amigurumi design turns into a piece of festive art worth cherishing for many Christmases to come.
Pattern Overview
- Worked top-down in continuous rounds (no joining, no turning)
- One piece for the tree body, one small piece for the stump, one flat piece for the star
- Finished height: roughly 5.5–6 inches; base width approx. 3.5 inches at round 18
- No sewing required between rounds, only for attaching the star and closing the base
Materials
- Worsted weight (Yarn 4) acrylic yarn, approx. 40g green, small amounts of yellow or gold for the star
- 3.5mm crochet hook (slightly smaller than yarn label suggests, for tight amigurumi fabric)
- Polyester fiberfill stuffing
- Stitch marker (locking, not a loop of yarn you’ll be moving it often)
- Tapestry needle, scissors
- Optional: 6mm safety eyes and a scrap of red felt or embroidery floss for a simple smiling face
- Optional: rice or a washer wrapped in fabric, dropped into the base for weight.
Safety note: if the tree is going anywhere near toddlers or pets, skip safety eyes and glued-on decorations entirely; embroider the face instead, and avoid loose beads or sequins that could detach and become a choking hazard.
Abbreviations
sc – single crochet
inc – increase (2 sc in one stitch)
dec – invisible decrease
st(s) – stitch(es)
rnd – round
BLO – back loop only
Important Stitches
Every round here is a plain single crochet, but the invisible decrease matters more than usual. A regular decrease leaves a visible ridge on a cone shape, where a standard decrease would normally hide inside a sphere.
Before You Start
Crochet a swatch of 10 sc and check it against a ruler; aim for roughly 4 stitches per inch. Too loose, and stuffing will show through as pale patches; that’s the tension flaw that shows up most on cone shapes, since the fabric stretches sideways as the rounds widen.
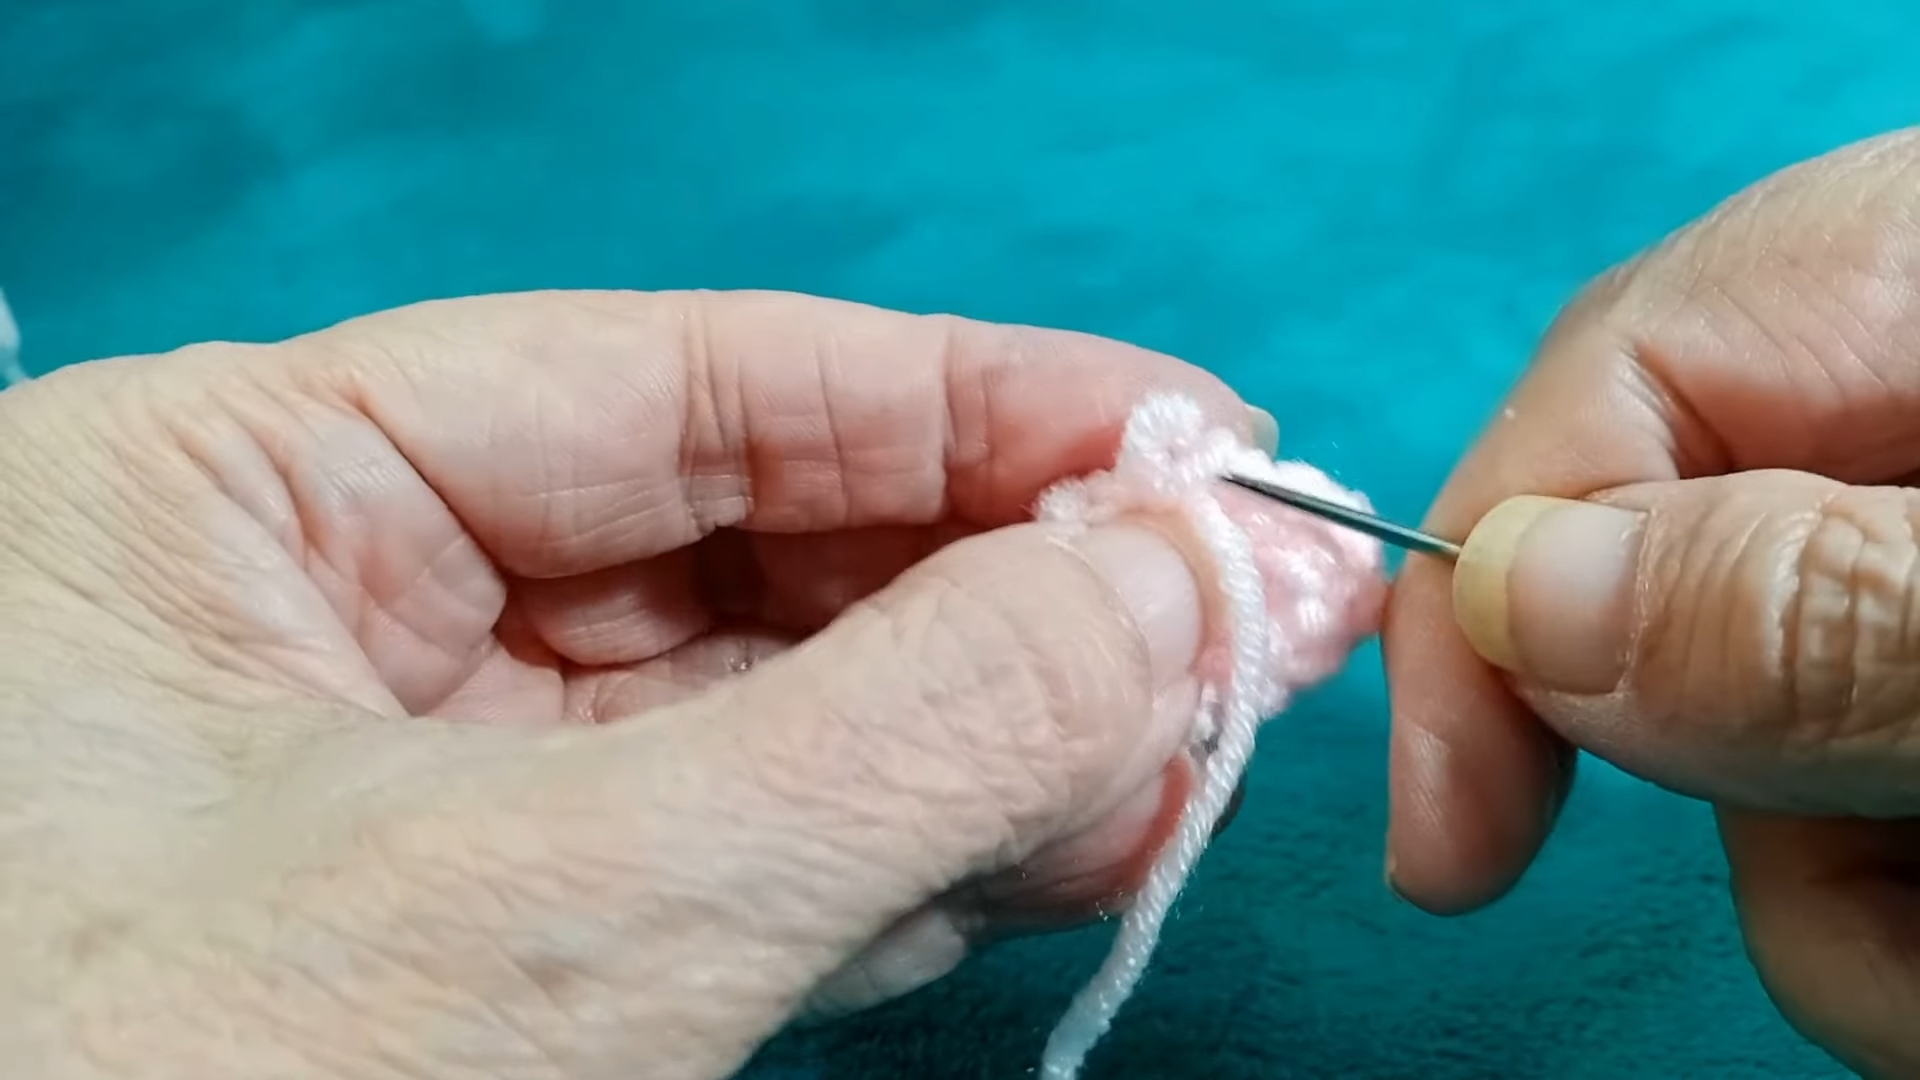
To start your Crochet Christmas Tree Amigurumi, we begin with the mittens. Create a magic circle and work 7 single crochets into it. Do not close the circle with a slip stitch; instead, continue weaving. In the next round, do two single crochets followed by an increase. Repeat this until you have 8 stitches. Work two full rounds of 8 stitches. For the thumb, you will use a sewing technique described in the video to create a small loop that mimics a thumb shape. This adds a realistic touch to your Crochet Christmas Tree Amigurumi.
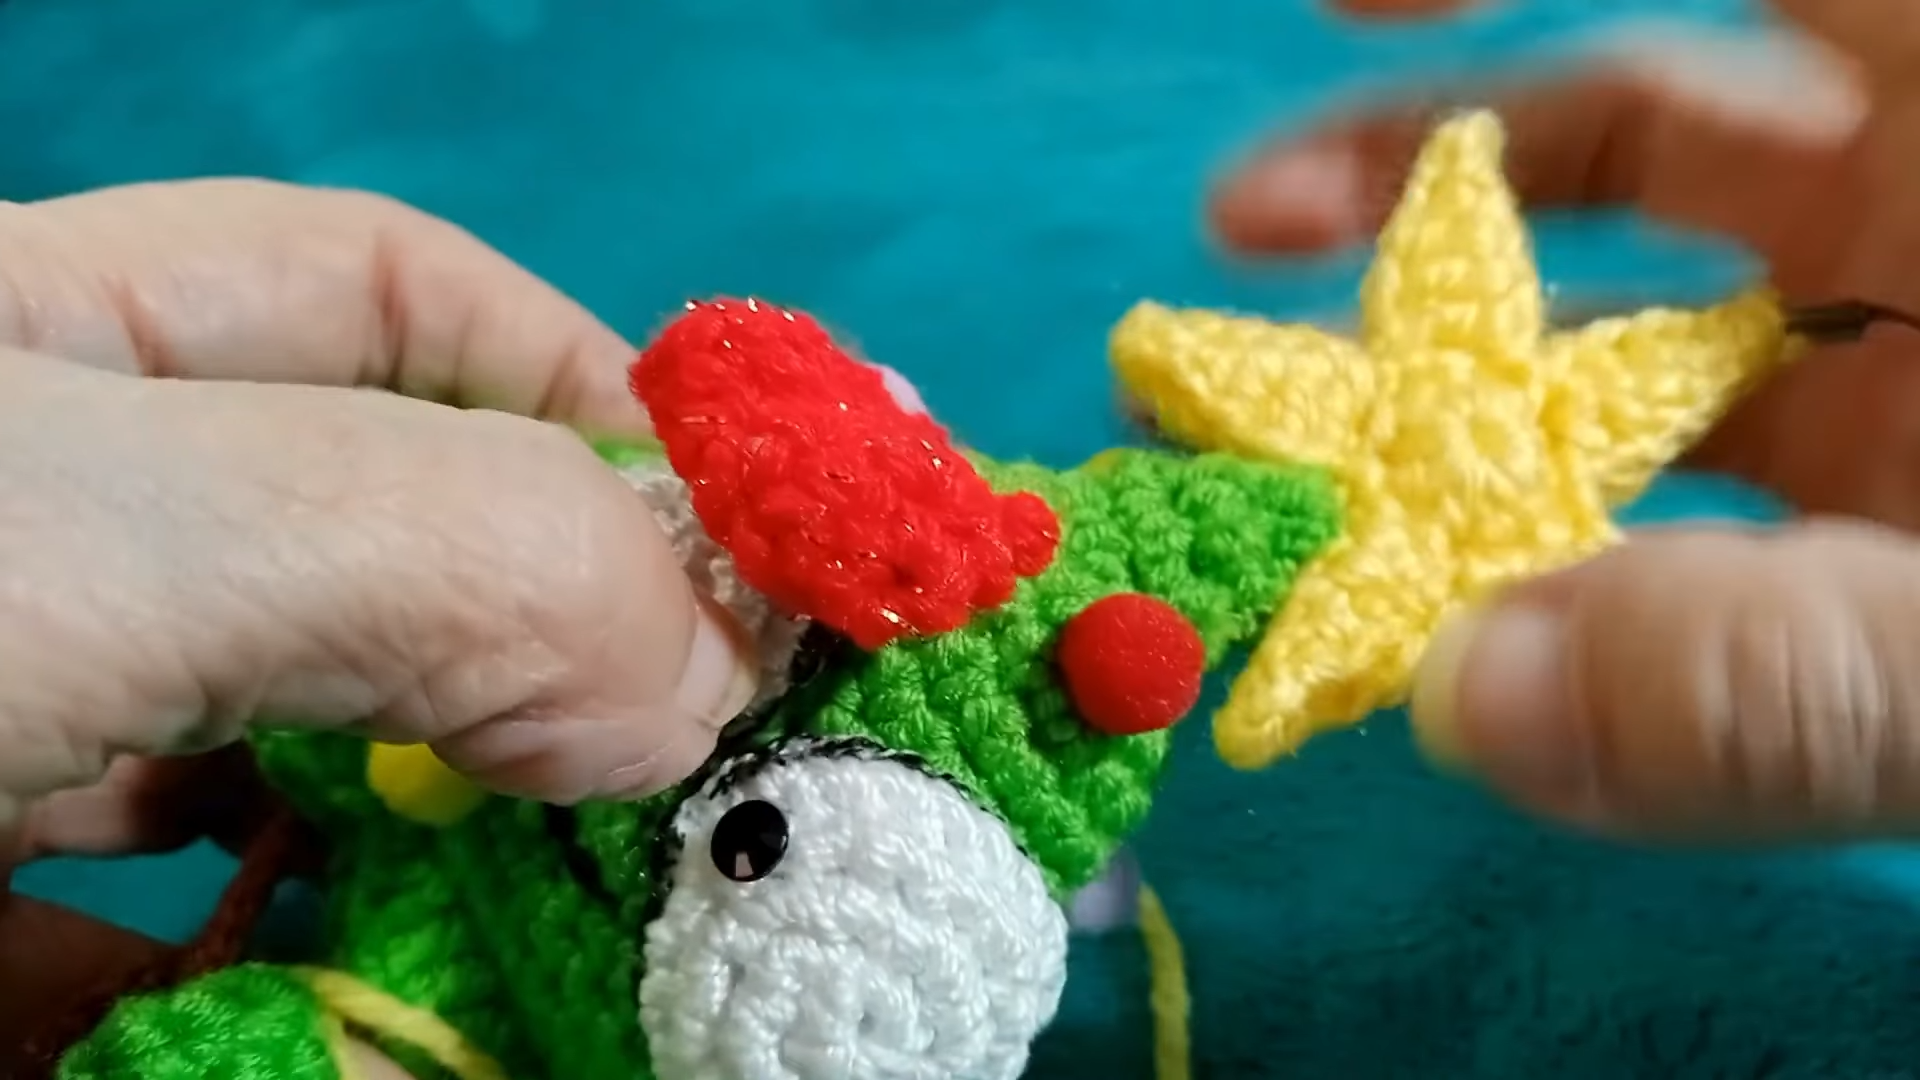
Step 2: The Festive Star
2. Building the Cone
- Rnd 2: inc in each st (10)
- Rnd 3: sc around (10)
- Rnd 4: (sc 1, inc) around (15)
- Rnd 5: sc around (15)
- Rnd 6: (sc 2, inc) around (20)
- Rnd 7: sc around (20)
- Rnd 8: (sc 3, inc) around (25)
- Rnd 9: sc around (25)
- Rnd 10: (sc 4, inc) around (30)
Pro-Tip: Right around round 8, the fabric starts curving outward fast, and round 8 is exactly where beginners lose a stitch without noticing the increase gets crocheted into the same stitch as the one before it instead of the next one. Count your stitches at the end of every increase round before moving on; catching a miscount here costs you ten seconds, catching it three rounds later costs you the whole cone.
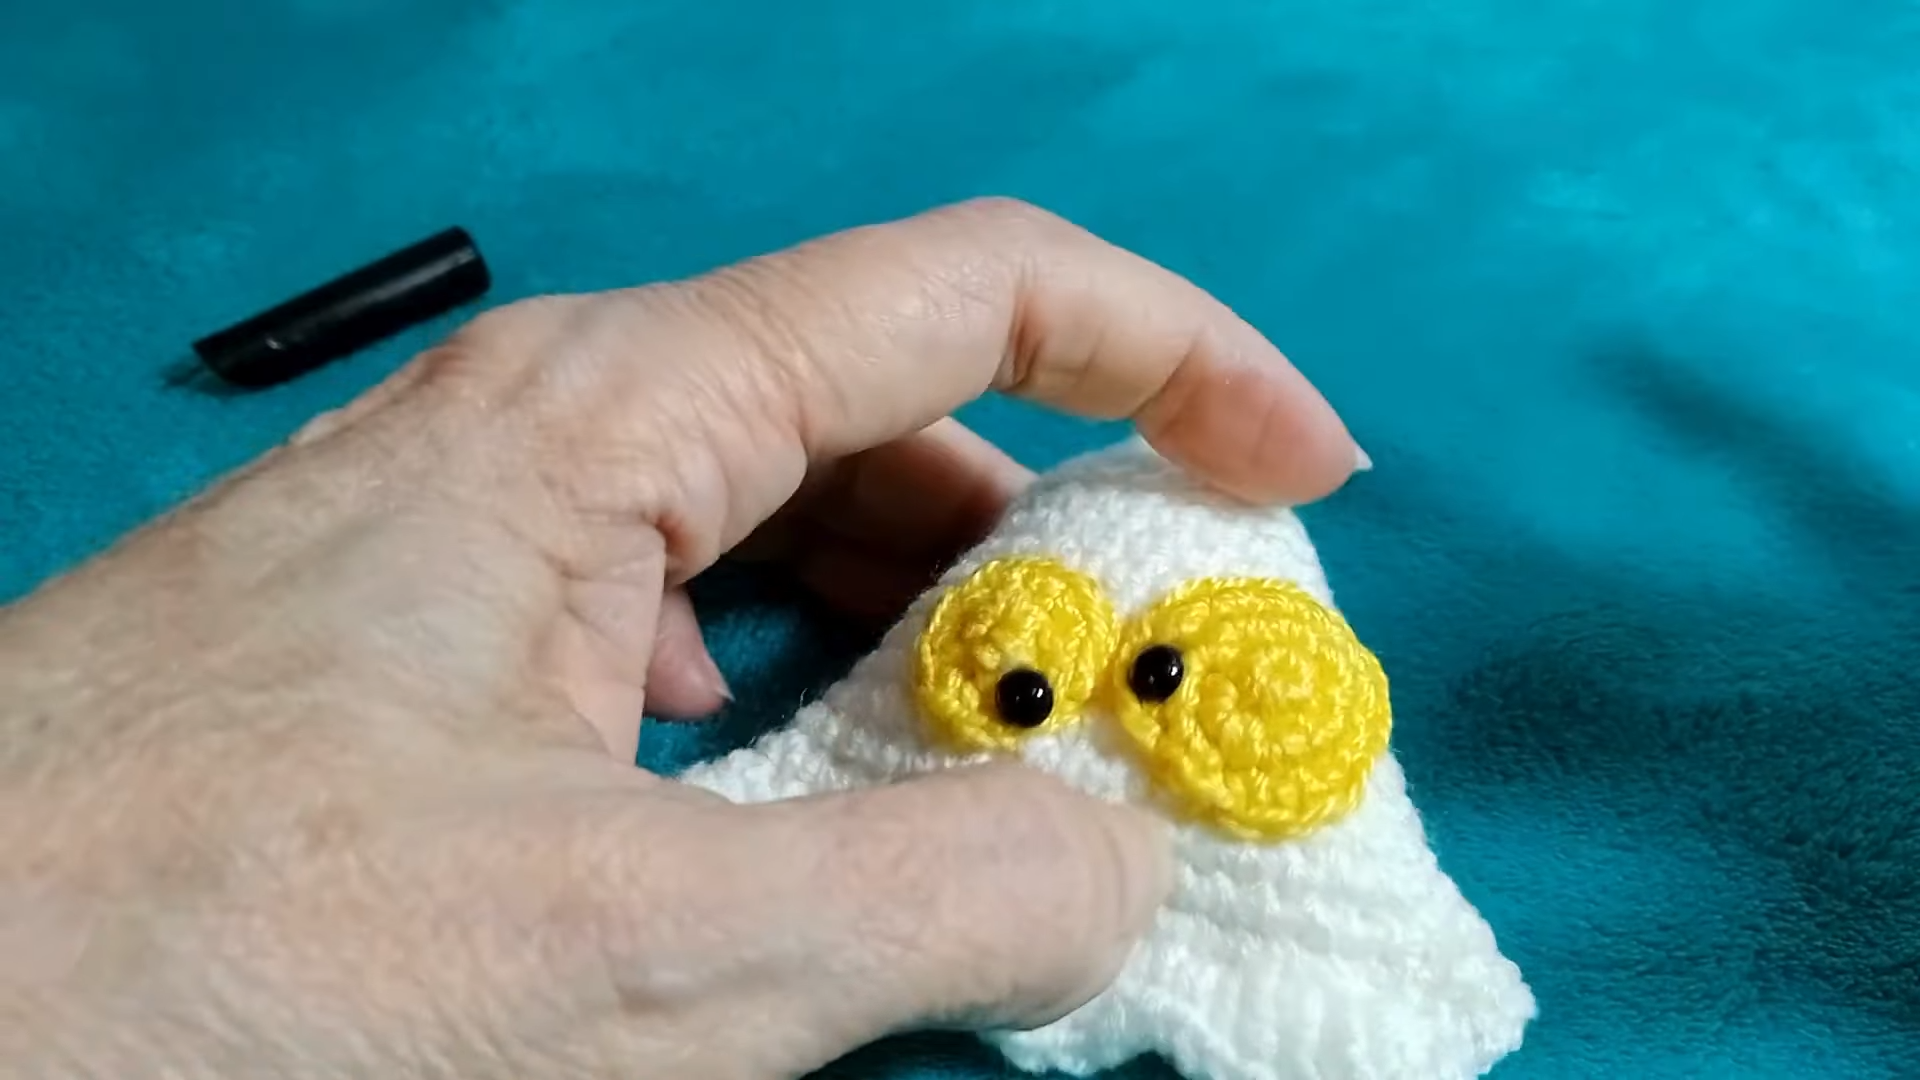
Step 3: The Expressive Eyes
- Rnd 11: sc around (30)
- Rnd 12: (sc 5, inc) around (35)
- Rnd 13–14: sc around (35)
- Rnd 15: (sc 6, inc) around (40)
- Rnd 16–18: sc around (40)
Stuff now, not at the very end. Push fiberfill to the tip of the cone first, in small pinches at a time, using the blunt end of your tapestry needle to reach the point, then work down. Waiting until round 18 to start stuffing leaves the tip hollow and floppy no matter how much you cram in later, because there’s no way to push stuffing upward past thirty stitches of fabric.
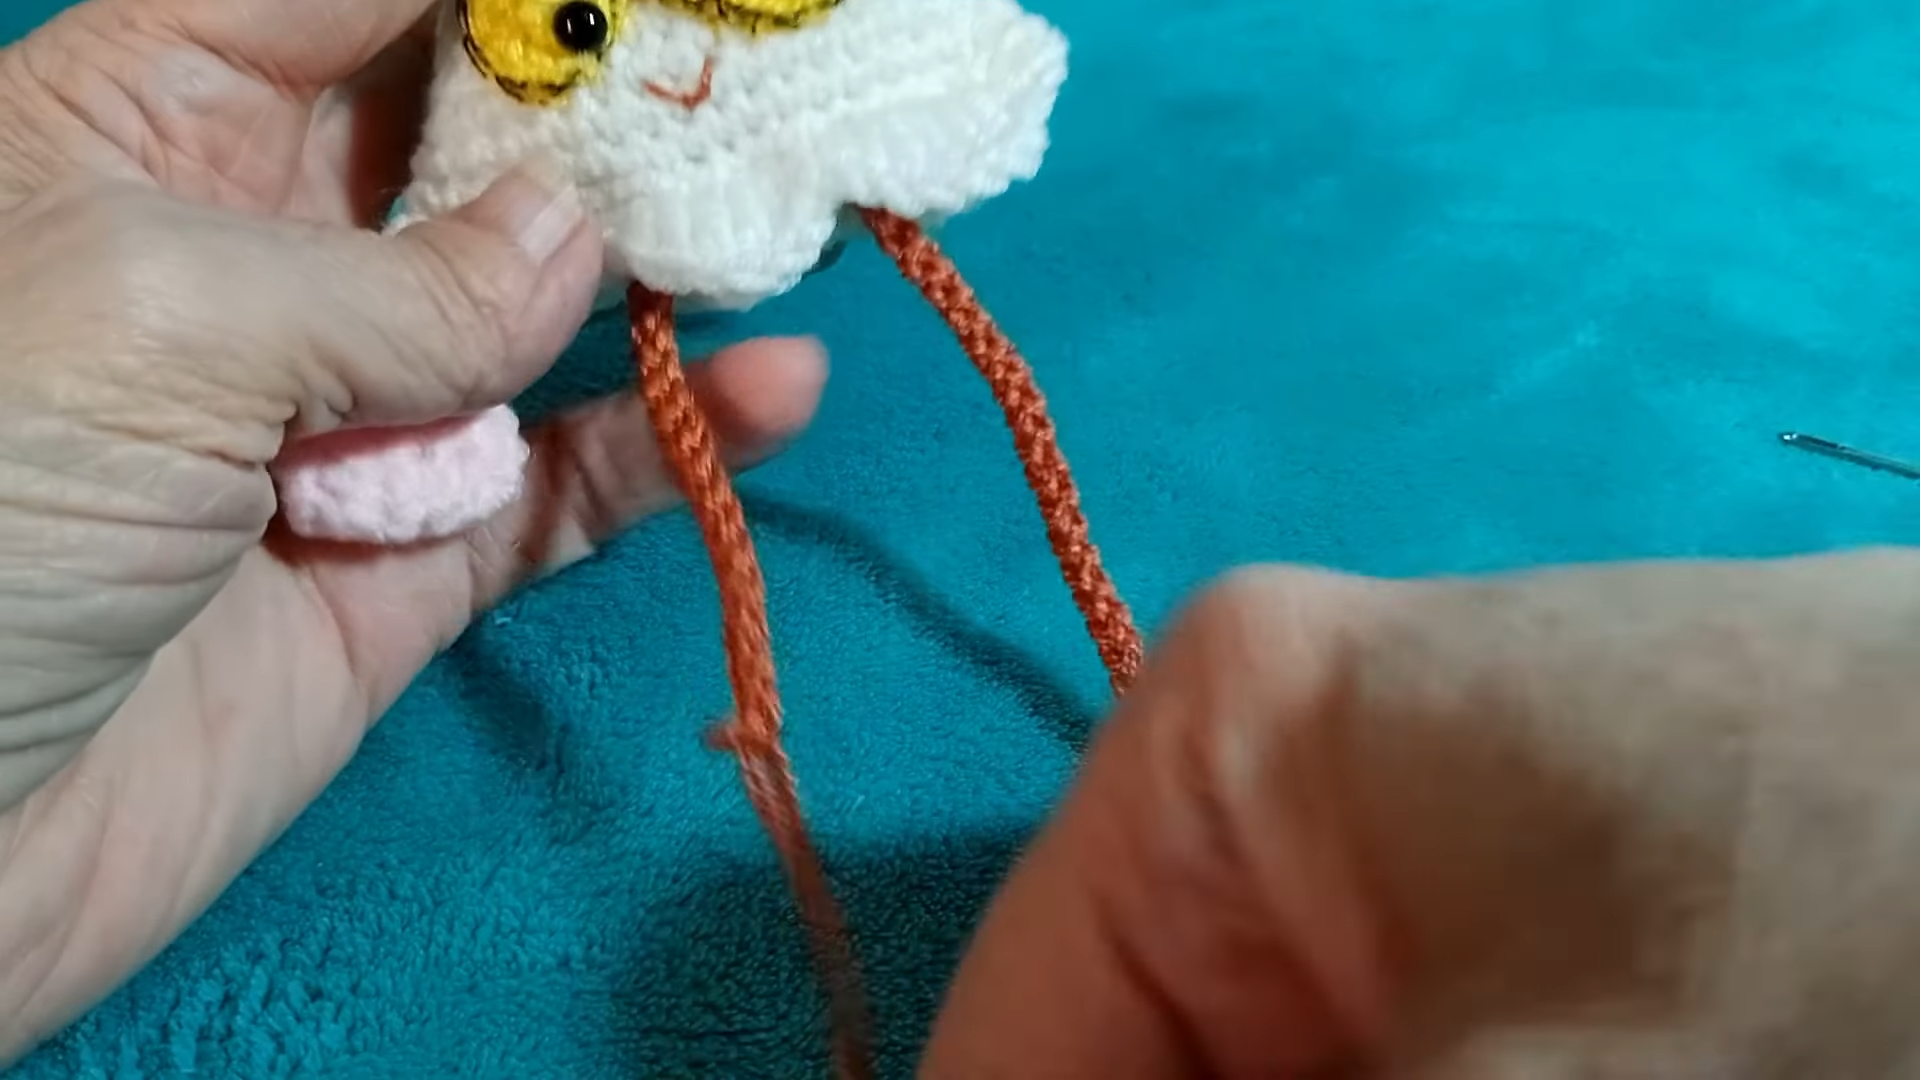
Step 4: Arms, Legs, and Smile
4. Closing the Base
- Rnd 19: (sc 3, dec) around (32)
- Rnd 20: (sc 2, dec) around (24)
Add the final stuffing here, checking the shape against a real fir tree photo; it should taper smoothly, not step down in visible rings.
- Rnd 21: dec around (12)
Fasten off, leaving a 6-inch tail, and close the small remaining hole with a few whip stitches through the front loops only.
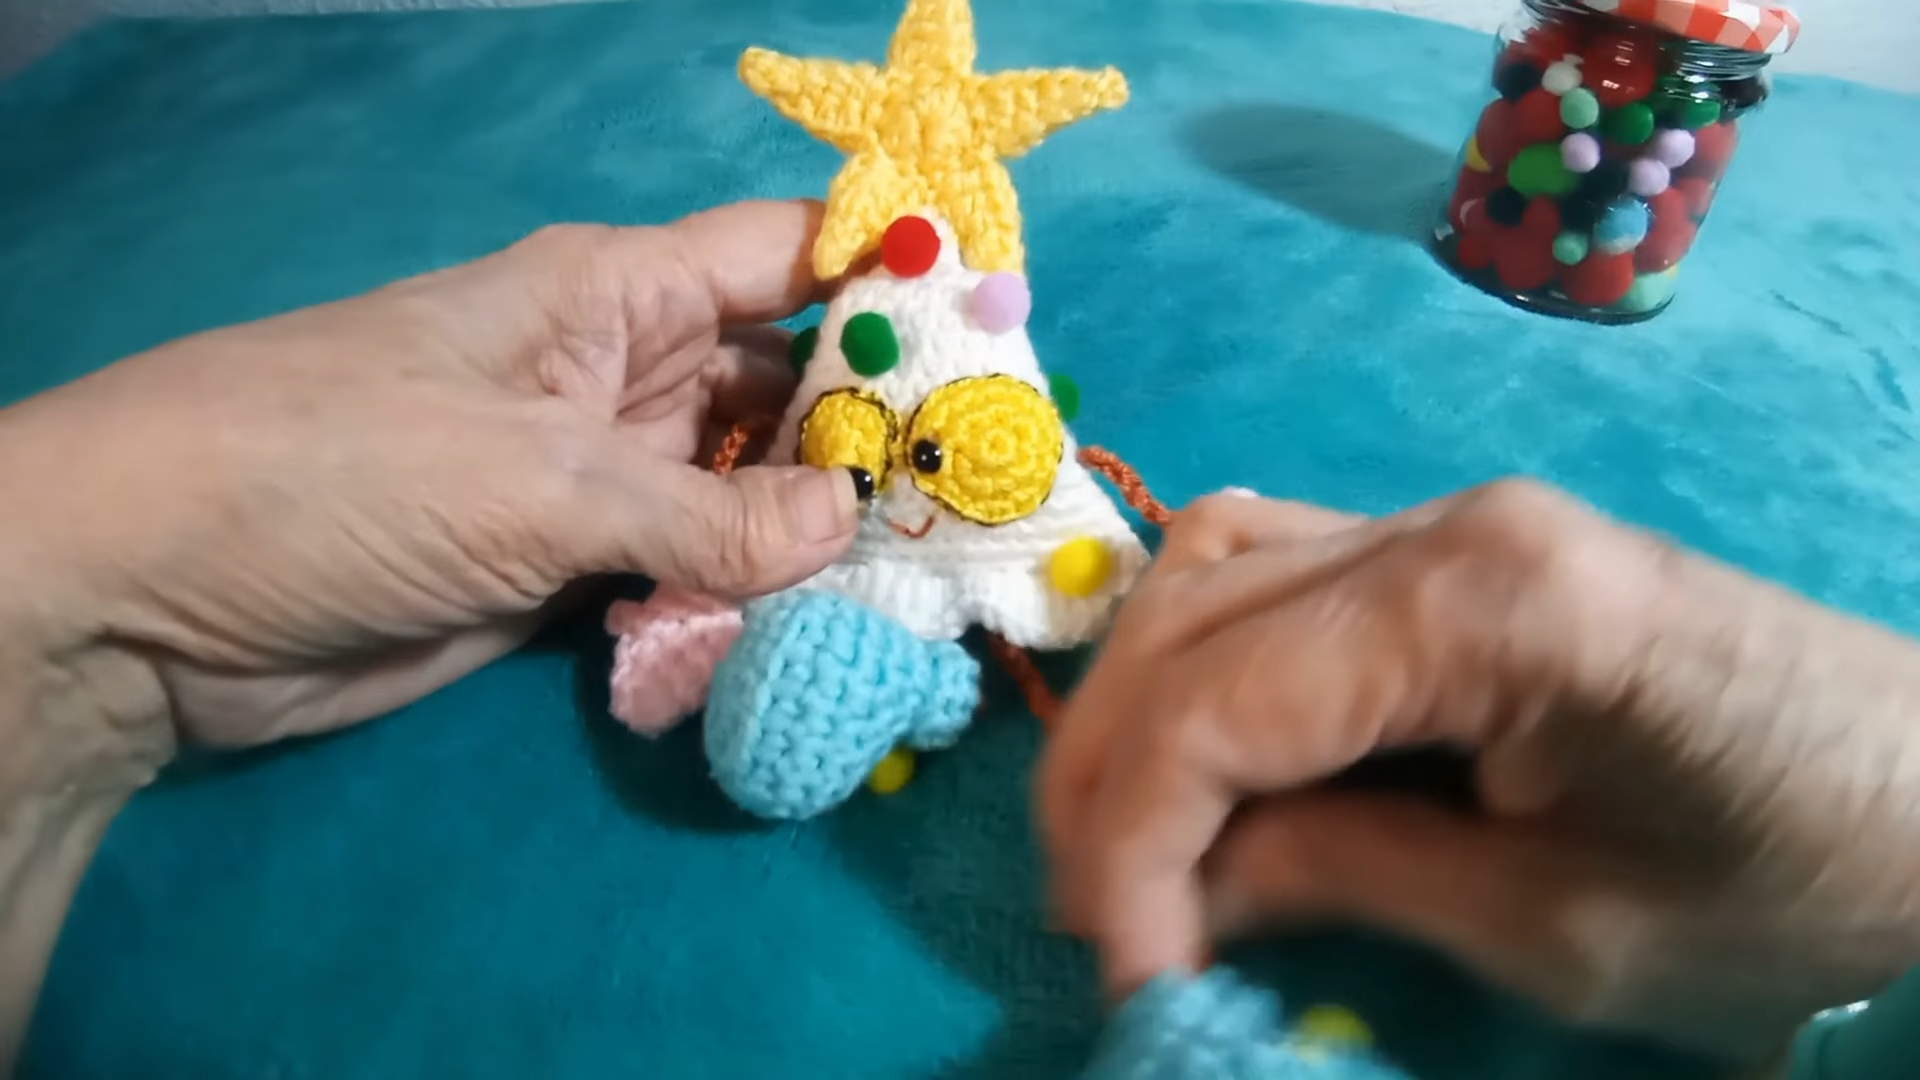
Step 5: Final Decorations
Magic ring, sc 6, then sc around for 4 rounds without increasing (6 sts stays constant). Stuff lightly and sew it to the center of the tree’s base, using your round-1 marker as the alignment point directly above it, so the whole tree sits balanced rather than tipped to one side.
Watch The Video Tutorial
If you’d like to follow along visually, this video walkthrough covers
the same steps shown below. It’s a helpful reference if you prefer
watching over reading, but the full written pattern with exact stitch
counts is available right here on this page.
Assembly
Weight the base before sealing it fully:y drop a small fabric-wrapped washer or a teaspoon of dry rice sealed in a scrap of fabric into the stump cavity before the last few stitches. That hidden weight is what keeps the finished tree standing upright on a shelf instead of toppling every time someone walks past.
Facial Features (optional)
If adding a face, count out from your round-1 marker to place both eyes at the same round, and the same stitch-distance left and right of that mark. Counting from the marker is the one reliable way to keep a simple amigurumi face symmetrical without measuring by eye.
Stuffing Tips
Firm but not rock-hard: press the widest round between two fingers; it should give slightly, then spring back. If it doesn’t move at all, you’ve overstuffed, and risk stretched, thin-looking stitches at the widest point.
Stitch Count Checkpoints
Round 10 should read 30, round 15 should read 40, round 21 should read 12. If any of these are off by more than one or two stitches, the taper won’t match the numbers above; recount before continuing rather than after finishing.
Common Mistakes
- Skipping the round-1 marker and losing track of where increases start
- Stuffing only at the very end, leaving a hollow, floppy tip
- Using a regular decrease instead of an invisible decrease near the base, leaving a visible ridge line
- Working rounds 19–20 with the wrong sc count between decreases, which throws off the final base taper recount against the checkpoints above if the stitch total looks off partway through
Size Modification
For a taller tree, repeat rounds 13–14 and 16–18 an extra time each before the decrease rounds;nds doing so stretches the cone’s straight sides without changing the top or bottom shaping math.
Color Variations
For a two-tone “frosted” look, switch to white for the final two rounds before clo. Carry the green yarn loosely inside rather than cutting it, twisting the two strands together every few stitches so no long floats show through the lighter color.
Finishing
Attach the star to the tip using the tail left from round 1, sewing from back to front through the marked stitch, then front to back through the star itself, pulling snug before knotting off inside the cone.
Care Instructions
Spot clean only with a damp cloth; full washing can shift the internal stuffing and distort the taper.
Gifting & Display Guide
For gifting, package the tree standing upright in a small box with tissue paper tucked around the base rather than lying flat, since flattening the cone even briefly can leave a crease that takes hours of reshaping to fully relax out.
Personalization Ideas
A Forest of Sizes
Make three at different heights using the size modification above for a mantel display.
Ornament Version
Skip the stump and weight. Instead, thread a loop of yarn through the very last stitch of round 21, before fastening off, then attach the star over the same point so the loop and star share one anchor.
Mini Gift Tags
Crochet a 3-round version (stop after round 6) as a tiny attachment for wrapped presents.
FAQs
Can the tree be made without safety eyes or a face?
Yes, plenty of finished trees skip the face entirely and rely on the star and color variations for character.
Why does my tree lean to one side?
Uneven stuffing distribution is the usual cause, not a stitching error. Check the stump attachment point first, and redistribute stuffing by pressing firmly through the fabric with your fingers rather than unraveling any rounds.
What yarn weight works best for a sturdy tree?
Worsted weight (Yarn 4) with a hook one size smaller than recommended gives the tightest fabric for holding shape without a wire armature. Cotton yarn in the same weight will hold its shape even more rigidly if you want a stiffer tree, though it’s less forgiving of stitch tension errors than acrylic.
Can the pattern be scaled up for a larger centerpiece?
Yes, by repeating the straight rounds (13–14 and 16–18) multiple times, though bulkier yarn and a larger hook will scale it faster than repeating rounds.