Boxy Cropped Crochet Vest Granny Square Pattern
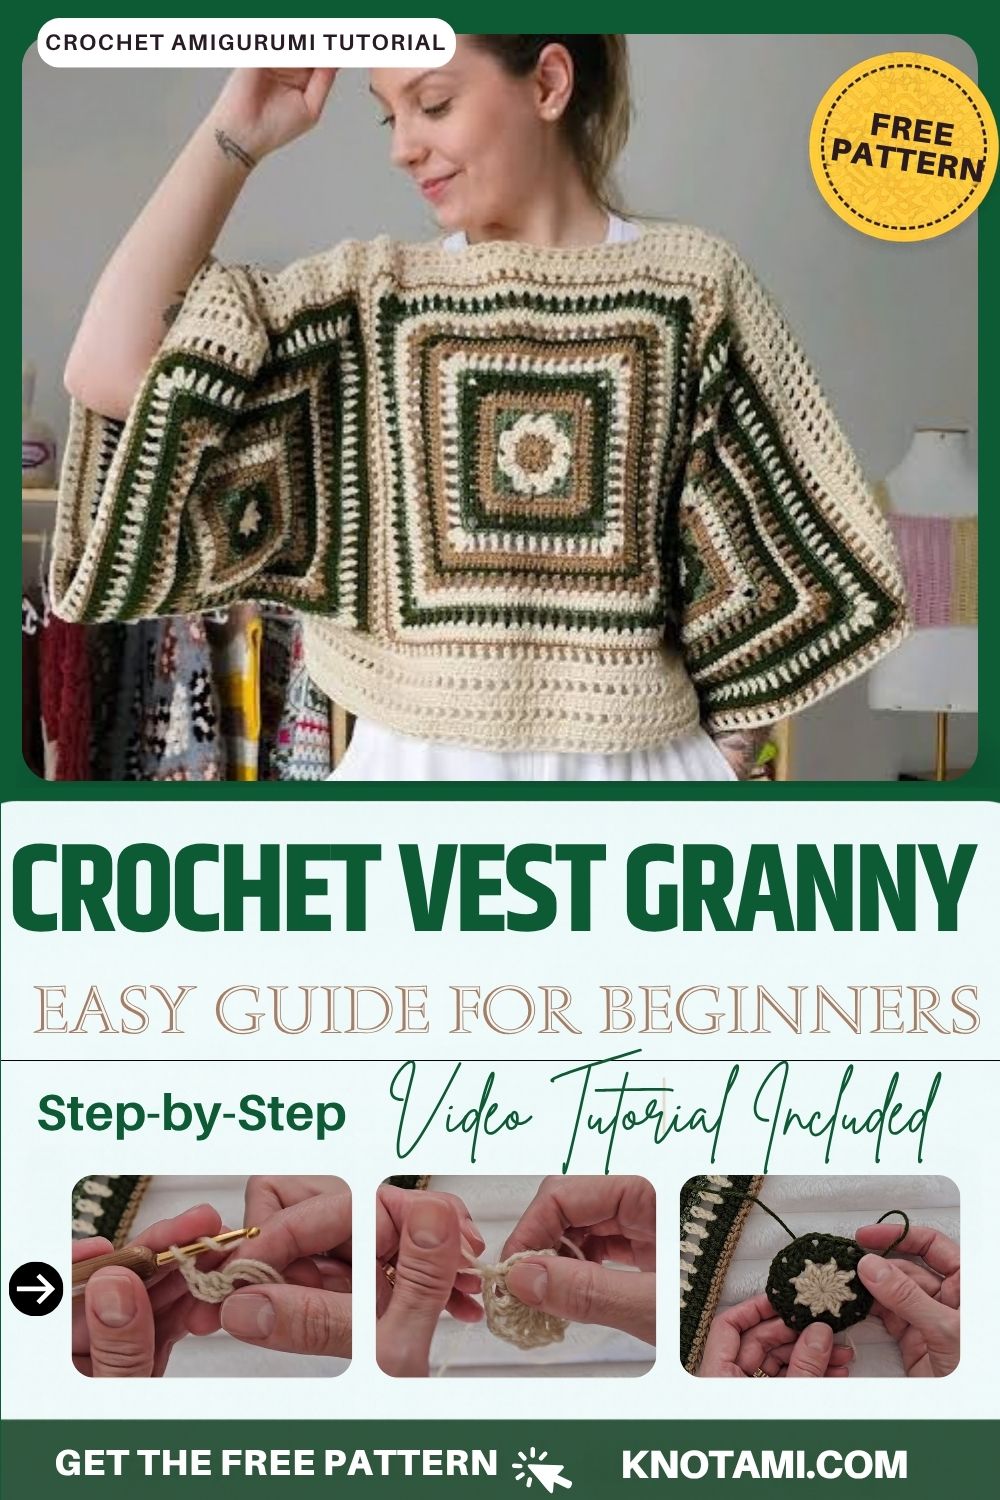
Forest green, warm camel, and soft cream meet in the Boxy Cropped Crochet Vest Granny Square Pattern, and a thin thread of green sparkle catches the light on every round. Because the square shape hangs loose, the vest layers easily over a tee or a thin turtleneck on cool autumn mornings.
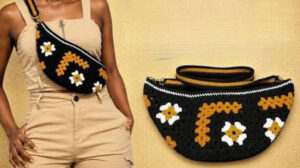
So what makes the design stand out? Above all, it’s the star-centered square. Each block starts as a puffy eight-point bloom and then grows into a framed square with open window rounds. As a result, the finished boxy cropped crochet vest looks detailed, yet it only uses stitches you already know. On top of that, a fine metallic yarn adds a quiet shine without making the fabric stiff. If you want a cropped granny square top with a modern edge, the layout also gives you plenty of room to play with color. And if square motifs are your thing, our granny crochet fanny pack pattern makes a fun small match for your new granny square crochet vest.
Getting Ready for Your Boxy Cropped Crochet Vest
Who Will Love Making It
The design suits makers who already enjoy motif work and now want to try a first garment. Since each square is a small, portable piece, it also fits well into short crochet sessions. Besides that, the finished vest becomes an easy layer to throw over shirts and dresses all season. Along the way, you also get useful practice with color changes and joining.
Time and Skill Reality Check
The skill level sits at confident beginner to intermediate. Before you start, you should know chain, slip stitch, double crochet, and simple clusters.
- Prep: about 30 minutes to wind yarn and swatch
- Stitching: roughly 2 to 3 hours per large square
- Finishing: 3 to 4 hours for joining, edging, and weaving in tails
All in all, most makers finish within one or two relaxed weekends.
What You’ll Need
- Worsted (Aran) weight acrylic or acrylic-wool blend in forest green, cream, and camel
- One skein of fine metallic green yarn for the sparkle rounds
- 4.0 mm hook for building the squares
- 3.5 mm hook for seaming and trim
- Tapestry needle, scissors, and a few stitch markers
- Tape measure and blocking pins
Quick Sizing Guide
First, measure your bust. Then add 4 to 6 inches (10–15 cm) of ease for the boxy fit. Next, divide that total by four to get your target square width. For S/M, for example, a 10-inch (25 cm) square usually works well. For L/XL, however, add one or two plain double crochet rounds to each square instead of changing the center.
Bonus Section: Color Palette Swaps
Although the green, camel, and cream mix feels made for autumn, the same squares look just as good in other shades. For instance, try one of these sets:
- Rust, mustard, and oatmeal with a copper sparkle round
- Navy, dusty blue, and white with a silver thread
- Plum, blush, and grey with a rose-gold accent
In each case, keep one light shade for the star center so the bloom still pops.
How to Crochet a Boxy Cropped Vest Step by Step
Before you begin, make one test square and measure it against your sizing target. After that, repeat Steps 1 to 6 for all four squares.
Step 1: Start the Cream Center
First, make a magic ring with cream yarn and the 4.0 mm hook. Chain 2, then work your first double crochet cluster into the ring. Meanwhile, keep the tension light so the ring can close fully later.
Why it matters: a loose start lets the center pull shut without leaving a hole.

Step 2: Finish the Star Points
Next, keep going around the ring until you have 8 clusters, with 2 chains between each one. Then pull the tail firmly to close the center. Finally, slip stitch into the top of the first cluster and fasten off.
Pro Tip: Tug the tail before you join, because once the round is closed, the ring can’t be tightened again.

Step 3: Round Out the Circle in Green
After that, join forest green in any chain-2 space. Work (3 dc, ch 1) into each space all the way around, which gives you 24 double crochets. By now, the cream points should sit inside a smooth, flat circle.
Stitch check: count 8 groups of 3 before you join the round.
Step 4: Square It Up With Sparkle
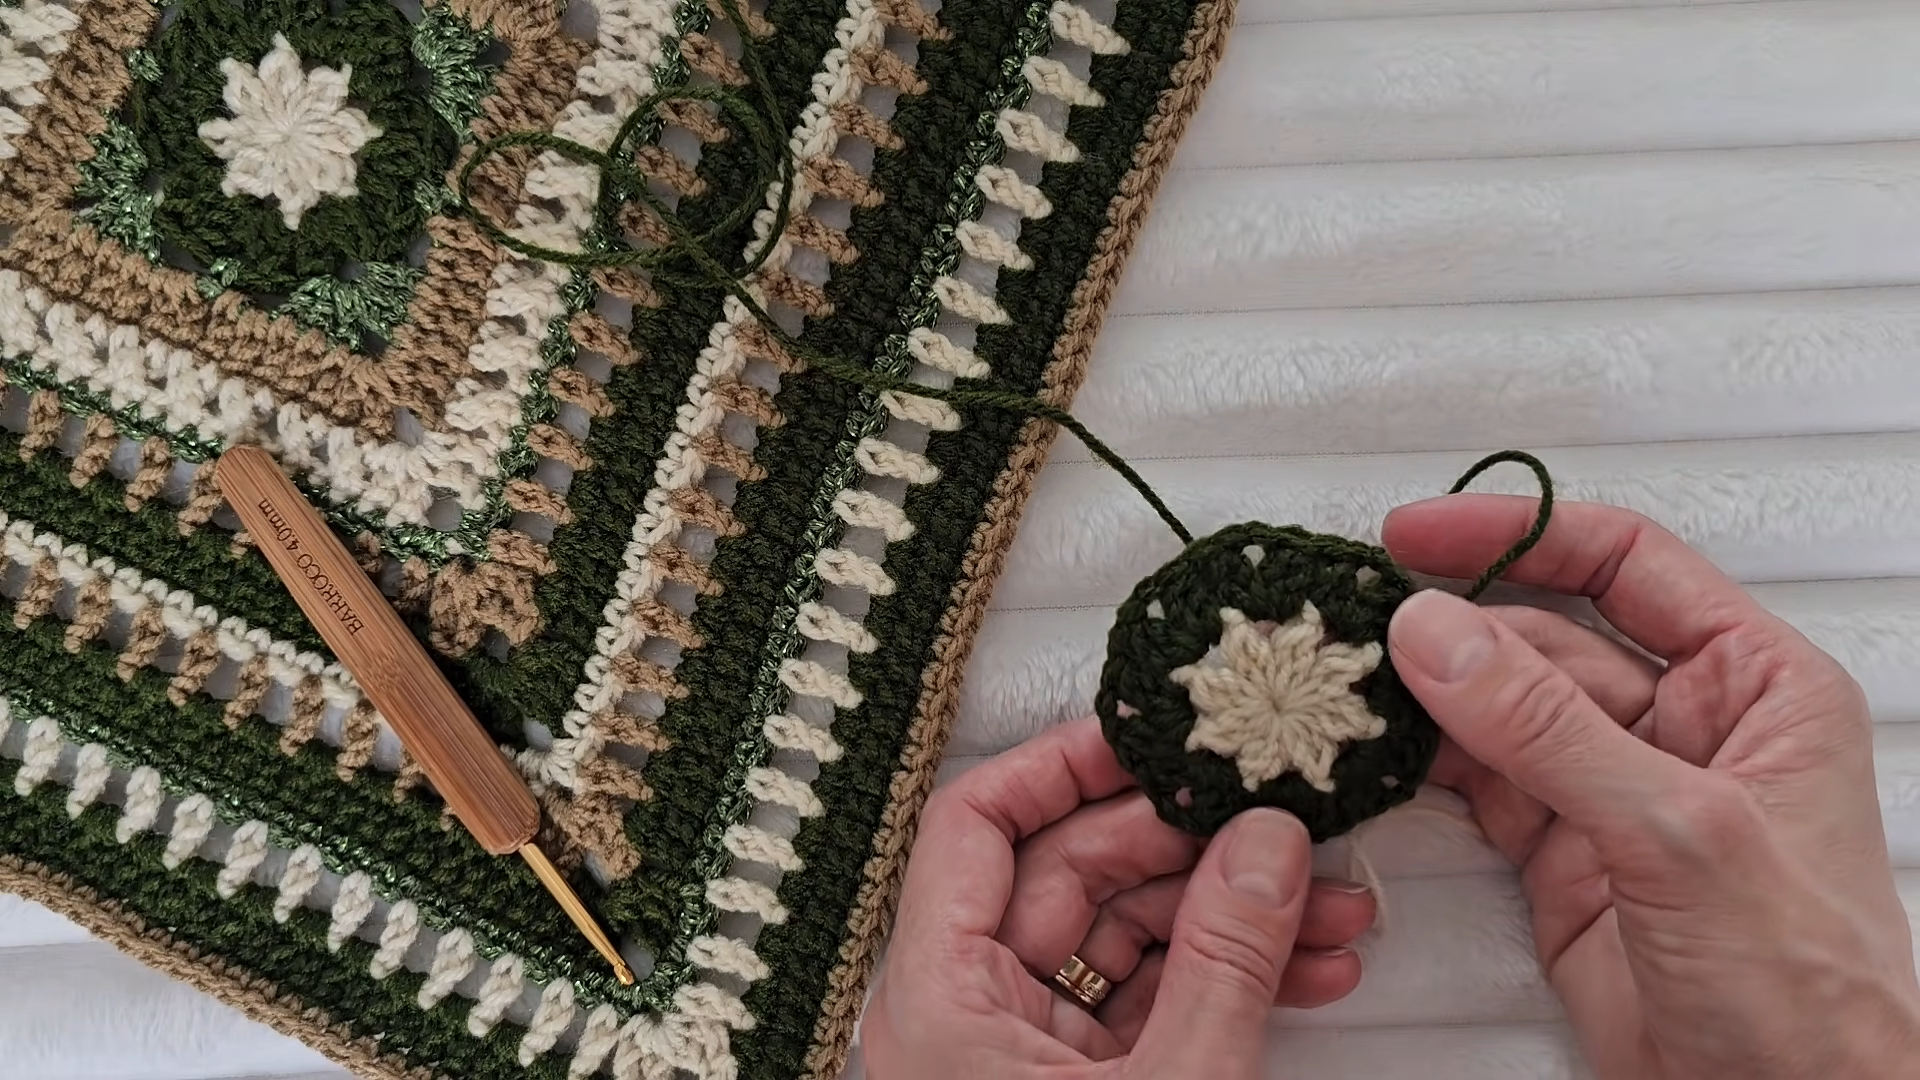
Now join the metallic green yarn in any chain-1 space. In every other space, work a corner of (3 tr, ch 2, 3 tr). In the four spaces between, work 3 hdc. Also, chain 1 between all the groups. As a result, the circle turns into a square with a chain loop at each corner.
Why it matters: taller stitches at the corners stop the edges from curling.
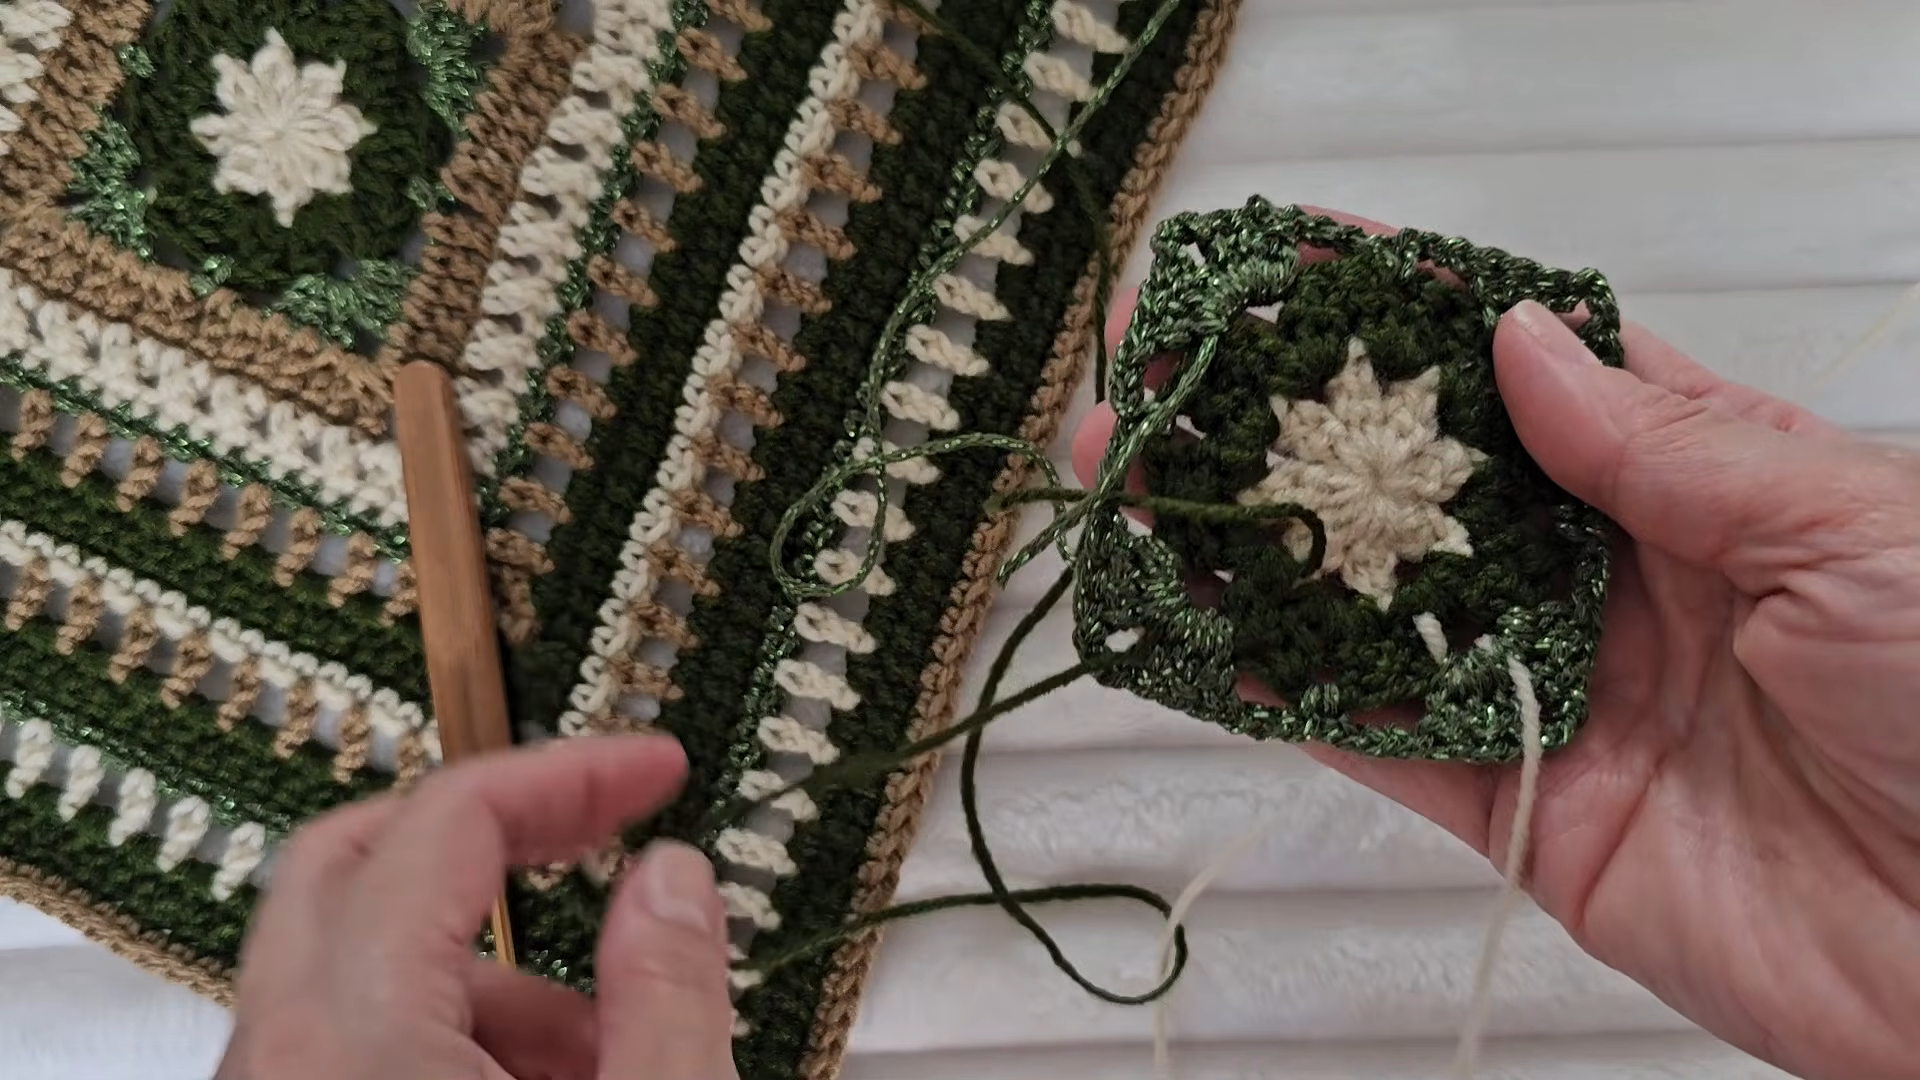
Step 5: Add the Camel and Cream V-Stitch Rounds
To begin, join camel in any corner space. Work (2 dc, ch 2, 2 dc) in each corner, plus 1 dc in every stitch and chain space along the sides. Then fasten off and join cream at a corner. Along each side, work a V-stitch (dc, ch 1, dc) in every other stitch, and keep (2 dc, ch 2, 2 dc) in each corner. While you work, lay the block flat now and then so the corners stay sharp.
Pro Tip: Keep the hook close to the base of each V. That way, short loops keep the open rounds tidy.

Step 6: Build the Outer Frame
From here, keep alternating camel, green sparkle, and cream rounds until the square reaches your target width. Then finish with a firm camel round of double crochet. Once it’s done, compare the new square with your earlier ones.
Measure now: every square should match within half an inch (1 cm).

Step 7: Join the Panels
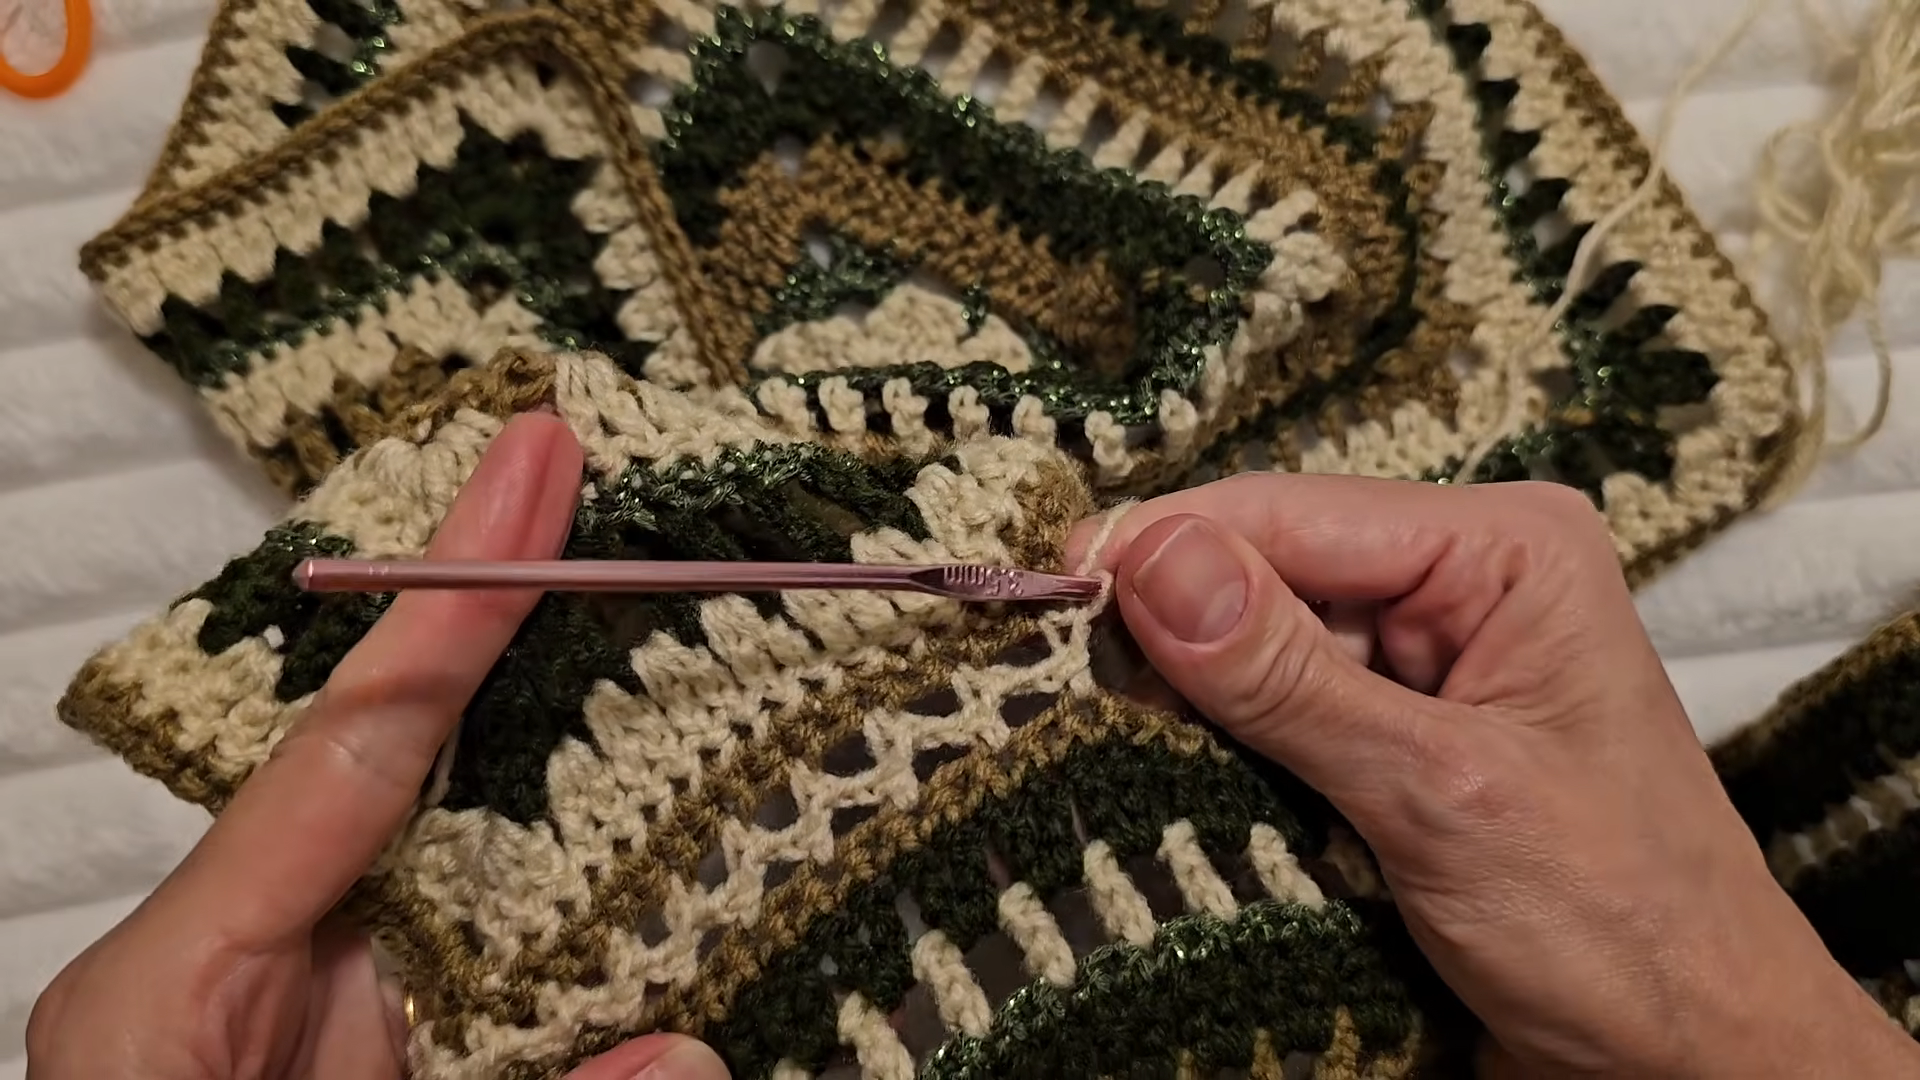
Finally, switch to the 3.5 mm hook and cream yarn. Place two squares right sides together, then slip stitch through the back loops along one edge to make the front panel. In the same way, join the other pair for the back. Next, lay the front over the back and seam each shoulder about 4 inches (10 cm) in from the outer edge, so the center stays open for the neck. After that, seam each side from the bottom up for about 3 inches (7.5 cm), leaving roughly 7 inches (18 cm) open for the armhole.
Fit check: slip the boxy cropped crochet vest on before you seam the second side.
Where Beginners Usually Go Wrong
- Uneven corners. The squares end up looking like rounded rectangles.
Fix: always work the full corner group into the corner space. - Squares that don’t match. As a result, the panels pull or buckle at the seams.
Fix: count the stitches on each side of every round. - Tight metallic rounds. Sparkle yarn feels slippery, so many people grip it too hard.
Fix: relax your hold on that yarn. - Lumpy color changes. The joins show through on the front.
Fix: instead, change colors in a corner space.
Troubleshooting Extra
Seams ridge outward. If the joins look bulky, undo one seam and rejoin it on the wrong side. Otherwise, try a flat zigzag slip stitch join.
Armholes gape. Work one round of single crochet around each opening with the smaller hook. As a result, the edge draws in neatly.
Vest feels too short. In that case, add two or three camel double crochet rows along the bottom edge before you finish.
Signs You Did It Right
- Each square lies flat without cupping
- All corners line up across the seams
- The star center sits closed and firm
- Sparkle rounds lie even, without puckers
- The vest hangs straight and square from the shoulders
Keeping Your Granny Square Vest Looking Fresh
Washing and Care Basics
To keep your boxy cropped crochet vest soft, hand wash it in cool water with a mild wool soap. Afterward, press the water out gently with a towel instead of wringing. Then lay the vest flat and pat each square back into shape. However, skip the dryer, since heat can dull the metallic yarn.
Storage Tips
Fold the vest loosely and keep it in a drawer or a breathable cotton bag. Because hanging stretches crochet, avoid hangers. In addition, tuck a cedar block nearby to keep moths away from wool blends.
Creative Projects You Can Make With the Pattern
- Stitch two squares into a matching tote bag
- Join six squares for a cozy throw pillow cover
- Turn a single block into a table mat for an autumn table
- Pair the vest with our open front crochet cardigan pattern for a cozy layered set
- Combine leftover squares into a patchwork baby blanket
Ways to Style or Display It
For a polished look, layer the vest over a crisp white button-down. For something casual, on the other hand, pair it with wide-leg jeans and a fitted tee. Between wears, you can also drape it over a chair as a cozy room accent.
Why It’s Popular Right Now
Granny square clothes first peaked in the 1970s, and the classic granny square keeps coming back because it mixes handmade charm with fresh shapes. Meanwhile, a boxy cropped crochet vest sits nicely over high-waisted bottoms. Plus, it lets makers use up leftover yarn.
- Earthy colors fit current seasonal looks
- Square construction makes sizing simple
- Metallic accents add a subtle festive touch
Questions About the Boxy Cropped Crochet Vest
Can I make the vest without metallic yarn?
Yes. In fact, any light worsted weight yarn in a solid color works in place of the sparkle rounds.
How many squares do I need?
Four large squares of about 10 inches usually fit S/M. For bigger sizes, however, add rounds rather than more squares.
Which joining method works best?
A back-loop slip stitch join keeps the seams flat. Otherwise, a whip stitch with a needle also works well.
Is the vest warm enough for winter?
With wool blend yarn, the boxy cropped crochet vest works well as a warm layer. Acrylic versions, by contrast, suit milder weather.
Can I make a front opening?
Yes. Simply split the front into two narrower panels, then add a band of single crochet along each edge. That way, the vest turns into a cardigan-style piece.
Taking Your Square Skills Further
By the time the last tail is woven in, you’ve learned motif shaping, color planning, and garment joining in a single make. Better still, each of those skills carries straight into bigger projects. So once your boxy cropped crochet vest is done, try a fitted piece like our strappy pixel crop graphgan top next. Later on, you could even add sleeves to the vest and turn it into a full sweater.