Tiny Crochet Turtle Amigurumi With Stitched Shell
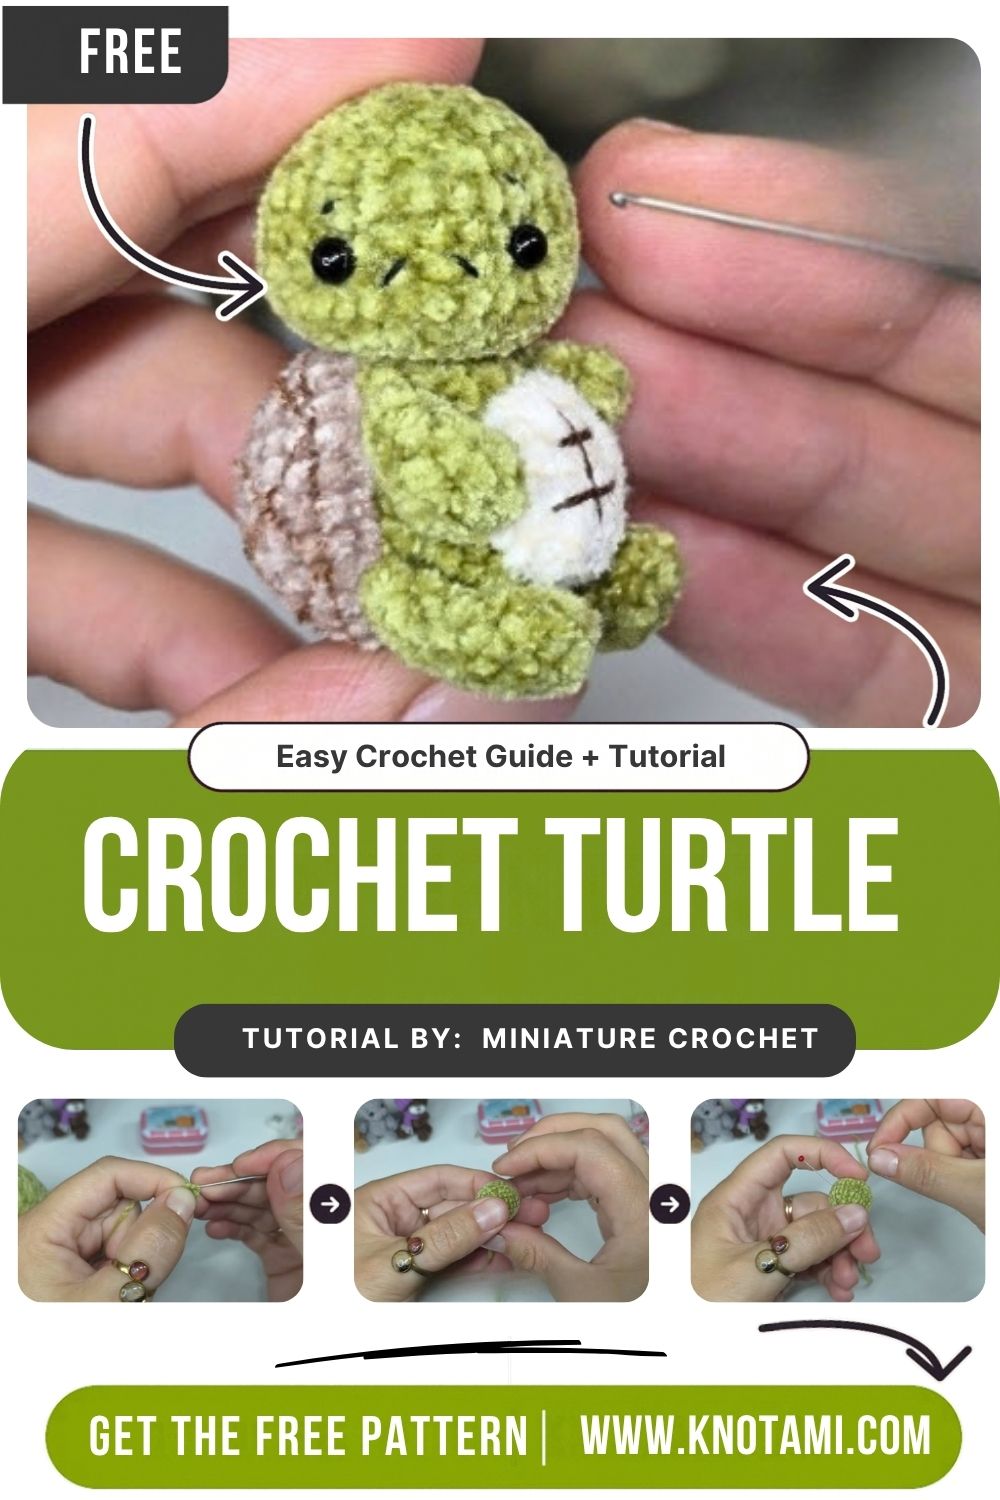
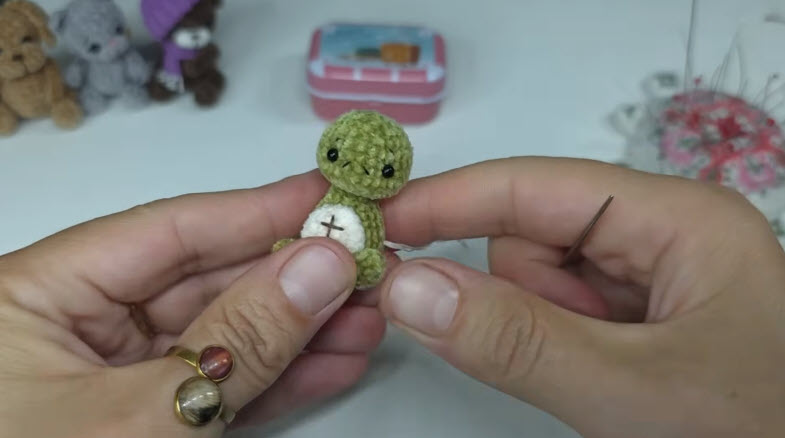
A soft green turtle peeks out with tiny black eyes and a cream belly, crossed with brown floss in a neat X. That little stitched detail gives this tiny crochet turtle amigurumi with stitched shell its name, and it makes a sweet desk pal.
Tuck it into a lined mint tin or let it ride in your pocket. No piece goes above 18 stitches, so everything works up fast on a 2.25 mm hook. You can also use worsted yarn for a 3-inch turtle, or stitch a heart on the belly instead of an X. The steps below cover every round, pinned eye placement and a sturdy neck join.
What You’ll Need
- Green fine velvet (chenille) yarn, weight 2, about 5 yards
- Cream velvet yarn in the same weight, about 1 yard
- 2.25 mm (US B-1) crochet hook
- Two 3 mm black beads for the eyes
- Dark brown embroidery floss
- A small handful of fiberfill
- Black sewing thread and a thin sewing needle
- Yarn needle and one stitch marker
- Two round-head sewing pins
The finished turtle stands about 1.75 inches (4.5 cm) tall and takes most makers 1 to 1.5 hours. Not sure about your yarn weight? Compare the label with the Craft Yarn Council yarn weight chart.
Abbreviations (US Terms)
- MR – magic ring
- sc – single crochet
- inc – 2 sc in one stitch
- dec – single crochet two together
- sl st – slip stitch
- st – stitch
- rnd – round
- FO – fasten off
Tips for Working With Velvet Yarn
Velvet yarn fills the gaps between stitches, which makes the Vs hard to see. Run a fingertip over each round to feel the stitch tops instead.
Keep your tension snug with the small hook so the white stuffing doesn’t peek through. Count at the end of every round, too, because velvet yarn can fray if you pull it out more than once or twice.
Watch the Video Tutorial
Tiny rounds in velvet yarn are much easier to follow on screen. Watch the full walkthrough below.
Step-by-Step Turtle Pattern
Work every part in a spiral. Skip the joining slip stitch at the end of each round, and move your marker up instead.
Step 1: Crochet the Head
Start with green yarn and the 2.25 mm hook.
- Rnd 1: 6 sc in MR (6)
- Rnd 2: inc in each st (12)
- Rnd 3: (sc, inc) x 6 (18)
- Rnds 4–7: sc in each st (18)
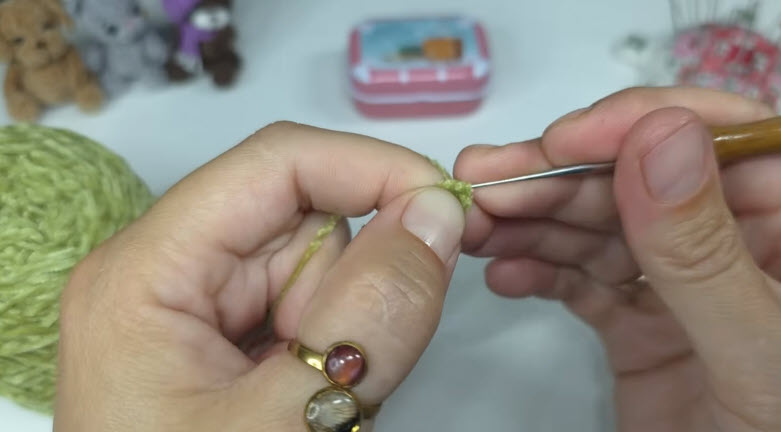
Keep the piece pinched close to the hook in the early rounds. A short fingertip grip gives much better tension on tiny rounds than a loose hold. After Round 3, the circle should lie flat. If it cups, your increases are too tight.
Step 2: Stuff and Close the Head
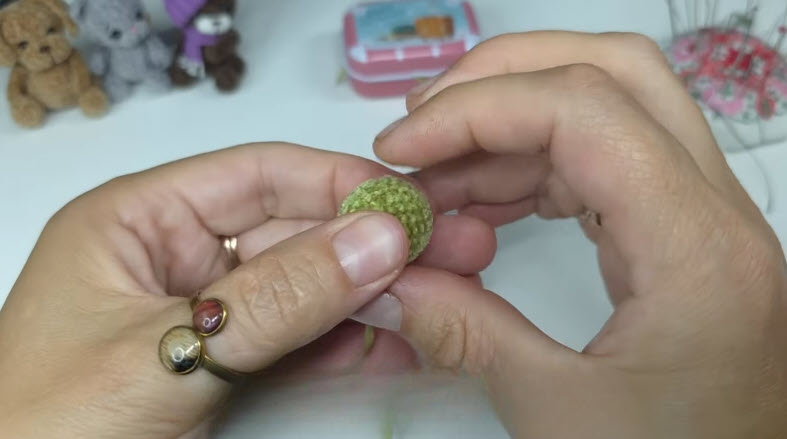
- Rnd 8: (sc, dec) x 6 (12). Stuff the head firmly, a pinch at a time, since large clumps leave lumps under velvet.
- Rnd 9: dec x 6 (6)
FO and leave a short tail. Thread it onto the yarn needle, weave through the front loops of the last 6 stitches, and pull the hole closed. Squeeze the head gently: it should spring back and look round from every side.
Step 3: Pin the Eye Positions
Hold the head with the closed end down. The eyes go between Rounds 5 and 6, with 4 stitches between them.
Push a pin into the first eye spot, then add the second pin on the other side. Turn the head slowly and compare both from the front. Pins let you test the look before anything is permanent.
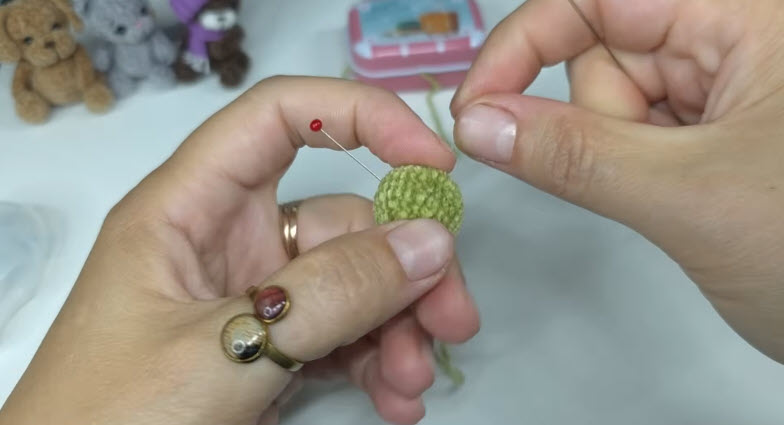
Step 4: Sew On the Eyes
Thread black sewing thread onto the thin needle. Bring the needle in through the closed bottom of the head and out at one pin. Slide on a bead, then go back in right beside it.
With one eye in place, turn the head to the side. The bead should sit toward the front and lower half, not near the top. Repeat for the second eye, then bring the thread tail out at the bottom so the knot hides under the neck join.
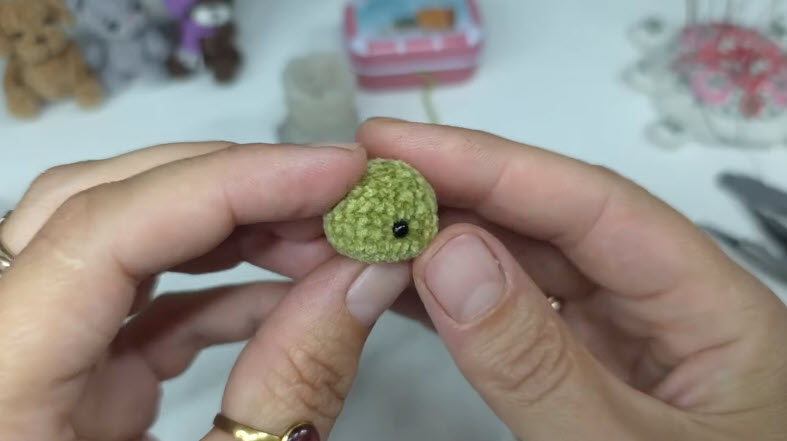
Step 5: Crochet the Body
With green yarn:
- Rnd 1: 6 sc in MR (6)
- Rnd 2: inc in each st (12)
- Rnd 3: (sc, inc) x 6 (18)
- Rnds 4–5: sc in each st (18)
- Rnd 6: (sc, dec) x 6 (12)
- Rnd 7: sc in each st (12)
Stuff the body firmly at the base and a little softer near the top. FO and leave a 10-inch tail for sewing on the head.
Step 6: Make the Arms and Feet (make 4)
With green yarn, make four small pieces. Two become arms and two become feet.
- Rnd 1: 5 sc in MR (5)
- Rnd 2: sc in each st (5)
FO and leave a 6-inch tail on each one. No stuffing is needed at this small size.
Step 7: Make the Belly Patch
With cream yarn:
- Rnd 1: 6 sc in MR (6)
- Rnd 2: inc in each st (12)
Sl st in the next st, then FO with an 8-inch tail.
Step 8: Assemble the Turtle
- Sew the head onto the open top of the body with the long green tail. Go around the whole neck twice with small, close stitches, so the head doesn’t wobble.
- Sew the cream patch to the front of the body, just below the neck.
- Sew an arm on each side of the patch, at the same height, and the feet under the body.
- For the mouth, use 2 strands of brown floss to make one tiny stitch just below and between the eyes.
Step 9: Stitch the Shell X
Using 2 strands of brown floss, sew two long stitches across the cream patch so they cross in an X. Bring the needle in and out through the side of the body, so the ends stay hidden.
Tip: Keep these stitches snug but not tight. If you pull too hard, the floss sinks into the velvet pile and disappears.
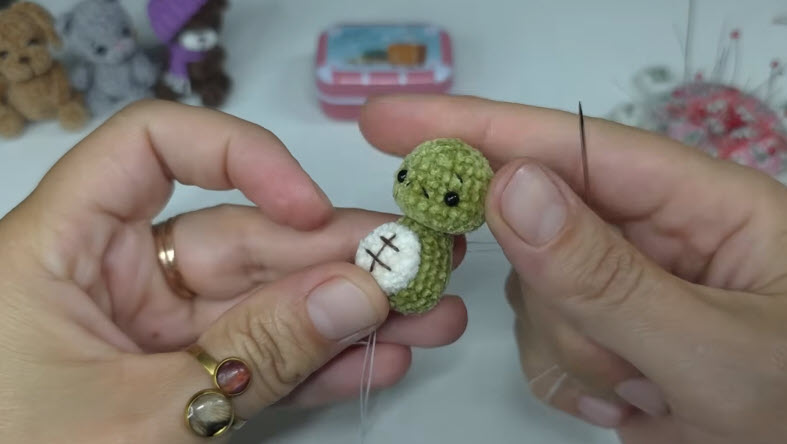
Hold your turtle at arm’s length. The head should face straight forward, with the belly patch centered below and both arms at the same height. Finally, bury each yarn tail deep in the body and trim it close, so nothing shows on the green surface.
Mistakes to Watch For
- Skipping the marker: Velvet stitches blend together fast. Move the marker every round and count before moving on.
- Late stuffing: A shrinking hole makes shaping hard. Stuff after Round 8 of the head, then top up before closing.
- Guessing the eye spots: Eyes placed without pins often end up uneven. Pin both first, then sew.
- A wobbly head: One pass around the neck isn’t enough. Sew around twice.
- Faint shell lines: One strand of floss can vanish in the pile, so always use two.
Shell Stitch Designs to Try
The belly patch is a tiny blank canvas. Swap the X for one of these designs to give each turtle its own personality.
- Heart: Stitch a small brown heart on a pale yellow patch for a sweet friendship gift.
- Plus sign: Straight vertical and horizontal lines give a tidy, turtle-shell grid look.
- Initial: Backstitch a single letter to personalize it for a name.
- Flower: Work five tiny lazy daisy stitches around a French knot center.
- Stripes: Two or three parallel lines across the patch look like a real turtle’s belly plates.
- Star: Cross three straight stitches through the center for a little starburst.
For more sea friends, make the crochet crab amigurumi and the octopus amigurumi. If you enjoy tiny makes, the two-inch crochet horse and the tiny lion cub are great next projects.
Gift Packing a Tiny Turtle
Small toys get lost in big gift bags, so choose packaging that fits. A small metal mint tin makes a snug home: line it with a scrap of felt, tuck the turtle inside face up, and tie the lid with thin ribbon or twine. A clear favor box with a paper tag works well too. Write the turtle’s name or a short note on the tag, and add a care line like “spot clean only” for the new owner.
FAQs
How long does a tiny crochet turtle take?
Most makers finish one in about 1 to 1.5 hours. Sewing the small parts takes longer than crocheting them.
Can beginners make this turtle?
Yes, if you already know single crochet, increases and decreases. The hardest part is working tiny rounds in velvet yarn. Try the head in smooth cotton first if you get stuck.
Can I use safety eyes instead of beads?
Yes, 4 mm safety eyes work well, but you must set them between Rounds 5 and 6 before closing the head. For a young child, embroider the eyes instead, since beads and safety eyes are small parts.
Can I make the turtle bigger?
Yes. A thicker yarn and larger hook make the whole toy bigger with the same counts. Worsted yarn with a 3.5 mm hook gives a turtle about 3 inches tall. Keep the eyes in scale too.
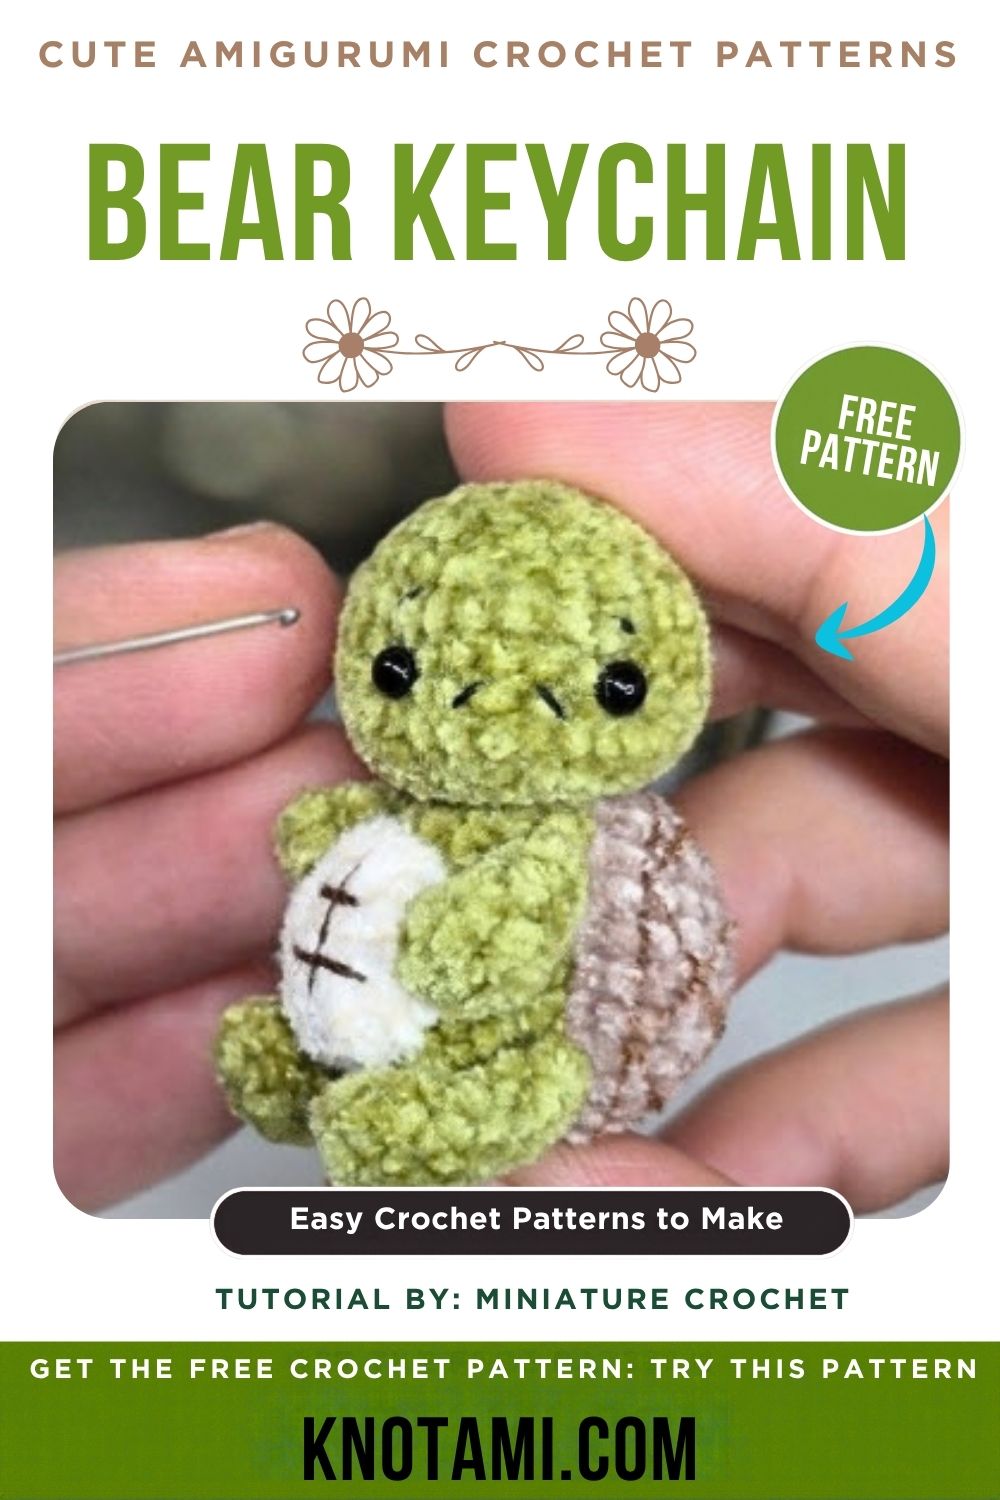
A Pocket Pal That’s Ready to Roam
Once the last tail disappears into the body, your little turtle is ready to guard a desk or tag along in a pocket. With such small counts, a second one can easily be finished the same evening. Try a new belly color or a different shell design, and soon you’ll have a whole tiny family.