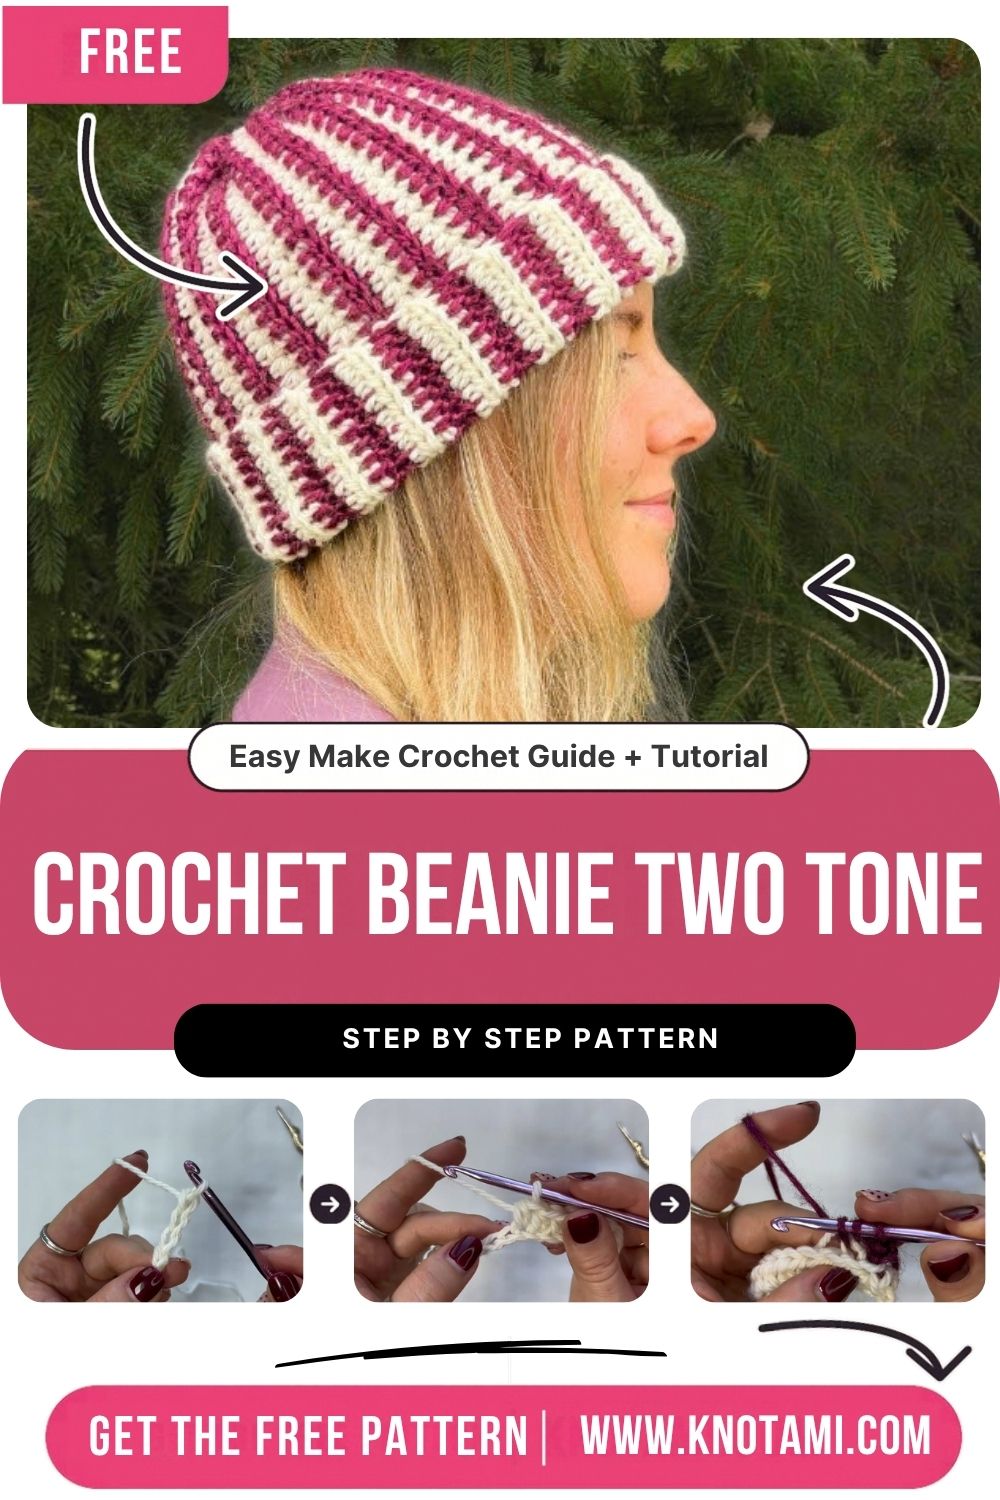
Crochet Beanie Two Tone With Vertical Stripes
Cream and burgundy ridges run from brim to crown in this crochet beanie two tone pattern. Every stripe starts as one sideways row on a flat panel, so the hat is easier than it looks. Best of all, a simple seam and a gathered crown finish the whole project.
Working the hat flat solves the usual striped-hat headache. For example, you get no jogs at round joins and no pile of cut ends. Instead of cutting, you carry the idle yarn up the edge. As a result, this reversible crochet hat looks tidy inside and out. In this guide, you will learn the panel setup, the color swaps, the seam, and the gathered crown.
How This Crochet Beanie Two Tone Hat Works
First, the hat starts as a flat rectangle. Next, you work back and forth and change color after every single row. That gives you narrow cream and burgundy ridges across the panel. Then you seam the short ends and gather one long edge. After that, the horizontal rows stand upright as vertical stripes.
- The length of your foundation chain decides the hat’s height.
- The number of rows decides how far the hat stretches around the head.
What You’ll Need for a Crochet Beanie Two Tone
- Two contrasting yarns in the same weight (this tutorial uses cream and deep burgundy)
- A crochet hook that suits your yarn
- A tapestry needle
- Scissors
- One or two stitch markers
- A measuring tape
Because both colors must behave the same way, pick yarns of matching weight and similar fiber. Otherwise, the thicker color will make taller stripes, and the ridges will look lopsided.
Time Box
- Prep: about 15 minutes to choose yarn and measure the head
- Stitching: several sessions, depending on your gauge and head size
- Finishing: roughly 30 to 45 minutes for the seam, the crown gather, and hiding tails
Step-by-Step Crochet Beanie Two Tone Instructions
1. Chain the Brim-to-Crown Height
First, start with the lighter color and make a slip knot. Then chain loosely. Because this chain sets the hat’s height, hold it against the head from brow to crown. For most adults, that is roughly 8 to 9 inches (20 to 23 cm), though your own measurement matters more. Also, keep the working yarn draped over your index finger. This steady feed keeps your chains even, so the first row goes in more easily.
Measure now: Stretch the chain gently from the brim line to the top. In addition, add a little extra length for the gather at the crown.

2. Work the First Cream Row
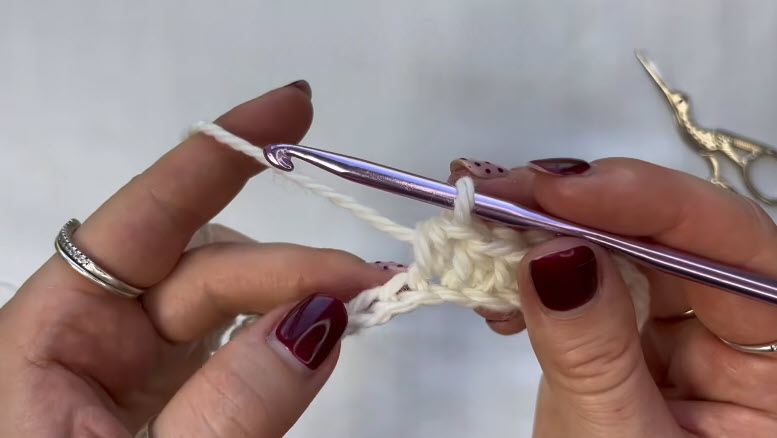
Next, work back along the chain with a half double crochet in each stitch, as shown in the tutorial. Notice how a raised ridge forms along the top of the row. That ridge is the start of your texture. Also, your hook must enter in the same spot on every row, so stay consistent from the beginning.
Pro tip: Put a stitch marker in the first stitch of the row. When you switch between two colors, it is easy to skip the edge stitch. Therefore, the marker protects your stitch count.
3. Bring In the Burgundy
Now the second color takes over and works across the top of the cream row. This time, work in the back loop only. Look at the hook in the screenshot. The burgundy wraps lie neatly across it, while the cream ridge sits fully visible underneath. However, keep your tension relaxed. Pulling hard closes up the loops you need for the next row.
Stitch check: Before you turn, count the burgundy stitches against the cream row. The two counts should match.

4. Swap Colors at the Edge Without Cutting
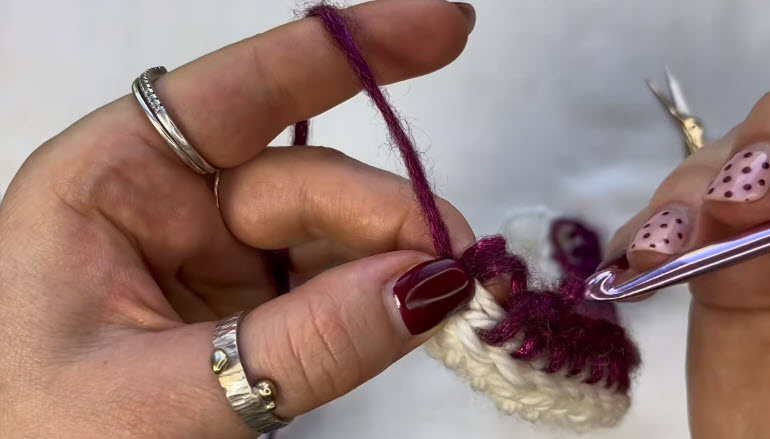
At the edge, pull the new color up through the end stitch. You do not cut and rejoin. As the screenshot shows, the burgundy is drawn through loosely at the side while the cream waits its turn. Leave just enough slack in the waiting yarn so the edge lies flat. Otherwise, a tight carried strand makes that edge cup inward.
After that, repeat the pattern: one cream row, then one burgundy row.
5. Check the Finished Panel
Keep working until the panel, stretched gently, reaches just under the full head circumference. By then, your rectangle should look like the one below. The ridges should be even, the edges straight, and both yarn colors should be live at the side.
Fit check: Wrap the panel around the head before seaming. It should meet with a slight stretch, not a loose overlap.
Also, finish on the opposite color from your first row. An even total row count keeps the stripes alternating perfectly across the seam.

6. Seam and Gather the Crown
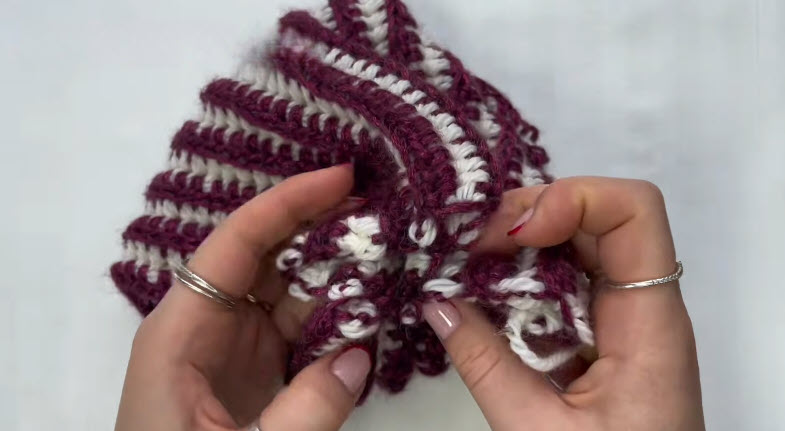
First, fold the panel so the first and last rows meet, then join them. Next, run a strand through the stitches along one long edge and pull it tight to close the crown. As the crown draws in, the ridges swirl slightly toward the center, just like the screenshot. Pull firmly, then loop the strand through the crown stitches a second time before tying off. That second pass stops a small hole from opening at the top.
7. Finish Seams and Hide Tails
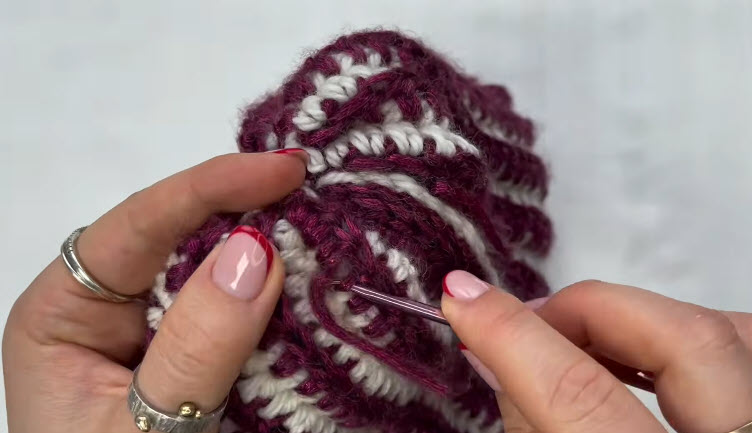
Finally, thread a tapestry needle and work along the seam line. Guide the needle through the ridges so your stitches sink between stripes instead of sitting on top. Then hide each tail inside a stripe of its own color. Otherwise, a burgundy tail buried in a cream ridge will show through, especially on the inside if you wear the hat reversed.
Common Mistakes in a Two Tone Crochet Beanie
- Tight carried yarn: The side edge puckers, so the seam will not lie flat.
- Shifting hook placement: The ridges wander, and as a result the stripes lose their clean vertical line.
- Odd row count: Two stripes of the same color end up side by side at the seam.
- Loose crown gather: A gap forms at the top. For this reason, always gather twice.
Troubleshooting Your Crochet Beanie Two Tone
Hat too slouchy? Your foundation chain was longer than the head needed. Next time, shorten the chain instead of folding the brim.
Hat too tight? Add rows in matching pairs, one of each color, before seaming.
Stripes look uneven in width? Compare your two yarns side by side. A thickness mismatch is usually the cause.
Personalization Ideas for Your Striped Beanie
Swap the Color Contrast
Charcoal and mustard, navy and pale gray, or forest green and oatmeal all keep the ridges crisp. Similarly, any two colors with clear contrast will work.
Add a Pom-Pom
A faux fur or yarn pom-pom covers the gathered crown nicely. Moreover, it gives the hat a playful look.
Fold Up a Deeper Brim
Lengthen the foundation chain slightly so the bottom edge can turn up. In that case, the brim also adds extra warmth over the ears.
Bonus: Care Tips to Keep Your Stripes Sharp
Once the hat is done, a little care keeps the colors from bleeding into each other. First, hand wash it in cool water. Next, press out the water gently without wringing. Then lay the hat flat to dry. Because dark burgundy can transfer onto cream when wet, wash the hat alone the first time. If you are unsure, test a small scrap of both yarns first.
Looking for more hat ideas? Try our crochet hat pattern, and brush up with these beginner crochet tips.
FAQs About the Crochet Beanie Two Tone
Is the crochet beanie two tone hat reversible?
The video’s description calls it double-sided. However, check your own seam and tails from both sides before you wear it inside out.
Do I cut the yarn at each color change?
No. The waiting color stays attached, and you pick it up at the edge. This saves a lot of tails.
Can I make this beanie in one color only?
Yes. You will still get the ribbed ridges, just without the stripe contrast.
Which yarn weight works best for a beginner?
Worsted weight is a friendly choice because the stitches are easy to see. Still, any weight works as long as both colors match and your hook suits the yarn.

Ready to Wear Your Stripes
Give the seam one last look, press the ridges flat with your fingers, and try the hat on. Two colors, two yarn balls, and one flat rectangle make a hat that looks far trickier than it is. Now pick your favorite color pair and start your next stripe.