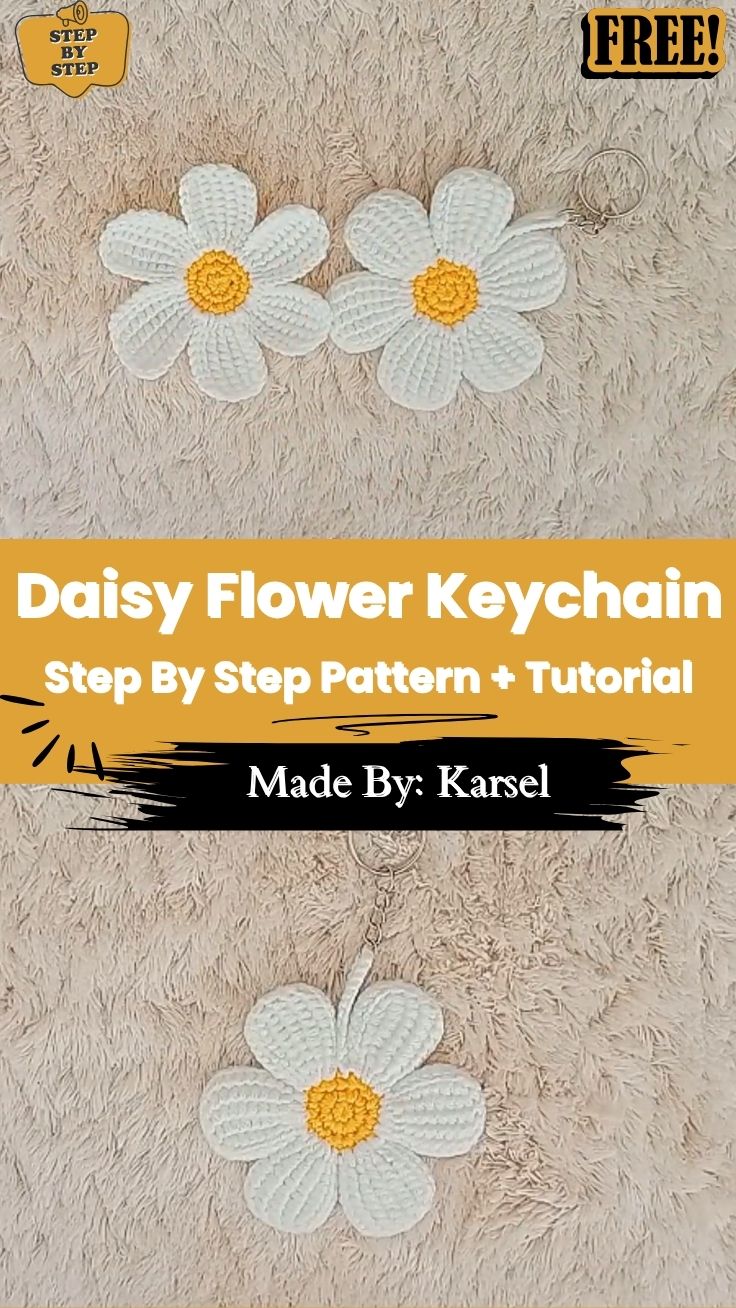
Bright petals and a cheerful yellow centre make the Crochet Daisy Flower Keychain an instant mood lifter a small handmade charm ready to clip onto your keys, bag, or car mirror. Its simple shape turns crochet time into pure relaxation.
Made with soft yellow and white yarn, the daisy comes together with rounded petals and a compact centre, finishing in under an hour once the petal rhythm clicks. Perfect for beginners trying their first flower motif, it also works as a calm, repetitive project for anyone wanting a quick handmade accessory. The crochet keychain pattern keeps stitch counts simple, making the daisy flower a satisfying one-sitting finish for bags, keys, or car mirrors.
Materials Needed
Lightweight cotton-acrylic yarn in yellow (for the center) and white (for the petals) A small crochet hook, around 1.75mm–2mm – this yarn weight likes a snug hook for neat, tight stitches A yarn needle, for weaving in ends Scissors A keychain ring or clasp Optional: a little stuffing, if you’d like a slightly puffed, dimensional center rather than a flat one Abbreviations MR = Magic ring sc = Single crochet inc = Increase (2 sc in the same stitch) ch = Chain sl st = Slip stitch st(s) = Stitch(es) Part 1: The Center (Yellow) Rnd 1: Magic ring, 6 sc into the ring. (6 sts) Rnd 2: inc in every stitch around. (12 sts) Rnd 3: (sc 1, inc) – repeat around. (18 sts)
Slip stitch into the first stitch to close the round, then fasten off, leaving a short tail to weave in. This gives you a neat, flat yellow circle to build your petals around.
Part 2: The Petals (White)
The petals are worked directly onto the edge of your yellow center, one at a time, rather than as separate pieces. Plan for 6 to 8 petals evenly spaced around the circle – 6 gives a slightly fuller, rounder daisy, while 8 gives a more delicate, layered look.
For each petal: Join white yarn with a stitch at the edge of your yellow center. Chain 8. Working back along the chain, single crochet into each of the next 8 chains, working into the back ridge of the chain if you can, this gives your petal a smoother, neater edge, though working into the chain normally is perfectly fine too. In the very last chain (the tip of the petal), work one extra single crochet to gently round off the tip. Continue back along the opposite side of the same chain, single crochet in each stitch, until you have about 2–3 stitches left before you reach the base. For these last few stitches near the base, work 2 single crochets into each of the next couple of stitches to fill out and round the base of the petal smoothly into the center.
Slip stitch into the base of the petal, right at the edge of the yellow center, to secure it. Move your hook to the next stitch along the center’s edge and repeat from step 2 for your next petal.
Continue all the way around your yellow center until you have 6–8 evenly spaced petals framing it like a real daisy. Fasten off after your last petal and weave in the end.
Making It Double-Sided (Optional, but Recommended)
A single layer daisy is lovely and lightweight, but making it two-sided gives it a fuller, more finished look and makes it sturdier as a keychain.
To do this, make a second daisy exactly the same way. On this second one, don’t cut your yarn after the last petal – instead, chain 35–40 stitches (this becomes your keychain loop; make it longer if you’d like extra length), then slip stitch back into the base to secure the chain into a loop.
Lay your two daisies back to back, petals facing outward on both sides, and stitch around the edge to join them into one thicker, two-sided flower with your chain loop already built in at the top.
Attaching the Keychain (Single-Layer Version)
If you’re keeping your daisy as a single layer, simply crochet a short chain loop at the back center, or attach a small metal jump ring, and clip on your keychain hardware from there.
Tips for Best Results
Keep your tension a little snug rather than loose, this yarn weight holds its shape much better with tighter stitches, especially for the center. If your petals come out slightly uneven in size, don’t worry, a little natural variation is part of the charm of a handmade daisy. Weave in your ends as you finish each color section rather than leaving them all for the end; it’s much easier to keep track of them this way. If you want a slightly plumper center, tuck a small pinch of stuffing in before closing round 3, just enough to round it out gently, not overstuffed.
Conclusion
This little Crochet Daisy Flower Keychain Amigurumi is one of those projects that feels almost too simple for how charming the result is. Once you’ve made your first one, the petals go quickly, and you’ll likely find yourself making a few more, in different colors, for different friends, or just because a daisy always makes a good gift.
If you make one, I’d love to hear how it turned out – happy stitching!
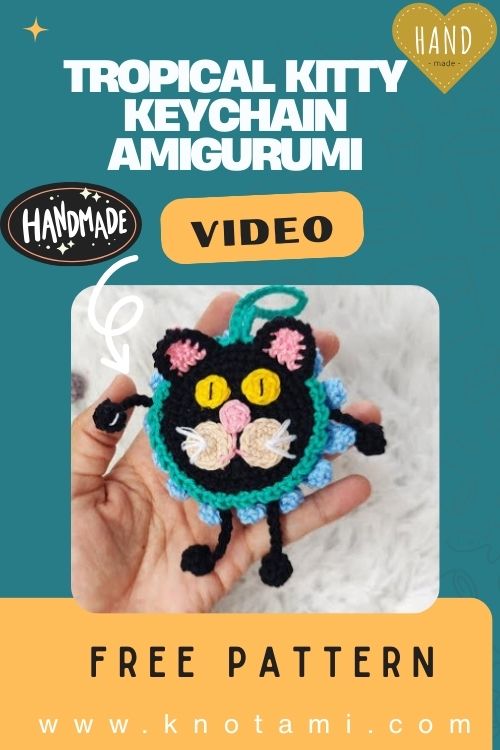
Bold black fur meets bright tropical accents in the Crochet Tropical Kitty Keychain Amigurumi Pattern, a playful little charm that dangles happily from a tote bag, backpack zipper, or set of keys. Its colourful trim gives every stitch a cheerful island feel. Combining feline charm with vibrant tropical shades, the pattern relies on simple stitches…
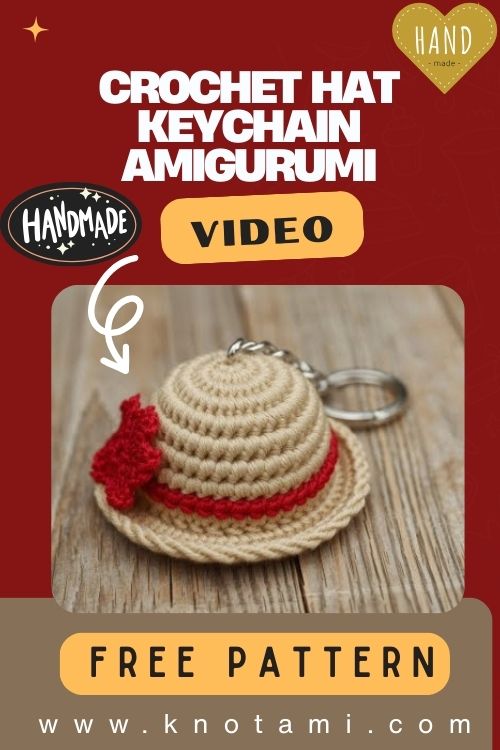
Straw-toned stitches curl into a rounded crown and wide brim, finished with a bright red flower, for this Free Crochet Hat Keychain Pattern for Beginners, a tiny accessory that swings from your keys, a bag zipper, or a backpack loop. Its miniature size makes it a quick weekend make. Shaped with a rounded crown, wide…
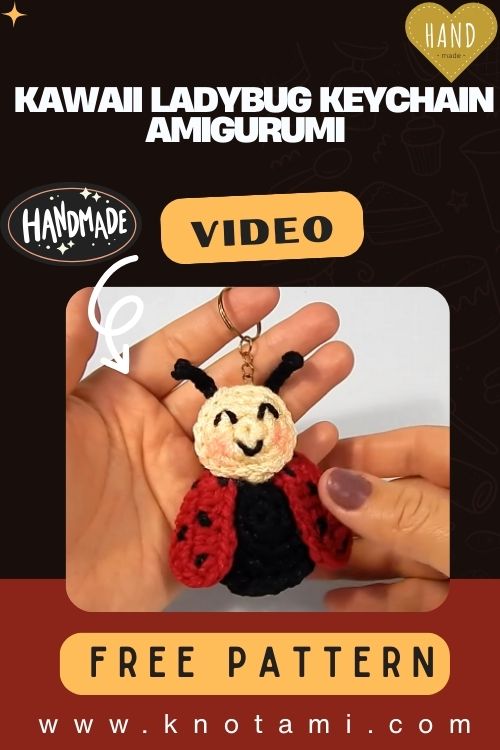
Bright red spots and a sweet kawaii face turn simple yarn scraps into the Crochet Kawaii Ladybug Keychain Amigurumi With Easy Instructions, a lucky little charm ready to clip onto a bag or dangle from a keyring. Its cheerful personality makes it a delightful one-afternoon make. Small and manageable, the ladybug comes together in a…
Bright red, green, and black stitches shape a juicy little slice in the Crochet Watermelon Keychain Pattern for Gifts and Accessories, a quick project that looks good enough to eat. Its playful fruit design makes it a satisfying one-sitting make. Combining basic stitches produces a polished-looking amigurumi watermelon slice, making this a great way to…
Tiny stitched trees turn simple green yarn into holiday magic with the Christmas Crochet Tree Keychain, a quick and adorable little charm ready to decorate your keys or join a fleet of festive ornaments. Its versatile size makes it fast to whip up. Built with basic stitches like single crochet and the magic circle, the…
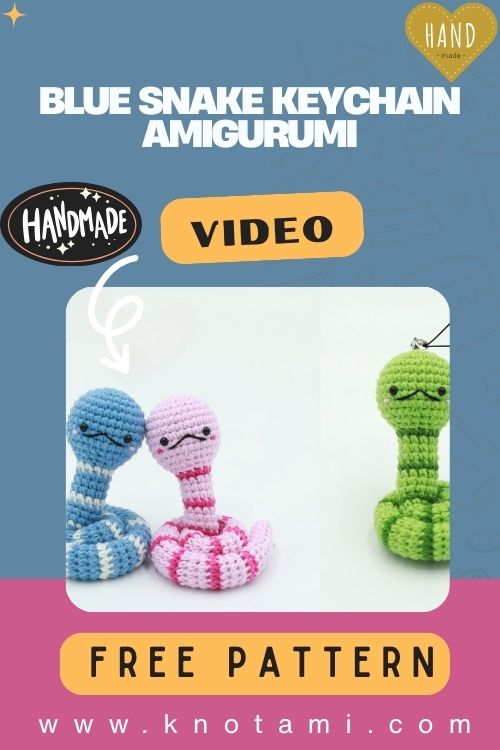
Vibrant blue and white stitches coil into a smooth, seamless body for the Crochet Snake Keychain Amigurumi Pattern for Everyday Style, a versatile little companion that wraps around a bag strap or loops onto a traditional keyring. Its coiled shape gives it a striking, eye-catching look on any bag or set of keys. Worked entirely…